
Are you tired of manually adjusting your phone’s settings every time you enter your car or go to bed? Thanks to the innovative technology of Xperia Smart Tags, you can now effortlessly automate these tasks with a simple tap. In this article, we will guide you through the process of setting up Xperia Smart Tags, providing you with step-by-step instructions and tips to maximize their functionality. Whether you’re an avid traveler, a busy professional, or simply someone seeking convenience in their daily life, Xperia Smart Tags offer a seamless way to streamline your mobile phone experience. Say goodbye to the hassle of manually adjusting settings and embrace the convenience of Xperia Smart Tags today!
Inside This Article
- What are Xperia Smart Tags
- Step-by-Step Guide to Setting Up Xperia Smart Tags
- How to Pair Xperia Smart Tags with Your Smartphone
- Customizing Xperia Smart Tags Functions and Settings
- Conclusion
- FAQs
What are Xperia Smart Tags
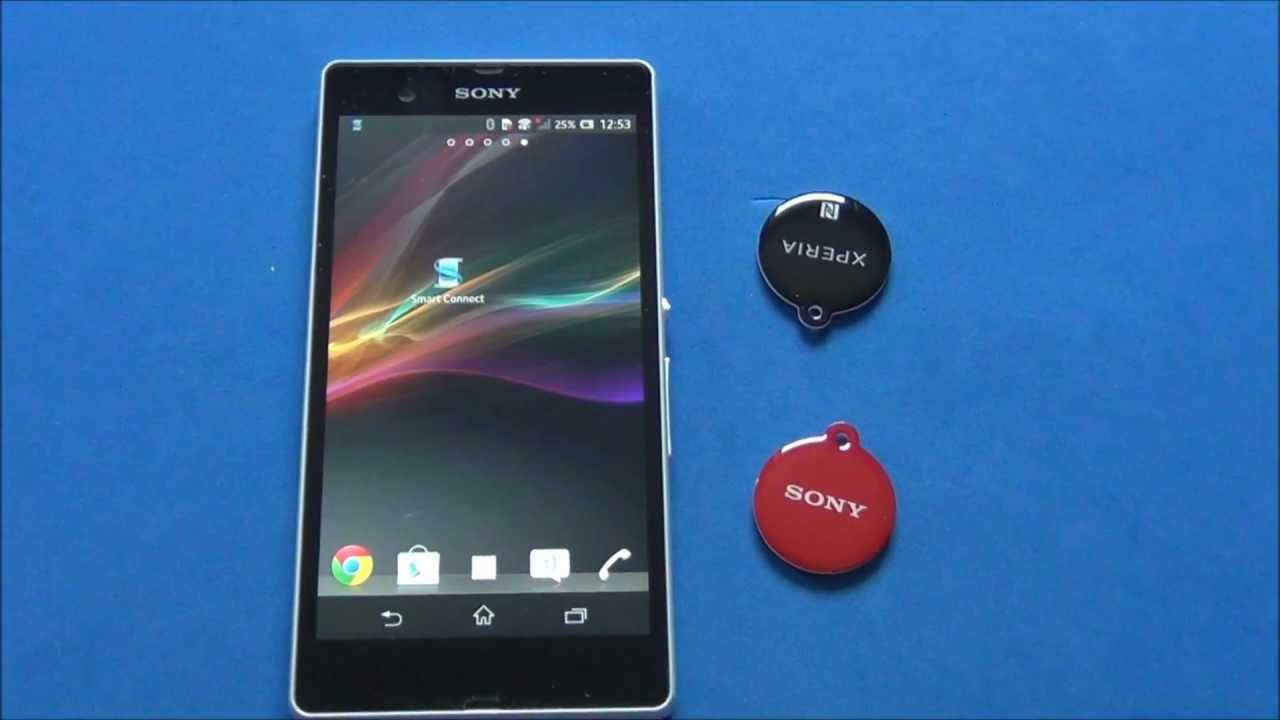
Xperia Smart Tags are small, lightweight accessories that can enhance the functionality of your Xperia smartphone. These cutting-edge tags use NFC (Near Field Communication) technology to allow your smartphone to perform specific actions when it comes in contact with the tag. This innovative technology makes Xperia Smart Tags a convenient and efficient way to automate tasks and streamline your mobile experience.
Each Xperia Smart Tag is programmed with a unique set of instructions that dictate the actions your smartphone will take when it interacts with the tag. This can include launching specific apps, adjusting settings, sending pre-written messages, and more. The possibilities are virtually endless, allowing you to create a personalized and seamless mobile experience tailored to your needs.
Whether you want to automate your morning routine by having your smartphone launch your favorite news app and play your favorite playlist when you tap the Xperia Smart Tag on your bedside table, or you want to adjust your smartphone’s settings as soon as you enter your office by tapping the tag on your desk, Xperia Smart Tags can make it happen with a simple touch.
Not only do Xperia Smart Tags offer convenience, but they also provide a level of security. You can program your tag to enable or disable certain features on your smartphone, such as turning on airplane mode or activating your phone’s security lock, ensuring that your device remains secure in specific situations.
With their easy setup and intuitive functionality, Xperia Smart Tags are a must-have accessory for any Xperia smartphone user looking to enhance their mobile experience. The seamless integration with your smartphone’s NFC capabilities allows you to effortlessly automate tasks, customize settings, and streamline your daily routine.
Step-by-Step Guide to Setting Up Xperia Smart Tags
Xperia Smart Tags are a convenient and fun feature that allows you to automate tasks on your Xperia smartphone with just a simple tap. With these NFC-enabled tags, you can create personalized shortcuts for various actions, such as turning on Wi-Fi, launching your favorite app, or even setting your phone to silent mode. Setting up Xperia Smart Tags is a breeze, and in this step-by-step guide, we will walk you through the process to ensure you can get started quickly and easily.
Before we begin, it’s important to note that Xperia Smart Tags require Near Field Communication (NFC) technology, which is available on most modern Xperia smartphones. Make sure your smartphone has this feature activated before proceeding with the setup process.
Now, let’s get started with setting up your Xperia Smart Tags:
- First, ensure that your Xperia smartphone is unlocked and turned on.
- Open the Settings app on your smartphone by tapping on the gear icon in the app drawer or by swiping down from the top of the screen and tapping the gear icon in the notification panel.
- In the Settings menu, scroll down and select the “Xperia” or “Xperia Settings” option.
- Next, tap on the “Smart Tags” or “Smart Connect” option. Note that the name of this option may vary slightly depending on your Xperia model and software version.
- In the Smart Tags menu, you will see a list of available Smart Tags or an option to add a new tag. Tap on the “Add new tag” or similar button to proceed.
- Now, take one of your Xperia Smart Tags and hold it near the back of your phone, where the NFC area is located. Make sure the tag is aligned correctly with the NFC area.
- Your smartphone will automatically detect the Smart Tag and display a prompt on the screen. Follow the on-screen instructions to complete the pairing process.
- Once the pairing is successful, you will be redirected to a configuration page where you can assign actions to the Smart Tag.
- Tap on the “Add action” or similar button to choose the action you want the Smart Tag to perform. Select from a range of predefined actions or create your own custom action.
- After selecting the desired action, tap on the “Save” or similar button to save your settings.
That’s it! You have successfully set up your Xperia Smart Tag. Repeat the above steps to pair and configure additional Smart Tags if needed. Now, you can simply tap your Smart Tag to perform the assigned action without navigating through menus or settings on your smartphone.
It’s worth mentioning that you can always edit or remove actions assigned to your Smart Tags by accessing the Smart Tags menu in the Xperia Settings app. Feel free to experiment and create different combinations of actions to suit your personal preferences and daily routines.
So, go ahead and start exploring the world of Xperia Smart Tags. Simplify your smartphone experience and make your daily tasks more efficient with just a tap of a tag.
How to Pair Xperia Smart Tags with Your Smartphone
Xperia Smart Tags are a convenient and innovative way to enhance your smartphone experience. These small NFC-based tags can be programmed to perform different actions or trigger specific settings on your Xperia device with just a simple tap. Pairing the Smart Tags with your smartphone is a straightforward process that can be done in a few easy steps. Let’s dive in and explore how to pair Xperia Smart Tags with your smartphone.
Step 1: Ensure that your Xperia smartphone has NFC capability. NFC, or Near Field Communication, technology allows devices to communicate by simply bringing them close together. Most Xperia smartphones have built-in NFC, but it’s always a good idea to check if your device supports this feature.
Step 2: Take your Xperia Smart Tag and bring it close to the back of your smartphone. The NFC sensor is usually located on the back of the phone, so align the Smart Tag with that area. Make sure the tag is in close proximity to establish a connection.
Step 3: Once the Smart Tag is near the smartphone, you will receive a notification on your Xperia device. Tap on the notification to open the Smart Tag setup screen.
Step 4: On the setup screen, you will see options to customize the actions or settings that the Smart Tag will trigger when tapped. You can choose from a range of pre-defined actions or even create your own custom actions. For example, you can set the Smart Tag to turn on Wi-Fi, launch a specific app, or even adjust your phone’s brightness levels. Explore the available options and select the actions that suit your needs.
Step 5: After selecting the desired actions, tap on the “Save” or “Apply” button to save the settings. Your Xperia Smart Tag is now paired with your smartphone and ready to use.
Step 6: To test the functionality, tap the Smart Tag with your Xperia smartphone. You should see the defined action or setting being triggered instantly. This allows for quick access to your favorite features and settings with just a tap of the Smart Tag. It’s a convenient way to automate tasks and simplify your smartphone usage.
Remember, you can pair multiple Xperia Smart Tags with your smartphone, allowing you to have different tags for different scenarios or purposes. For example, you can have one Smart Tag for your car, which automatically launches your navigation app and turns on Bluetooth when tapped, and another Smart Tag for your home, which sets your phone to silent mode and adjusts the screen timeout.
Customizing Xperia Smart Tags Functions and Settings
Once you have successfully paired your Xperia Smart Tags with your smartphone, you can begin customizing its functions and settings to suit your preferences. This will allow you to personalize your Smart Tags and make them work exactly the way you want them to. Here’s how you can customize the functions and settings of your Xperia Smart Tags:
1. Open the Xperia Smart Tags app on your smartphone. This app allows you to manage and customize the functions of your Smart Tags.
2. Select the Smart Tag that you want to customize. If you have multiple Smart Tags, you can choose the one you wish to modify from the list of connected devices.
3. Explore the various customization options available. Depending on your smartphone model and the version of the Xperia Smart Tags app, you will have different options to choose from. Some of the common customization options include:
- Assigning actions: You can assign specific actions to your Smart Tags, such as launching an app, toggling settings like Wi-Fi or Bluetooth, sending a predefined text message, or even playing a specific song.
- Adjusting settings: You can adjust the settings for the actions assigned to your Smart Tags. For example, if you’ve assigned the Smart Tag to toggle Wi-Fi, you can choose whether it turns Wi-Fi on or off with a single tap.
- Creating scenarios: Some Xperia Smart Tag apps allow you to create custom scenarios or profiles. These scenarios can be a combination of multiple actions triggered by a single tap on your Smart Tag. For instance, you can create a scenario called “Office Mode” that turns off the sound, activates vibration mode, and launches your work-related apps.
- Personalizing the tag: Depending on the Smart Tag model, you may have the option to personalize the physical appearance of the tag. This can include changing the color of the tag or attaching a custom sticker to make it easily identifiable.
4. Save your changes. Once you have customized the functions and settings of your Smart Tag, make sure to save your changes to apply them.
5. Test your Smart Tag. After customizing your Smart Tag, it’s a good idea to test it to ensure that the assigned actions and settings are working as intended. Tap the Smart Tag and see if the desired action is triggered on your smartphone.
By customizing the functions and settings of your Xperia Smart Tags, you can make the most out of these convenient accessories. Whether you want to simplify your daily routine, automate certain tasks, or add a personal touch to your Smart Tags, customization allows you to tailor the experience to your liking.
Conclusion
In conclusion, setting up Xperia Smart Tags is a convenient and efficient way to customize your Xperia smartphone to suit your specific needs. Whether you want to automate tasks, improve the security of your device, or simply make your daily routine more streamlined, Xperia Smart Tags have got you covered.
By following the step-by-step guide outlined in this article, you can easily configure and utilize these smart tags to simplify your life. Don’t forget to explore the various functions and settings available to make the most out of your Xperia Smart Tags.
With Xperia Smart Tags, you can unlock a whole new level of personalization and convenience for your Xperia smartphone. So go ahead, give it a try and experience the ease and efficiency that these smart tags can bring to your mobile experience.
FAQs
Q: What are Xperia Smart Tags?
A: Xperia Smart Tags are small NFC (Near Field Communication) tags that can be programmed to perform specific actions on your Xperia smartphone. By simply tapping your phone on the tag, you can automate various tasks such as turning on/off settings, launching apps, or even setting up specific profiles.
Q: How do I set up Xperia Smart Tags?
A: Setting up Xperia Smart Tags is a breeze. First, ensure that the NFC feature is enabled on your Xperia smartphone. Then, open the Xperia Smart Tags app, tap on “Add New Tag,” and follow the on-screen instructions to program the tag with your desired action. Once programmed, simply tap your phone on the tag to trigger the action.
Q: Can I program multiple actions on a single Xperia Smart Tag?
A: Yes, you can program multiple actions on a single Xperia Smart Tag. The Xperia Smart Tags app allows you to create different profiles and assign them to specific tags. Each profile can have a unique set of actions, allowing you to perform multiple tasks by simply tapping your phone on the tag and selecting the desired profile.
Q: Are Xperia Smart Tags compatible with all Xperia smartphones?
A: Xperia Smart Tags are compatible with most Xperia smartphones that have NFC capabilities. However, it’s always recommended to check the device’s compatibility list on the Sony Xperia website or consult the user manual of your Xperia smartphone to ensure compatibility.
Q: Can I use Xperia Smart Tags with other NFC-enabled devices?
A: Xperia Smart Tags are primarily designed to work with Xperia smartphones. While they may technically work with other NFC-enabled devices, the functionality may be limited. It’s best to use Xperia Smart Tags with Xperia smartphones to fully utilize their features and capabilities.