
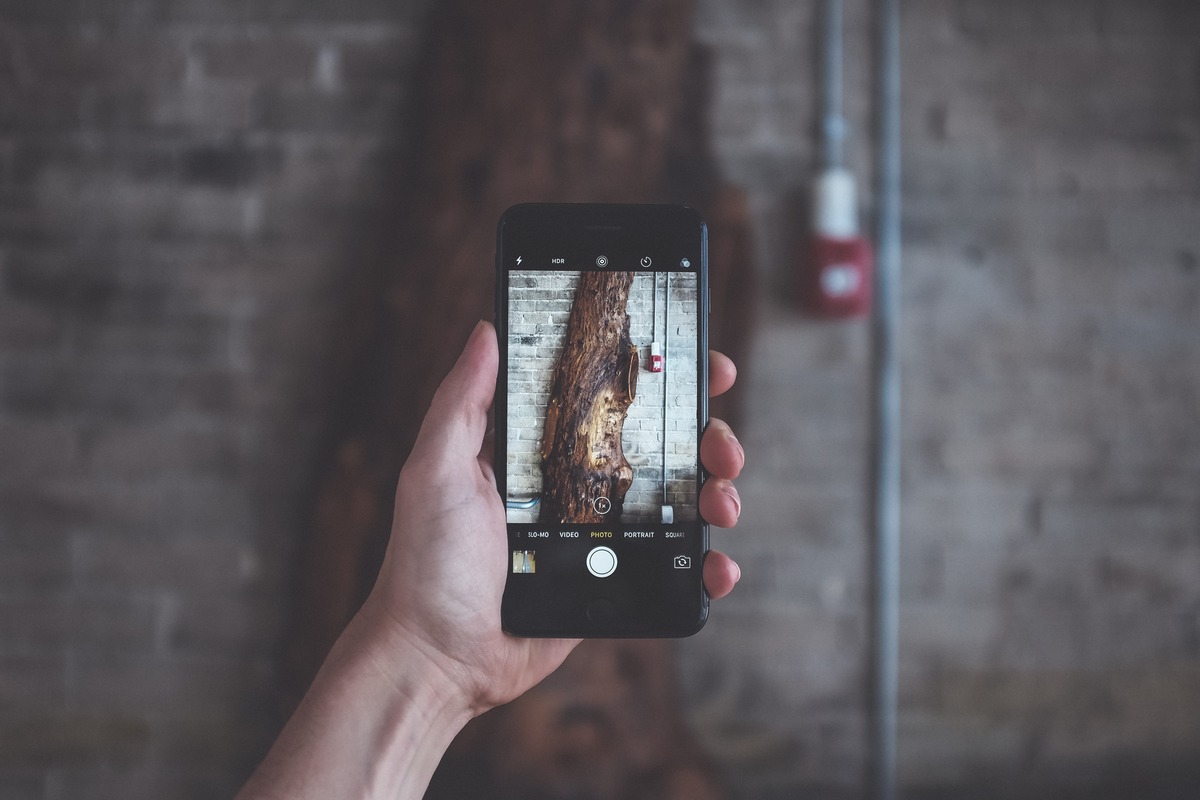
In today’s digital age, our smartphones have become our primary cameras, capturing our most precious moments with ease. And when it comes to smartphone photography, the iPhone stands as one of the top contenders. With its advanced camera capabilities and innovative features, the iPhone allows us to capture stunning images with just a few taps on the screen. However, capturing clear and better photos on the iPhone requires more than just pointing and shooting. It requires an understanding of the camera settings, composition techniques, and editing tools to enhance the quality of your shots. In this article, we will explore some tips and tricks to help you shoot clearer, better photos on your iPhone, ensuring that you can capture and preserve every moment with brilliance.
Inside This Article
- Understanding the Basics
- Optimizing Camera Settings
- Mastering Composition Techniques
- Utilizing Editing Tools
- Conclusion
- FAQs
Understanding the Basics
When it comes to shooting clearer and better photos on your iPhone, it’s essential to understand the basics of mobile photography. Here are some key concepts to keep in mind:
1. Lighting: Lighting plays a crucial role in photography. It can make or break a photo. Natural light is usually the best option, so try to shoot outdoors or near a window to maximize the available light. If shooting indoors, consider using additional lighting sources to avoid harsh shadows or unflattering lighting conditions.
2. Focus and Exposure: Tap on the subject of your photo on the iPhone screen to set the focus and exposure. This ensures that the main element of your photo is sharp and well-exposed. Experiment with different focal points to create depth and add interest to your shots.
3. Stability: Keeping your iPhone steady while taking a photo is important to avoid blur. Use a tripod or hold the phone with both hands for added stability. You can also utilize the volume button as a shutter release to minimize camera shake.
4. Composition: Composition refers to the arrangement of elements within a photo. It can greatly enhance the visual impact of an image. Consider using the rule of thirds, leading lines, and framing techniques to create well-balanced and visually appealing photos.
5. Perspective: Changing your perspective can add a unique twist to your photos. Try shooting from different angles, such as low to the ground or up high, to capture a fresh and intriguing viewpoint. Don’t be afraid to experiment and get creative!
By understanding these basics, you’ll have a solid foundation to improve your iPhone photography skills. So, let’s move on to the next section to discover how to optimize camera settings for better results.
Optimizing Camera Settings
When it comes to capturing beautiful and crisp photos on your iPhone, understanding and optimizing the camera settings is crucial. By making a few simple adjustments, you can elevate your photography to the next level. Here are some tips on how to optimize your iPhone camera settings:
1. HDR Mode: The HDR (High Dynamic Range) mode combines multiple exposures to create a well-balanced image with enhanced details in both the shadows and highlights. It’s particularly useful in high-contrast lighting conditions or landscape shots. To enable HDR mode, open the Camera app, tap on “HDR” at the top of the screen, and choose “Auto” or “On.”
2. Gridlines: Using the gridlines helps you compose your shots more effectively. It follows the rule of thirds, where you place your subject along the intersection points of the grid lines. This creates a well-balanced composition and adds visual interest to your photos. To enable gridlines, go to the Settings app, tap on “Camera,” and toggle on the “Grid” option.
3. Exposure and Focus: The iPhone camera allows you to manually adjust the exposure and focus for greater control over your photos. Simply tap on the screen where you want the camera to focus, and then use the exposure slider that appears to adjust the brightness. This is especially useful in situations where the lighting is challenging or when you want to highlight a specific subject.
4. Burst Mode: To capture fast-moving subjects or create action shots, utilize burst mode. Simply hold down the shutter button, and the camera will take a rapid series of photos. This ensures that you don’t miss the perfect moment and gives you a range of images to choose from. Burst mode is particularly handy for sports events, wildlife photography, or any fast-paced scenes.
5. Live Photos: Live Photos brings your images to life by capturing a few seconds of video alongside your still photo. To enable Live Photos, open the Camera app, and tap on the circular icon at the top of the screen. Keep in mind that Live Photos take up more storage space, so consider your available storage before using this feature.
6. Portrait Mode: If you own an iPhone with a dual-lens camera, such as the iPhone XR or later models, take advantage of Portrait Mode. This feature creates stunning depth-of-field effects, blurring the background while keeping the subject in sharp focus. Portrait Mode is ideal for capturing professional-looking portraits or artistic shots.
7. Night Mode: For low-light photography, the Night Mode on newer iPhone models is a game-changer. It automatically activates in low-light conditions and allows you to capture beautifully lit photos without the need for a flash. Experiment with Night Mode to capture stunning nighttime landscapes or atmospheric cityscapes.
8. Adjusting Resolution and Format: Depending on your needs, you can adjust the resolution and format of your photos. Higher resolutions, such as “High Efficiency” or “Most Compatible,” offer greater quality but consume more storage space. To change these settings, go to the Settings app, tap on “Camera,” and select “Formats” or “Quality and Formats.”
9. Self-Timer: The self-timer feature is helpful when you want to include yourself in the shot or capture long-exposure images without any camera shake. Simply set the timer, position your iPhone, and strike a pose. To activate the self-timer, open the Camera app and tap on the clock icon at the top of the screen.
By optimizing your iPhone camera settings and familiarizing yourself with these features, you can take your photography skills to new heights. Experiment with different settings in various lighting conditions and subjects to find your unique style and capture stunning, clearer, and better photos with your iPhone.
Mastering Composition Techniques
When it comes to taking photos on your iPhone, composition plays a crucial role in creating visually appealing and impactful images. Here are some tips to help you master composition techniques and elevate your photography skills.
1. Rule of Thirds: One of the fundamental composition techniques is the rule of thirds. Imagine dividing your frame into three equal vertical and horizontal sections. Place your subject or points of interest at the intersections or along the lines. This off-center placement adds visual interest and balance to your photo.
2. Leading Lines: Utilize natural or man-made leading lines in your frame to guide the viewer’s eye towards your subject. These lines could be roads, paths, or even architectural features. Leading lines add depth and a sense of movement to your photos.
3. Framing: Incorporate natural elements or objects in the foreground to frame your subject. This technique adds depth and draws attention to the main subject while creating a more immersive and layered composition.
4. Fill the Frame: Sometimes, getting up close and personal with your subject can create a more impactful image. Fill the frame with your subject to eliminate distractions and draw attention to the details and texture. This technique works particularly well with portraits and macro photography.
5. Symmetry and Patterns: Take advantage of symmetry and patterns in your surroundings. Symmetrical compositions can create a sense of balance and harmony, while patterns add visual interest and repetition. Look for reflections, lines, or shapes that exhibit symmetry or patterns.
6. Negative Space: Don’t be afraid of empty spaces in your composition. Negative space refers to the empty areas surrounding your subject. It provides a breathing room and can help emphasize your subject by creating contrast and visual impact.
7. Golden Hour: Consider the time of day when shooting outdoor scenes. The golden hour, which occurs near sunrise or sunset, offers soft, warm light that enhances the mood and ambiance of your photos. The directional light during this time also creates beautiful shadows and highlights, adding depth to your composition.
8. Experiment with Angles: Be willing to explore different angles and perspectives when composing your shots. Get down low or shoot from a higher vantage point to change the perspective and bring a fresh and unique view to your photos.
Remember, these composition techniques serve as guidelines, and creative experimentation is encouraged! Practice incorporating these techniques into your iPhone photography, and over time, you’ll develop your own style and eye for composition.
Utilizing Editing Tools
Once you’ve captured a stunning photo on your iPhone, it’s time to enhance it further using the powerful editing tools available. These tools allow you to fine-tune the color, exposure, and overall look of your photos, making them even more visually appealing.
One of the most popular editing tools is the built-in Photos app on your iPhone. To access it, simply open the app and select the photo you want to edit. From there, tap on the “Edit” button to reveal a variety of editing options.
One important tool to utilize is the “Auto-enhance” feature. This feature automatically adjusts the exposure, contrast, and saturation levels of your photo, resulting in a more balanced and vibrant image. It’s a great starting point for editing your photos, especially if you’re new to the editing process.
In addition to auto-enhance, you’ll find sliders for adjusting brightness, contrast, and saturation. These sliders give you full control over the individual elements of your photo, allowing you to make precise adjustments to achieve the desired look. Experiment with these sliders and find the perfect balance for your photo.
The cropping and straightening tool is another useful feature when it comes to editing your photos. It allows you to crop out unwanted elements and straighten any tilted horizons, ensuring a clean and well-composed image.
Furthermore, the Photos app offers a range of filters that can instantly transform the mood and tone of your photos. From vibrant and colorful filters to vintage and black-and-white options, you can easily experiment and find the style that best suits your photo.
If you’re looking for even more advanced editing capabilities, consider downloading third-party editing apps from the App Store. These apps provide additional features such as selective adjustments, advanced retouching tools, and artistic effects. Some popular choices include Adobe Lightroom, VSCO, and Snapseed.
Remember, the key to utilizing editing tools effectively is to enhance your photo without overdoing it. Strive for a natural and balanced look, enhancing the inherent beauty of your photo rather than drastically altering it. With practice and experimentation, you’ll be able to transform your iPhone photos into stunning works of art.
Conclusion
In conclusion, improving the clarity and quality of your photos on your iPhone is within reach. By following the tips and techniques discussed in this article, you can elevate your photography skills and capture stunning images with ease.
Remember to keep your device clean and free from smudges, utilize the grid feature for better composition, tap to focus on the subject, and experiment with different angles and perspectives. Additionally, don’t forget to leverage the power of editing apps to enhance your photos and make them truly stand out.
With these simple yet effective steps, you can take your iPhone photography to the next level. So go ahead, grab your iPhone, and start capturing clearer, better photos that will impress your friends, family, and even yourself!
FAQs
1. Can I improve the quality of my iPhone photos? Absolutely! There are several ways to enhance the clarity and overall quality of your iPhone photos. By following some simple techniques, such as finding good lighting, adjusting exposure, using the rule of thirds, and exploring different shooting modes and settings, you can capture clearer and better-looking photos.
2. Are there any recommended third-party camera apps for iPhone? Yes, there are several third-party camera apps available on the App Store that offer advanced features and settings to improve your iPhone photography. Some popular options include Camera+, ProCamera, VSCO, and Halide. These apps provide additional control over settings like ISO, shutter speed, and focus, allowing you to capture professional-quality shots.
3. What is HDR mode, and when should I use it? HDR stands for High Dynamic Range. This mode combines multiple exposures of the same scene to capture a wider range of colors and details, especially in high-contrast situations. It is useful when you have bright backgrounds or dark shadows in your photo. HDR mode is particularly effective for landscape or portrait photography, where you want to capture all the details in both highlight and shadow areas.
4. How can I avoid blurry photos on my iPhone? One common cause of blurry iPhone photos is camera shake. To combat this, hold your phone with both hands and steady your arms against a solid surface or use a tripod. Additionally, enable the grid feature on your iPhone camera to help you align and stabilize your shots. Another tip is to use the volume buttons on your headphones as a remote shutter release to minimize movement when taking photos.
5. How can I edit my iPhone photos to make them look better? The built-in Photos app on your iPhone provides a range of editing tools to enhance your photos. You can adjust exposure, brightness, contrast, color saturation, and more. Experiment with cropping, straightening, and applying filters to give your photos a unique look. Additionally, there are numerous third-party photo editing apps available, such as Adobe Lightroom, Snapseed, and VSCO, which offer even more advanced editing capabilities.