
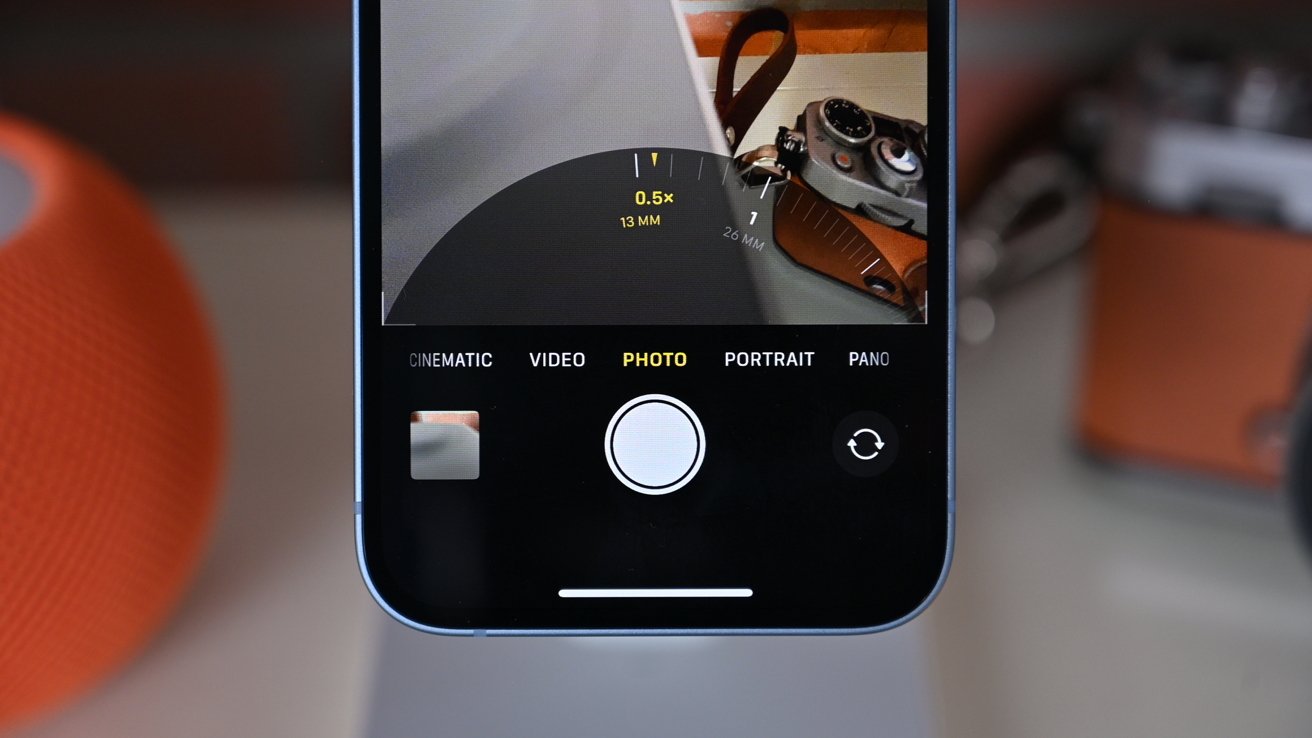
Switching between camera modes on an iPhone allows you to capture the perfect shot in any situation. Whether you’re looking to take stunning portraits, capture breathtaking landscapes, or shoot action-packed videos, understanding how to navigate the different camera modes is essential. With each new iPhone model, Apple introduces innovative features and enhancements to its camera technology. From Night Mode to Portrait Mode, there’s a wide range of options to explore. In this article, we will guide you through the process of switching camera modes on your iPhone, unlocking the full potential of your device’s photography capabilities. So, grab your iPhone and let’s dive into the world of camera modes!
Inside This Article
- Portrait Mode
- Night Mode
- Slow Motion Mode – Enabling Slow Motion Mode
- Panorama Mode – 4.1 Activating Panorama Mode – 4.2 Capturing Panoramic Shots – 4.3 Tips for Optimal Panorama Shots
- Conclusion
- FAQs
Portrait Mode
Portrait mode is a powerful feature on iPhones that allows you to capture stunning photos with a professional-looking depth of field. With portrait mode, you can make your subject stand out by blurring the background, creating a beautiful bokeh effect. Here is a step-by-step guide on how to access portrait mode on your iPhone.
1.1 Accessing Portrait Mode
To access portrait mode, open the camera app on your iPhone. Depending on your model, you will find the portrait mode option either at the bottom of the screen or in the camera mode selection menu. Look for the icon that resembles a person’s silhouette inside a rectangle.
Tap on the portrait mode icon to activate it. Once activated, you will see a yellow label at the top of the screen indicating that you are in portrait mode.
1.2 Adjusting the Depth Effect
After enabling portrait mode, you can adjust the depth effect to enhance or soften the background blur. This allows you to customize the level of bokeh in your photos.
While composing your shot, tap the “Portrait” button at the top of the screen. This will open up options to adjust the depth effect. You can slide the bar left or right to decrease or increase the intensity of the blur respectively.
Experiment with different levels of depth effect to achieve the desired look for your portrait photos.
1.3 Taking Portrait Shots
Once you have accessed portrait mode and adjusted the depth effect, you are ready to start capturing stunning portrait shots. Here are a few tips to get the best results:
- Ensure that your subject is well-lit. Portrait mode works best when there is adequate lighting.
- Stay still while taking the photo. This helps to prevent motion blur and ensures sharp focus on your subject.
- Try different angles and distances to add variety to your portraits. Get closer to capture details or step back for a wider shot.
- Experiment with different backgrounds to create interesting contrasts with your subject.
- Consider using props or posing your subject in engaging ways to add personality to your portraits.
Remember, practice makes perfect. Take some time to familiarize yourself with portrait mode and its various settings. With a bit of experimentation, you’ll be capturing professional-looking portrait photos in no time!
Night Mode
Night Mode is a powerful feature on your iPhone camera that allows you to capture stunning photos in low-light conditions. With Night Mode, you can bring out the details and colors in your nighttime shots, creating visually striking images.
2.1 Activating Night Mode
To activate Night Mode, follow these simple steps:
- Open the Camera app on your iPhone.
- Swipe to the desired camera mode. Night Mode is available on newer iPhone models, such as the iPhone 11, iPhone 12, and iPhone 13.
- If the lighting conditions are dark enough for Night Mode to be automatically enabled, you’ll see the Night Mode icon appear at the top of the screen. It looks like a crescent moon.
- If the lighting conditions are not automatically detected, you can manually enable Night Mode by tapping the Night Mode icon. It will turn yellow when activated.
2.2 Adjusting Night Mode Settings
After activating Night Mode, you can adjust the settings to achieve the desired results:
- Swipe left or right on the screen to adjust the exposure level. Increasing the exposure can brighten your shot, while decreasing it can create a more dramatic effect.
- Tap the Night Mode icon to toggle between Night Mode Off, Night Mode Auto, and Night Mode On. Night Mode Auto allows the camera to automatically determine the ideal settings based on the lighting conditions.
- Experiment with the duration slider to control how long the camera captures the image. Longer durations may result in brighter photos but may also introduce more motion blur.
- Use a tripod or steady surface to keep your iPhone steady during the Night Mode shot. This minimizes the risk of camera shake and enhances the overall sharpness of the image.
2.3 Capturing Stunning Night Photos
Now that you have activated Night Mode and adjusted the settings, it’s time to capture some breathtaking night photos:
- Compose your shot by considering the subject, background, and composition.
- Keep your hand steady and press the shutter button or use the volume up button to take the photo.
- Hold the iPhone still for a few seconds after capturing the photo to allow the camera to capture the additional data needed for Night Mode processing.
- Review your photo and make any necessary adjustments to exposure or other settings.
- Experiment with different angles, perspectives, and subjects to unleash your creativity and capture unique night shots.
With Night Mode on your iPhone, you can capture stunning and detailed photos even in challenging low-light conditions. So, go ahead and explore the world of nighttime photography with your iPhone camera!
Slow Motion Mode – Enabling Slow Motion Mode
Slow motion videos are a fun way to capture and relive moments with an added touch of drama and suspense. Fortunately, iPhones offer a built-in Slow Motion mode that allows you to shoot videos at a reduced speed, creating a captivating visual effect. Here’s how to enable Slow Motion mode on your iPhone:
Step 1: Open the Camera App
To begin, locate the Camera app on your iPhone’s home screen and tap on it to open it. The Camera app is represented by a simple camera icon.
Step 2: Accessing the Slow Motion Mode
Once the Camera app is open, swipe to the right until you see the Slow Motion mode. It is represented by an icon with three overlapping circles.
Step 3: Adjusting the Slow Motion Speed
Before you start recording in Slow Motion mode, you have the option to adjust the speed at which the video will play back. To do this, tap on the small “??” icon located at the top left corner of the screen. Here, you can select different slow motion speed options, such as 120 FPS (frames per second) or 240 FPS, depending on your iPhone model and capabilities.
Step 4: Recording Slow Motion Videos
Once you have selected your desired slow motion speed, you are ready to start recording. Simply press the red record button located at the center bottom of the screen to begin capturing your slow motion video. You can record up to 240 frames per second, allowing you to capture every detail in stunning slow motion.
It’s important to note that slow motion videos require more light compared to regular videos. Therefore, it is advisable to record in well-lit environments for optimal results. Additionally, keep in mind that slow motion videos can take up more storage space on your iPhone, so regularly transfer them to your computer or backup device to free up space.
With the Slow Motion mode on your iPhone, you can create mesmerizing videos that add a unique touch to your memories. Whether it’s capturing a breathtaking action shot, a playful moment, or a beautiful nature scene, the Slow Motion mode allows you to unleash your creativity and explore the art of capturing time in a captivating way.
Panorama Mode – 4.1 Activating Panorama Mode – 4.2 Capturing Panoramic Shots – 4.3 Tips for Optimal Panorama Shots
One of the exciting camera modes available on your iPhone is Panorama Mode. With Panorama Mode, you can capture stunning wide-angle shots that span across a wide field of view. Whether you want to capture a breathtaking landscape or a group photo, Panorama Mode is a fantastic feature to utilize. In this section, we will guide you through activating Panorama Mode, capturing panoramic shots, and provide some tips for optimal results.
4.1 Activating Panorama Mode
To activate Panorama Mode on your iPhone, follow these steps:
- Open the Camera app on your iPhone.
- Swipe left or right on the camera modes at the bottom of the screen until you find Panorama Mode.
- Tap on Panorama to select it.
Once you have activated Panorama Mode, you are ready to capture those breathtaking wide-angle shots.
4.2 Capturing Panoramic Shots
To capture a panoramic shot using your iPhone’s Panorama Mode, follow these steps:
- Hold your iPhone vertically or horizontally, depending on the direction you want to capture the panorama.
- Tap on the shutter button to start capturing the panorama.
- Slowly and steadily move your iPhone from left to right or vice versa, keeping it aligned with the guiding arrow on the screen.
- Make sure to move steadily and avoid any sudden jerks or movements.
- Continue moving until you have captured the desired scene.
- Tap on the shutter button again to stop capturing the panorama.
Your iPhone will automatically stitch together the individual photos to create a seamless panoramic shot.
4.3 Tips for Optimal Panorama Shots
To achieve the best results with Panorama Mode, consider the following tips:
- Find a stable position: It is important to find a stable position or use a tripod if possible to avoid any unwanted shake or blur in the captured panorama.
- Find a scenic view: Look for scenic views with interesting foreground and background elements to create visually appealing panoramas.
- Keep it steady: While capturing the panorama, make sure to move your iPhone steadily and avoid any sudden movements that may affect the final result.
- Use a level: To ensure level horizons in your panoramic shots, activate the grid or level feature on your iPhone’s camera settings.
- Experiment with directions: Don’t be afraid to capture panoramas in different directions, such as from top to bottom or diagonally, to add variety to your shots.
By following these tips, you can enhance your Panorama Mode photography skills and capture stunning wide-angle shots with your iPhone.
Switching between camera modes on your iPhone is a breeze with the intuitive interface and advanced features offered by Apple. Whether you’re capturing stunning landscapes with the Panorama mode, immortalizing precious moments with the Portrait mode, or unleashing your creativity with the Manual mode, your iPhone’s camera is a versatile tool that empowers you to become a skilled photographer.
By understanding how to switch between different camera modes, you can elevate your photography game and capture the world from new perspectives. Remember to explore the various modes available on your iPhone, experiment with different settings, and unleash your creativity to capture breathtaking images that tell compelling stories.
So, go ahead and try out the various camera modes on your iPhone. Whether you’re a photography enthusiast or a casual snapper, the diverse options and features available will surely enhance your experience and allow you to capture moments in a truly extraordinary way.
FAQs
FAQ 1: How do I switch camera modes on my iPhone?
To switch camera modes on your iPhone, open the Camera app and look for the icon or label indicating the current camera mode. Tap on it to see the available camera modes. You can then swipe left or right to select the desired mode, such as Photo, Video, Portrait, Night mode, or Time-lapse.
FAQ 2: Can I change camera modes while recording a video on my iPhone?
Yes, you can switch camera modes while recording a video on your iPhone. Simply tap on the icon or label indicating the current camera mode while the video is recording. This will open the camera mode options, allowing you to switch to a different mode without interrupting the video recording.
FAQ 3: How do I enable or disable the flash on my iPhone’s camera?
To enable or disable the flash on your iPhone’s camera, launch the Camera app and look for the flashlight icon at the top left or top right corner of the screen, depending on your iPhone model. Tap on the flashlight icon to toggle between Auto, On, or Off mode. Auto mode will automatically adjust the flash based on the lighting conditions, while On mode will keep the flash always on and Off mode will turn off the flash completely.
FAQ 4: How do I access the camera settings on my iPhone?
To access the camera settings on your iPhone, open the Camera app and look for the small gear or settings icon usually located at the top left or top right corner of the screen. Tap on it to access various camera settings, such as video resolution, photo format, grid overlay, and more. You can customize these settings according to your preferences for a better camera experience.
FAQ 5: Can I use third-party camera apps on my iPhone?
Yes, you can use third-party camera apps on your iPhone. The App Store offers a wide range of camera apps with advanced features and editing capabilities that can enhance your photography experience. Simply search for camera apps in the App Store, read user reviews, and download the app that best suits your needs. Once installed, you can access the third-party camera app by tapping on its icon on your iPhone’s home screen.