
Are you struggling to figure out how to take a screenshot with your Sony Xperia phone? You’re not alone! Many users find themselves in the same predicament, searching for a simple solution to capture their screen. Whether you want to save a memorable conversation, a funny meme, or an important document, taking a screenshot can be a quick and effective way to preserve that information. In this article, we will guide you through the step-by-step process of taking a screenshot with a Sony Xperia phone. By the end, you’ll be able to effortlessly capture and access screenshots, allowing you to easily share and refer back to important moments on your device.
Inside This Article
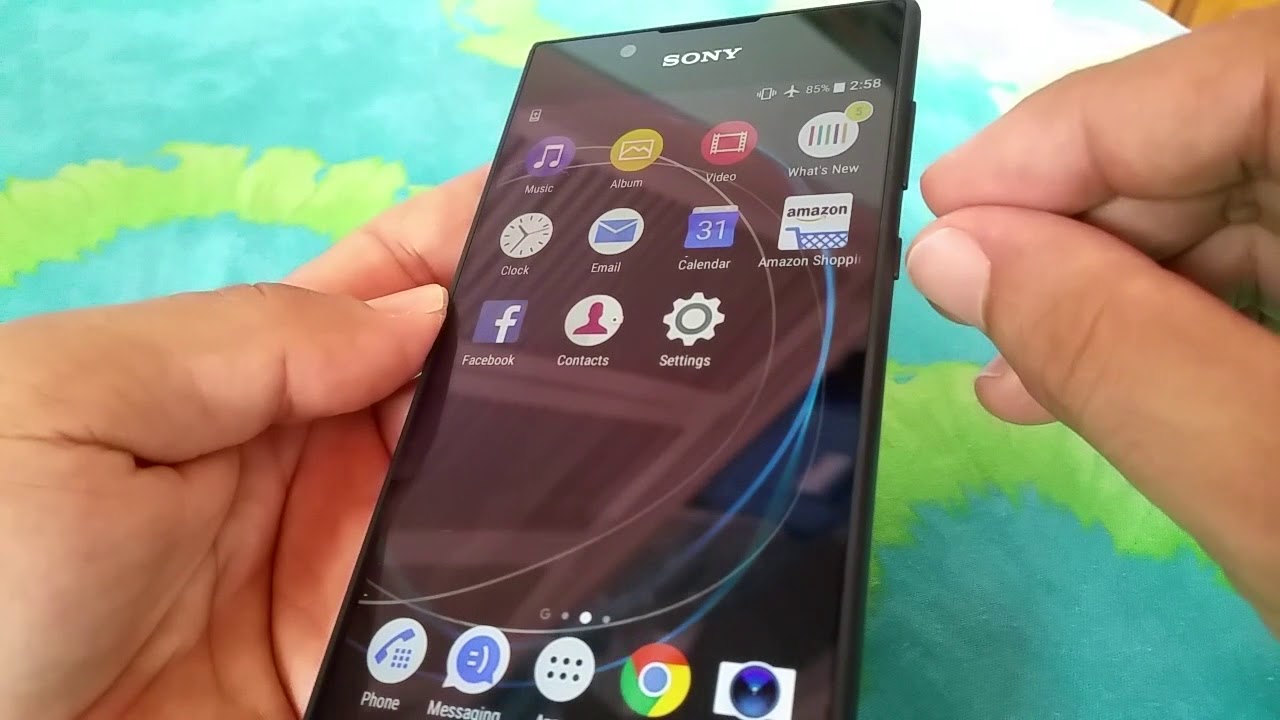
- # How to Take a Screenshot With a Sony Xperia Phone
- Enabling the Screenshot Feature
- Capturing a Screenshot Using the Physical Buttons
- Taking a Screenshot with Assistive Touch
- Using the Sony Xperia Built-in Screenshot Function
- Conclusion
- FAQs
# How to Take a Screenshot With a Sony Xperia Phone
If you own a Sony Xperia phone and want to capture what’s on your screen, taking a screenshot is a simple and convenient way to do so. Whether you want to save an important conversation, capture a funny meme, or document an error message, capturing a screenshot can be extremely useful. In this article, we will guide you through the steps to take a screenshot with a Sony Xperia phone.
Enabling the Screenshot Feature
Before you can take a screenshot, you need to ensure that the screenshot feature is enabled on your Sony Xperia phone. Thankfully, this feature comes enabled by default on most Xperia models. However, it’s always a good idea to double-check to avoid any potential issues.
To enable the screenshot feature on your Sony Xperia phone, follow these simple steps:
- Go to the “Settings” menu on your phone.
- Scroll down and find the “System” or “Device” section.
- Tap on “Gestures” or “Gestures & motion” depending on your device.
- Look for the “Take a screenshot” option and make sure it is turned on.
- If the feature is disabled, toggle the switch to enable it.
Capturing a Screenshot Using the Physical Buttons
Once the screenshot feature is enabled, you can capture a screenshot using the physical buttons on your Sony Xperia phone. Here’s how:
- Navigate to the screen you want to capture.
- Press and hold the power button and the volume down button simultaneously.
- Hold the buttons for a couple of seconds until you see a visual indicator or hear a sound indicating that the screenshot has been captured.
- You can find the captured screenshot in the “Screenshots” or “Gallery” folder on your phone.
Taking a Screenshot with Assistive Touch
If using the physical buttons feels cumbersome or if your volume down button is not functioning correctly, you can use the Assistive Touch feature to take a screenshot on your Sony Xperia phone. Follow these steps:
- Go to the “Settings” menu on your phone.
- Navigate to the “Accessibility” section.
- Tap on “Assistive Touch” and enable the feature.
- A floating button will appear on your screen.
- Tap on the floating button and select the “Screenshot” option.
- The screenshot will be captured and saved in the designated folder on your phone.
Using the Sony Xperia Built-in Screenshot Function
Sony Xperia phones also come with their own built-in screenshot function, making it even easier to capture your screen. Just follow these steps:
- Open the screen or app you want to capture.
- Swipe down from the top of the screen to access the notification panel.
- Look for the “Screenshot” option, usually represented by a phone and scissors icon, and tap on it.
- The screenshot will be captured and saved in the designated folder on your phone.
Now that you know how to take a screenshot with your Sony Xperia phone, you can easily capture and save important moments or information with just a few simple steps. Whether you prefer using the physical buttons or the built-in functions, these methods should work seamlessly on most Sony Xperia models. Start capturing and sharing your screen effortlessly today!
Enabling the Screenshot Feature
If you’re the proud owner of a Sony Xperia phone and want to capture screenshots quickly and easily, you’ll need to make sure that the screenshot feature is enabled on your device. By default, most Sony Xperia phones have this feature enabled, but it’s always a good idea to double-check.
To enable the screenshot feature on your Sony Xperia phone, follow these simple steps:
- Go to the home screen of your phone by pressing the home button or swiping up from the bottom of the screen.
- Swipe down from the top of the screen to access the notification panel.
- Tap on the settings gear icon located in the top right corner of the screen.
- In the settings menu, scroll down until you find the “System” section. Tap on it to access the system settings.
- Within the system settings, locate and tap on the “Gestures” option.
- Look for the “Take screenshot” option and make sure it is toggled on.
Once you have enabled the screenshot feature on your Sony Xperia phone, you’re ready to start capturing screenshots with ease. In the following sections, we’ll explore different methods you can use to take screenshots on your device.
Capturing a Screenshot Using the Physical Buttons
One of the simplest ways to take a screenshot on your Sony Xperia Phone is by using the physical buttons on the device. This method is available on most Xperia models and is quick and convenient.
To begin, navigate to the desired screen or app that you want to capture. Make sure everything you want to include in the screenshot is visible on the screen.
Once you’re ready, locate the power button and volume down button on your Xperia Phone. These buttons are usually found on the side of the device. The power button is usually on the upper right side, while the volume down button is typically on the lower part.
To capture the screenshot, press and hold down the power button and volume down button simultaneously for a few seconds. You may need to press and hold them until you see a visual indication or hear a shutter sound, signaling that the screenshot has been captured.
After capturing the screenshot, a preview of the image will typically appear on your phone’s screen. From here, you can either edit the screenshot or share it with others via email, social media, or any other compatible apps on your Sony Xperia Phone.
It’s worth noting that the exact button combination to capture a screenshot may vary slightly depending on the specific Xperia model you have. If you are having trouble capturing a screenshot with the given method, refer to the user manual or contact Sony Xperia support for assistance.
Capturing a screenshot using the physical buttons is a simple and efficient way to capture moments on your Sony Xperia Phone. Whether you want to capture an important conversation, save a funny meme, or capture a beautiful landscape, this method allows you to do so with ease.
Now that you know how to capture a screenshot using the physical buttons on your Sony Xperia Phone, you can easily save and share memorable moments from your device.
Taking a Screenshot with Assistive Touch
If you own a Sony Xperia phone, taking a screenshot can also be done with the help of Assistive Touch. This feature is designed to assist users in performing various tasks on their devices with ease. By following a few simple steps, you can capture screenshots with just a few taps on your Xperia phone.
To begin, you need to enable Assistive Touch on your Sony Xperia device. To do this, go to the “Settings” menu and scroll down to find the “Accessibility” option. Tap on it and look for the “Assistive Touch” feature. Toggle the switch to turn it on.
Once Assistive Touch is enabled, you will notice a small floating button appearing on your screen. This button allows you to access various functions, including taking screenshots. You can move the button around to your preferred location by tapping and dragging it with your finger.
To capture a screenshot using Assistive Touch, tap on the floating button to open the Assistive Touch menu. You will see a variety of options available. Look for the “Screenshot” option and tap on it.
After tapping on the “Screenshot” option, your Sony Xperia phone will instantly capture a screenshot of your current screen. You can easily find your screenshot in the gallery or in the “Screenshots” folder in your file manager app.
Keep in mind that using Assistive Touch to take a screenshot on your Sony Xperia phone provides a convenient alternative to physical button methods, especially if your device’s buttons are not easily accessible or if you prefer a touch-based approach.
Now that you know how to use Assistive Touch to take a screenshot on your Sony Xperia phone, capturing important moments or saving important information from your screen has never been easier.
Using the Sony Xperia Built-in Screenshot Function
If you own a Sony Xperia phone, you’re in luck! These smartphones come equipped with a built-in screenshot function that makes capturing your screen a breeze. To access this feature, simply follow the steps below:
Step 1: Navigate to the screen you want to capture. Whether it’s a hilarious text conversation, a stunning photo, or an important document, make sure the content you want to screenshot is visible on your screen.
Step 2: Locate the power button and volume down button on your Sony Xperia phone. The power button is usually found on the right side of the device, while the volume down button is typically located on the left side. Familiarize yourself with the location of these buttons before proceeding.
Step 3: Once you’ve positioned your fingers on the power button and volume down button, press and hold them simultaneously. Make sure to maintain this hold for a few seconds until you see a quick animation or hear a shutter sound, indicating that the screenshot has been successfully captured.
Step 4: To access the screenshot you’ve just taken, simply swipe down the notification panel from the top of your screen. Look for the “Screenshot captured” or similar notification and tap on it. This will open the screenshot in your default image viewer, allowing you to view, edit, and share it as needed.
Step 5: If you want to access your screenshots later, you can find them in your phone’s gallery app. Look for a dedicated “Screenshots” album where all your captured images are stored.
Using the Sony Xperia built-in screenshot function is not only simple but also convenient. It eliminates the need for third-party apps or complex button combinations, making it accessible for users of all levels of expertise.
Now that you know how to use this feature, feel free to capture and share those memorable moments with family, friends, or on your favorite social media platform. Whether it’s a breathtaking landscape, a funny meme, or an important conversation, the Sony Xperia built-in screenshot function ensures you won’t miss a thing.
Conclusion
Taking screenshots on a Sony Xperia phone is a breeze, thanks to the built-in features and convenient options. Whether you want to capture a memorable moment, share important information, or troubleshoot a technical issue, knowing how to take a screenshot can come in handy. With the power button and volume down button combination, or the dedicated screenshot button, you can capture your screen effortlessly.
Remember to explore additional screenshot settings, such as screen recording, editing, and sharing options, to make the most out of your Sony Xperia device. As technology evolves, Sony Xperia phones continue to thrive, providing users with innovative features and seamless functionality. So, go ahead and start taking screenshots with ease on your Sony Xperia phone – the possibilities are endless!
FAQs
1. How do I take a screenshot with my Sony Xperia phone?
To take a screenshot on a Sony Xperia phone, simply press and hold the power button and volume down button simultaneously for a couple of seconds until you see a screen capture animation or hear a shutter sound. The screenshot will then be saved to your phone’s gallery.
2. Can I edit or crop the screenshot after taking it?
Yes, you can. Once you have taken a screenshot on your Sony Xperia phone, you can edit it by accessing the “Gallery” app and selecting the screenshot. From there, you can find editing options like cropping the image or adding annotations.
3. Where can I find the screenshots I have taken?
All the screenshots you take on your Sony Xperia phone are saved to the “Screenshots” folder in your phone’s gallery. You can access this folder through your gallery app or by connecting your phone to a computer and browsing the phone’s storage.
4. Is there a way to capture a long screenshot on Sony Xperia phones?
Yes, on some Sony Xperia models, you can capture a long screenshot by taking a regular screenshot and then tapping on the “Scroll Capture” or “Extended screenshot” option that appears on the screen. This will allow you to capture an entire webpage or document that requires scrolling.
5. Can I take a screenshot of a specific portion of the screen?
Yes, you can capture a specific portion of the screen on your Sony Xperia phone. After pressing and holding the power button and volume down button, a toolbar will appear at the bottom of the screen with options such as “Capture Area” or “Rectangle Capture.” From there, you can select the desired area to be captured and proceed to take the screenshot.