
Are you excited about getting a new iPhone but worried about transferring your cellular data? Fret not, as we’ve got you covered! In this article, we will walk you through the simple and hassle-free process of transferring your cellular data to your brand-new iPhone. Whether you’re switching carriers or upgrading your device, we’ll provide you with step-by-step instructions to ensure a seamless transition. Say goodbye to the days of manually entering contacts, downloading apps, and configuring settings on your new phone. With our expert guidance, you’ll have your cellular data transferred in no time, allowing you to enjoy all the features and functionalities of your new iPhone without missing a beat. So, let’s dive in and discover how to effortlessly transfer your cellular data to your new iPhone!
Inside This Article
- Backing Up Data on Current iPhone
- Transferring Data Using iCloud
- Transferring Data Using iTunes
- Transferring Data Using Quick Start
- Conclusion
- FAQs
Backing Up Data on Current iPhone
Before transferring your data to a new iPhone, it’s crucial to back up all your important information from your current device. Backing up your data ensures that you can easily restore it to your new device, saving you from the hassle of losing any valuable information. There are two convenient methods to back up your data: using iCloud or iTunes.
Option 1: Backing up with iCloud:
Backing up your iPhone using iCloud is a seamless and hassle-free process. Follow these steps:
- Connect your iPhone to a stable Wi-Fi network.
- Open the “Settings” app on your iPhone.
- Tap on your name at the top of the screen to access your Apple ID settings.
- Select “iCloud,” then “iCloud Backup.”
- Toggle on the “iCloud Backup” switch.
- Tap on “Back Up Now,” and ensure that the backup process completes successfully.
Option 2: Backing up with iTunes:
If you prefer to back up your data using your computer, iTunes is a reliable choice. Here’s how:
- Connect your iPhone to your computer using a USB cable.
- Open iTunes (or download and install it if you don’t have it).
- In the iTunes interface, click on the iPhone icon located in the top left corner.
- Under the “Backups” section, select “This Computer” instead of “iCloud.”
- Click on “Back Up Now” to initiate the backup process.
- Wait for the backup to complete, and make sure it’s saved on your computer.
Transferring Data Using iCloud
One convenient way to transfer your cellular data to a new iPhone is by utilizing iCloud, Apple’s cloud storage service. iCloud allows you to back up and restore your data wirelessly, making the transfer process seamless and hassle-free.
To begin, ensure that you have a recent iCloud backup of your current iPhone. You can check this by going to “Settings” on your device, tapping on your name at the top, then selecting “iCloud,” and finally “iCloud Backup”. If the feature is enabled, you should see the date and time of the last backup.
If you haven’t enabled iCloud backup, go to the “iCloud Backup” section and turn it on. Your iPhone will then automatically backup your data to iCloud when connected to Wi-Fi and charging.
Once you have a backup, follow these steps to transfer your data to the new iPhone:
- Turn on your new iPhone and follow the on-screen instructions until you reach the Apps & Data screen.
- Select “Restore from iCloud Backup.”
- Sign in to your iCloud account using your Apple ID and password.
- Choose the most recent backup from the list of available backups. Make sure it corresponds to the backup you want to transfer.
- Wait for the restore process to complete. This may take some time, depending on the size of your backup and the speed of your internet connection.
- Once the restore is finished, your new iPhone will reboot, and you can proceed with the setup process.
- During the setup, you may be prompted to enter your Apple ID and password again to complete the activation process.
- Once the setup is complete, your new iPhone will have all the apps, settings, and data from your previous iPhone, including your cellular data.
It’s important to note that the transfer speed and success of the process will depend on factors such as the size of your backup, the speed of your internet connection, and the availability of iCloud storage space.
Additionally, make sure that you regularly backup your current iPhone to iCloud to ensure that your data is always up to date. This will make it easier and faster to transfer your cellular data to a new iPhone in the future.
Transferring your cellular data to a new iPhone using iCloud provides a simple and convenient way to migrate to a new device without losing any of your important information. Follow the steps above, and you’ll be enjoying your new iPhone with all your data intact in no time!
Transferring Data Using iTunes
If you prefer to transfer your cellular data to your new iPhone using your computer, iTunes is a reliable option. iTunes allows you to create a backup of your current iPhone and restore it onto your new device. Here’s how you can use iTunes to transfer your cellular data:
- First, make sure you have the latest version of iTunes installed on your computer.
- Connect your current iPhone to your computer using a USB cable.
- Launch iTunes and select your iPhone from the device options.
- In the left-hand sidebar of the iTunes window, click on “Summary”.
- Under the “Backups” section, click on “This Computer” and click “Back Up Now” to create a backup of your current iPhone’s data on your computer.
- Once the backup process is complete, disconnect your current iPhone from the computer and connect your new iPhone to the computer.
- In iTunes, select your new iPhone from the device options.
- In the “Summary” section of iTunes, click on “Restore Backup”.
- Choose the backup of your current iPhone that you created in step 5.
- Click “Restore” to begin transferring your cellular data from the backup onto your new iPhone.
Please note that the time it takes to transfer the data may vary depending on the size of the backup and the speed of your computer. It’s important to keep your devices connected throughout the process and avoid interrupting the transfer.
Once the transfer is complete, your new iPhone will have all your cellular data, including contacts, photos, messages, apps, and more from your previous device. It’s a convenient and seamless way to ensure that no information is lost during the transition to your new iPhone.
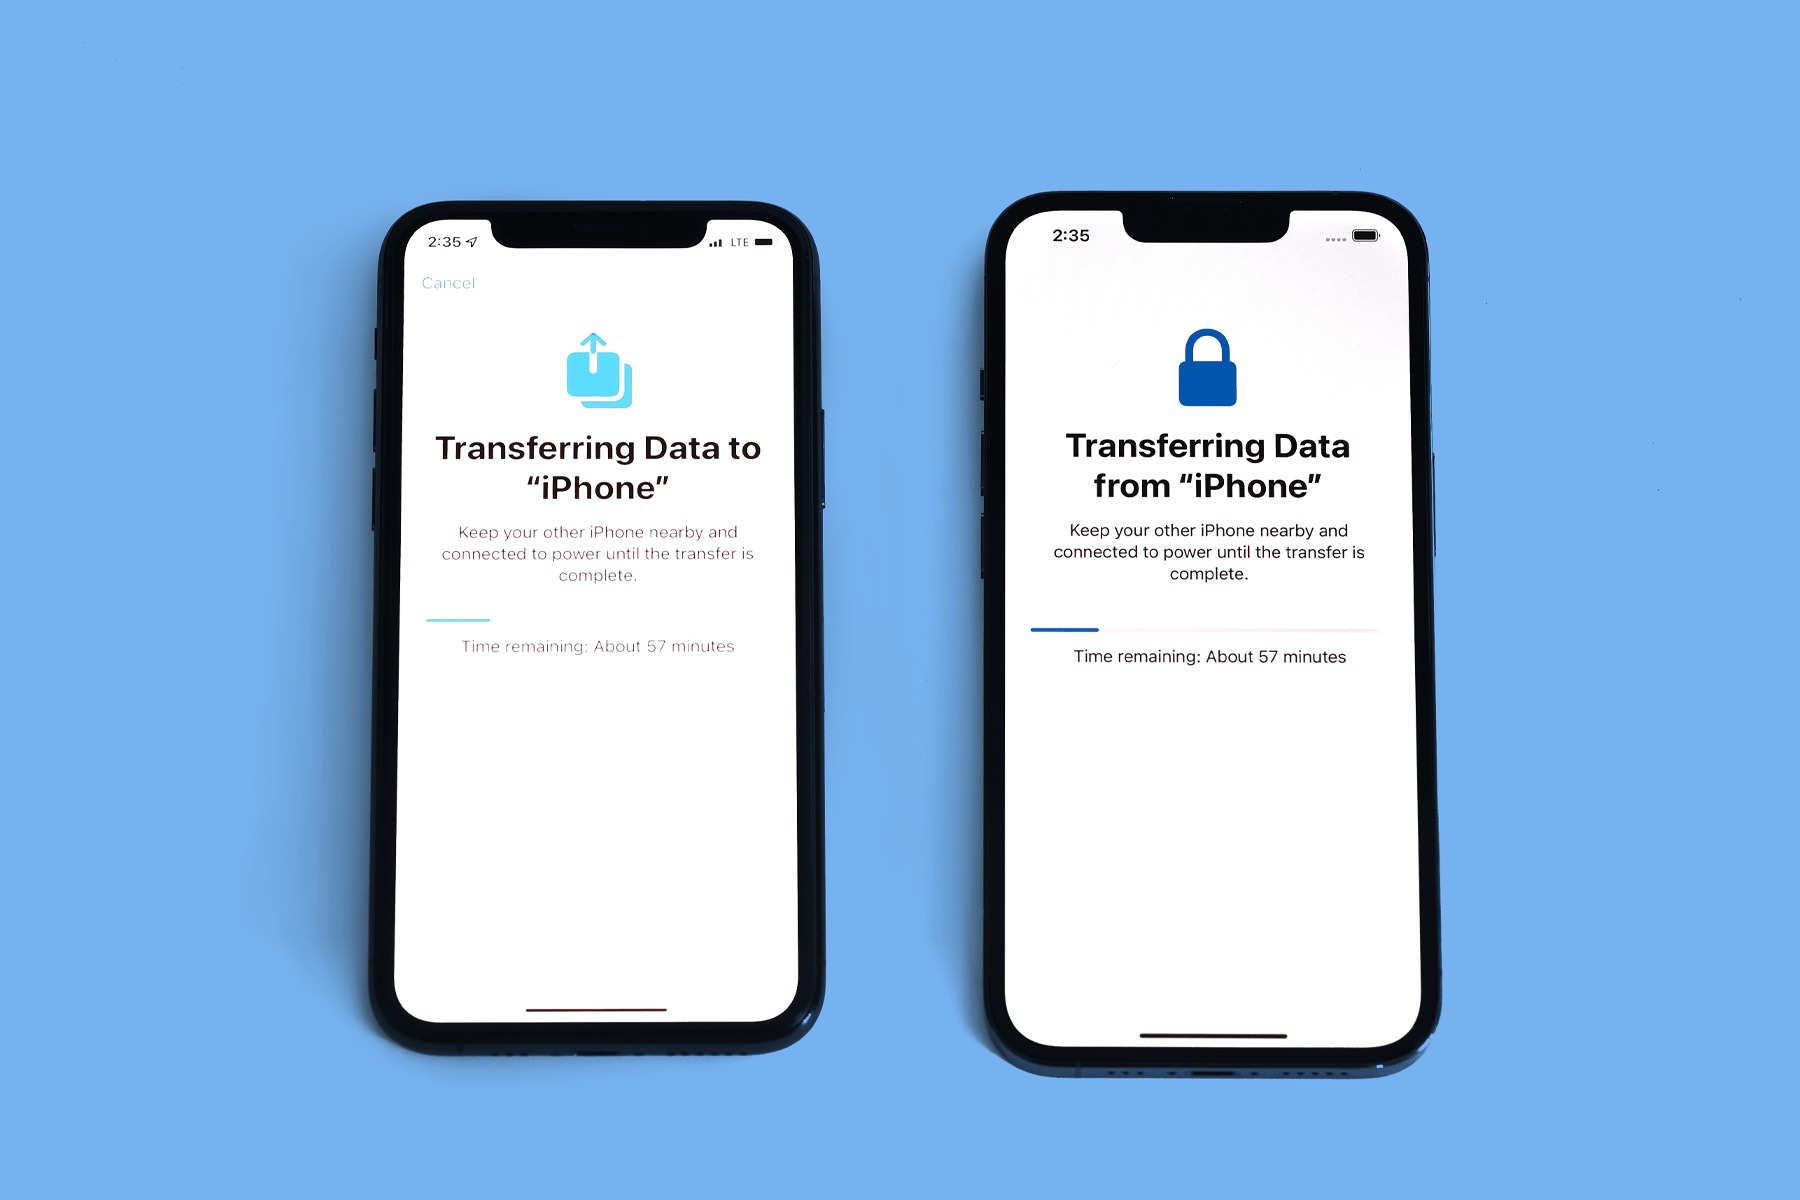
Transferring Data Using Quick Start
Transferring data from your old iPhone to a new one can be a breeze with the Quick Start feature. This method allows you to easily transfer your cellular data, including contacts, messages, photos, and more, without the need for extensive manual backup and restore processes. Here’s how you can use Quick Start to transfer your data:
1. Start by turning on your new iPhone. Ensure that it is updated to the latest version of iOS.
2. Place your new iPhone next to your current iPhone. Make sure they are close to each other.
3. On your new iPhone, you will see a Quick Start screen. Tap “Continue” when prompted.
4. A blue animation will appear on your new iPhone screen. Scan this animation using your current iPhone’s camera.
5. Enter your current iPhone’s passcode on the new iPhone when prompted. This will establish a secure connection between the two devices.
6. Follow the on-screen instructions to set up Face ID or Touch ID on your new iPhone.
7. You will then be prompted to transfer your data. Choose the option to transfer data from your current iPhone to the new one.
8. The transfer process will begin, and you will see a progress bar on both devices. The time it takes to transfer your data will depend on the amount of data you have.
9. Once the transfer is complete, your new iPhone will restart, and you can start using it with all your data intact.
Quick Start is a convenient and efficient way to transfer your cellular data to your new iPhone. It ensures that you don’t miss any important information and saves you the hassle of manually setting up your new device. Give it a try and enjoy a seamless transition to your new iPhone!
In conclusion, transferring your cellular data to a new iPhone is a straightforward process that ensures you can seamlessly continue using your phone without any interruptions. Whether you need to transfer contacts, messages, photos, or even apps, there are various methods available to suit your preferences and requirements.
Using iCloud or iTunes, you can easily back up and restore your data, ensuring that everything from your old iPhone gets transferred to your new one. Additionally, if you prefer a wireless method, using Quick Start or transferring data directly from one iPhone to another using the Transfer Data feature can be a convenient option.
Remember to ensure that you have a stable internet connection and enough storage space on your iCloud account or computer before initiating the transfer process. By following the steps outlined in this guide, you can confidently and successfully transfer your cellular data to your new iPhone, allowing you to enjoy all the features and functionality of your device without any data loss or inconvenience.
FAQs
1. Can I transfer my cellular data to a new iPhone?
Certainly! When setting up a new iPhone, you have the option to transfer your cellular data from your previous iPhone. This includes your phone number, contacts, call history, messages, and even your cellular plan settings. Simply follow the steps provided during the setup process to transfer your cellular data seamlessly.
2. Will transferring my cellular data to a new iPhone affect my current plan or carrier?
No, transferring your cellular data to a new iPhone will not affect your current plan or carrier. The transfer process only moves your existing cellular settings and data to the new device. Your phone number, plan details, and carrier will all remain the same.
3. How long does the cellular data transfer process take?
The duration of the cellular data transfer process can vary based on the amount of data you have and the speed of your internet connection. In most cases, it should only take a few minutes to complete the transfer. However, if you have a large amount of data to transfer, it may take a bit longer.
4. Are there any prerequisites for transferring cellular data to a new iPhone?
Before transferring your cellular data to a new iPhone, ensure that both devices are connected to a stable Wi-Fi network. Additionally, make sure you have sufficient storage space on your new iPhone to accommodate your data. It’s also a good idea to backup your old iPhone using iCloud or iTunes, just in case.
5. Can I transfer my cellular data from an Android device to an iPhone?
Unfortunately, transferring cellular data directly from an Android device to an iPhone is not possible. Apple’s iOS and Android utilize different operating systems, making it incompatible for a direct transfer. However, you can manually transfer some of your data, such as contacts, by exporting them from your Android device and importing them to your iPhone.