
Welcome to the world of the iPhone 13! Whether you have just purchased this cutting-edge device or are planning to do so, you’re in for a treat. The iPhone 13 packs a punch with its advanced features, stunning display, and powerful performance. However, setting up your new iPhone can be a bit overwhelming, especially if you’re new to the iOS ecosystem. But fret not, as in this article, we will guide you through the step-by-step process of setting up your iPhone 13 seamlessly. From activating your device to transferring data, setting up Face ID, and exploring the new iOS 15 features, we’ve got you covered. So, grab your iPhone 13 and let’s dive into the exciting world of possibilities it offers!
Inside This Article
- iPhone 13: Setting Up Your New Device
- Unboxing and Initial Setup
- Connecting to Wi-Fi and Cellular Network
- Setting Up Face ID or Touch ID
- Transferring Data from Your Old iPhone
- Setting Up and Customizing the Home Screen
- Configuring Email and Other Accounts
- Personalizing Settings and Preferences
- Installing Essential Apps and Updates
- Syncing and Managing Data with iCloud
- Setting Up Apple Pay and Wallet
- Exploring Additional Features and Functionality
- Troubleshooting and Support
- Conclusion
- FAQs
iPhone 13: Setting Up Your New Device
So, you’ve got your brand-new iPhone 13, and you’re eager to start using it? Setting up your new device is a breeze, and in this article, we’ll guide you through the process step by step. From unboxing to customizing settings, we’ll cover everything you need to get your iPhone 13 up and running smoothly.
1. Unboxing and Initial Setup
The first step is to unbox your iPhone 13 and remove the packaging. Once you’ve done that, press the power button to turn on the device. You will then be prompted to choose your language and region settings. Follow the on-screen instructions to proceed.
2. Connecting to Wi-Fi and Cellular Network
Your iPhone 13 will need to connect to a Wi-Fi network in order to complete the setup process. Access the Wi-Fi settings from the main menu and select your network. If you have a cellular data plan, you can also set up your SIM card during this step.
3. Setting Up Face ID or Touch ID
Next, it’s time to set up the biometric authentication feature on your iPhone 13. You can choose between Face ID or Touch ID, depending on the model you have. Follow the instructions to register your face or fingerprint, and adjust the settings to your preference.
4. Transferring Data from Your Old iPhone
If you’re upgrading from an older iPhone, you can easily transfer your data to your new iPhone 13. You have several options for doing this, including using iCloud backup, the quick start feature, or iTunes/Finder on a computer. Choose the method that suits you best and follow the prompts to complete the data transfer.
5. Setting Up and Customizing the Home Screen
Once your iPhone 13 is set up, it’s time to personalize your home screen. You can rearrange and organize app icons, create folders, and add or delete app shortcuts. Customize your home screen layout to suit your preferences and make it your own.
6. Configuring Email and Other Accounts
To stay connected, you’ll want to add your email accounts to your iPhone 13. Whether it’s Gmail, Outlook, or any other provider, navigate to the settings and add your account. You can also integrate your social media accounts, and set up cloud services like iCloud for easy access to your files.
7. Personalizing Settings and Preferences
Take some time to explore the various settings and preferences on your iPhone 13. Adjust the display settings, customize sound and notification settings, and manage privacy and security options to suit your needs.
8. Installing Essential Apps and Updates
Visit the App Store to download and install the essential apps you need on your iPhone 13. You can also check for app updates and install the latest iOS software to ensure you have the most up-to-date features and security enhancements.
9. Syncing and Managing Data with iCloud
iCloud is a powerful tool that allows you to sync and manage your data across multiple devices. Enable iCloud backup and syncing on your iPhone 13 to ensure your important data is always backed up and accessible.
10. Setting Up Apple Pay and Wallet
With your iPhone 13, you can conveniently make payments using Apple Pay. Add your credit or debit cards to the Wallet app and manage your payment methods and loyalty cards. Take advantage of features like storing boarding passes and tickets for easy access.
11. Exploring Additional Features and Functionality
Your iPhone 13 offers a range of additional features and functionality beyond the basics. Dive into using Siri and voice commands for hands-free interaction, customize and manage widgets on your home screen, and explore accessibility options that cater to your specific needs.
12. Troubleshooting and Support
If you encounter any issues with your iPhone 13, don’t worry! Apple provides comprehensive support resources to help you troubleshoot and resolve problems. From online guides to contacting Apple Support directly, you’ll find the assistance you need to keep your device running smoothly.
Setting up your new iPhone 13 is an exciting process that doesn’t have to be complicated. Just follow these steps, and you’ll be ready to dive into the world of advanced features and impressive performance that the iPhone 13 has to offer.
Unboxing and Initial Setup
When you first get your brand-new iPhone 13, the excitement is palpable. From the moment you unbox it, a world of possibilities opens up. In this section, we’ll guide you through the initial setup process, so you can start using your device in no time.
The first step is to carefully remove the packaging that surrounds your iPhone 13. Peel off any protective films or stickers and discard them. Then, take a moment to appreciate the sleek and stylish design of your new device.
Once you’ve unboxed your iPhone 13, it’s time to power it on. Press and hold the power button, usually located on the side or the top of the device, until the Apple logo appears on the screen. Congratulations, your iPhone 13 is now booting up!
Next, you’ll be prompted to choose the language and region settings. Use the on-screen instructions to select the language you prefer and the region where you’ll be using your iPhone 13. These settings determine the language of the interface and other regional preferences, such as date and time formats.
Once you’ve made your selections, your iPhone 13 will proceed to the next step of the setup process. Don’t worry if you need to change these settings later on, as you can always modify them in the device’s settings menu.
The unboxing and initial setup process marks the beginning of your journey with your new iPhone 13. Now that you have powered on the device and selected your language and region settings, it’s time to move on to the next steps and make your iPhone truly yours.
Connecting to Wi-Fi and Cellular Network
Once you’ve completed the initial setup on your iPhone 13, the next step is to connect to Wi-Fi and set up your cellular network. This will ensure you have access to the internet and can make calls and send texts. Here’s a step-by-step guide to help you get connected:
Accessing the Wi-Fi settings
To access the Wi-Fi settings on your iPhone 13, start by opening the Settings app. You can find the app icon on your home screen, represented by a gear icon. Tap on it to open the settings menu.
Connecting to a Wi-Fi network
Once you’re in the settings menu, look for the Wi-Fi option. It should be listed near the top of the menu. Tap on it to access the Wi-Fi settings. From here, you’ll see a list of available Wi-Fi networks. Simply tap on the network you want to connect to.
If the network is secure, you may be prompted to enter a password. Type in the password if required and tap “Join” to connect to the network. Your iPhone 13 will remember the network and automatically connect to it whenever it’s in range.
Setting up cellular data and SIM card
To set up cellular data on your iPhone 13, go back to the main settings menu and look for the “Cellular” option. Tap on it to access the cellular settings.
If you already have a SIM card inserted into your device, your iPhone 13 should automatically detect it and display the carrier name. In this case, you simply need to ensure that cellular data is enabled.
If you don’t have a SIM card inserted, you may need to contact your carrier to obtain one. Once you have the SIM card, insert it into the SIM card slot on your iPhone 13. The location of the SIM card slot may vary depending on the model of your device. You can refer to the iPhone 13 manual or your carrier’s instructions for specific guidance.
After inserting the SIM card, go back to the cellular settings and ensure that cellular data is enabled. You may also need to adjust other settings such as roaming or data usage limits based on your preferences and carrier requirements.
By following these steps, you should now be connected to Wi-Fi and have cellular data set up on your iPhone 13. This will allow you to browse the internet, download apps, and stay connected wherever you go. Enjoy your new device!
Setting Up Face ID or Touch ID
One of the key features of the iPhone 13 is its biometric authentication capabilities, allowing you to secure your device and easily unlock it using either Face ID or Touch ID. Here’s how to set it up:
Enabling biometric authentication:
To begin, go to the “Settings” app on your iPhone 13 and tap on “Face ID & Passcode” or “Touch ID & Passcode,” depending on which biometric method you prefer. You may be prompted to enter your passcode for security purposes.
Registering your face or fingerprint:
If you choose Face ID, the iPhone 13 will guide you through the process of registering your face. Position your face within the frame on the screen, and as you move your head in a circular motion, the device will capture various angles of your face to create a comprehensive facial recognition profile.
If you prefer Touch ID, you will be prompted to place your finger or thumb on the home button repeatedly. This allows the iPhone 13 to create a fingerprint profile unique to you.
Adjusting Face ID or Touch ID settings:
Once you have successfully set up either Face ID or Touch ID, you can adjust the settings to your preferences. Head to the “Settings” app and navigate to “Face ID & Passcode” or “Touch ID & Passcode.”
Here, you can enable or disable biometric authentication for unlocking your device or authorizing app purchases. You can also enable or disable options such as attention awareness for Face ID or rest finger to open for Touch ID.
Furthermore, you can choose to add an alternate appearance for Face ID, such as wearing a hat or sunglasses that may slightly alter your facial features. This ensures that you can still unlock your iPhone 13 even in different conditions.
Remember to periodically update your biometric profiles by going to the “Face ID & Passcode” or “Touch ID & Passcode” settings. This way, your iPhone 13 can continue to accurately recognize your face or fingerprint.
Setting up Face ID or Touch ID on your iPhone 13 not only provides convenience in unlocking your device but also enhances security by adding an extra layer of protection. Take advantage of these features to ensure that only you have access to your personal information.
Transferring Data from Your Old iPhone
When setting up your new iPhone 13, you’ll want to transfer your data from your old device to ensure a seamless transition. There are a few different methods you can use to transfer your data, depending on your preferences and available resources. Here are three common ways to transfer data from your old iPhone to your new iPhone 13:
Using iCloud Backup to Restore Data
If you have been regularly backing up your old iPhone using iCloud, this method is the easiest and most convenient. Here’s how to transfer your data using iCloud backup:
- During the initial setup of your new iPhone 13, you’ll come across the Apps & Data screen. Select the option to “Restore from iCloud Backup”.
- Sign in to your iCloud account using your Apple ID and password.
- Choose the most recent backup containing your old iPhone’s data.
- Wait for the restore process to complete. This may take some time, depending on the size of your backup and the speed of your internet connection.
- Once the restore is finished, your new iPhone 13 will have all the data from your old device, including apps, settings, photos, messages, and more.
Migrating Data Using Quick Start
If both your old iPhone and iPhone 13 are running iOS 12.4 or later, you can use the Quick Start feature to transfer your data directly from one device to the other. Follow these steps:
- Turn on your new iPhone 13 and place it near your old iPhone.
- A Quick Start prompt should appear on your old iPhone. Tap “Continue” and follow the on-screen instructions to set up your new device.
- When prompted, use your old iPhone to scan the animation displayed on your new iPhone 13.
- Enter your old iPhone’s passcode on your new device.
- Follow the remaining instructions to finish the setup process, and your data will be transferred to your new iPhone 13.
Transferring Data Using iTunes or Finder on a Computer
If you prefer to transfer your data using a computer, you can use iTunes (on Windows) or Finder (on Mac) to make the transfer. Here’s how:
- Connect your old iPhone to your computer using a USB cable and launch iTunes (or Finder) if it doesn’t open automatically.
- Click on the iPhone icon in the top-left corner of the iTunes (or Finder) window.
- Go to the “Summary” tab and click on “Restore Backup”.
- Select the most recent backup of your old iPhone and click “Restore”.
- Wait for the restore process to complete, and once finished, disconnect your old iPhone and connect your new iPhone 13 to your computer.
- Follow the on-screen instructions to set up your new device, and when prompted, select the option to “Restore from iTunes (or Finder) Backup”.
- Choose the backup you just created for your old iPhone, and wait for the restore process to finish.
By following these methods, you can transfer your data seamlessly from your old iPhone to your new iPhone 13. Whether you choose to use iCloud, Quick Start, or your computer, your new device will have all your important data ready for you to use and enjoy.
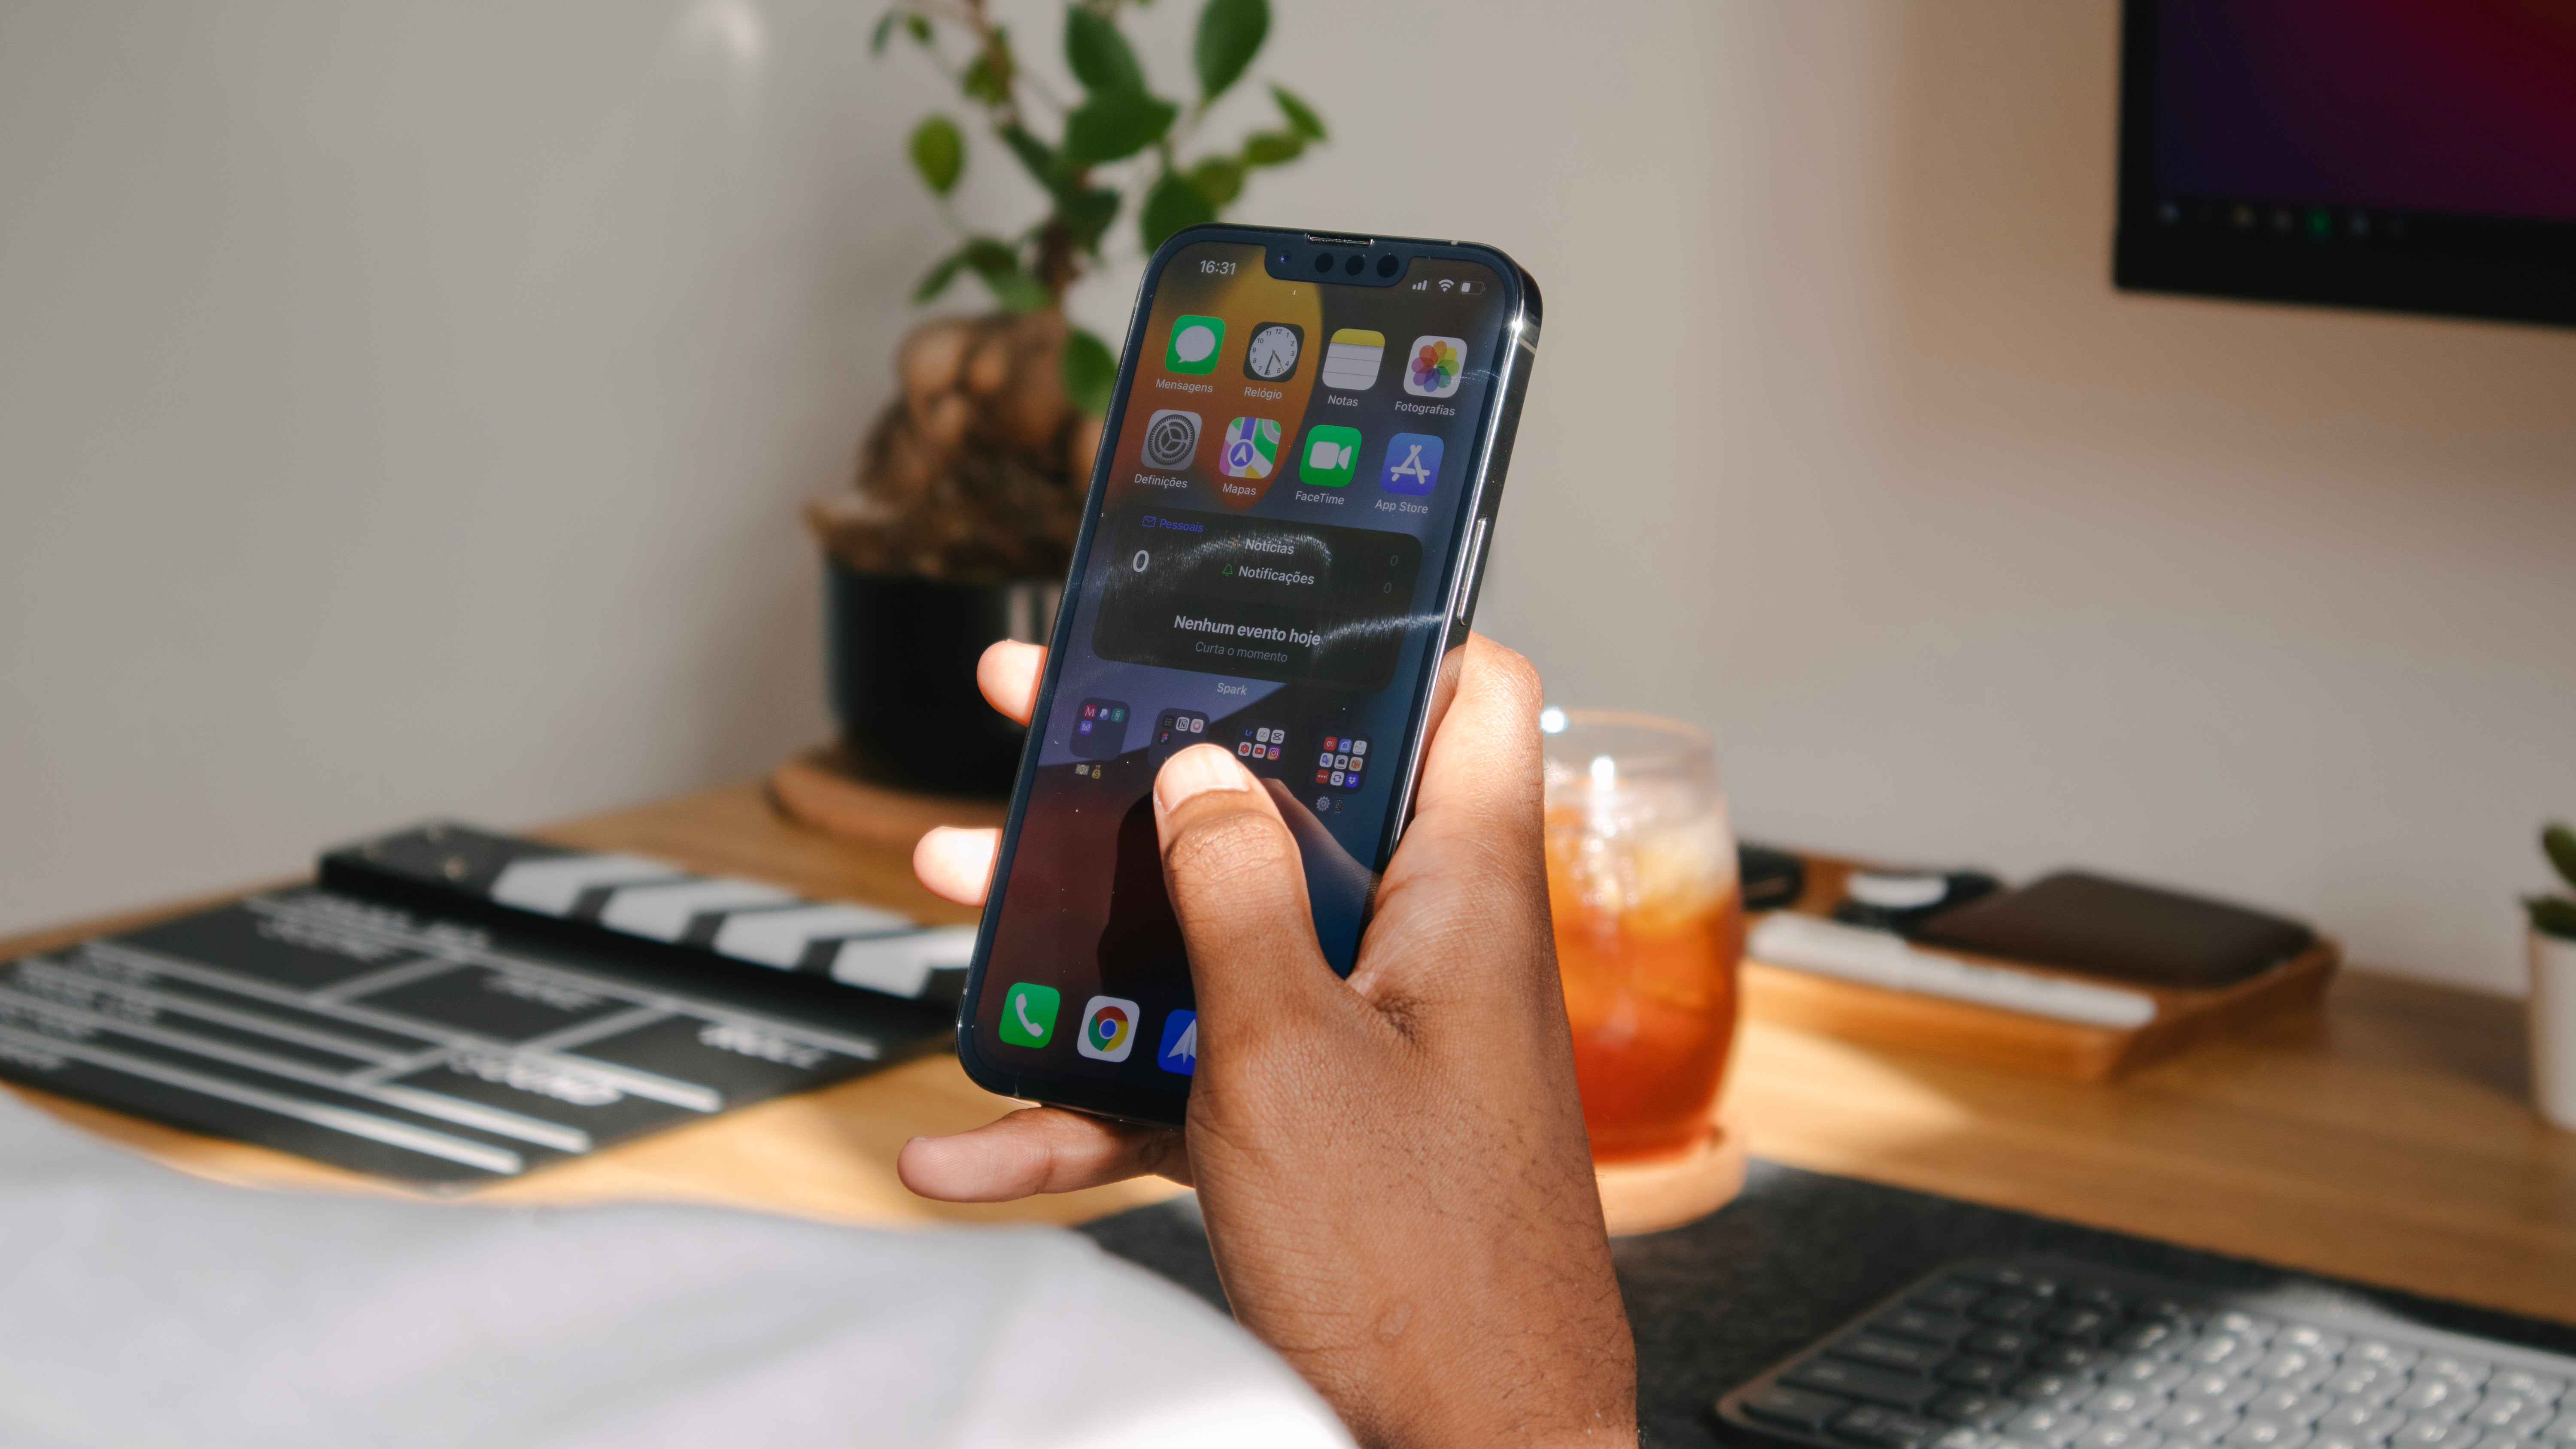
Setting Up and Customizing the Home Screen
After completing the initial setup of your iPhone 13, it’s time to personalize your device by setting up and customizing the home screen. The home screen is where you’ll find all your apps and widgets, and you have the freedom to arrange and organize them according to your preferences.
Arranging and organizing app icons: To arrange app icons on your home screen, simply tap and hold any app icon until they start to jiggle. You can then move app icons around by dragging them to your desired location. Place your most frequently used apps on the first page for easy access. To reposition an app icon to a different page, drag it to the edge of the screen, and it will move to the next page. You can also create additional pages by dragging an app icon to the right edge of the screen until a new page is created.
Adding and deleting app shortcuts: If there are apps you want quick access to, you can add them to your home screen as shortcuts. Open the App Library by swiping to the rightmost page of your home screen, then locate the app you wish to add. Press and hold the app icon until a menu appears, then select “Add to Home Screen.” The app shortcut will appear on your home screen, allowing you to open it with a single tap. To remove an app shortcut, press and hold the app icon, then select “Remove App” from the menu.
Creating and managing app folders: App folders are a great way to declutter your home screen and group similar apps together. To create a folder, simply drag one app icon onto another. This will automatically create a folder and assign a suggested name based on the category of apps. You can customize the folder name by tapping on it and editing the text. To add more apps to the folder, drag and drop them onto the folder icon. To remove apps from a folder, tap the folder to open it, then press and hold the app icon you wish to remove and drag it out of the folder.
With these simple steps, you can arrange and organize your apps, create shortcuts, and create folders on your iPhone 13 home screen. Customizing your home screen allows you to optimize your device for your needs and make it more efficient to navigate to your favorite apps.
Configuring Email and Other Accounts
As you set up your new iPhone 13, one of the essential steps is configuring email and other accounts to stay connected and access your data seamlessly. Whether you use Gmail, Outlook, or other email providers, along with integrating social media accounts, this guide will walk you through the process.
Adding Email Accounts:
To add your email accounts to your iPhone 13, follow these steps:
- Open the “Settings” app on your iPhone.
- Scroll down and tap on “Mail.”
- Tap on “Accounts,” then “Add Account.”
- Select your email provider (Gmail, Outlook, Yahoo, etc.)
- Enter your email address and password, then follow the on-screen instructions to complete the setup.
Integrating Social Media Accounts:
In addition to email, you can also integrate your social media accounts on your iPhone 13. This allows you to easily access and share updates directly from the device. To integrate social media accounts:
- Go to “Settings” and scroll down to find the respective social media app (Facebook, Twitter, Instagram, etc.) that you want to integrate.
- Tap on the app and sign in with your account credentials.
- Follow the prompted instructions to allow access to your account.
Setting Up iCloud or Other Cloud Services:
Icloud and other cloud services are great for syncing and backing up your data across your devices. To set up iCloud or other cloud services:
- Open the “Settings” app on your iPhone.
- Tap on your name at the top of the Settings menu.
- Select “iCloud” (or the respective cloud service you use).
- Sign in with your Apple ID or other account credentials.
- Choose the data you want to sync or backup, such as contacts, calendars, photos, and more.
- Enable the toggles for the data you want to sync or backup.
By configuring email accounts, integrating social media, and setting up cloud services, you can ensure that all your important data and communications are easily accessible on your new iPhone 13. Enjoy staying connected and managing your accounts effortlessly!
Personalizing Settings and Preferences
After setting up the basics on your new iPhone 13, it’s time to personalize and customize your device to suit your preferences. Here are some key areas you can focus on:
Adjusting Display Settings
To make sure your iPhone screen looks just the way you like it, head to the Display & Brightness settings. Here, you can adjust the brightness level, enable or disable True Tone display, and even change the text size for better readability. Take some time to explore the various display settings to find what works best for you.
Customizing Sound and Notification Settings
Your iPhone 13 offers a range of customization options for sound and notifications. Access the Sounds & Haptics settings to modify ringtones, notification sounds, and system sounds. Additionally, you can configure notification preferences for each app individually, allowing you to prioritize or mute specific app notifications based on your preferences. This way, you’ll only be alerted to the notifications that matter most to you.
Managing Privacy and Security Options
Keeping your personal information secure is crucial, and the iPhone 13 offers various options to enhance your privacy and security. Head to the Privacy settings to review and manage which apps have access to your location, contacts, photos, and more. You can also enable or disable app permissions for features like microphone and camera access. Additionally, make sure to set a strong passcode or enable biometric authentication using Face ID or Touch ID to secure your device and protect your data.
By taking the time to personalize your iPhone’s settings according to your preferences, you can ensure an optimized and tailored experience. Don’t hesitate to explore other settings and options available in the Settings app, as there are many features you can discover and customize to make your iPhone 13 truly your own.
Installing Essential Apps and Updates
Once you have set up your iPhone 13, the next step is to install essential apps and keep them updated. Here’s how you can do it:
Accessing the App Store:
To find and download apps, you’ll need to access the App Store. Look for the blue icon with the letter “A” on your home screen and tap on it to open the App Store.
Downloading and installing apps:
Once you’re in the App Store, you can browse through various categories or use the search bar to find specific apps. When you find an app you want to download, tap on it to view more details. If it’s a free app, you can tap the “Get” button, and if it’s a paid app, tap the price button to purchase and download it. You may be prompted to enter your Apple ID password or use Touch ID/Face ID for verification. Once the download is complete, the app will appear on your home screen.
Updating apps and iOS software:
It’s important to keep your apps and iOS software up to date to ensure optimal performance and security. To update your apps, open the App Store, and tap on your profile picture in the top right corner. Scroll down to the “Updates” section, where you’ll see a list of available updates. Tap the “Update” button next to each app, or simply tap “Update All” to update all apps at once.
To update your iOS software, go to the “Settings” app on your home screen and scroll down to “General.” Tap on “Software Update” to check if there’s a new version of iOS available for your iPhone 13. If an update is available, tap “Download and Install” to initiate the update process. It’s recommended to have a stable Wi-Fi connection and sufficient battery life during this process. Follow the on-screen instructions, and your iPhone will restart once the update is complete.
By regularly updating your apps and iOS software, you’ll not only enjoy the latest features but also benefit from bug fixes and security enhancements.
Take some time to explore the App Store and find apps that suit your needs and interests. Whether it’s productivity apps, social media platforms, or entertainment apps, there’s a wide selection to choose from.
Remember, you can always rearrange your app icons and create folders on your home screen to keep things organized and easily accessible. Enjoy the flexibility and personalized experience that your iPhone 13 offers!
Syncing and Managing Data with iCloud
When setting up your new iPhone 13, it’s important to sync and manage your data effectively to ensure a seamless and consistent experience across all your devices. One of the most convenient ways to do this is by utilizing iCloud, Apple’s cloud-based storage and syncing service. Here’s how you can set up and manage iCloud on your iPhone 13:
Enabling iCloud Backup and Syncing
The first step is to enable iCloud backup and syncing on your device. This allows your iPhone to automatically back up its data and keep it in sync with other devices linked to your iCloud account. To enable iCloud backup and syncing:
- Open the Settings app on your iPhone 13.
- Tap on your Apple ID profile at the top of the screen.
- Select “iCloud” from the list of options.
- Toggle the “iCloud Backup” switch to the on position to enable automatic backups of your device.
- Scroll down and ensure that the relevant data categories, such as contacts, calendars, and photos, are toggled on for syncing with iCloud.
Managing iCloud Storage and Data
Managing your iCloud storage is essential to ensure that you have enough space for all your data. To manage your iCloud storage and data:
- Open the Settings app on your iPhone 13.
- Tap on your Apple ID profile at the top of the screen.
- Select “iCloud” from the list of options.
- Tap on “Manage Storage” to view your current iCloud storage usage.
- Here, you can see a breakdown of your data usage and manage your iCloud storage by deleting unnecessary backups or upgrading to a higher storage plan if needed.
Syncing Contacts, Calendars, and Other Data
iCloud makes it easy to sync important data, such as contacts, calendars, and reminders, between your iPhone 13 and other devices. To sync contacts, calendars, and other data using iCloud:
- Open the Settings app on your iPhone 13.
- Tap on your Apple ID profile at the top of the screen.
- Select “iCloud” from the list of options.
- Toggle the switches next to “Contacts,” “Calendars,” and any other data categories you wish to sync using iCloud.
Once enabled, any changes or additions to your contacts, events, or reminders will be automatically synced across all devices linked to your iCloud account, ensuring that you have the most up-to-date information at your fingertips.
By leveraging the power of iCloud, you can seamlessly sync and manage your data between multiple devices, making it easier to access your important information and ensuring that your iPhone 13 is always backed up and up to date.
Setting Up Apple Pay and Wallet
Apple Pay and Wallet are convenient features on the iPhone 13 that allow you to make secure payments and store digital tickets, loyalty cards, and more. Here’s how you can set up and utilize these features:
Adding Credit or Debit Cards to Apple Pay
To add your credit or debit cards to Apple Pay:
- Open the Wallet app on your iPhone 13.
- Tap on the “+” (plus) button to add a new card.
- You can choose to manually enter your card details or use the camera to capture the information.
- Follow the prompts to verify your card with your bank or card issuer.
Managing Payment Methods and Loyalty Cards
Once you have added your cards to Apple Pay, you can easily manage them:
- Open the Wallet app on your iPhone 13.
- Tap on the card you want to manage.
- From here, you can view recent transactions, check your card balance, and access additional settings.
In addition to managing payment methods, you can also add and manage loyalty cards:
- Open the Wallet app on your iPhone 13.
- Tap on the “+” (plus) button to add a new card.
- Scan the barcode or QR code of your loyalty card or manually enter the information.
- Your loyalty card will now be stored in the Wallet app for easy access.
Utilizing Wallet for Boarding Passes, Tickets, Etc.
The Wallet app on your iPhone 13 can also store digital boarding passes, event tickets, and more:
- When you receive a boarding pass, ticket, or other supported item via email or app, it may provide an option to “Add to Wallet.”
- Tap on the “Add to Wallet” button, and the item will be added to your Wallet app.
- You can access your boarding passes, tickets, and other items by opening the Wallet app.
- Simply select the item you want to use, and it will be displayed on your screen.
With Apple Pay and Wallet set up on your iPhone 13, you can make convenient and secure payments, manage your cards and loyalty programs, and access digital tickets and passes with ease.
Exploring Additional Features and Functionality
Setting up your new iPhone 13 is not just about the basic functionalities. Apple devices offer a variety of additional features and tools that enhance your user experience. Here are a few additional features you can explore on your new iPhone 13:
Using Siri and voice commands
Siri is Apple’s intelligent virtual assistant that allows you to perform tasks and access information using just your voice. To activate Siri, simply say “Hey Siri” or press and hold the side button. You can ask Siri to send messages, make phone calls, set reminders, play music, and much more. Siri learns your preferences and habits over time to provide personalized responses and suggestions.
Configuring and managing widgets
Widgets are small, interactive app previews that provide quick access to app functions or display relevant information on your home screen. To add a widget, swipe right to access the Today View, then scroll to the bottom and tap “Edit.” Here, you can customize your widgets by adding or removing them from your Favorites list. You can also rearrange the order of widgets or adjust their size to fit your preferences.
Exploring accessibility options
Apple devices are known for their accessibility features, designed to make the iPhone experience inclusive for everyone. You can find these accessibility options by going to Settings > Accessibility. Here, you can enable features like VoiceOver, which provides spoken descriptions of on-screen elements, or Magnifier, which turns your camera into a digital magnifying glass. There are numerous other options available to customize the display, audio, and interaction settings to meet your specific needs.
Take some time to familiarize yourself with these additional features and explore how they can make your iPhone 13 experience even more convenient and enjoyable.
iPhone 13: Setting Up Your New Device
So, you’ve just got your hands on the latest iPhone 13! Congratulations! Now, it’s time to set up your new device and unlock its full potential. In this guide, we’ll walk you through the essential steps to get your iPhone 13 up and running in no time.
Unboxing and Initial Setup
The first step is to unbox your iPhone 13 and remove the packaging. Carefully open the box and take out the iPhone along with the included accessories. Once you have everything ready, press and hold the power button to turn on the device. Follow the on-screen instructions to choose your language and region settings.
Connecting to Wi-Fi and Cellular Network
To connect to the internet and cellular network, you need to access the Wi-Fi settings. Navigate to the Settings app and tap on Wi-Fi. From here, select your Wi-Fi network and enter the password to connect. If you want to set up cellular data and insert a SIM card, go to Cellular in the Settings app and follow the prompts to configure your network settings.
Setting Up Face ID or Touch ID
The iPhone 13 offers advanced biometric authentication capabilities through Face ID or Touch ID. To enable Face ID, go to Settings, then Face ID & Passcode. Follow the prompts to register your face and set a passcode. If you prefer to use Touch ID, go to Settings, then Touch ID & Passcode, and register your fingerprint. You can also adjust Face ID or Touch ID settings to suit your preferences.
Transferring Data from Your Old iPhone
If you’re upgrading from an older iPhone, you can easily transfer your data to the iPhone 13. One option is to use iCloud backup. During the initial setup process, choose the option to restore from iCloud backup, and sign in with your Apple ID. Alternatively, you can use the Quick Start feature to migrate data wirelessly between your old and new iPhone, or connect your iPhone 13 to iTunes or Finder on a computer to transfer data.
Setting Up and Customizing the Home Screen
Now that your iPhone 13 is set up, it’s time to personalize your home screen. You can arrange and organize app icons by tapping and holding them until they start to jiggle. Then, drag and drop the icons to your desired locations. Additionally, you can add app shortcuts, create and manage folders to keep your apps neatly organized.
Configuring Email and Other Accounts
To access your emails on your iPhone 13, you’ll need to configure your email accounts. Open the Settings app and navigate to Mail. Tap on Accounts and select the option to add an email account. Follow the prompts to enter your email address and password. You can also integrate your social media accounts and set up iCloud or other cloud services to sync your data across devices.
Personalizing Settings and Preferences
Make your iPhone 13 truly your own by customizing various settings and preferences. Adjust display settings to change brightness, text size, and color vibrancy. Customize sound and notification settings to your liking, including ringtones and notification sounds. Ensure your privacy and security by managing options like app permissions, location services, and passcode settings.
Installing Essential Apps and Updates
No smartphone is complete without essential apps. Access the App Store on your iPhone 13 and browse through a wide array of apps and games. Download and install the ones that suit your needs and interests. Don’t forget to update your apps and iOS software regularly to ensure you have the latest features and security patches.
Syncing and Managing Data with iCloud
iCloud provides seamless syncing and backup options for your iPhone 13. Enable iCloud backup and syncing in the Settings app to automatically back up your data to the cloud. From here, you can manage your iCloud storage and selectively sync contacts, calendars, photos, and other data across all your Apple devices.
Setting Up Apple Pay and Wallet
With Apple Pay and Wallet, your iPhone 13 becomes a digital wallet. Add your credit or debit cards to Apple Pay for easy and secure payments. Manage your payment methods and loyalty cards in the Wallet app. You can also utilize Wallet for storing and accessing boarding passes, tickets, and other digital documents.
Exploring Additional Features and Functionality
Your iPhone 13 is packed with additional features and functionality. Use Siri and voice commands to perform tasks hands-free. Configure and manage widgets on your home screen to keep important information at your fingertips. Explore accessibility options to enhance usability for those with specific needs.
Troubleshooting and Support
If you encounter any issues with your iPhone 13, don’t worry, Apple provides extensive support resources. Access the Apple Support website, where you can find helpful articles, guides, and troubleshooting tips. If needed, you can also reach out for assistance through Apple’s support channels. In extreme cases, you may need to restore the iPhone to factory settings, erasing all data and settings.
Setting up your new iPhone 13 is an exciting moment. Follow these steps, and you’ll be ready to unleash the full potential of your device. Enjoy exploring all the amazing features and capabilities your iPhone 13 has to offer!
Conclusion
Setting up an iPhone 13 is a seamless process that ensures you have all the necessary features and apps ready to go. From choosing your language and connecting to a Wi-Fi network to transferring your data and customizing your settings, the setup process is designed to be user-friendly and efficient. With the latest iPhone model, you can enjoy a host of advanced features and technologies that enhance your mobile experience.
By following the step-by-step instructions provided by Apple, you can quickly and easily set up your iPhone 13, allowing you to start exploring its capabilities and functionalities. Whether you’re a tech-savvy user or a newbie to the iPhone ecosystem, the setup process is designed to cater to users of all levels of experience.
With its powerful performance, stunning display, and innovative features, the iPhone 13 is a device that meets the demands of today’s mobile users. Setting up your iPhone 13 is just the first step in unlocking its full potential. So go ahead, dive into the world of Apple’s newest flagship device, and make the most of your iPhone 13 experience!
FAQs
1. How do I set up my iPhone 13 for the first time?
Setting up your iPhone 13 is simple and straightforward. Once you turn on your device, follow the on-screen instructions to select your language, connect to a Wi-Fi network, and sign in with your Apple ID. You can then choose to restore from a previous device or set up as a new iPhone and proceed to customize your settings.
2. Can I transfer data from my old iPhone to the iPhone 13?
Yes, you can easily transfer data from your old iPhone to the iPhone 13. One way is to use the Quick Start feature, which allows you to transfer data wirelessly by simply placing your old iPhone near your new iPhone 13 during the setup process. Alternatively, you can back up your old iPhone to iCloud or iTunes and restore the backup to your new iPhone.
3. How do I customize the home screen on my iPhone 13?
To customize the home screen on your iPhone 13, press and hold on any app icon until the icons start jiggling. You can then rearrange the icons, create folders, or delete apps by tapping the “x” icon. Additionally, you can add widgets to your home screen by swiping right to access the widget gallery and selecting the ones you want to add.
4. How do I enable Face ID on my iPhone 13?
To set up Face ID on your iPhone 13, go to “Settings” and tap “Face ID & Passcode.” Tap “Enroll Face” and follow the prompts to position your face within the frame. Once the scan is complete, you can use Face ID to unlock your iPhone, authenticate purchases, and access various apps and services.
5. How do I transfer data from an Android device to the iPhone 13?
Apple has made it easier than ever to transfer data from an Android device to the iPhone 13. You can use the “Move to iOS” app, available on the Google Play Store, to wirelessly migrate your contacts, photos, messages, and more. Follow the instructions in the app to securely transfer your data from the Android device to your new iPhone 13.