
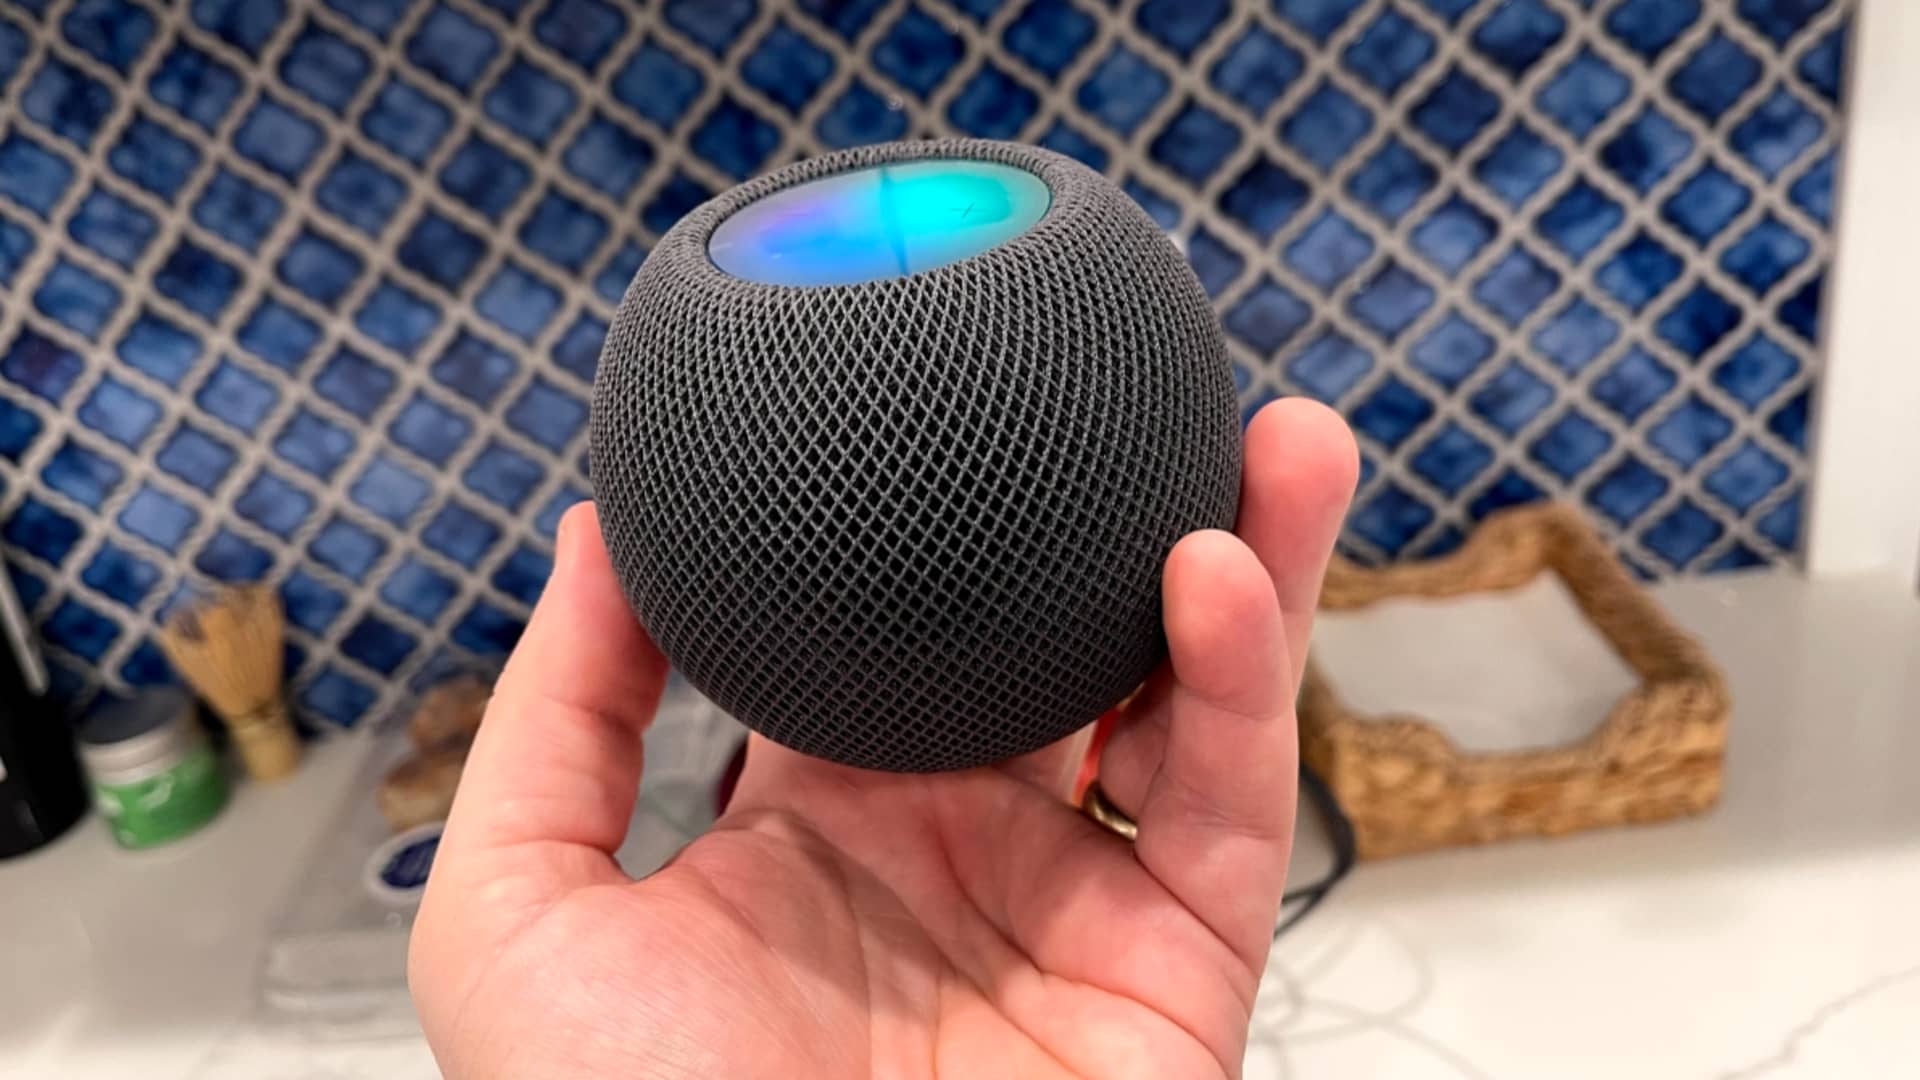
Are you looking to make your home both smart and comfortable? Look no further than the HomePod mini. This innovative smart speaker not only brings high-quality audio to your living space but also doubles as a temperature and humidity sensor. With its built-in sensor, the HomePod mini can provide you with real-time information about the climate in your home. Whether you want to ensure the perfect conditions for your houseplants or keep track of the humidity levels in your baby’s room, the HomePod mini has got you covered. In this article, we will guide you through how to use the HomePod mini temperature and humidity sensor, so you can create a healthier and more comfortable living environment.
Inside This Article
- Setting up the HomePod mini Temperature and Humidity Sensor
- Monitoring Temperature and Humidity Levels
- Using Siri to Get Temperature and Humidity Information
- Automating Actions with HomeKit and the Temperature and Humidity Sensor
- Troubleshooting Tips for the HomePod mini Temperature and Humidity Sensor
- Conclusion
- FAQs
Setting up the HomePod mini Temperature and Humidity Sensor
The HomePod mini is not just a powerful smart speaker; it also comes equipped with a built-in temperature and humidity sensor. This feature allows you to monitor and keep track of the environment in your home using the Apple Home app on your iPhone or iPad. Setting up the temperature and humidity sensor on your HomePod mini is a straightforward process.
To get started, make sure that your HomePod mini is connected to your iPhone or iPad using the same Apple ID and is updated to the latest version of iOS. Open the Home app on your device and follow these simple steps:
- Tap on the “+” icon in the top-right corner to add a new accessory.
- Select “Add Accessory” and then choose “Don’t Have a Code or Can’t Scan?”.
- Scroll down and look for your HomePod mini in the list of available accessories. Tap on it to select it.
- Follow the on-screen instructions to complete the setup process, including assigning a room to your HomePod mini.
- Once the setup is complete, you can now start using the temperature and humidity sensor feature of your HomePod mini.
It’s important to ensure that your HomePod mini is placed in a suitable location to obtain accurate temperature and humidity readings. Avoid placing it near drafts, direct sunlight, or sources of heat or moisture, as this can affect the sensor’s readings.
With your HomePod mini temperature and humidity sensor set up, you can now begin monitoring and controlling your home environment more effectively. Let’s explore how you can make the most out of this feature in the coming sections.
Monitoring Temperature and Humidity Levels
One of the key features of the HomePod mini is its built-in temperature and humidity sensor. This sensor allows you to easily monitor the ambient temperature and humidity levels in your home. Whether you are concerned about maintaining a comfortable indoor environment or you want to ensure the optimal conditions for your plants or belongings, the HomePod mini is here to help.
Once you have set up the HomePod mini and enabled the sensor feature, you can conveniently monitor the temperature and humidity levels using the Home app on your iPhone, iPad, or Mac. The sensor provides real-time data, allowing you to stay informed about the conditions in different areas of your home.
To access the temperature and humidity information, open the Home app and navigate to the room where the HomePod mini is located. Tap on the accessory tile, and you will see the current temperature and humidity readings. The data is displayed in an easy-to-read format, making it simple to track any fluctuations or changes.
If you have multiple HomePod minis in different rooms, you can easily switch between them in the Home app to monitor the temperature and humidity levels in each location. This is particularly useful if you have sensitive areas in your home that require specific environmental conditions, such as a wine cellar or a nursery.
Additionally, the HomePod mini allows you to view historical temperature and humidity data. By tapping on the accessory tile, you can access a graph that displays the changes in temperature and humidity over the past 24 hours. This helps you identify patterns and trends, giving you valuable insights into the environmental conditions in your home.
With the ability to monitor temperature and humidity levels, you can take proactive measures to create a comfortable and healthy living environment. You can adjust your thermostat or humidity control devices accordingly, ensuring that your home remains cozy or that your plants thrive.
Furthermore, tracking temperature and humidity can be beneficial for the longevity and well-being of certain items in your home. For example, musical instruments, art pieces, and electronic devices can be sensitive to extreme temperature or humidity levels. By monitoring and maintaining optimal conditions, you can extend the lifespan and performance of these valuable possessions.
The HomePod mini’s temperature and humidity sensor seamlessly integrates with other HomeKit-enabled devices. This means you can set up automation and triggers based on specific threshold values. For instance, you can create a scene that dims the lights and adjusts the temperature when the humidity reaches a certain level. This automation capability adds convenience and efficiency to your smart home ecosystem.
Using Siri to Get Temperature and Humidity Information
With the HomePod mini’s built-in temperature and humidity sensor, you can easily check the current temperature and humidity levels in your home using Siri. This feature not only provides you with convenient access to this information, but also allows you to monitor and adjust your environment for optimal comfort.
To get the temperature, simply activate Siri by saying “Hey Siri” or by pressing and holding the touch surface on the top of your HomePod mini. Once Siri is activated, you can ask “What is the current temperature?” or “What is the temperature in my home?” Siri will then respond with the current temperature reading.
Similarly, you can ask Siri about the humidity levels in your home. Just activate Siri and ask “What is the current humidity?” or “What is the humidity level?” Siri will promptly provide you with the information you need.
Siri is designed to understand natural language, so feel free to phrase your questions in a conversational manner. For example, you can say “Hey Siri, how humid is it in here?” or “Siri, tell me the humidity in my living room.”
Moreover, if you have multiple HomePod mini devices in different rooms, you can specify the location when asking Siri about the temperature or humidity. This way, you can get accurate readings for specific areas in your home. Just say “Hey Siri, what is the temperature in the kitchen?” or “Siri, what is the humidity in the bedroom?”
By using Siri to get temperature and humidity information, you can easily keep track of the conditions inside your home. This feature is not only useful for maintaining a comfortable environment, but also for monitoring and managing potential issues like excessive humidity or drastic temperature changes.
So, whether you want to adjust your thermostat or simply have a general idea of the climate in your living space, Siri and the HomePod mini’s temperature and humidity sensor are here to help.
Automating Actions with HomeKit and the Temperature and Humidity Sensor
The HomePod mini Temperature and Humidity Sensor, combined with Apple’s HomeKit platform, opens up a world of possibilities for automating actions based on specific temperature and humidity levels in your home. With HomeKit, you can create custom scenes, schedules, and automations to make your smart home even smarter.
Here are some ways you can automate actions using the HomeKit and the Temperature and Humidity Sensor:
- Temperature-based actions: Set your smart thermostat to adjust the temperature automatically, ensuring optimal comfort levels based on the readings from the sensor. For example, you can program your thermostat to turn on the air conditioning when the temperature exceeds a certain threshold, or activate the heating if the temperature drops too low.
- Humidity-based actions: Maintain ideal humidity levels in your home by automating actions based on the readings from the sensor. For instance, you can set up a dehumidifier to turn on when the humidity reaches a high level, helping prevent mold and moisture damage. Conversely, you can activate a humidifier when the humidity drops below a certain point to combat dry air.
- Alert notifications: Receive notifications on your smartphone whenever the temperature or humidity levels go beyond the desired range. This can be especially useful if you want to keep an eye on specific areas of your home, such as the basement or greenhouse, where temperature and humidity control is crucial.
- Integration with other smart devices: The HomeKit ecosystem allows you to integrate the Temperature and Humidity Sensor with other compatible smart devices. For example, you can set up an automation to turn on a smart fan when the temperature rises, or activate a smart humidifier when the humidity drops. This seamless integration enhances the overall functionality and convenience of your smart home.
- Time-based automations: Combine time-based triggers with the Temperature and Humidity Sensor to create custom automations. For instance, you can schedule the lights in your home to dim automatically in the evening when the temperature drops, creating a cozy ambiance. Or, you can program your shades to close during the hottest part of the day to prevent excessive heat gain.
By leveraging the power of HomeKit and the Temperature and Humidity Sensor, you can create a more comfortable, energy-efficient, and connected home environment. Take advantage of the automation capabilities to tailor your smart home experience to suit your preferences and lifestyle.
Troubleshooting Tips for the HomePod mini Temperature and Humidity Sensor
The HomePod mini temperature and humidity sensor is a handy feature that allows you to monitor the climate conditions in your home. However, like any technology, it may sometimes encounter issues. If you’re experiencing problems with your HomePod mini temperature and humidity sensor, here are some troubleshooting tips to help you resolve them:
- Ensure Proper Placement: Make sure that your HomePod mini is placed in an area where it can accurately measure temperature and humidity. Keep it away from direct sunlight, heaters, or any sources of extreme temperatures that could affect its readings.
- Check for Updates: Check if there are any available software updates for your HomePod mini. Keeping your device updated ensures that you have the latest bug fixes and improvements, which can potentially resolve any sensor-related issues.
- Restart the HomePod mini: Sometimes, a simple restart can fix minor glitches. Unplug your HomePod mini from the power source, wait for a few seconds, and then plug it back in. After it restarts, check if the temperature and humidity readings are accurate.
- Check Connectivity: Confirm that your HomePod mini is properly connected to your Wi-Fi network. A stable internet connection is essential for the sensor to function correctly. If you’re having connectivity issues, try resetting your Wi-Fi router or contacting your internet service provider for assistance.
- Reset the HomePod mini: If the above steps haven’t resolved the issue, you can try resetting your HomePod mini to factory settings. Keep in mind that this will erase all your device’s settings and data, so make sure to back up any important information. To reset, go to the Home app, find your HomePod mini, tap on it, and select “Remove Accessory” and then set it up anew.
- Contact Apple Support: If none of the troubleshooting steps have solved the problem, it’s best to reach out to Apple Support for further assistance. They can guide you through more advanced troubleshooting techniques or provide you with a replacement if necessary.
By following these troubleshooting tips, you can resolve common issues with your HomePod mini temperature and humidity sensor and ensure that it continues to provide accurate readings for a comfortable and healthy home environment.
Conclusion
With the HomePod mini’s temperature and humidity sensor, users now have the ability to monitor and control the climate of their surroundings with ease and convenience. This innovative feature not only enhances the functionality of the HomePod mini as a smart speaker, but also provides valuable insights into the environmental conditions of your home or office.
Whether you want to ensure optimal comfort, protect sensitive equipment, or maintain a healthy living space, the temperature and humidity sensor on the HomePod mini has got you covered. Its accurate measurements and seamless integration with Siri make it a versatile tool for anyone who values a connected and intelligent home.
By regularly monitoring the temperature and humidity levels through the HomePod mini, you can take proactive steps to create a comfortable and healthy environment. From adjusting your thermostat to avoiding mold growth, this feature empowers you to make informed decisions and tailor your living space to your preferences.
The HomePod mini brings together the best of both worlds – high-quality audio and smart home capabilities. With the addition of the temperature and humidity sensor, it solidifies its position as a must-have device for tech enthusiasts and homeowners alike. Experience the convenience and control that the HomePod mini provides, and transform your space into a smarter, more efficient, and comfortable one.
FAQs
-
What is the HomePod mini Temperature and Humidity Sensor?
The HomePod mini Temperature and Humidity Sensor is a built-in sensor in Apple’s HomePod mini smart speaker. It allows you to monitor the temperature and humidity levels in your home.
-
How do I access the Temperature and Humidity Sensor?
To access the Temperature and Humidity Sensor in the HomePod mini, you need to have the HomePod mini set up and connected to your Apple Home app. Once set up, you can view the sensor’s data in the Home app on your iPhone or any other Apple device that has the Home app installed.
-
Can I receive notifications about temperature and humidity changes?
Yes, you can set up notifications for temperature and humidity changes in the Home app. You can choose to receive notifications when the levels exceed certain thresholds that you define. This can help you identify potential issues in your home and take appropriate action.
-
What can I do with the temperature and humidity data?
The temperature and humidity data can be valuable for various purposes. You can use it to monitor the comfort levels in your home, detect any potential issues like excessive humidity or dryness that may impact your health or belongings, and make adjustments accordingly. Additionally, you can use this data to automate other smart devices or trigger specific actions based on specific conditions.
-
Is the HomePod mini Temperature and Humidity Sensor accurate?
While Apple strives to provide accurate sensor readings, it is always recommended to cross-reference the data from the HomePod mini with other reliable temperature and humidity sensors for the utmost accuracy. Factors like placement of the HomePod mini, nearby heat sources, and airflow can impact the readings, so it’s good to have other sources of data for comparison.