
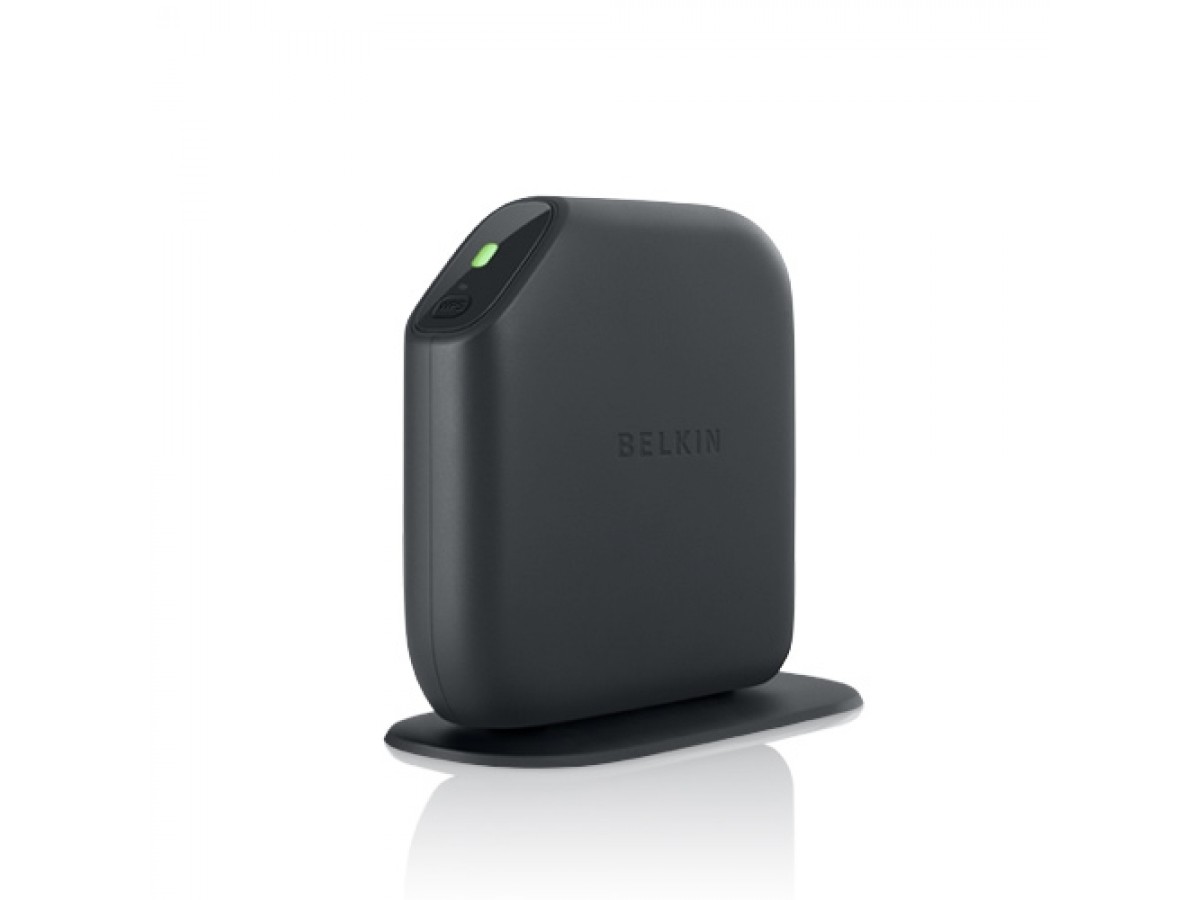
Belkin wireless routers are a popular choice for home and small office networks, offering reliable connectivity and ease of use. The Belkin N150 is a basic model that provides essential features for setting up a wireless network. Configuring a Belkin N150 wireless router is a straightforward process that can be done by anyone, even if you’re not tech-savvy. In this comprehensive guide, we’ll walk you through the steps to configure your Belkin N150 router, from the initial setup to securing your wireless network. Whether you’re setting up a new router or need to reconfigure your existing one, this article will provide you with the necessary steps to get your Belkin N150 up and running in no time.
Inside This Article
- Step 1: Connect the Router
- Step 2: Access the Router’s Web-Based Setup Page
- Step 3: Configure the Internet Connection Type
- Step 4: Set up Wireless Network Settings
- Conclusion
- FAQs
Step 1: Connect the Router
Connecting your Belkin Wireless Router is the first and crucial step in setting up your home or office network. By establishing a physical connection between your modem and router, you will be able to access the internet and share it with multiple devices wirelessly. Follow these simple steps to connect your Belkin Router:
1. Power off your modem: Before connecting your router, it is important to power off your modem. Locate the power cord on your modem and unplug it from the power outlet. This will prevent any potential issues when connecting the router.
2. Connect the modem to the router: Take an Ethernet cable and plug one end into the modem’s Ethernet port. Then, insert the other end into the WAN or Internet port on the back of your Belkin Router. This connection will establish the link between your modem and router.
3. Power up your modem: Once the modem is connected to the router, plug the power cord back into the modem and wait for it to fully power up. Give it a few minutes to establish a stable connection with your Internet Service Provider (ISP).
4. Power up your router: After the modem has established a stable connection, plug the power cord into your Belkin Router and wait for it to power up. Allow a few moments for the router to initialize and establish its connection with the modem.
5. Check the status lights: Once the router and modem have powered up, check the status lights on both devices. The lights should indicate a successful connection. The specific light patterns may vary depending on your router model, so consult the user manual for more information.
By following these simple steps, you have successfully connected your Belkin Wireless Router to your modem. Now you can move on to the next step of configuring your router’s settings and securing your wireless network.
Step 2: Access the Router’s Web-Based Setup Page
Accessing the web-based setup page of your Belkin Wireless Router is essential to configure and personalize your router’s settings. This setup page serves as the control panel where you can modify various options and parameters to suit your specific needs. Follow the steps below to access the web-based setup page:
1. Connect to the Router: Start by ensuring that your computer or device is connected to the router’s network. You can establish a wired connection by using an Ethernet cable or connect wirelessly by logging onto the router’s default Wi-Fi network.
2. Open a Web Browser: Launch a web browser of your choice, such as Google Chrome, Mozilla Firefox, or Internet Explorer. Make sure you have a stable internet connection before proceeding.
3. Enter the Router’s IP Address: In the browser’s address bar, type the default IP address of your Belkin router. For most Belkin models, the default IP address is typically “192.168.2.1.” Press “Enter” to access the router’s login page.
4. Provide Login Credentials: On the login page, you will be prompted to enter your router’s administrative username and password. By default, the username is usually left blank, while the password is commonly set as “admin” or “password.” Refer to your router’s documentation or check the manufacturer’s website if you encounter any issues with the login credentials.
5. Access the Web-Based Setup Page: After providing the correct login credentials, click on the “Login” or “Submit” button to access the web-based setup page of your Belkin router. This page offers various settings and configurations that you can customize according to your preferences.
Once you have successfully accessed the web-based setup page, you can proceed with configuring the internet connection type, setting up wireless network settings, and other advanced options. Remember to save any changes you make to ensure they take effect. With access to the web-based setup page, you have the power to optimize your Belkin Wireless Router and enhance your internet experience.
Step 3: Configure the Internet Connection Type
Configuring the Internet connection type on your Belkin Wireless Router is an essential step to ensure a stable and reliable internet connection. Depending on your internet service provider (ISP), you may have different options to choose from. In this step-by-step guide, we will walk you through the process of configuring the internet connection type on your Belkin N150 router.
1. Open a web browser on a device connected to the router’s network. Type “http://router” in the address bar and press Enter. This will open the Belkin router’s web-based setup page.
2. On the web-based setup page, click on the “Connection Type” tab located on the left-hand side of the page.
3. You will be presented with various connection type options such as Dynamic IP, Static IP, PPPoE, and PPTP. Select the appropriate connection type based on your internet service provider’s requirements.
4. If your ISP provided you with a dynamic IP address, select the “Dynamic IP” option. This is the most common option for residential internet connections.
5. If your ISP provided you with a static IP address, select the “Static IP” option. You will need to enter the IP address, subnet mask, gateway, and DNS addresses provided by your ISP.
6. If your ISP requires you to connect using PPPoE (Point-to-Point Protocol over Ethernet), select the “PPPoE” option. You will need to enter the username and password provided by your ISP.
7. If your ISP requires you to connect using PPTP (Point-to-Point Tunneling Protocol), select the “PPTP” option. You will need to enter the server IP address, username, and password provided by your ISP.
8. Once you have selected the appropriate connection type and entered the necessary information, click on the “Apply Changes” button to save the settings.
9. Your Belkin router will now establish the internet connection using the configured connection type. It may take a few moments for the connection to be established.
10. Once the connection is established, you can test the internet connection by opening a web browser and visiting a website.
By following these steps, you will be able to configure the internet connection type on your Belkin N150 wireless router. This will ensure that you have a stable and reliable internet connection throughout your home or office.
Step 4: Set up Wireless Network Settings
Once you have connected and accessed your Belkin Wireless Router’s web-based setup page, it’s time to configure the wireless network settings. These settings will determine how your devices connect and communicate with the router, providing you with seamless internet access. Follow these steps to set up your wireless network:
1. Enter a Network Name (SSID): The Network Name, also known as the Service Set Identifier (SSID), is the name of your wireless network. Choose a unique and easily identifiable name to avoid confusion with other nearby networks. You can make it personal, such as “[Your Last Name] Network,” or be creative with a fun name.
2. Choose a Security Type: Securing your wireless network is crucial to protect it from unauthorized access. Belkin routers offer different security types, including WEP, WPA, and WPA2. It is recommended to select WPA2 for enhanced security. This encryption type requires a password to join the network.
3. Set a Password: A strong password is essential to prevent unauthorized users from accessing your network. Create a unique and strong password containing a combination of uppercase and lowercase letters, numbers, and special characters. Avoid using easily guessable information, such as your name or address.
4. Configure the Encryption Type: Belkin routers offer various encryption types, such as TKIP and AES. Select AES for improved security, as it provides high-level encryption and is widely supported by modern devices. Avoid using outdated encryption types like WEP, as they are no longer considered secure.
5. Set the Wireless Channel: Wireless networks can experience interference from other networks in the vicinity. To reduce interference and improve the stability and speed of your network, select the best wireless channel. You can experiment with different channels to find the one that yields the best performance.
6. Apply the Settings: After configuring all the wireless network settings, click on the “Apply” or “Save” button to save the changes. The router will update and restart to implement the new settings. It may take a few moments for the changes to take effect.
7. Connect to your Wireless Network: Once the router has restarted, search for available wireless networks on your device. Locate the SSID you entered earlier and select it. Enter the password you set up to connect to the secured wireless network.
By setting up your Belkin Wireless Router’s wireless network, you ensure a secure and reliable connection for all your devices. Following these steps will help you customize your network with a unique name and password while optimizing its performance to minimize interference. Enjoy the convenience of wireless connectivity in your home or office!
Conclusion
Configuring a Belkin Wireless Router Basic N150 is a relatively simple process that can greatly enhance your wireless network experience. By following the steps outlined in this guide, you can secure your network, optimize performance, and ensure seamless connectivity for all your devices.
Remember to change the default login credentials, set a strong password, and update the firmware regularly to protect your network from potential security vulnerabilities. It’s also essential to position the router in a central location and avoid interference from other electronic devices for the best signal strength.
By taking the time to properly configure your Belkin Wireless Router Basic N150, you can enjoy fast, reliable, and secure wireless internet access throughout your home or office. If you ever encounter any issues, consult the user manual or reach out to Belkin’s customer support for further assistance.
FAQs
FAQ 1: How do I configure my Belkin Wireless Router Basic N150?
To configure your Belkin Wireless Router Basic N150, follow these steps:
- Connect to the router: Use an ethernet cable to connect your computer to one of the LAN ports on the router.
- Access the router’s web-based setup page: Open a web browser and enter “http://router” or “192.168.2.1” in the address bar. Press Enter.
- Enter your credentials: If you have not set a password for the router, leave the password field blank and click Submit. Otherwise, enter the password you set and click Submit.
- Configure the router’s settings: Follow the on-screen instructions to set up your wireless network name (SSID), wireless security, and other settings.
- Save settings and reboot: Click on Apply Changes to save the settings and reboot the router for the changes to take effect.
FAQ 2: How do I change the wireless network name (SSID) on my Belkin wireless router?
To change the wireless network name (SSID) on your Belkin wireless router, follow these steps:
- Access the router’s web-based setup page by entering “http://router” or “192.168.2.1” in the address bar of a web browser.
- Login and navigate to the wireless settings section.
- Locate the field for the SSID and enter your preferred network name.
- Click on Apply Changes to save the new SSID.
FAQ 3: How can I secure my Belkin wireless router?
To secure your Belkin wireless router, consider following these steps:
- Change the default login credentials: Create a unique password for your router to protect it from unauthorized access.
- Enable encryption: Use a strong encryption method like WPA2 to secure your wireless network and prevent unauthorized users from connecting.
- Change the default SSID: Choose a unique network name that does not reveal any personal information.
- Disable remote management: This will prevent unauthorized configuration changes to your router from outside your network.
- Regularly update the router’s firmware: Manufacturers often release firmware updates that address security vulnerabilities.
FAQ 4: How do I reset my Belkin wireless router?
To reset your Belkin wireless router to its factory default settings, follow these steps:
- Locate the Reset button on the rear panel of the router.
- Using a paperclip or a similar tool, press and hold the Reset button for about 10 seconds.
- Release the button and wait for the router to reboot.
- Your Belkin router will now be restored to its default settings.
FAQ 5: Why can’t I connect to my Belkin wireless router?
If you are unable to connect to your Belkin wireless router, try the following troubleshooting steps:
- Ensure that the router is powered on and all cables are properly connected.
- Restart your computer or device and try to connect again.
- Check if your wireless device is within range of the router and that the wireless signal is strong enough.
- Reset the router to its factory default settings and reconfigure it.
- If the issue persists, contact Belkin customer support for further assistance.