
Setting up a wireless router can be a daunting task, especially if you’re not familiar with the technicalities involved. However, with the right guidance, it can be a straightforward process that allows you to enjoy a seamless internet connection throughout your home or office.
In this article, we will walk you through the step-by-step process of setting up an N600 Netgear router wirelessly. Whether you’re a tech-savvy individual or a beginner, we’ll provide you with all the necessary information to get your wireless network up and running in no time. So, let’s dive in and discover how to harness the full potential of your Netgear router!
Inside This Article
Hardware Setup
When it comes to setting up your N600 Netgear router wireless, the first and most crucial step is correctly configuring the hardware. Follow these simple steps to ensure a smooth setup process:
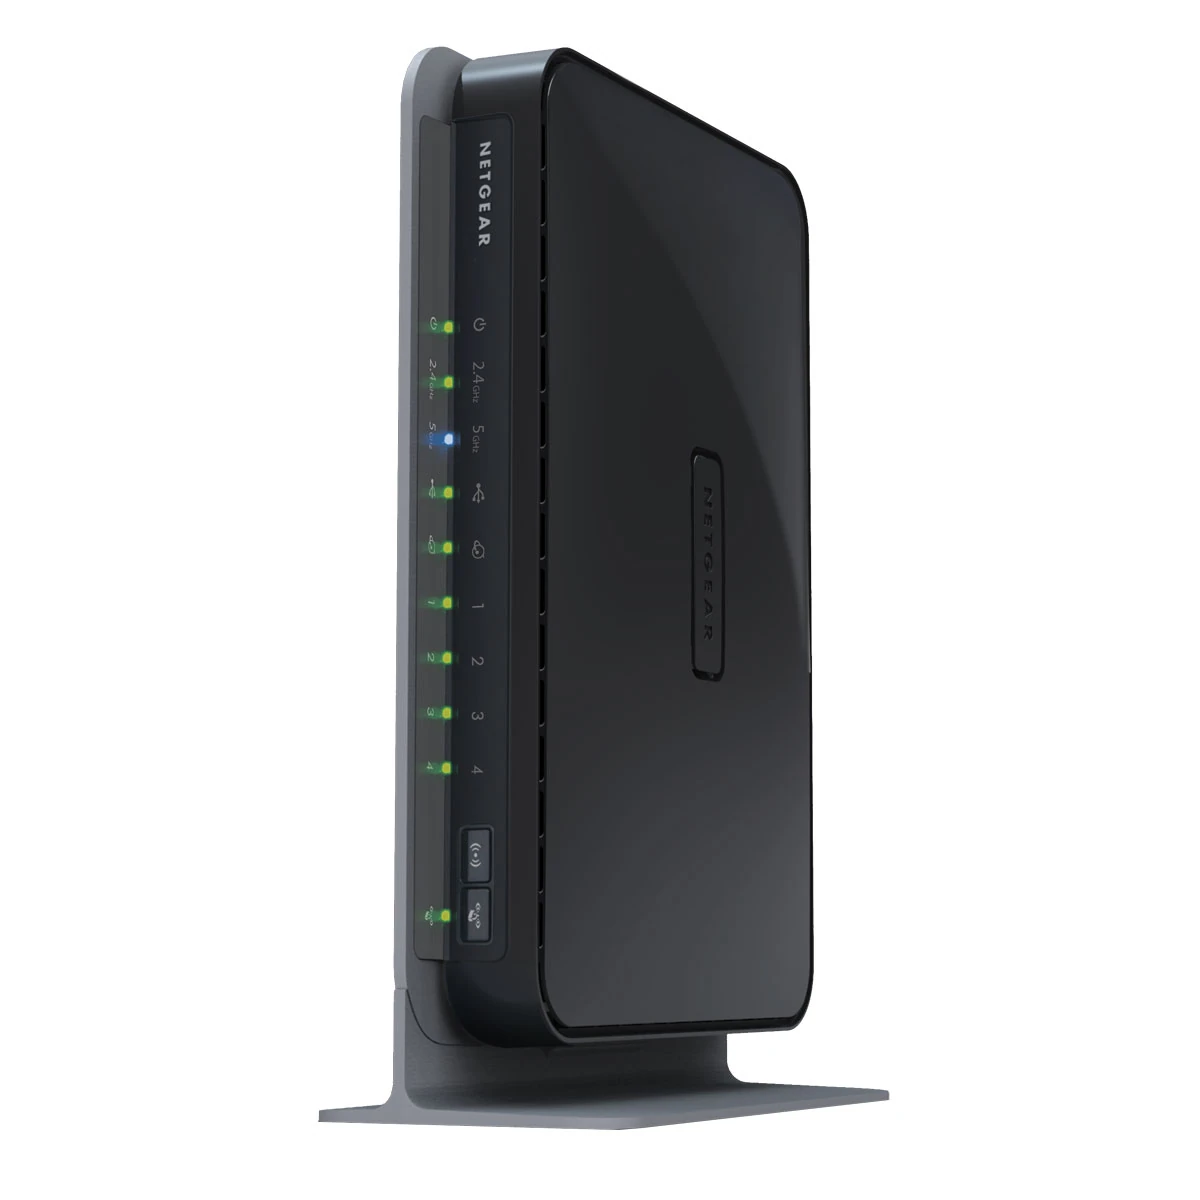
1. Unbox your router: Start by unboxing your N600 Netgear router and ensuring that all the necessary components are present. These typically include the router itself, an Ethernet cable, a power adapter, and an installation guide.
2. Choose a suitable location: Select a centralized location for your router that is free from obstructions, such as walls or furniture, and provides optimal coverage throughout your home or office.
3. Connect the router to the modem: Use the included Ethernet cable to connect one end to the modem and the other end to the WAN port on the back of the router. The WAN port is usually labeled and easily identifiable.
4. Power up the router: Plug the power adapter into a nearby power outlet and insert the other end into the router’s power input. Turn on the router using the power button, if available.
5. Wait for the router to initialize: Give the router a few moments to initialize and establish a connection with the modem. You can typically tell that the router is ready when the lights on the front panel stop blinking and remain solid.
6. Connect to the router: For initial setup, it is recommended to connect your computer or device to the router using an Ethernet cable. Locate one of the available LAN ports on the back of the router and connect one end of the Ethernet cable to it, and the other end to your device’s Ethernet port.
7. Access the router’s web interface: Open a web browser and enter the default IP address for your Netgear router in the address bar. This is usually “192.168.1.1” or “192.168.0.1”. Press Enter to access the router’s login page.
8. Login to the router: On the login page, enter the default username and password for your Netgear router. If you have not changed these credentials, they are typically “admin” for both the username and password. Click the Login button to proceed.
9. Complete the setup process: Once logged in, you will be guided through a setup wizard that will help you configure essential settings, such as the wireless network name (SSID) and password. Follow the on-screen instructions and make any desired changes to the default settings.
10. Save your settings: After making any necessary changes, don’t forget to save the settings. Look for a “Save” or “Apply” button on the web interface and click it to apply your changes and ensure they are saved.
And that’s it! With these simple steps, you have successfully completed the hardware setup for your N600 Netgear router wireless. You can now proceed to the next step, which is configuring the wireless settings.
Wireless Configuration
Setting up the wireless configuration of your N600 Netgear router is crucial to ensure a seamless and secure internet connection. Here, we will guide you through the necessary steps to configure the wireless settings on your router.
To begin, you need to access the Netgear router’s web interface. Open a web browser on your device connected to the router’s network and enter the default IP address of the router in the address bar. The default IP address for most Netgear routers is either 192.168.1.1 or 192.168.0.1.
Once you have accessed the web interface, you will be prompted to enter your router’s username and password. If you have not changed these credentials, the default username is usually “admin,” and the default password is “password.” If you have changed them, enter the appropriate credentials to log in.
After successfully logging in, you will be directed to the Netgear router’s dashboard. Look for the “Wireless” or “Wireless Settings” tab, which may vary depending on the model of your router.
Here, you will find the basic wireless settings, including the network name (SSID) and the security type. It is recommended to change the default network name to something unique to easily identify your network. Avoid using personal information in the network name to maintain privacy.
The security type determines the level of encryption used to protect your wireless network. It is strongly advised to choose WPA2-PSK (AES) as it provides the highest level of security. This will require you to create a passphrase that will be used to connect to your wireless network.
In addition to the basic settings, you may also find options to adjust the channel and transmission rate. By default, most routers are set to auto for these settings, which is usually the optimal configuration. However, if you experience interference or connectivity issues, you can try manually selecting a specific channel or adjusting the transmission rate to improve performance.
Once you have made the necessary wireless configuration changes, click on the “Apply” or “Save” button to save the settings. The router will then apply the changes, and your wireless network will be configured according to your preferences.
It is recommended to test your wireless connection by connecting to the network using a Wi-Fi enabled device. Enter the SSID and passphrase you configured earlier and ensure that you have a stable and reliable internet connection.
Keep in mind that periodically reviewing and updating your wireless settings is crucial for maintaining security and optimizing performance. Regularly change your network passphrase and check for firmware updates for your N600 Netgear router to ensure that you have the latest security patches and features.
With the Wireless Configuration on your N600 Netgear router set up, you can enjoy a fast, secure, and reliable wireless network connection for all your devices.
Advanced Settings
Once you have completed the hardware setup and wireless configuration of your N600 Netgear router, you may want to explore the advanced settings to further customize your network and enhance your experience. These advanced settings enable you to optimize your router’s performance and address specific requirements. Here are some of the key advanced settings you should know about:
1. Quality of Service (QoS): The QoS feature allows you to prioritize certain types of network traffic, such as gaming or streaming, over others. It ensures that these applications receive a higher bandwidth share, leading to smoother performance. You can configure QoS settings based on your specific needs and usage patterns.
2. Security Settings: Protecting your wireless network is crucial to prevent unauthorized access and safeguard your personal information. In the advanced settings, you can enable advanced security features like WPA2-PSK (Wi-Fi Protected Access 2 – Pre-Shared Key) encryption and MAC (Media Access Control) address filtering. These features provide an additional layer of security to your network and devices.
3. Port Forwarding: If you need to access devices or services on your network from the internet, you can utilize port forwarding. This feature allows incoming connections to be directed to specific devices or applications on your network. By mapping network ports to certain devices, you can ensure seamless access to services like remote desktop or file sharing.
4. Guest Network: The N600 Netgear router also offers a guest network feature, which allows you to create a separate network for your guests. This keeps your main network secure while still providing internet access to your visitors. You can set up a separate SSID (Network Name) and password for your guest network, controlling their access and bandwidth usage.
5. Parental Controls: If you have children in your household, the parental control feature can help you manage and restrict their internet usage. You can set up website filters, schedule internet access times, and even block specific devices from accessing the internet. This feature gives you greater control over your network and promotes a safer online environment for your family.
It’s important to note that these advanced settings may vary slightly depending on the specific model of your N600 Netgear router. You can access these settings by logging into the router’s administration interface using a web browser and entering the router’s IP address. Once inside, navigate to the advanced settings section to explore the available options and customize your network to your needs.
By taking advantage of the advanced settings, you can optimize the performance, security, and management of your N600 Netgear router. Remember to experiment with these settings and make adjustments based on your specific requirements to ensure the best possible experience for all your connected devices.
Conclusion
Setting up a N600 Netgear router for wireless connectivity is a straightforward process that can greatly enhance your internet experience. By following the steps outlined in this guide, you can easily configure your router and enjoy a stable and secure wireless network at home or in the office. Remember to take note of the default login credentials, change the password, and keep the router’s firmware up to date to ensure optimal performance and security.
With the N600 Netgear router in place, you can maximize the potential of your devices and enjoy seamless internet connectivity throughout your space. Whether it’s for work or leisure, this versatile router provides excellent coverage and high-speed connections so you can browse, stream, and download with ease.
So, go ahead and set up your N600 Netgear router now! Enjoy the power of a reliable wireless network and make the most out of your internet connection.
FAQs
Q: How do I set up my N600 Netgear router wireless?
Setting up your N600 Netgear router wireless is a simple process. Just follow these steps:
- Connect your modem to the router using an Ethernet cable.
- Plug in the router and turn it on.
- Connect your computer or device to the router using Wi-Fi or an Ethernet cable.
- Open a web browser and enter the router’s default IP address (usually 192.168.1.1) into the address bar.
- Enter the default login credentials (username: admin, password: password) and click ‘Login’.
- Follow the on-screen instructions to set up your wireless network name (SSID) and password.
- Save the settings and your N600 Netgear router wireless should be set up and ready to use.
Q: How can I change the wireless network name (SSID) and password on my N600 Netgear router?
To change the wireless network name (SSID) and password on your N600 Netgear router, follow these steps:
- Open a web browser and enter the router’s IP address (usually 192.168.1.1) into the address bar.
- Enter the login credentials (username: admin, password: password) and click ‘Login’.
- Navigate to the ‘Wireless’ or ‘Wi-Fi’ settings section.
- Locate the ‘Network Name (SSID)’ field and enter your desired network name.
- Locate the ‘Password’ or ‘Passphrase’ field and enter your desired password.
- Save the settings and your N600 Netgear router will now have a new wireless network name and password.
Q: Why is my N600 Netgear router not connecting to the internet?
If your N600 Netgear router is having trouble connecting to the internet, try the following troubleshooting steps:
- Make sure your modem is connected to the router and turned on.
- Check all cable connections to ensure they are secure.
- Restart your modem and router by unplugging them from power, waiting for a few seconds, and then plugging them back in.
- Ensure that you have a valid internet connection from your internet service provider.
- Check your router’s settings to ensure it is configured correctly for your internet connection type.
- If you are still experiencing issues, try performing a factory reset on your N600 Netgear router and reconfigure it from scratch.
Q: How can I update the firmware on my N600 Netgear router?
To update the firmware on your N600 Netgear router, follow these steps:
- Download the latest firmware file from the Netgear support website.
- Open a web browser and enter the router’s IP address (usually 192.168.1.1) into the address bar.
- Enter the login credentials (username: admin, password: password) and click ‘Login’.
- Navigate to the ‘Administration’ or ‘Firmware Update’ section.
- Click on the ‘Choose File’ or ‘Browse’ button and select the firmware file you downloaded.
- Click ‘Upload’ or ‘Update’ to begin the firmware update process.
- Wait for the update to complete and do not interrupt the process.
- Once the firmware update is done, your N600 Netgear router will reboot and the new firmware will be installed.
Q: How can I reset my N600 Netgear router to factory settings?
To reset your N600 Netgear router to factory settings, follow these steps:
- Locate the Reset button on the back or bottom of the router.
- Using a paperclip or similar object, press and hold down the Reset button for about 10 seconds.
- Release the Reset button and wait for the router to reboot.
- The router will now be restored to its original factory settings, including the default login credentials.