
Are you tired of dealing with weak wireless signals in certain areas of your home or office? If so, it may be time to consider extending the range of your wireless router. With an extended wireless router, you can enjoy a stronger signal and better coverage throughout your space, ensuring that you can connect to the internet from wherever you are.
But how exactly do you extend a wireless router? In this article, we will guide you through the process of extending your wireless router to improve your Wi-Fi signal. From choosing the right equipment to setting up the extender correctly, we will cover all the necessary steps to ensure a seamless and reliable wireless connection.
With our expert tips and advice, you’ll be able to say goodbye to Wi-Fi dead zones and enjoy uninterrupted internet access from any corner of your home or office. So, let’s get started and learn how to extend your wireless router.
Inside This Article
- Understanding the Basics of Wireless Routers
- Ways to Extend Wireless Router Range
- Using WiFi Range Extenders
- Setting Up a Wireless Access Point
- Utilizing External Antennas
- Conclusion
- FAQs
Understanding the Basics of Wireless Routers
In today’s interconnected world, reliable internet connectivity is essential. Wireless routers play a crucial role in enabling us to stay connected to the internet wirelessly, without the need for messy cables. But what exactly is a wireless router, and how does it work?
A wireless router is a device that allows multiple devices to connect to the internet wirelessly. It acts as the central hub for your home or office network, providing a connection between your internet service provider (ISP) and your wireless devices, such as smartphones, laptops, and smart home devices.
At its core, a wireless router combines the functions of a traditional router, which directs traffic between different networks, and a wireless access point, which enables wireless connections. This integration allows for the seamless transfer of data between your devices and the internet.
One of the key components of a wireless router is its antennas. These antennas transmit and receive wireless signals, allowing your devices to connect to the router and access the internet. The number and placement of antennas can impact the range and strength of the wireless connection.
When you connect a device to a wireless router, it assigns an IP address to that device. This IP address serves as a unique identifier, allowing data to be sent and received between devices on the network and the internet. The router also manages network security by implementing various protocols, such as WPA2 (Wi-Fi Protected Access II) encryption, to protect your data from unauthorized access.
Wireless routers operate on different frequencies, commonly 2.4GHz and 5GHz. The 2.4GHz band provides a longer range but is more susceptible to interference from other devices like microwaves and cordless phones. The 5GHz band, on the other hand, offers faster speeds but has a shorter range. Many modern routers support both bands, allowing you to choose the best option for your needs.
To set up a wireless router, you typically connect it to your modem provided by your ISP using an Ethernet cable. Once connected, you can access the router’s settings through a web browser on a connected device, allowing you to configure the network name (SSID), password, and other important settings.
Understanding the basics of wireless routers is essential for managing your home or office network effectively. By choosing the right router for your needs and configuring it properly, you can enjoy fast, reliable, and secure internet connectivity for all your wireless devices.
Ways to Extend Wireless Router Range
Are you tired of weak Wi-Fi signals and dead zones in your home or office? If so, there are several ways you can extend your wireless router’s range to enjoy a stronger and more reliable internet connection. In this article, we will explore some effective methods to boost your router’s coverage and ensure a seamless browsing experience throughout your space.
1. Position Your Router: The placement of your wireless router plays a significant role in determining its coverage. Make sure to position it in a central location, away from obstructions such as walls, furniture, and appliances, which can interfere with the signal. Elevating the router to a higher level, such as on a shelf or mounted on a wall, can also improve the signal’s reach.
2. Upgrade Your Antennas: Most routers come with adjustable or detachable antennas. By replacing the stock antennas with high-gain or directional ones, you can optimize the signal strength and extend the range. Pointing the antennas in different directions can also help improve coverage in specific areas of your home.
3. Use a Wireless Range Extender: A wireless range extender, also known as a Wi-Fi extender or repeater, is a device that amplifies the existing Wi-Fi signal and retransmits it, effectively extending the range of your wireless network. Simply plug the range extender into a power outlet within the range of your router, and it will boost the signal to reach areas where the router’s coverage is weak.
4. Optimize Your Router’s Settings: Accessing your router’s settings can provide additional options to enhance its range. You can adjust the transmission power, change the wireless channel to avoid interference, and enable features like Quality of Service (QoS) to prioritize certain devices or applications for a smoother browsing experience.
5. Upgrade Your Router: If your current router is outdated or lacks the necessary capabilities to cover your entire space, consider upgrading to a newer model with better range and performance. Look for routers that support the latest Wi-Fi standards, such as 802.11ac or Wi-Fi 6, as they offer faster speeds and improved coverage.
6. Create a Mesh Network: In a larger home or office, a mesh Wi-Fi system can be an excellent solution to extend your router’s range. A mesh network consists of multiple access points placed strategically throughout the space, forming a unified wireless network. This allows seamless roaming and ensures a strong signal in every corner.
7. Use Powerline Adapters: Powerline adapters utilize your existing electrical wiring to transmit the internet signal throughout your home or office. By connecting one adapter to your router and plugging another adapter into an electrical outlet in a different area, you can extend your network coverage without the need for additional wiring or wireless signals.
By implementing one or more of these methods, you can significantly improve the coverage and range of your wireless router. Experiment with different strategies to find the combination that works best for your specific environment. Say goodbye to weak signals and dead zones, and enjoy seamless internet connectivity throughout your space.
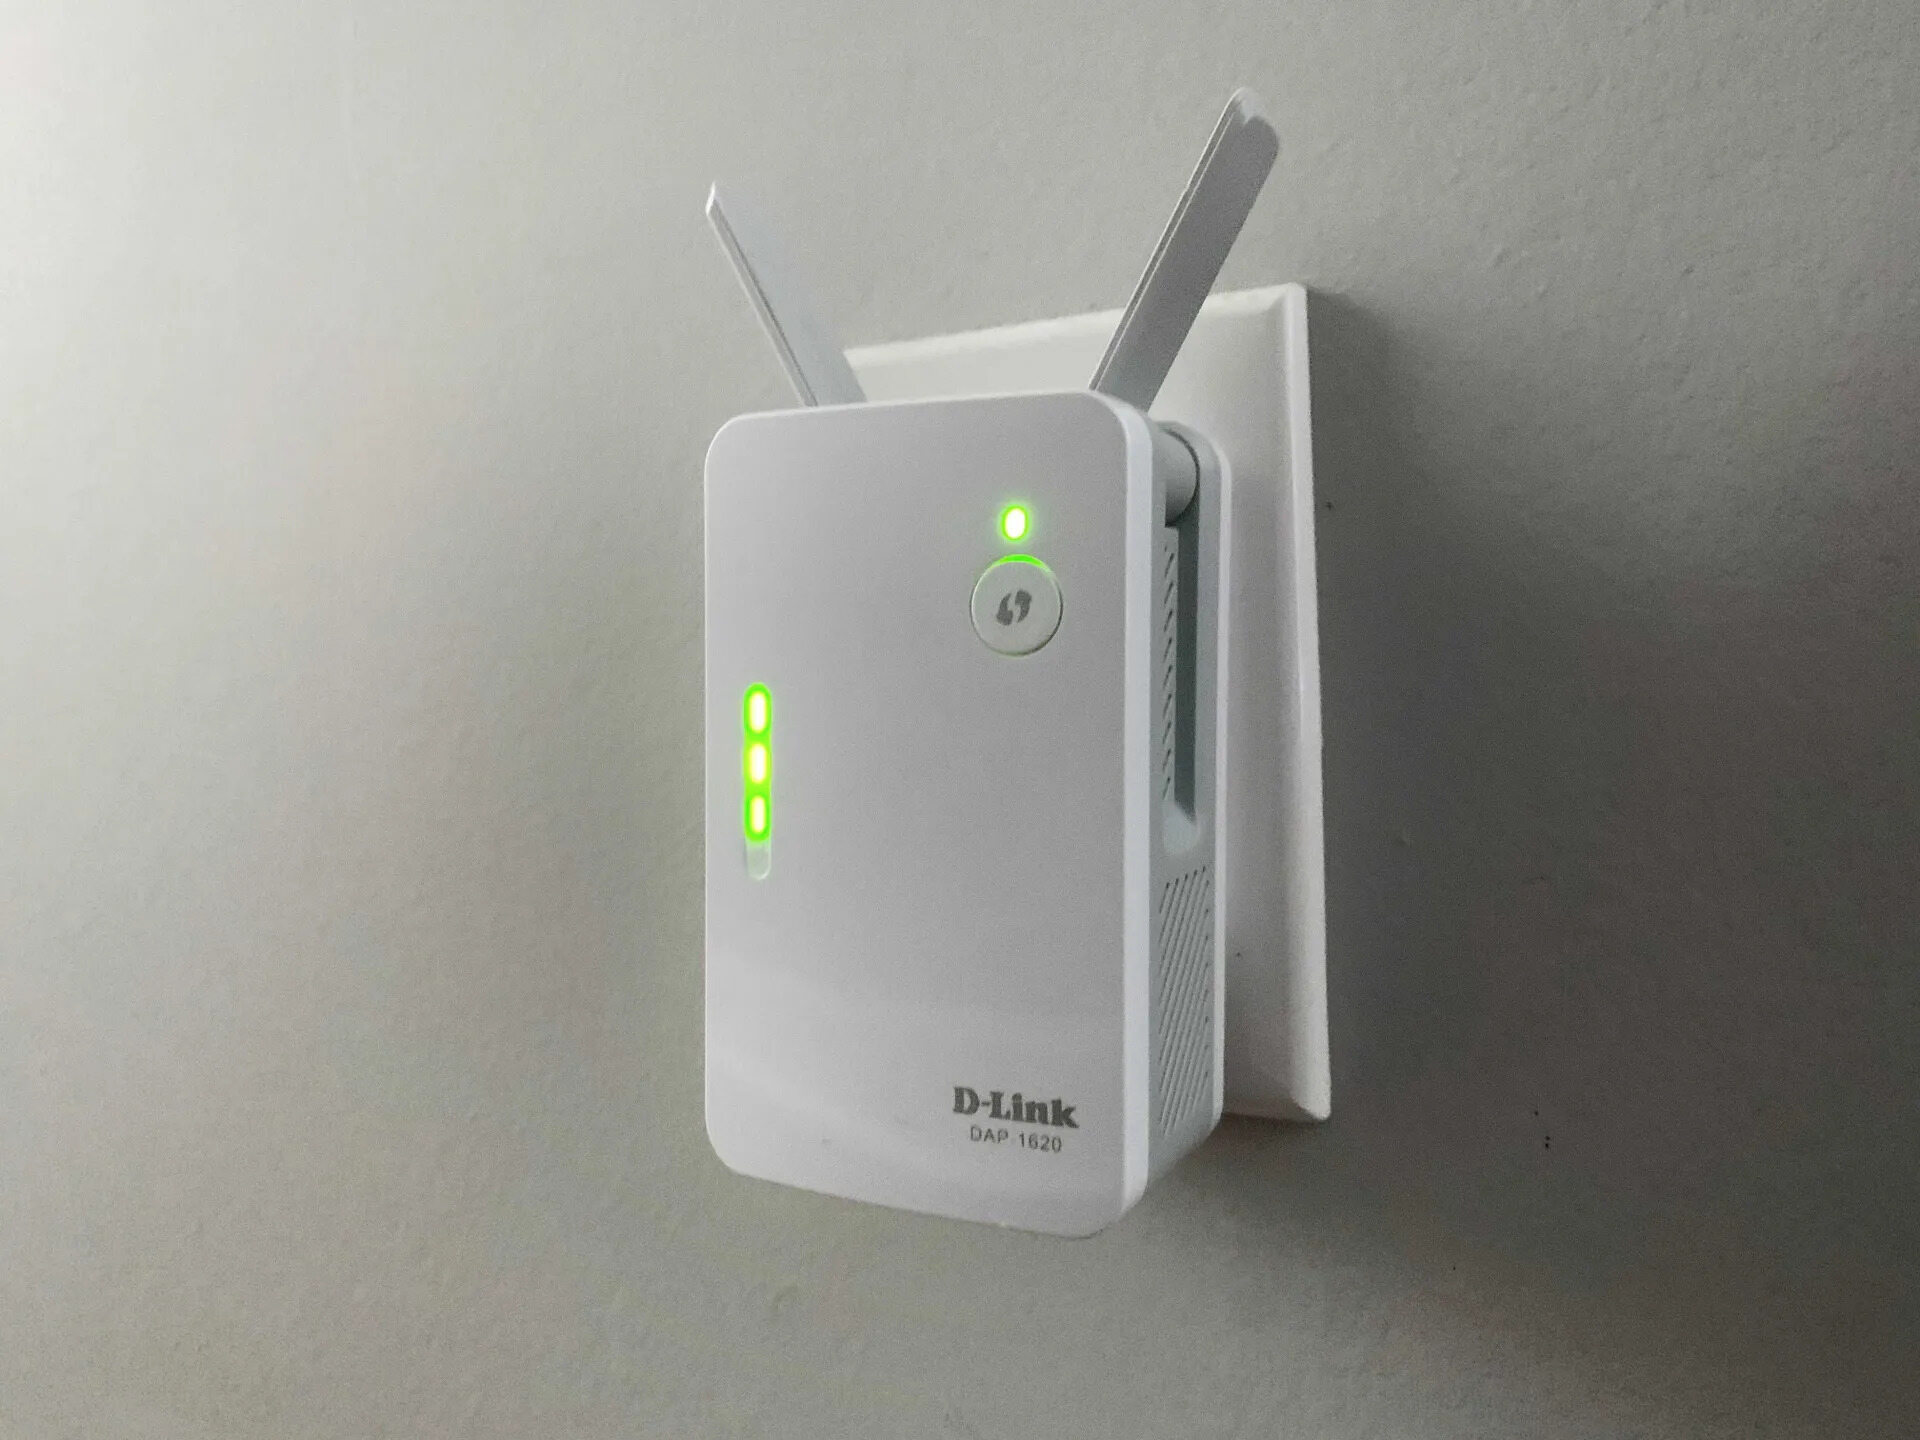
Using WiFi Range Extenders
If you’re experiencing weak WiFi signals in certain areas of your home or office, a WiFi range extender can be a game-changer. By extending the reach of your wireless router, range extenders ensure that you have a strong and stable connection no matter where you are. In this article, we’ll guide you through the process of choosing, setting up, and configuring a WiFi range extender.
When choosing a WiFi range extender, it’s essential to consider factors such as compatibility, range, and additional features. Look for a range extender that supports the same WiFi standard as your router, whether it’s 802.11n, 802.11ac, or 802.11ax. Additionally, check the range of the extender to ensure it can cover the desired area effectively.
Once you’ve selected the right WiFi range extender for your needs, it’s time to set it up. Start by positioning the extender halfway between your router and the area where you need better WiFi coverage. This will allow the extender to receive a strong signal from the router and transmit it to the desired location.
Most WiFi range extenders come with an installation wizard or a mobile app that guides you through the setup process. Follow the instructions provided to connect the extender to your WiFi network. You may need to enter your network’s SSID and password to establish the connection.
After successfully connecting the WiFi range extender to your network, it’s crucial to configure its settings to optimize performance. Access the extender’s configuration interface via a web browser or the provided mobile app. In the settings, you can change the extender’s SSID and password to match your existing network, or create a new network extension.
Additionally, you can experiment with different channels and bandwidth settings to reduce interference and improve performance. Some WiFi extenders even offer features like guest network support, parental controls, and Ethernet ports for wired connections, which can be useful depending on your requirements.
If you encounter any issues during the setup or configuration process, don’t worry – troubleshooting is part of the journey. Common issues can include compatibility issues, signal interference, or incorrect configuration. Refer to the user manual or online resources provided by the manufacturer to resolve any problems you may encounter.
Setting Up a Wireless Access Point
Setting up a wireless access point is an essential step in expanding the reach and coverage of your home or office network. A wireless access point (WAP) allows multiple devices to connect to a wired network wirelessly, creating a seamless and convenient internet experience for all users.
The process of setting up a wireless access point may seem daunting at first, but with the right knowledge and guidance, it can be a straightforward and hassle-free task. To help you get started, here are the steps to follow:
- Choose the right location: The placement of your wireless access point plays a crucial role in determining its effectiveness. Ideally, it should be positioned in a central location to ensure maximum coverage. Avoid placing it near thick walls or other electronic devices that may interfere with the signal.
- Connect the access point to the network: Begin by connecting the access point to your existing wired network via a Ethernet cable. Plug one end of the cable into the LAN port of the access point and the other end into a LAN port on your router or switch.
- Power up the access point: Once the access point is connected to the network, power it up by plugging it into a power outlet. Ensure that the access point has a stable power supply to maintain uninterrupted connectivity.
- Access the configuration interface: Use a device that is connected to the same network to access the configuration interface of the access point. Open a web browser and enter the default IP address of the access point into the address bar. Consult the user manual or manufacturer’s website to find this information.
- Configure the access point: Once you have accessed the configuration interface, you will be prompted to set up various settings, such as the network name (SSID) and password. Customize these settings to your preference, but ensure that the security settings are strong to protect your network from unauthorized access.
- Test the connection: After configuring the access point, it is important to perform a connectivity test to ensure that it is functioning properly. Disconnect from your existing Wi-Fi network and try connecting to the new network created by the access point. If successful, you should be able to access the internet without any issues.
- Monitor and optimize: Once your wireless access point is up and running, it is recommended to periodically monitor and optimize its performance. Check for any firmware updates provided by the manufacturer, as these updates often include bug fixes and performance enhancements.
By following these steps, you can successfully set up a wireless access point and extend the coverage of your network. Remember to refer to the user manual of your specific access point for detailed instructions and troubleshooting tips, if needed. Enjoy the benefits of a wider, more reliable wireless network!
Utilizing External Antennas
When it comes to extending the range of your wireless router, one effective solution is to utilize external antennas. These antennas can significantly boost the signal strength and improve the overall wireless coverage in your home or office.
External antennas are designed to capture and transmit wireless signals more efficiently than the built-in antennas found in most routers. They can be easily attached to the router, typically through SMA or RP-SMA connectors. Once connected, the external antennas provide a wider and more focused coverage, allowing you to eliminate dead spots and enjoy a stronger and more reliable Wi-Fi connection.
There are two main types of external antennas: omnidirectional and directional. Omnidirectional antennas radiate the Wi-Fi signal in all directions, making them ideal for providing coverage to multiple floors or rooms. On the other hand, directional antennas concentrate the signal in a specific direction, making them perfect for targeting specific areas or distant locations.
When choosing external antennas for your wireless router, it’s important to consider a few factors:
- Gain: The gain of an antenna determines its ability to amplify the Wi-Fi signal. Higher gain antennas offer greater coverage and can penetrate obstacles better.
- Frequency: Make sure the antenna supports the frequency band used by your router. Common bands include 2.4 GHz and 5 GHz.
- Connector Type: Check if the antenna’s connector type matches the connectors on your router. It is usually SMA or RP-SMA.
Setting up external antennas is usually a straightforward process. Once you have chosen the right antennas for your needs, simply attach them to the router’s antenna ports and adjust their position for optimal signal reception. Experimenting with different angles and locations can help you find the best configuration for maximum coverage.
It’s worth noting that while external antennas can greatly enhance the range and performance of your wireless router, they are not a magical solution for all connectivity issues. Factors such as interference from other devices, structural obstacles, and the capabilities of your router and devices can still affect the overall performance.
Conclusion
In conclusion, extending your wireless router’s range can greatly improve your internet connectivity and overall user experience. By implementing simple techniques such as repositioning your router, using range extenders or mesh systems, upgrading your router’s firmware, and optimizing the channel settings, you can ensure better coverage and faster speeds for your wireless devices.
Remember to keep in mind the specific needs of your home or office environment, including the size and layout of the space, the number of devices connected, and any potential sources of interference. Take the time to research and invest in quality equipment that suits your needs, and follow the recommended guidelines for setup and configuration.
With a little effort and the right tools, you can extend the reach of your wireless router and enjoy seamless connectivity throughout your home or office. Stay connected and stay productive!
Below is a list of frequently asked questions about extending a wireless router:
FAQs
- Q: How can I extend the range of my wireless router?
- Q: What is a wireless range extender?
- Q: How do I set up a wireless range extender?
- Q: What is a mesh Wi-Fi system?
- Q: How do I set up a mesh Wi-Fi system?
To extend the range of your wireless router, you can use a few different methods. One option is to use a wireless range extender, which can amplify and extend the signal to reach areas that are located further away from the router. Another option is to use a mesh Wi-Fi system, which consists of multiple access points placed strategically around your home to ensure a strong and reliable signal in every corner.
A wireless range extender is a device that is used to amplify and extend the range of a wireless signal. It is typically placed between the wireless router and the area where the signal needs to be boosted. The range extender picks up the existing signal from the router and rebroadcasts it, effectively expanding the coverage area.
The setup process may vary depending on the brand and model of the range extender, but generally, it involves connecting the device to a power source and accessing its configuration interface through a web browser. From there, you will follow the instructions provided by the manufacturer to connect the range extender to your existing wireless network.
A mesh Wi-Fi system is a network of multiple access points, also known as nodes, that work together to provide seamless Wi-Fi coverage throughout your home. Unlike traditional routers and range extenders, mesh systems use intelligent routing technology to create a single, powerful wireless network with a strong and consistent signal in every room.
Setting up a mesh Wi-Fi system typically involves connecting one of the access points to your existing modem or router using an Ethernet cable. The other access points are then strategically placed throughout your home to create a mesh network. Most mesh systems come with user-friendly mobile apps that guide you through the setup process and allow you to manage your network settings.