
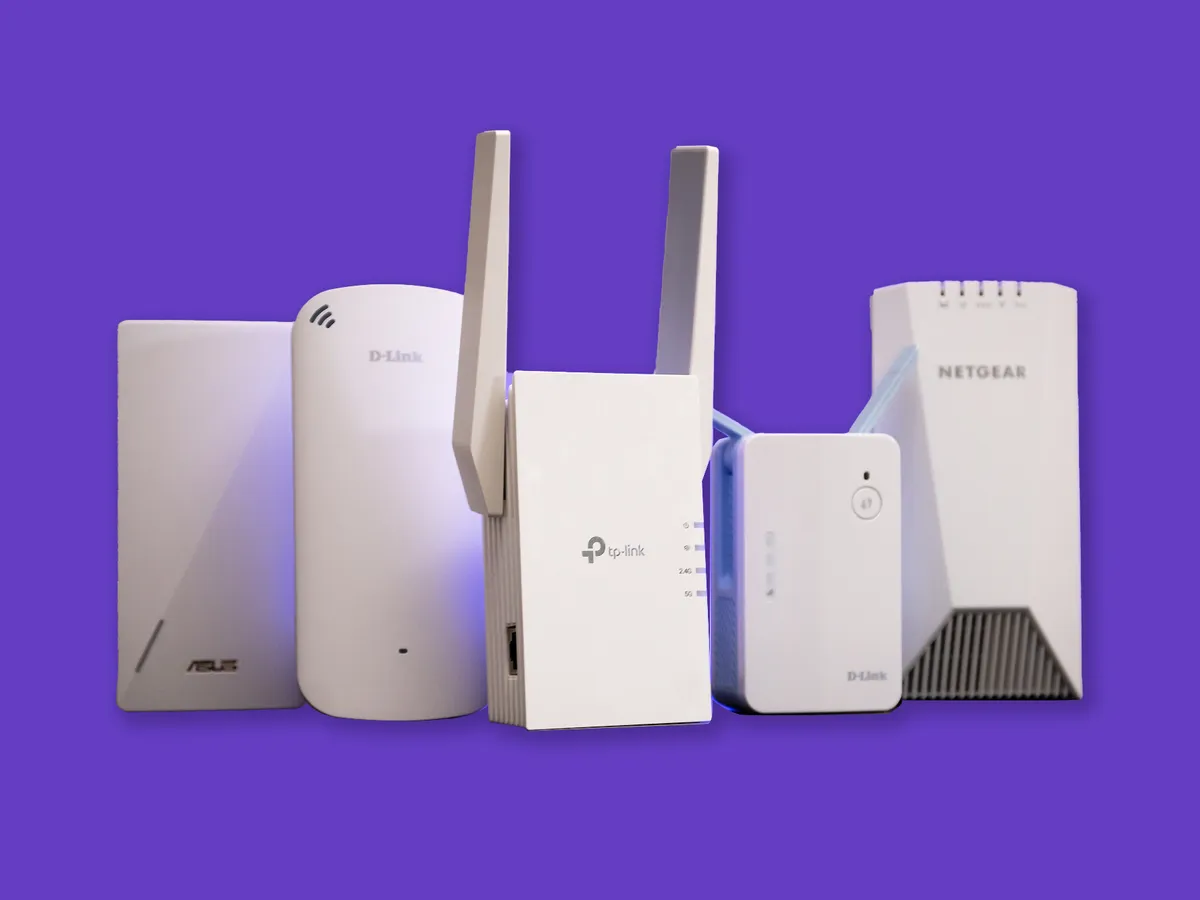
In today’s connected world, having a strong and reliable Wi-Fi signal is crucial. However, there are times when your Wi-Fi signal may not reach every corner of your home or office, leaving certain areas with a weak or no connection at all. This is where a TP-Link wireless extender comes to the rescue. A TP-Link wireless extender is a device that can amplify your existing Wi-Fi signal, ensuring that it reaches every room and corner of your space.
Whether you’re streaming your favorite movies, joining virtual meetings, or simply surfing the web, a TP-Link wireless extender can provide you with the strong and stable connection you need. In this article, we will guide you through the process of connecting a TP-Link wireless extender, so you can enjoy seamless internet connectivity throughout your space. Let’s dive in!
Inside This Article
- Overview
- Step 1: Ensure Proper Placement
- Step 2: Connect to Power
- Step 3: Connect to Wi-Fi Network
- Step 4: Configure Extender Settings
- Troubleshooting Tips
- Conclusion
- FAQs
Overview
Welcome to the world of wireless extenders! If you ever find yourself struggling with a weak Wi-Fi signal in certain areas of your home or office, a TP-Link wireless extender can be the perfect solution. This handy device works by amplifying your existing Wi-Fi signal and extending its reach to cover those hard-to-reach areas.
Setting up a TP-Link wireless extender is a fairly straightforward process that can greatly enhance your internet experience. In this article, we will guide you through the step-by-step instructions on how to connect a TP-Link wireless extender to your existing Wi-Fi network. So, let’s get started and improve your Wi-Fi coverage!
Before we dive into the steps, it’s important to note that the exact setup process might vary slightly depending on the model of your TP-Link extender. However, the general process remains the same across most models. If you encounter any difficulties, referring to the user manual that came with your device can provide additional guidance tailored specifically to your extender.
Now, without further ado, let’s jump into the setup process to connect your TP-Link wireless extender.
Step 1: Ensure Proper Placement
When setting up a TP-Link wireless extender, one of the first steps is to ensure proper placement of the device. This is crucial for maximizing the range and performance of your wireless network. Here are a few important things to consider:
1. Consider the Range: Start by identifying the areas in your home or office where you experience weak Wi-Fi signals or dead spots. These are the areas where you’ll want to place the extender to extend the coverage. Make sure the extender is within a reasonable distance from your main Wi-Fi router to ensure a strong connection.
2. Avoid Physical Obstructions: Take note of any physical obstructions that might hinder the Wi-Fi signals. Thick walls, furniture, and appliances can all impact the signal strength. Try to place the extender in an open space, away from these obstructions, to get the best signal possible.
3. Think about Signal Direction: Keep in mind that Wi-Fi signals typically radiate outward from the router. So, you’ll want to place the extender in a location that allows it to receive a strong signal from the router and then transmit it to the areas with weak coverage. Consider placing the extender at a midpoint between the router and the dead spots for optimal coverage.
4. Test Different Locations: Experiment with different placement options to find the best spot for your extender. You can try moving it slightly higher or lower, or even to a different room, to see if it improves the signal strength and coverage. Don’t be afraid to test multiple locations until you find the sweet spot.
5. Avoid Interference: Keep the extender away from other wireless devices that might cause interference. These can include cordless phones, microwave ovens, baby monitors, and other electronics that operate on the same frequency range as your Wi-Fi network. Minimizing interference will help ensure a stable and reliable connection.
6. Follow the Manufacturer’s Recommendations: Finally, it’s always a good idea to refer to the user manual or documentation provided by TP-Link for specific placement recommendations. These guidelines will take into account the unique features and capabilities of your particular extender model.
By following these steps and finding the ideal location for your TP-Link wireless extender, you can ensure that you enjoy seamless and reliable Wi-Fi coverage in every corner of your home or office.
Sure! Here’s the content for “Step 2: Connect to Power”:
Step 2: Connect to Power
Once you have found the perfect spot for your TP-Link wireless extender, it’s time to connect it to a power source. Here’s how you can do it:
1. Locate the power adapter that comes with your TP-Link wireless extender. Plug one end of the power adapter into the extender’s power port, which is usually located at the back of the device.
2. Next, find an available electrical outlet near your extender’s placement. Insert the power adapter’s plug into the outlet securely, ensuring a proper connection.
3. Once the power adapter is connected, turn on the TP-Link extender by pressing the power button, if available. The device should start powering up, indicated by LED lights turning on or flashing.
4. Allow the extender a few seconds to properly boot up, as it establishes a connection with the power source. During this time, you can observe the lights on the extender, which might indicate power, Wi-Fi, or signal strength.
5. Finally, double-check to ensure that the extender is receiving power. If you see all the relevant LED lights illuminated or flashing, it means that your TP-Link wireless extender is successfully connected to power.
Connecting your TP-Link extender to power is a crucial step in the setup process. It ensures that the extender receives the necessary electricity to function correctly and provide the Wi-Fi coverage you need.
Now that you have successfully connected your TP-Link wireless extender to power, it’s time to move on to the next step – connecting it to your Wi-Fi network.
Step 3: Connect to Wi-Fi Network
Once you have properly placed and powered on your TP-Link wireless extender, the next step is to connect it to your existing Wi-Fi network. This process is crucial because it allows the extender to amplify and extend the signal to eliminate dead zones in your home or office.
To connect to your Wi-Fi network, follow these simple steps:
- Locate the Wi-Fi signal on your device (such as a laptop, smartphone, or tablet) and navigate to the Wi-Fi settings.
- You should see a list of available networks. Look for the network name on the back of your TP-Link extender, typically labeled as “TP-Link_Extender.”
- Select the TP-Link_Extender network and click on the “Connect” button.
- You may be prompted for a password. Enter the default password, which is usually provided in the extender’s user manual or on the packaging.
- Once you successfully connect to the extender’s network, open a web browser and enter “tplinkrepeater.net” in the address bar.
- This will take you to the TP-Link extender’s web-based setup page.
- Follow the on-screen instructions to proceed with the setup process.
- During the setup, you will have the option to change the network name and password for your extended network. It is recommended to select a unique name and strong password for security purposes.
By connecting your TP-Link wireless extender to your existing Wi-Fi network, you are now ready to enjoy seamless internet connectivity in previously weak or dead zones of your home or office. Take time to customize the network settings to your preference and ensure a stable and secure connection.
Step 4: Configure Extender Settings
Once you have successfully connected your TP-Link wireless extender to the Wi-Fi network, the next step is to configure the extender settings to ensure optimal performance. Here are the steps to follow:
1. Access the extender settings: To configure the extender, you will need to access its settings. Open a web browser on a device connected to the extender’s network. In the address bar, type in the default IP address of the extender, which is usually “192.168.0.1” or “192.168.1.1”. Press Enter.
2. Enter login credentials: You will be prompted to enter the login credentials. By default, the username and password are both “admin”. If you have changed the login details in the past, use the new credentials to log in.
3. Set up the wireless settings: Once you are logged into the extender, navigate to the wireless settings section. Here, you can customize the network name (SSID) and password for the extender. It is recommended to use a different SSID than your main Wi-Fi network to avoid confusion.
4. Select the Wi-Fi network: In the extender settings, you will find an option to select the Wi-Fi network that you want to extend. Choose your main Wi-Fi network from the available networks list and enter the password when prompted. This will ensure that the extender connects to your existing network.
5. Configure advanced settings (optional): If you need to customize advanced settings, such as channel selection, DHCP settings, or IP address, you can do so in the advanced settings section. However, it is recommended to leave these settings as default unless you have a specific requirement.
6. Apply the settings: Once you have made all the desired changes, click on the “Apply” or “Save” button to save the settings. The extender will then restart to apply the new configurations. Wait for the extender to reboot completely.
7. Verify the connection: After the extender has rebooted, ensure that your devices can connect to the extended network. Test the connection by browsing the internet or streaming videos to make sure that the extender is working properly.
Congratulations! You have successfully configured the settings for your TP-Link wireless extender. Enjoy enhanced Wi-Fi coverage and eliminate dead zones in your home or office.
Troubleshooting Tips
Troubleshooting any device can sometimes be a challenging task. Here are some common troubleshooting tips that can help you resolve any issues you may encounter while connecting your TP-Link wireless extender:
1. Check Power Connection: Ensure that your TP-Link extender is properly connected to a power outlet and that the LED lights on the device are lit up. If not, try plugging it into a different power outlet or using a different power cord.
2. Verify Wi-Fi Network: Make sure that the Wi-Fi network you are connecting to is working properly. Double-check the Wi-Fi password and ensure that there are no restrictions or limitations set on the network that may prevent your extender from connecting.
3. Reset Extender: If you are still experiencing issues, try resetting your TP-Link extender to its factory default settings. Locate the reset button on the device and hold it down for about 10 seconds until the LED lights start blinking. Release the button and allow the extender to reboot.
4. Distance from Router: It’s important to consider the distance between your TP-Link extender and your wireless router. If they are too far apart, the signal strength may be weak, resulting in a poor connection. Try moving the extender closer to the router to improve the signal strength.
5. Update Firmware: Ensure that your TP-Link extender’s firmware is up to date. Manufacturers often release firmware updates to address compatibility issues or improve performance. Visit the TP-Link website and search for the model of your extender to download and install any available firmware updates.
6. Double-Check Settings: Review the configurations and settings on your TP-Link extender. Make sure that the network name (SSID) and password settings match those of your main wireless router. You can access the extender’s settings by typing its IP address into a web browser and logging in with the default credentials.
7. Interference: Other devices or appliances in your home may cause interference with the Wi-Fi signal. Keep your TP-Link extender away from devices like cordless phones, microwave ovens, baby monitors, and Bluetooth devices to minimize the chances of interference.
8. Contact Support: If none of the above troubleshooting tips work, it’s time to reach out to TP-Link’s support team. They have experienced technicians who can assist you in resolving any complex issues you may be facing with your wireless extender.
By following these troubleshooting tips, you can overcome any hurdles you encounter while connecting your TP-Link wireless extender and ensure a smooth and stable Wi-Fi signal throughout your home or office.
Conclusion
Connecting a TP-Link wireless extender is a relatively simple process that can significantly improve your Wi-Fi coverage and overall internet experience. By following the step-by-step instructions provided in this guide, you can easily set up and connect your TP-Link wireless extender to your existing network.
Remember to choose an optimal location for your extender, ensuring it is within range of your modem or router. Take advantage of the TP-Link Tether app or the web-based management interface to customize and monitor your extender settings.
With the enhanced Wi-Fi coverage provided by your TP-Link wireless extender, you can enjoy seamless connectivity throughout your home or office. No more dead spots or weak signals, just a reliable and fast internet connection wherever you go.
So, why settle for mediocre internet speeds and limited coverage? Take charge of your Wi-Fi experience and connect a TP-Link wireless extender today. Enjoy uninterrupted browsing, streaming, and gaming with a powerful and reliable Wi-Fi signal in every corner of your space.
FAQs
1. What is a TP-Link wireless extender?
A TP-Link wireless extender, also known as a Wi-Fi range extender, is a device that extends the range and coverage of your wireless network. It amplifies the existing Wi-Fi signal and retransmits it to reach areas that were previously out of range, providing a stronger and more reliable connection throughout your home or office.
2. How does a TP-Link wireless extender work?
A TP-Link wireless extender works by receiving the existing Wi-Fi signal from your router, amplifying it, and retransmitting it to areas with weak or no coverage. It acts as a bridge between your router and devices, ensuring a seamless connection by boosting the signal strength and extending the network coverage.
3. How do I connect a TP-Link wireless extender?
To connect a TP-Link wireless extender, follow these steps:
- Place the extender within the range of your existing Wi-Fi network.
- Connect the extender to a power source and wait for it to boot up.
- On your computer or mobile device, go to the Wi-Fi settings and connect to the network named “TP-Link_Extender.”
- Open a web browser and enter “http://tplinkrepeater.net” or “http://192.168.0.1” in the address bar.
- Follow the on-screen instructions to set up and configure your TP-Link wireless extender.
4. How can I improve the performance of my TP-Link wireless extender?
To improve the performance of your TP-Link wireless extender, consider the following tips:
- Position the extender closer to your router for a stronger signal.
- Ensure that the extender is placed in an open and unobstructed area without interference from walls or other electronic devices.
- Update the firmware of your TP-Link extender regularly to ensure compatibility and stability.
- Use the same SSID (network name) and password for both your router and extender to create a seamless network transition.
- Make use of the TP-Link Tether app or web interface to manage and monitor your extender’s performance.
5. Can I connect multiple devices to a TP-Link wireless extender?
Yes, you can connect multiple devices to a TP-Link wireless extender. Just like your router, the extender acts as a central hub that allows multiple devices to connect simultaneously. Whether it’s smartphones, tablets, laptops, or smart home devices, the extender provides ample coverage and bandwidth for all your devices to stay connected seamlessly.