
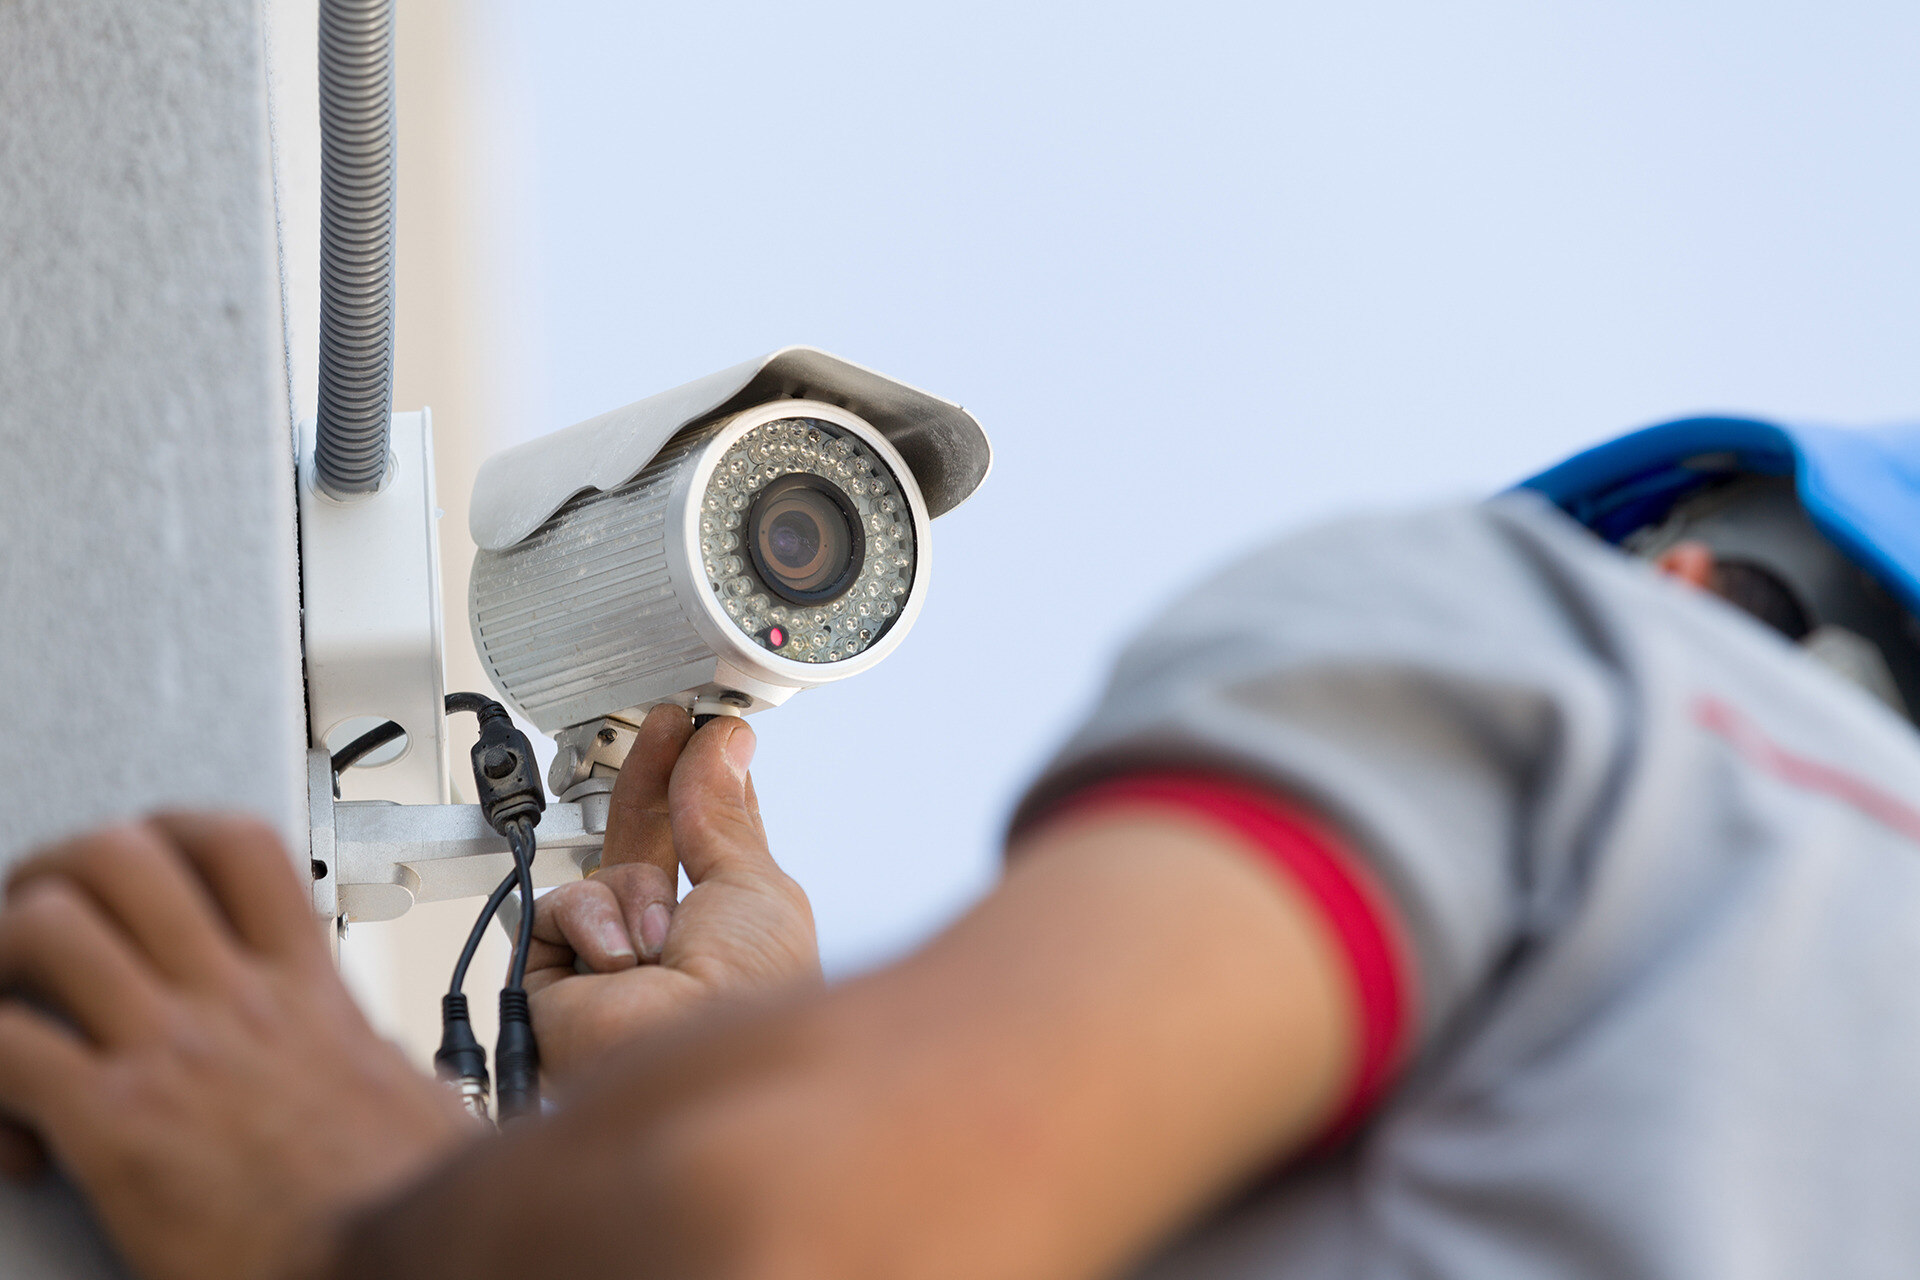
Connecting a CCTV camera to your TV wirelessly can be a convenient and efficient way to monitor your property. Whether you want to keep an eye on your home or business, wireless connectivity offers flexibility and ease of installation. In this article, we will explore the steps to successfully connect a CCTV camera to your TV without the need for messy wires. With the advancements in technology, it’s now possible to create a seamless connection between your surveillance camera and TV, allowing you to view the footage in real-time. So, if you’re ready to enhance your security system, let’s dive into the world of wireless CCTV camera connectivity.
Inside This Article
- Method 1: Using a Wireless AV Transmitter and Receiver
- Method 2: Using a Wireless IP Camera with Built-in Wi-Fi- Step 1: Install the IP Camera- Step 2: Connect the IP Camera to Wi-Fi- Step 3: Download the Camera’s App on Your TV- Step 4: Pair the Camera with the TV- Step 5: Configure and Adjust the Settings
- Method 3: Using a Wireless HDMI Kit
- Conclusion
- FAQs
Method 1: Using a Wireless AV Transmitter and Receiver
Step 1: Install the Wireless AV Transmitter.
First, locate a suitable place near your CCTV camera where you can install the wireless AV transmitter. It should be within range of the camera’s video output and have a power source nearby. Mount the transmitter securely using the provided brackets or adhesive tape.
Step 2: Connect the CCTV Camera to the Transmitter.
Next, take the video cable from your CCTV camera and connect it to the video input port on the wireless AV transmitter. Make sure the connection is secure to ensure a stable video signal. If your camera uses a different type of video cable, you may need to use an adapter to connect it to the transmitter.
Step 3: Install the Wireless AV Receiver.
Now, find a suitable location near your TV where you can install the wireless AV receiver. It should have access to a power source and be within range of the transmitter. Mount the receiver securely using the provided brackets or adhesive tape.
Step 4: Connect the Receiver to the TV.
Take the video output cable from the wireless AV receiver and connect it to one of the available HDMI or AV ports on your TV. If you’re using an HDMI cable, make sure it’s securely inserted into both the receiver and the TV. If you’re using an AV cable, match the corresponding color-coded connectors for video and audio.
Step 5: Adjust the Settings.
Finally, power on the CCTV camera, transmitter, receiver, and TV. Use the TV remote to select the appropriate input source for the wireless AV receiver. You may need to consult the user manual of your TV to determine which input source corresponds to the receiver. Once selected, you should see the live feed from your CCTV camera on the TV screen. Adjust the settings as desired, such as brightness, contrast, and resolution, to optimize the viewing experience.
Method 2: Using a Wireless IP Camera with Built-in Wi-Fi- Step 1: Install the IP Camera- Step 2: Connect the IP Camera to Wi-Fi- Step 3: Download the Camera’s App on Your TV- Step 4: Pair the Camera with the TV- Step 5: Configure and Adjust the Settings
If you want to connect your CCTV camera to your TV wirelessly, using a wireless IP camera with built-in Wi-Fi is a great option. This method allows you to stream the camera’s feed directly to your TV without the need for additional devices. Here’s a step-by-step guide on how to set it up:
Step 1: Install the IP Camera
Begin by choosing a suitable location to install your IP camera. Make sure it provides a clear view of the area you want to monitor. Next, mount the camera securely using the included mounting brackets and screws. Ensure that it is positioned correctly and has a stable connection to power.
Step 2: Connect the IP Camera to Wi-Fi
Once the camera is securely installed, it’s time to connect it to your Wi-Fi network. Most IP cameras come with a setup wizard or a mobile app to simplify the process. Follow the instructions provided by the manufacturer to connect the camera to your Wi-Fi network securely.
Step 3: Download the Camera’s App on Your TV
Check if your TV is compatible with the camera’s app. If it is, download and install the app from the app store on your TV. This step may vary depending on the TV brand and model you have. Refer to the TV’s user manual or the manufacturer’s website for specific instructions.
Step 4: Pair the Camera with the TV
Open the camera’s app on your TV and follow the on-screen instructions to add the IP camera to the app. Typically, this involves scanning a QR code or entering the camera’s unique identification number. Once the camera is paired with the TV, you’ll be able to access its live feed directly from the app.
Step 5: Configure and Adjust the Settings
Lastly, configure and adjust the settings of the IP camera according to your preferences. This may include adjusting the camera angle, enabling motion detection, setting up alerts, or customizing the recording options. Take the time to explore the app’s features and make the necessary adjustments to ensure the camera meets your needs.
With your wireless IP camera set up and connected to your TV, you can now enjoy the convenience of monitoring your CCTV camera’s feed directly on your TV screen. Keep in mind that the specific steps may vary depending on the brand and model of your IP camera and TV. Refer to the user manuals or reach out to the manufacturers’ support for detailed instructions if needed.
Method 3: Using a Wireless HDMI Kit
In this method, you will use a wireless HDMI kit to connect your CCTV camera to your TV wirelessly. This kit consists of a transmitter and a receiver that communicate wirelessly to transmit the video signal from the camera to the TV.
Step 1: Install the Wireless HDMI Transmitter
Start by installing the wireless HDMI transmitter near your CCTV camera. Find a suitable location where it can receive the wireless signal from the camera and have a clear line of sight to the receiver.
Step 2: Connect the CCTV Camera to the Transmitter
Once the transmitter is installed, connect your CCTV camera to it using an HDMI cable. Make sure to securely plug in both ends of the cable to ensure a stable connection.
Step 3: Install the Wireless HDMI Receiver
Next, find a suitable location near your TV to install the wireless HDMI receiver. Ensure that it is within the wireless signal range of the transmitter. Ideally, it should have a clear line of sight with the transmitter to ensure a strong and uninterrupted signal.
Step 4: Connect the Receiver to the TV
After installing the receiver, connect it to your TV using another HDMI cable. Make sure to securely plug in both ends of the cable to establish a stable connection between the receiver and the TV.
Step 5: Adjust the Settings
Once the transmitter, camera, receiver, and TV are all connected, it’s time to adjust the settings. Turn on your TV and navigate to the input source where the receiver is connected. Use the remote control that comes with the wireless HDMI kit to pair the transmitter and receiver.
Follow the instructions provided with your specific wireless HDMI kit to complete the pairing process. Once the pairing is done, you should be able to see the live feed from your CCTV camera on your TV screen.
Additionally, you can adjust the display settings on your TV to optimize the video quality or make any necessary adjustments for the best viewing experience.
That’s it! You have successfully connected your CCTV camera to your TV wirelessly using a wireless HDMI kit. Now you can enjoy monitoring your surroundings directly on your TV screen without the need for any additional cables.
Conclusion
In conclusion, connecting a CCTV camera to a TV wirelessly offers a convenient and flexible way to monitor your security system. With the advancements in technology, it has become easier than ever to establish a wireless connection between the camera and TV, eliminating the need for complex wiring. By following the steps outlined in this guide, you can enjoy the benefits of a wireless CCTV camera system without sacrificing the quality of the video feed.
Remember to consider the range, compatibility, and security protocols when selecting the appropriate wireless transmission method for your setup. It is also advisable to consult the user manual of your CCTV camera and TV to ensure compatibility and to follow any specific instructions provided by the manufacturers.
Whether it is for home security, business monitoring, or any other surveillance needs, wireless connectivity allows for seamless integration and enhances the overall functionality of your CCTV system. Stay connected and have peace of mind as you monitor your property with a wireless CCTV camera connected to your TV.
FAQs
1. Can I connect a CCTV camera to my TV wirelessly?
Yes, it is possible to connect a CCTV camera to your TV wirelessly. However, you will need a wireless CCTV camera system that supports this feature. Make sure to check the specifications of the camera system you are considering to ensure it has wireless connectivity capabilities.
2. What do I need to connect a CCTV camera to my TV wirelessly?
To connect a CCTV camera to your TV wirelessly, you will need a wireless CCTV camera system that supports wireless connectivity. Additionally, you may require a wireless network in your home or business premises to establish a connection between the camera and the TV. Some camera systems also come with their own dedicated mobile apps or software that can be used to view the camera feed on a TV screen.
3. How do I set up a wireless connection between the CCTV camera and my TV?
The setup process may vary depending on the specific camera system you are using. Generally, you will need to follow these steps:
- Make sure the CCTV camera system is connected to the wireless network in your home or business premises.
- Configure the camera system settings to allow for wireless streaming and connection.
- On your TV, navigate to the input/source settings and select the appropriate HDMI or AV input port.
- Launch the camera system app or software on your TV and follow the on-screen instructions to connect to the camera system.
- Once the connection is established, you should be able to view the CCTV camera feed on your TV wirelessly.
4. Are there any limitations to connecting a CCTV camera to my TV wirelessly?
While connecting a CCTV camera to your TV wirelessly offers convenience, there might be some limitations to consider. The range of wireless connectivity can be limited, so if the camera and TV are too far apart, the signal strength may not be sufficient. Additionally, network interference or obstacles such as walls or other electronic devices may affect the quality of the wireless connection. It is also important to ensure that your wireless network has sufficient bandwidth to support the camera feed streaming to the TV without latency or interruptions.
5. Can I view the CCTV camera feed on multiple TVs wirelessly?
Yes, depending on the camera system you are using, it is possible to view the CCTV camera feed on multiple TVs wirelessly. Some camera systems offer the ability to connect multiple TVs or devices to the same camera system for simultaneous viewing. Check the specifications and capabilities of the camera system you have or intend to purchase to determine if multi-TV streaming is supported.