
The Surface Pro is a versatile and powerful device that allows users to work on the go. One of the key features of the Surface Pro is its ability to connect to peripheral devices like a wireless mouse. A wireless mouse offers greater mobility and convenience, allowing for smoother navigation and improved productivity. In this article, we will guide you on how to connect a wireless mouse to your Surface Pro, ensuring that you can work efficiently and comfortably. Whether you are a student, a professional, or a casual user, learning how to connect a wireless mouse to your Surface Pro will enhance your computing experience. So let’s dive in and discover the simple steps to set up your wireless mouse on your Surface Pro.
Inside This Article
- Overview: Introducing wireless mouse connectivity and Benefits of using a wireless mouse with the Surface Pro
- Steps to Connect Wireless Mouse to Surface Pro
- Troubleshooting Wireless Mouse Connectivity Issues
- Alternative Mouse Connection Methods
- Conclusion
- FAQs
Overview: Introducing wireless mouse connectivity and Benefits of using a wireless mouse with the Surface Pro
When it comes to enhancing productivity and convenience, connecting a wireless mouse to your Surface Pro can make a world of difference. In this article, we will guide you through the process of connecting a wireless mouse to your Surface Pro and highlight the benefits of using one.
Wireless mouse connectivity allows you to enjoy freedom of movement and eliminates the hassle of dealing with tangled cords. With the Surface Pro’s sleek and portable design, a wireless mouse becomes the perfect companion, providing a seamless user experience.
One of the key benefits of using a wireless mouse with your Surface Pro is improved precision and control. The touchpad on the Surface Pro is incredibly versatile, but for more intricate tasks like graphic design or detailed spreadsheet work, a wireless mouse offers a higher level of accuracy and efficiency.
Another advantage of using a wireless mouse is ergonomic comfort. The Surface Pro’s compact keyboard and touchpad may not be as comfortable for extended periods of use. A wireless mouse allows you to maintain a natural and relaxed hand position, reducing strain on your wrist and fingers.
Wireless mice also come with customizable features such as programmable buttons and adjustable sensitivity levels. This means you can tailor the mouse settings to suit your individual preferences and optimize your workflow.
Furthermore, many wireless mice are designed with long battery life, meaning you won’t have to worry about constantly replacing or recharging batteries. This is especially important for those who are frequently on the go.
Overall, connecting a wireless mouse to your Surface Pro offers a multitude of benefits, including enhanced mobility, improved precision, ergonomic comfort, and customizable features. Whether you are a student, professional, or casual user, a wireless mouse can greatly enhance your productivity and user experience on the Surface Pro.
Steps to Connect Wireless Mouse to Surface Pro
Connecting a wireless mouse to your Surface Pro can greatly enhance your productivity and user experience. Whether you’re tired of dealing with tangled cords or looking for a more convenient way to navigate your device, a wireless mouse offers you the freedom to move and work without limitations. Here are the steps to connect a wireless mouse to your Surface Pro:
- Check compatibility and requirements: Before getting started, make sure that your wireless mouse is compatible with the Surface Pro. Check the manufacturer’s website or product documentation for any specific compatibility information. Additionally, ensure that your Surface Pro has Bluetooth connectivity capability.
- Turn on Bluetooth on the Surface Pro: On your Surface Pro, go to the Start menu and open the Settings app. From there, select “Devices” and navigate to the “Bluetooth & other devices” section. Toggle the switch to turn on Bluetooth if it’s not already enabled. This will allow your Surface Pro to discover and connect to your wireless mouse.
- Put the wireless mouse in pairing mode: Every wireless mouse has a slightly different process for entering pairing mode. Usually, you’ll need to press and hold a button on the mouse to activate its pairing functionality. Refer to your mouse’s user manual or check the manufacturer’s website for detailed instructions on how to put the mouse in pairing mode.
- Pair the wireless mouse with the Surface Pro: Once your wireless mouse is in pairing mode, navigate to the “Bluetooth & other devices” section in the Settings app on your Surface Pro. Click on the “Add Bluetooth or other device” button. In the menu that appears, select “Bluetooth” and wait for your Surface Pro to detect the wireless mouse. Once the mouse is displayed, click on it to initiate the pairing process.
Follow the on-screen prompts to complete the pairing process. After a successful pairing, you should see a confirmation message on your Surface Pro. Your wireless mouse is now connected and ready to use with your Surface Pro. Enjoy the freedom and convenience of a wireless mouse!
Troubleshooting Wireless Mouse Connectivity Issues
When it comes to connecting a wireless mouse to your Surface Pro, you may encounter some connectivity issues along the way. Fret not! In this section, we will discuss common problems that may arise and provide practical solutions to get your wireless mouse up and running smoothly.
1. Common problems and solutions:
One of the most common issues is the mouse not being recognized or not responding after pairing. To troubleshoot this problem, try the following steps:
- Make sure the mouse is turned on and has sufficient power. Replace the batteries if needed.
- Check if the Bluetooth function on your Surface Pro is enabled. You can do this by going to the Settings menu and navigating to the Bluetooth settings.
- Ensure that the Surface Pro and the mouse are within close proximity to establish a strong Bluetooth connection.
- Try restarting your Surface Pro and the mouse to refresh the Bluetooth connectivity.
- If the issue persists, try unpairing the mouse and re-pairing it with the Surface Pro.
2. Resetting the mouse and Surface Pro Bluetooth settings:
If you are still experiencing connectivity issues, resetting the mouse and Surface Pro Bluetooth settings can help resolve the problem:
- On the Surface Pro, go to Settings and select the Devices tab.
- Click on Bluetooth & other devices.
- Locate your wireless mouse in the list of paired devices and click on it.
- Click on the Remove device option and confirm the action.
- Similarly, on the wireless mouse, locate the reset button (usually found on the bottom) and press and hold it for a few seconds until it resets.
- Once both the Surface Pro and the mouse have been reset, repeat the pairing process to establish a new connection.
3. Updating mouse drivers and firmware:
Outdated mouse drivers or firmware can also cause connectivity issues. To update these, follow these steps:
- Go to the manufacturer’s website and search for the latest drivers and firmware for your specific model of wireless mouse.
- Download and install the updated drivers or firmware onto your Surface Pro.
- Restart your Surface Pro to ensure the changes take effect.
4. Contacting technical support for further assistance:
If you have tried all the troubleshooting steps but are still unable to resolve the connectivity issue, it is recommended to contact the technical support of your wireless mouse manufacturer or Microsoft Support for further assistance. They will be able to provide specialized guidance and help you troubleshoot the problem.
Remember, every wireless mouse and Surface Pro configuration may have unique considerations, so it’s always advisable to refer to the user manual or manufacturer’s website for specific troubleshooting steps.
By following these troubleshooting strategies, you can overcome common wireless mouse connectivity issues and enjoy a seamless experience with your Surface Pro.
Alternative Mouse Connection Methods
There are several alternative methods to connect a mouse to your Surface Pro if you don’t want to use the built-in Bluetooth functionality. These methods include using a USB receiver dongle, setting up a Bluetooth adapter for non-Bluetooth mice, and exploring other mouse options specifically designed for the Surface Pro.
Using a USB Receiver Dongle
If your wireless mouse comes with a USB receiver dongle, you can easily connect it to your Surface Pro. Simply insert the dongle into an available USB port on your device. The receiver will automatically connect with your mouse, allowing you to use it wirelessly without any additional steps. This method is especially useful if your mouse doesn’t have built-in Bluetooth capabilities.
Setting up a Bluetooth Adapter for Non-Bluetooth Mice
If you have a non-Bluetooth mouse that you want to use with your Surface Pro, you can set up a Bluetooth adapter to enable wireless connectivity. A Bluetooth adapter is a small device that plugs into one of your USB ports and provides Bluetooth capabilities to your device. Once the adapter is connected, you can follow the regular steps to pair your mouse with your Surface Pro as if it were a Bluetooth-enabled device.
Exploring other Mouse Options for the Surface Pro
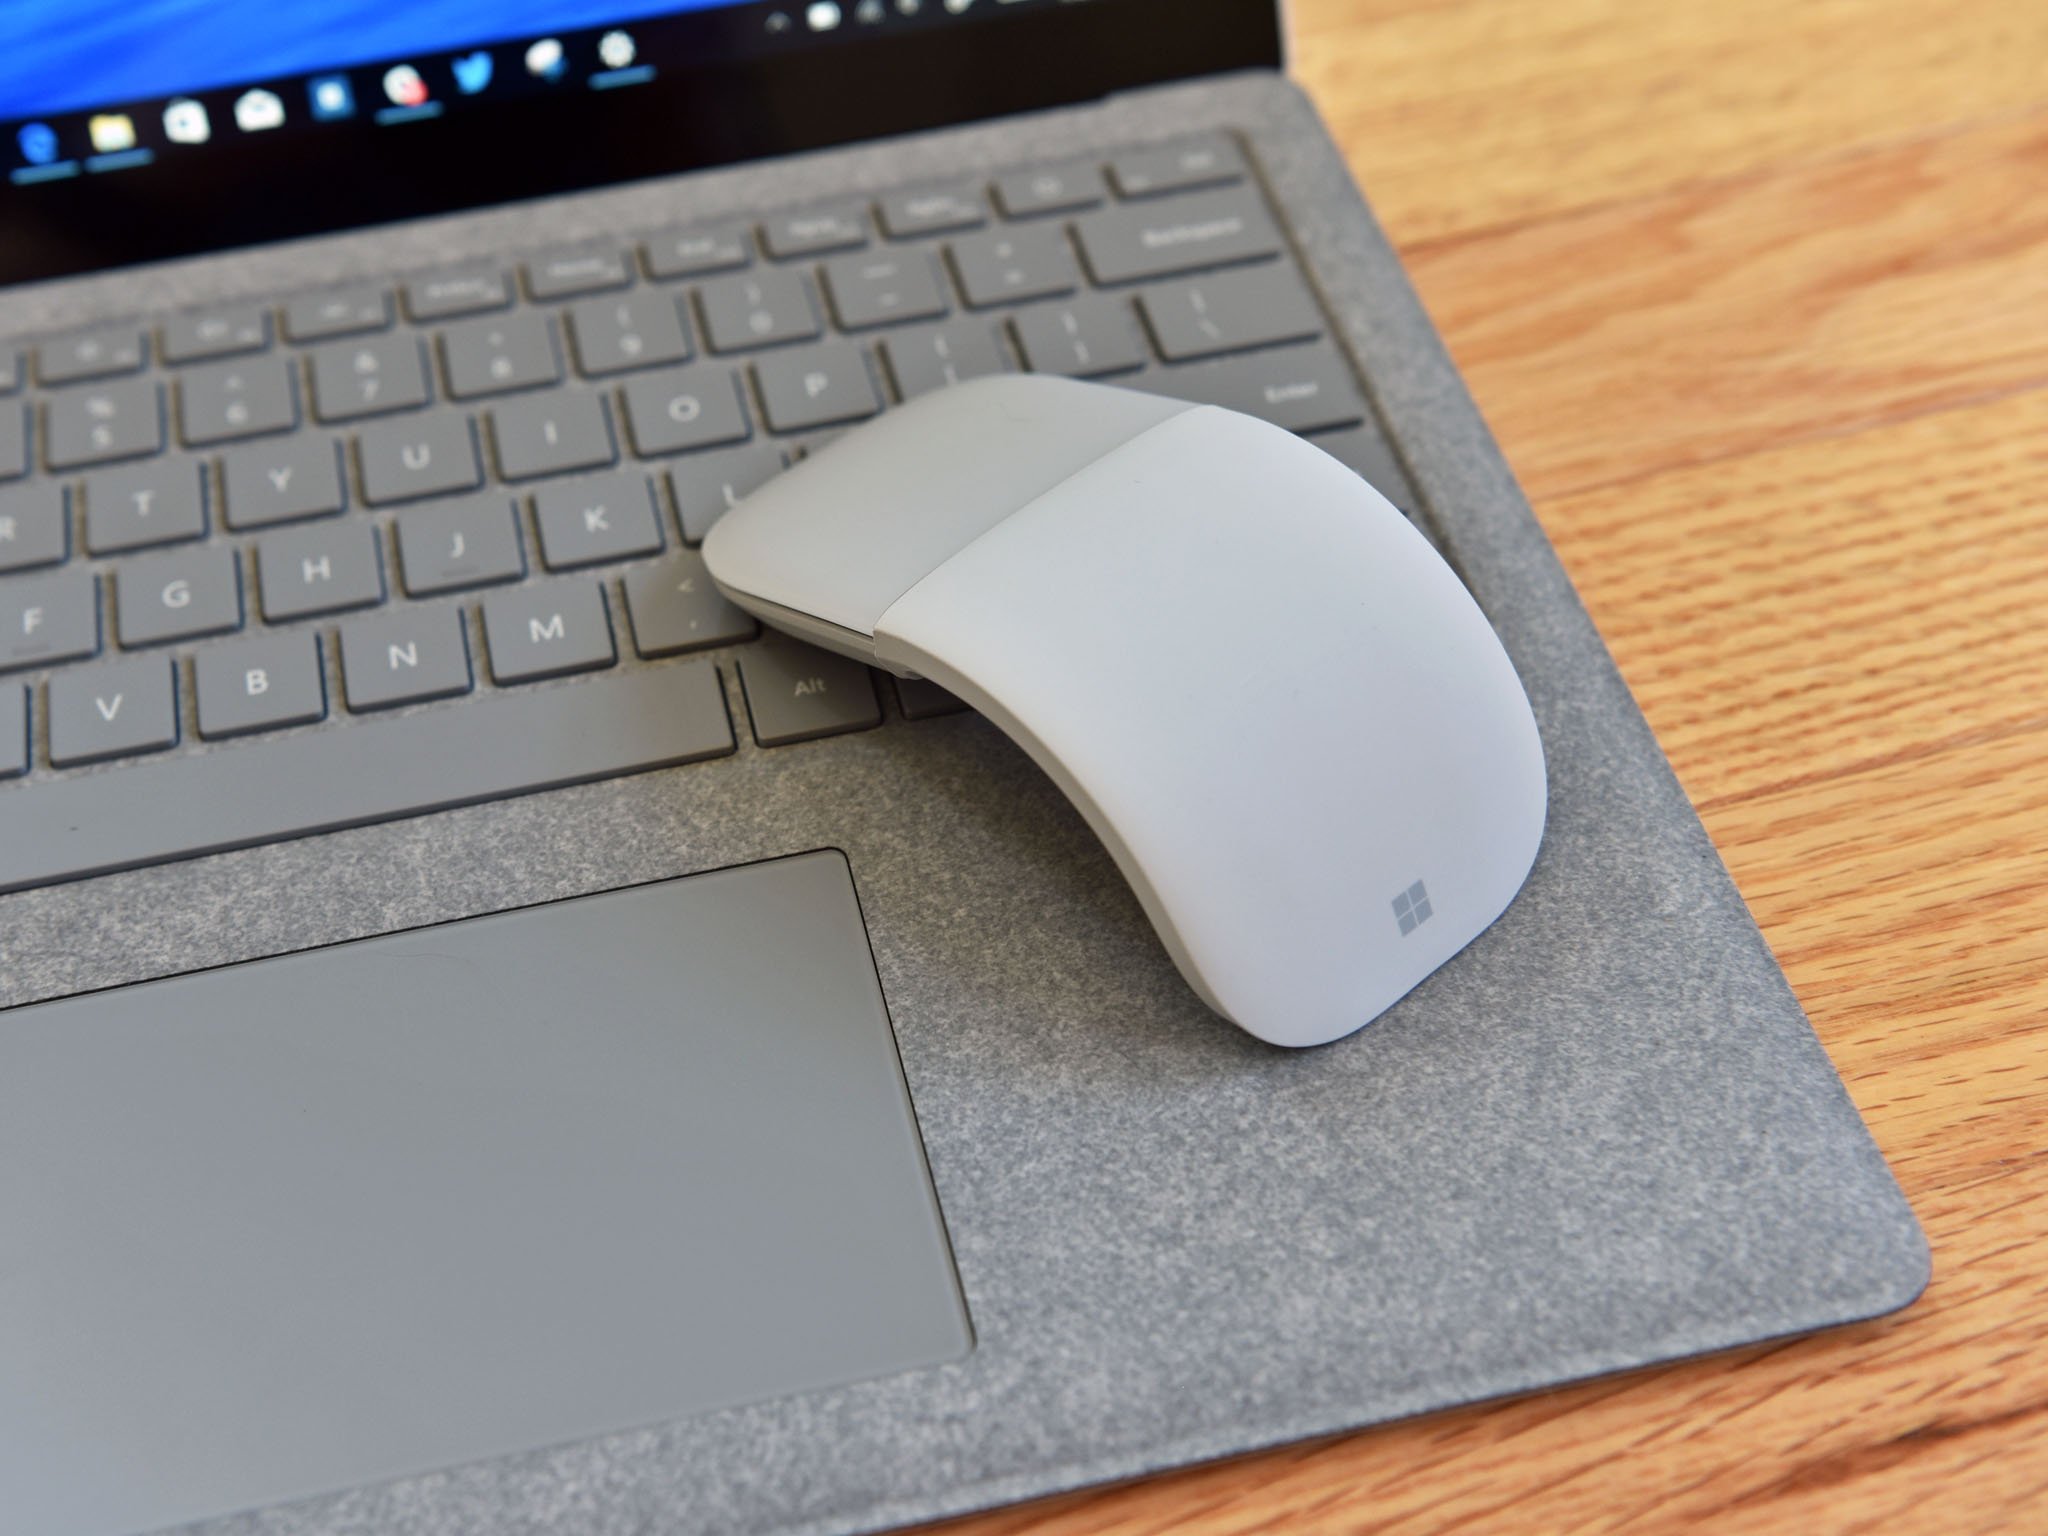
If you’re looking for alternative mouse options specifically designed for the Surface Pro, there are various choices available. Microsoft offers the Surface Arc Mouse, which is a sleek and portable mouse that matches the design and aesthetics of the Surface Pro. This mouse provides a smooth and seamless experience, featuring a full scroll plane and Bluetooth connectivity.
Additionally, there are third-party mouse options that are compatible with the Surface Pro. These mice often come with advanced features and customization options, allowing you to personalize your mouse experience. Before purchasing a third-party mouse, make sure to check its compatibility with the Surface Pro and read reviews to ensure its reliability and functionality.
By exploring these alternative mouse connection methods, you can find the best option that suits your needs and preferences for using a mouse with your Surface Pro. Whether it’s through a USB receiver dongle, a Bluetooth adapter, or a specialized Surface Pro mouse, you can enjoy the convenience and comfort of using a wireless mouse with your device.
In conclusion, connecting a wireless mouse to your Surface Pro is a convenient and straightforward process. By following the steps outlined in this guide, you can easily enhance your productivity and user experience. Whether you prefer a Bluetooth or USB receiver-based wireless mouse, the Surface Pro provides seamless compatibility with a wide range of options. Remember to ensure that your mouse is powered on and in pairing mode, and make sure that Bluetooth is enabled on your Surface Pro. By taking these simple steps, you can enjoy the freedom and flexibility of a wireless mouse, allowing you to navigate, click, and scroll with ease.
FAQs
1. How do I connect a wireless mouse to my Surface Pro?
To connect a wireless mouse to your Surface Pro, follow these steps:
– Make sure your wireless mouse is compatible with your Surface Pro.
– Ensure that the mouse has fresh batteries or is properly charged.
– Turn on your Surface Pro and go to Settings.
– Select “Devices” and then choose “Bluetooth and Other Devices.”
– Enable Bluetooth if it is not already turned on.
– Press and hold the pairing button on your wireless mouse until the LED light starts blinking.
– On your Surface Pro, select “Add Bluetooth or Other Device.”
– Choose “Bluetooth” and wait for your Surface Pro to detect the wireless mouse.
– Click on the name of your mouse when it appears on the list.
– Follow any additional instructions to complete the pairing process.
Once the pairing is successful, you should be able to use your wireless mouse with your Surface Pro.
2. Can I use any wireless mouse with my Surface Pro?
Most wireless mice should work with your Surface Pro, as long as they are compatible with Bluetooth connectivity. However, it is always recommended to check the specifications and compatibility requirements of the mouse with your Surface Pro before making a purchase.
3. My wireless mouse is not connecting to my Surface Pro. What should I do?
If your wireless mouse is not connecting to your Surface Pro, try the following troubleshooting steps:
– Ensure that the mouse has fresh batteries or is charged properly.
– Restart your Surface Pro and try pairing the mouse again.
– Remove any other devices from the Bluetooth list on your Surface Pro that might be interfering with the connection.
– Make sure that the distance between the mouse and the Surface Pro is within the Bluetooth range.
– Update the drivers for the mouse and the Surface Pro.
– If the issue persists, try connecting the mouse to another device to check if it is a problem with the mouse itself.
If none of these steps resolves the issue, it is recommended to contact the manufacturer’s support for further assistance.
4. Can I use a USB wireless mouse with my Surface Pro?
Yes, you can use a USB wireless mouse with your Surface Pro by plugging the USB receiver into the USB port on your device. The Surface Pro should recognize the mouse automatically, and you can start using it without the need for any additional setup.
5. How do I disconnect a wireless mouse from my Surface Pro?
To disconnect a wireless mouse from your Surface Pro, follow these steps:
– Go to Settings on your Surface Pro.
– Select “Devices” and then choose “Bluetooth and Other Devices.”
– Under the “Mouse, keyboard, & pen” section, find the name of your wireless mouse.
– Click on the device and select “Remove device.”
Your wireless mouse should now be disconnected from your Surface Pro.