
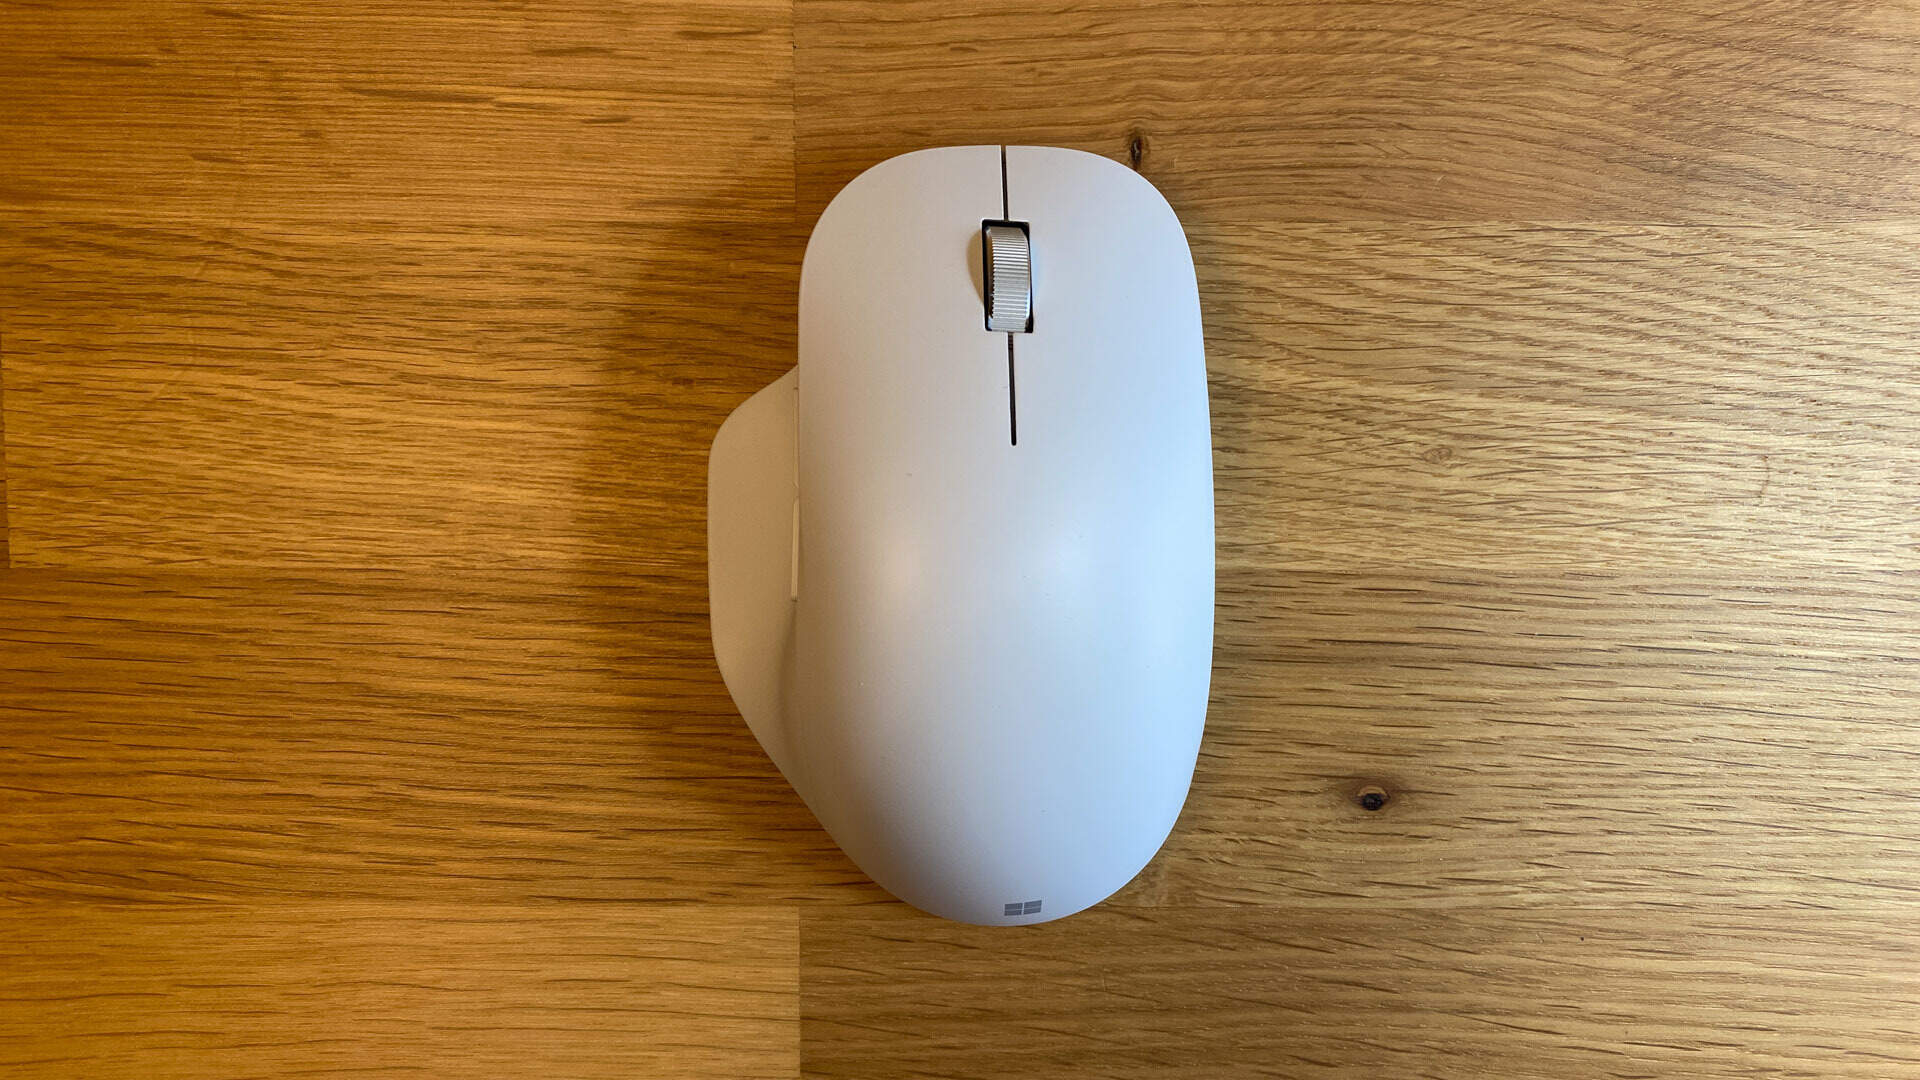
If you’re tired of tangled wires and want to enjoy the freedom of a wireless mouse, look no further than the Microsoft Wireless Mouse. This innovative device offers a hassle-free and convenient way to navigate your computer screen without the restriction of a physical connection. Whether you’re working, gaming, or simply browsing the web, setting up the Microsoft Wireless Mouse is a breeze. In this article, we will guide you through the step-by-step process of setting up your Microsoft Wireless Mouse, from installing the batteries to connecting it to your computer. Get ready to experience the joy of a wire-free mouse and unlock a new level of efficiency and convenience in your daily computing tasks.
Inside This Article
- Step 1: Check the Compatibility
- Step 2: Insert Batteries
- Step 3: Connect the Wireless Receiver
- Step 4: Install the Mouse Driver
- Step 5: Pair the Mouse with the Receiver
- Step 6: Customize Mouse Settings
- Step 7: Test the Mouse
- Troubleshooting Tips
- Conclusion
- FAQs
Step 1: Check the Compatibility
If you’re planning to set up a Microsoft wireless mouse, the first thing you need to do is check its compatibility with your computer system. Microsoft offers a range of wireless mice that are compatible with different operating systems, such as Windows and macOS. Ensure that you have the correct version of the Microsoft wireless mouse that is compatible with your operating system.
It’s also important to verify whether your computer has the necessary hardware capabilities to support the wireless mouse. Most modern computers come equipped with USB ports, which are commonly utilized to connect wireless receivers for the mouse. However, if your computer lacks USB ports or the necessary connectivity options, you may need to explore alternative solutions, such as Bluetooth-enabled wireless mice.
Before purchasing a Microsoft wireless mouse, it’s advisable to visit the official Microsoft website or read the product specifications to ensure that your computer meets the minimum requirements. This will save you time and frustration in the setup process and ensure that your wireless mouse functions properly.
Step 2: Insert Batteries
Inserting batteries into your Microsoft wireless mouse is an essential step to ensure its proper functioning. Follow these simple steps to insert the batteries:
1. Turn your mouse upside down to locate the battery compartment. It is usually positioned on the underside of the mouse.
2. Use your fingers or a small coin to unlock the battery compartment cover. Gently slide or lift the cover to open it.
3. Take the batteries and identify the correct orientation for insertion. Most wireless mice require the positive (+) end to be facing up.
4. Place the batteries into the compartment, aligning them with the polarity indicators. Ensure that they are snugly fit and make proper contact with the terminals in the compartment.
5. Once the batteries are inserted, carefully close the battery compartment cover and lock it in place. Ensure that it is securely fastened to prevent accidental dislodging of the batteries during use.
6. To confirm that the batteries are properly inserted, you can briefly press the mouse’s power button or check for any LED indicators that may be present. If the mouse powers on and the LED lights up, it indicates successful battery insertion.
Remember to use the correct type and size of batteries recommended by the manufacturer for your specific wireless mouse model. Consult the user manual or the packaging to determine the compatible battery specifications.
With the batteries securely inserted, your Microsoft wireless mouse is now ready for the next step of the setup process.
Step 3: Connect the Wireless Receiver
Once you have inserted batteries into your Microsoft wireless mouse, the next step is to connect the wireless receiver. The receiver is the small USB device that allows the mouse to communicate with your computer.
To connect the wireless receiver, follow these simple steps:
1. Locate an available USB port on your computer. It is usually found on the front or back of the PC tower or on the side of a laptop.
2. Insert the wireless receiver into the USB port. Make sure it is inserted securely to establish a stable connection.
3. Wait for your computer to recognize the receiver. Windows should automatically detect the new hardware and install any necessary drivers. If prompted, follow the on-screen instructions to complete the driver installation.
4. Once the receiver is successfully installed, you can start using your Microsoft wireless mouse. The receiver and the mouse will automatically pair, allowing you to navigate your computer effortlessly.
It is important to note that if you are using multiple USB devices, it is recommended to connect the wireless receiver directly to the computer rather than using a USB hub. This will ensure a more reliable and stable connection.
Your Microsoft wireless mouse is now ready to be used. Proceed to the next step to install the mouse driver and customize the mouse settings.
Step 4: Install the Mouse Driver
Installing the mouse driver is a crucial step in setting up your Microsoft wireless mouse. The driver allows your computer to recognize and communicate with the mouse, enabling full functionality and optimal performance. Here’s a step-by-step guide on how to install the mouse driver:
1. Locate the driver disc or visit the Microsoft website: To start the installation process, you need to have the mouse driver software. If your mouse came with a driver disc, insert it into your computer’s CD/DVD drive. If not, you can download the latest driver from the Microsoft website.
2. Run the driver installation: If you have the driver disc, an installer should automatically run when you insert it. Follow the on-screen instructions to install the driver. If you downloaded the driver from the Microsoft website, simply double-click the downloaded file to initiate the installation process.
3. Read and accept the license agreement: During the installation, you will be presented with a license agreement. Take a moment to read it carefully and then click “Accept” or “Agree” to continue the installation.
4. Choose the installation destination: The installer will prompt you to choose the destination folder for the driver installation. You can either accept the default location or specify a different folder. Once you’ve made your selection, click “Next” or “Install” to proceed.
5. Wait for the installation to complete: The driver installation process may take a few moments. Allow the installer to complete the installation process, and avoid interrupting it as doing so could result in an incomplete or faulty installation.
6. Restart your computer: After the installation is complete, it is recommended to restart your computer. This ensures that the driver installation takes effect and allows your computer to recognize the newly installed mouse driver.
7. Check the mouse functionality: Once your computer has restarted, test your Microsoft wireless mouse to ensure that it is functioning properly. Move the mouse cursor, click the buttons, and utilize any additional features or buttons on the mouse to verify its functionality.
By following these steps, you should be able to successfully install the mouse driver for your Microsoft wireless mouse. Having the correct driver installed ensures that you can fully utilize all the features and settings of your mouse, providing a seamless and enjoyable user experience.
Step 5: Pair the Mouse with the Receiver
Once you have connected the wireless receiver to your computer, the next step is to pair the mouse with the receiver. This process establishes a secure and stable connection between the two devices, ensuring smooth and uninterrupted performance.
To begin the pairing process, make sure that the mouse is turned on. Locate the “pairing” button on both the mouse and the receiver. This button is usually small and recessed, so you may need to use a paperclip or a pen to press it.
Press and hold the pairing button on the receiver for a few seconds until the LED indicator starts blinking. Then, do the same with the pairing button on the mouse. The blinking LED on both devices confirms that they are searching for each other.
After a few seconds, the LED indicator on the receiver and the mouse should stop blinking and remain lit. This indicates that the pairing process is complete, and the mouse is now successfully connected to the receiver.
It’s important to note that the pairing process may vary slightly depending on the model of your Microsoft wireless mouse. Therefore, it’s always a good idea to refer to the instruction manual or the manufacturer’s website for specific instructions.
Once the mouse is paired with the receiver, you can start using it right away. Move the mouse around to ensure that it is responding accurately to your movements. If you experience any issues, try restarting your computer or repeating the pairing process.
Some Microsoft wireless mice also offer additional features and customization options through software or drivers. If your mouse includes such features, make sure to install any accompanying software or drivers to access these advanced capabilities.
Remember to keep the receiver and the mouse within a reasonable range to maintain a reliable connection. Obstacles like walls or other electronic devices can interfere with the signal, so avoid placing them in between the receiver and the mouse.
By successfully pairing your Microsoft wireless mouse with the receiver, you can now enjoy the convenience and freedom of wireless navigation, making your computer usage a more enjoyable experience.
Step 6: Customize Mouse Settings
After successfully connecting the Microsoft wireless mouse to your computer, it’s time to customize its settings to match your preferences. Here’s how you can do that:
1. Open the Control Panel on your computer. You can do this by typing “Control Panel” in the Windows search bar and selecting the appropriate result.
2. In the Control Panel window, locate and click on the “Hardware and Sound” option.
3. Under the “Devices and Printers” section, click on “Mouse.”
4. This will open the Mouse Properties window. Here, you can adjust various settings related to your mouse.
5. The first tab you’ll see is the “Buttons” tab. This allows you to customize the functions of the mouse buttons. You can assign different actions to each button such as opening a specific program or performing a particular action.
6. The next tab is the “Pointers” tab. Here, you can change the appearance of the mouse pointer and choose from various pre-built schemes or even create your own custom pointer.
7. Moving on to the “Pointer Options” tab, you can adjust the speed and precision of the mouse cursor. You can also enable features like pointer trails or snap to default button.
8. The “Wheel” tab lets you control the behavior of the mouse scroll wheel. You can choose how many lines the wheel scrolls at a time or even switch to scrolling one screen at a time.
9. In the “Hardware” tab, you can view information about your mouse, such as its model and driver details.
10. Lastly, the “Touchpad” tab is only available if your mouse has touch-sensitive capabilities. Here, you can configure touch gestures and actions.
11. Once you have made the desired changes, click “Apply” and then “OK” to save the settings.
By customizing the mouse settings, you can optimize its functionality and tailor it to your specific needs and preferences. So, make sure to explore the various options available and find the perfect settings that enhance your productivity and overall computing experience.
Step 7: Test the Mouse
Now that you have successfully set up your Microsoft wireless mouse, it’s time to put it to the test. Testing the mouse ensures that it is functioning properly and that you can navigate seamlessly on your computer. Follow these steps to test your mouse:
1. Move the mouse cursor: Simply move the mouse on a flat surface, and you should see the cursor on your computer screen moving accordingly. Make sure the movement is smooth and responsive.
2. Left-click: Clicking the left button on the mouse should initiate an action on your computer, such as opening a file or selecting an item on the screen. Test this by clicking on different icons or links on your desktop.
3. Right-click: Right-clicking the mouse should bring up a context menu with various options depending on the program or file you are accessing. Verify that the right-click function is working correctly by right-clicking on a blank area of your desktop and selecting “New” to see if the sub-menu appears.
4. Scroll wheel: If your Microsoft wireless mouse has a scroll wheel, try scrolling up and down on a webpage or document. The content should move smoothly as you scroll. You can also click the scroll wheel to activate the auto-scrolling feature, if available.
5. Back and forward buttons (if applicable): Some Microsoft wireless mice come with additional buttons on the side, typically used for navigating backward or forward in web browsers or file explorers. Test these buttons by clicking them and verifying that they perform the expected actions.
6. DPI adjustment (if applicable): If your mouse features DPI (dots per inch) adjustment, you can test it by changing the DPI settings. Higher DPI settings make the cursor move faster, while lower settings increase precision. Adjust the DPI settings in the mouse driver software or using any dedicated buttons on the mouse itself, if available.
7. Battery status (if applicable): If your wireless mouse has an indicator light or software feature that displays the battery status, check it to ensure your batteries are not running low. Replace the batteries if necessary.
By conducting these tests, you can confirm that your Microsoft wireless mouse is functioning properly and that all its features are working as intended. If you encounter any issues during testing, you can refer to the troubleshooting tips or consult the user manual to resolve the problem.
Troubleshooting Tips
Setting up a Microsoft wireless mouse can be a seamless and efficient process. However, there may be instances where you encounter issues during the setup or after using the mouse. Here are some troubleshooting tips to help you resolve common problems:
- Check the batteries: If your wireless mouse is not responding or functioning properly, the first thing you should do is check the batteries. Make sure they are properly inserted and have enough charge. If the batteries are low, replace them with fresh ones.
- Reconnect the wireless receiver: If your mouse is not connecting to the computer, try reconnecting the wireless receiver. Remove the receiver from the USB port and wait for a few seconds before plugging it back in. Ensure that there are no obstructions or interference nearby that could disrupt the wireless signal.
- Restart your computer: If the mouse is still not working, try restarting your computer. Sometimes, a simple reboot can resolve connection issues and restore functionality.
- Update mouse drivers: Outdated or incompatible drivers can cause problems with your wireless mouse. Visit the Microsoft website or use the Device Manager to check for updated drivers for your specific mouse model. Download and install any available updates to ensure compatibility and optimal performance.
- Reset the mouse: If all else fails, you can try resetting the mouse to its default settings. Look for a small reset button on the underside of the mouse and press it using a pointed object, such as a pen tip. This will reset the mouse and clear any connection issues or settings conflicts.
- Try a different USB port: If your wireless receiver is connected via USB, try plugging it into a different port on your computer. Sometimes, certain USB ports may be faulty or have compatibility issues. By switching to a different port, you can eliminate the possibility of a port-related problem.
- Check for software conflicts: Certain software applications or programs may conflict with your wireless mouse, causing it to malfunction. If you recently installed or updated any software, try uninstalling or disabling it temporarily to see if it resolves the issue. You can also try running the mouse in compatibility mode if you suspect compatibility issues.
- Contact customer support: If you have exhausted all troubleshooting methods and your Microsoft wireless mouse is still not working, it may be necessary to contact customer support for further assistance. They can provide guidance specific to your mouse model and help diagnose any underlying hardware or software issues.
By following these troubleshooting tips, you can overcome common issues with your Microsoft wireless mouse and ensure a smooth and hassle-free experience. Remember to refer to the user manual or Microsoft’s support resources for additional guidance if needed. Happy mousing!
Setting up a Microsoft wireless mouse is a simple and convenient way to improve your computer experience. By following the easy steps outlined in this article, you can quickly connect your wireless mouse to your computer and start enjoying the benefits of wireless freedom. Not only does a wireless mouse eliminate the hassle of tangled cords, but it also provides freedom of movement and flexibility. Whether you’re working, gaming, or just browsing the web, having a wireless mouse can make your tasks smoother and more efficient. So why wait? Take the plunge and set up your Microsoft wireless mouse today!
FAQs
1. How do I set up a Microsoft wireless mouse?
Setting up a Microsoft wireless mouse is a straightforward process. First, insert the batteries into the mouse if required. Then, check if your computer has built-in Bluetooth or if you need to connect a USB receiver. If using Bluetooth, ensure it is turned on. If using a USB receiver, plug it into an available USB port on your computer. Wait for your computer to detect the mouse and install any necessary drivers. Finally, follow the on-screen instructions to complete the setup process.
2. How do I connect a Microsoft wireless mouse without a USB receiver?
If your Microsoft wireless mouse supports Bluetooth connectivity, you can connect it to your computer without using a USB receiver. Check if your computer has built-in Bluetooth capabilities. If it does, turn on the Bluetooth on both your computer and the wireless mouse. On your computer, go to the Bluetooth settings and search for available devices. Select your wireless mouse from the list and follow any on-screen prompts to complete the connection process.
3. Can I use a Microsoft wireless mouse with a Mac?
Yes, Microsoft wireless mice are usually compatible with Mac computers. However, it is advisable to check the specific model’s compatibility with Mac before purchasing. Once you have confirmed the compatibility, you can follow the same steps as setting up a Microsoft wireless mouse with a Windows computer. Insert the batteries, connect the USB receiver (if applicable), or pair it via Bluetooth (if supported) to start using the mouse on your Mac.
4. How do I troubleshoot issues with a Microsoft wireless mouse?
If you encounter any issues with your Microsoft wireless mouse, try the following troubleshooting steps:
- Check the batteries: Ensure that the batteries in the mouse are correctly inserted and have sufficient power.
- Reconnect the mouse: If using a USB receiver, try removing and reinserting it into a different USB port. If using Bluetooth, disconnect and reconnect the mouse from the Bluetooth settings.
- Update drivers: Visit the official Microsoft website and download the latest drivers for your wireless mouse.
- Try a different surface: Sometimes, the mouse may not work well on certain surfaces. Try using a mouse pad or a different desk surface.
- Restart your computer: A simple restart of your computer can also help resolve any temporary issues.
5. How do I customize the settings of a Microsoft wireless mouse?
To customize the settings of your Microsoft wireless mouse, you can use the Microsoft Mouse and Keyboard Center software if it is compatible with your mouse model. Download and install the software from the official Microsoft website. Once installed, open the software and follow the on-screen instructions to customize various settings such as cursor speed, button assignments, and scrolling behavior according to your preferences.