
Are you experiencing slow data transfer rates on your Windows 7 computer? If you find yourself waiting for files to transfer at a snail’s pace, it can be frustrating and time-consuming. However, there are steps you can take to increase the disk data transfer rate on your Windows 7 system. By optimizing your settings and making a few tweaks, you can significantly improve the speed and efficiency of file transfers. In this article, we will explore various methods to boost the data transfer rate on your Windows 7 computer, helping you save time and improve productivity. Whether you need to transfer large files, backup data, or simply streamline your workflow, these tips and techniques will help you get the job done faster and more efficiently. Let’s dive in!
Inside This Article
- Method 1: Optimize Disk Settings- Enable Write Caching- Disable Indexing- Disable Windows Search
- Method 2: Update Device Drivers – Check for Updates – Download and Install Latest Drivers
- Method 3: Defragment and Trim Your Hard Drive- Use Disk Defragmenter- Enable Automatic Maintenance
- Method 4: Upgrade Your Hardware- Consider Upgrading to SSD- Increase RAM Capacity
- Conclusion
- FAQs
Method 1: Optimize Disk Settings- Enable Write Caching- Disable Indexing- Disable Windows Search
One effective method to increase disk data transfer rate in Windows 7 is by optimizing the disk settings. By enabling write caching, disabling indexing, and disabling Windows search, you can significantly improve the performance of your disk.
Write caching is a feature that allows Windows to store write data in a cache memory before it is written to the physical disk. By enabling write caching, you can speed up the write operations, resulting in faster data transfer rates. To enable write caching, follow these steps:
- Open the Device Manager by right-clicking on the Computer icon on your desktop and selecting “Properties.”
- In the System Properties window, click on the “Device Manager” link.
- Expand the “Disk drives” category to view the list of installed disk drives.
- Right-click on your main disk drive (usually labeled as “C:”) and select “Properties.
- In the Properties window, go to the “Policies” tab.
- Check the box next to “Enable write caching on the device.”
- Click “OK” to save the changes.
Next, you should disable indexing on your disk. Indexing is a process that allows Windows to quickly search for files and folders on your computer. However, constant indexing can consume system resources and slow down data transfer rates. To disable indexing, follow these steps:
- Open Windows Explorer by pressing the Windows key + E.
- Right-click on your main disk drive (usually labeled as “C:”) and select “Properties.”
- In the Properties window, uncheck the box next to “Allow files on this drive to have contents indexed.”
- Click “Apply” and then select “Apply changes to drive C:\, subfolders and files.”
- Click “OK” to save the changes.
Additionally, you can disable the Windows search feature, which can also impact disk performance. To disable Windows search, follow these steps:
- Open the “Start” menu and type “services.msc” in the search bar. Press Enter.
- In the Services window, scroll down and double-click on “Windows Search” to open its properties.
- In the General tab, set the “Startup type” to “Disabled.”
- Click “Apply” and then “OK” to save the changes.
By optimizing the disk settings, enabling write caching, disabling indexing, and disabling Windows search, you can significantly increase the disk data transfer rate in Windows 7. These steps are straightforward and can help improve the overall performance of your system.
Method 2: Update Device Drivers – Check for Updates – Download and Install Latest Drivers
Another effective method to increase the disk data transfer rate in Windows 7 is to update your device drivers. Outdated or incompatible drivers can significantly slow down data transfer speeds. By keeping your drivers up to date, you can ensure that your system is optimized for maximum performance.
To begin, you’ll want to check for any available driver updates. Windows 7 provides a built-in tool for this purpose. Simply follow these steps:
- In the Start menu, type “Device Manager” and open it.
- Expand the category of the device you want to update drivers for.
- Right-click on the device and select “Update driver software”.
- Choose the option to automatically search for driver software online.
Windows will now search for any available updates for your device drivers. If any updates are found, it will prompt you to download and install them. This process may take some time, depending on the speed of your internet connection and the number of updates available.
In addition to the built-in Windows update tool, you can also visit the manufacturer’s website to manually download the latest drivers for your devices. Here’s how:
- Note down the make and model of the device you want to update drivers for.
- Visit the manufacturer’s website and navigate to the “Support” or “Downloads” section.
- Enter the make and model of your device and search for the latest drivers.
- Download the appropriate driver file for your operating system.
- Once downloaded, run the installer and follow the on-screen instructions to install the drivers.
By updating your device drivers, you can ensure that your hardware is fully compatible with Windows 7 and take advantage of any performance optimizations provided by the manufacturer. This can lead to improved disk data transfer rates and a smoother overall computing experience.
Method 3: Defragment and Trim Your Hard Drive- Use Disk Defragmenter- Enable Automatic Maintenance
A fragmented hard drive can significantly impact the data transfer rate in Windows 7. Fragmentation occurs when files are stored in multiple non-contiguous clusters on the drive. This can slow down the read and write operations, affecting the overall performance of your system.
To counter this issue, Windows 7 offers a built-in utility called Disk Defragmenter. This tool reorganizes the fragmented data on your hard drive, allowing for faster access and improved data transfer rate. Follow the steps below to use Disk Defragmenter:
- Click on the “Start” button, type “Disk Defragmenter” in the search box, and select the relevant result from the list.
- In the Disk Defragmenter window, select the drive you want to defragment. Click on the “Analyze disk” button to check the fragmentation level.
- If the drive is highly fragmented, click on the “Defragment disk” button to begin the defragmentation process. Note that this may take some time depending on the size and fragmentation level of your drive.
- Once the defragmentation is complete, restart your computer to allow the changes to take effect.
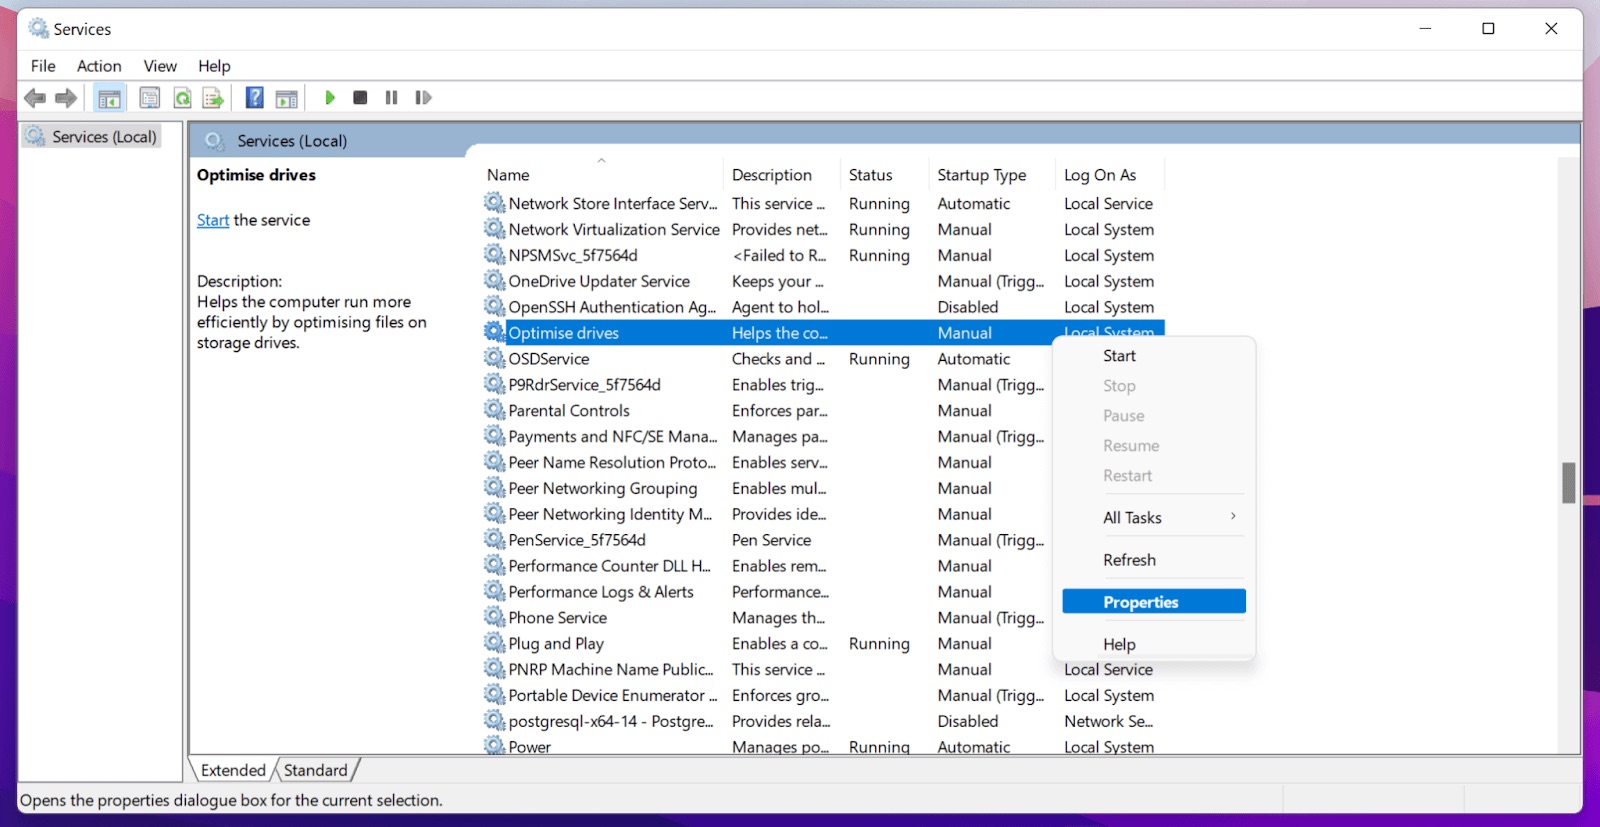
Another useful feature is the Automatic Maintenance option in Windows 7. This feature allows your system to perform maintenance tasks, including disk optimization and trim, on a regular basis. Enabling automatic maintenance can ensure that your hard drive remains optimized and the data transfer rate is maximized. Here’s how to enable it:
- Click on the “Start” button, type “Action Center” in the search box, and select the relevant result from the list.
- In the Action Center window, click on “Maintenance” from the left-hand side menu.
- Under the “Automatic Maintenance” section, click on “Change maintenance settings”.
- Check the box next to “Allow scheduled maintenance to wake up my computer at the scheduled time” if you want your computer to wake up from sleep mode to perform maintenance tasks.
- Choose a convenient time for maintenance tasks to run, and click on “OK”.
By defragmenting your hard drive and enabling automatic maintenance, you can optimize the data transfer rate in Windows 7. This will result in faster access to your files and improved overall system performance.
Method 4: Upgrade Your Hardware- Consider Upgrading to SSD- Increase RAM Capacity
Another effective way to increase the disk data transfer rate in Windows 7 is by upgrading your hardware. Two key hardware upgrades that can significantly improve disk performance are upgrading to a solid-state drive (SSD) and increasing the capacity of your RAM.
1. Consider Upgrading to SSD:
An SSD is a storage device that uses flash memory instead of traditional mechanical components found in conventional hard drives. This results in faster data transfer rates, quicker boot times, and overall improved system performance. Upgrading to an SSD can greatly enhance the data transfer rate of your system’s disk.
When choosing an SSD, make sure to consider factors such as storage capacity, read and write speeds, and overall reliability. Higher-quality SSDs may have a higher price tag, but they offer better performance and durability.
2. Increase RAM Capacity:
In addition to upgrading to an SSD, increasing the capacity of your RAM can also help improve disk data transfer rates. RAM, or Random Access Memory, is used by your computer to temporarily store data that it needs to access quickly. Having more RAM allows your system to handle larger amounts of data, reducing the need for frequent swapping between RAM and the disk.
To determine the maximum amount of RAM your computer can support, you can refer to the manufacturer’s specifications or consult a computer technician. Once you have confirmed the maximum capacity, you can purchase and install additional RAM modules to boost your system’s performance.
By upgrading your hardware, specifically by considering an SSD and increasing your RAM capacity, you can significantly enhance the disk data transfer rate in Windows 7. These hardware upgrades not only improve system performance but also contribute to a smoother and faster computing experience overall.
Conclusion
Increasing the disk data transfer rate in Windows 7 is crucial for optimizing system performance and ensuring smooth operation. By following the steps outlined in this article, you can significantly improve the speed and efficiency of data transfer on your computer.
Remember to start by identifying the bottleneck, whether it’s the hard drive, the interface, or the system settings. Then, take the necessary actions to address the specific issue, such as upgrading to a faster hard drive, enabling advanced features in the device manager, or adjusting the power settings.
Additionally, keeping your system clean and clutter-free, utilizing disk optimization tools, and staying up to date with the latest drivers can further enhance the data transfer rate. Don’t forget to regularly perform maintenance tasks, such as disk defragmentation, to ensure optimal performance.
By implementing these strategies, you can maximize the disk data transfer rate in Windows 7 and enjoy a faster and more efficient computing experience.
FAQs
1. What factors can influence the disk data transfer rate in Windows 7?
There are several factors that can affect the disk data transfer rate in Windows 7. Some of the main factors include the type and speed of the hard drive, the amount of free space on the drive, the presence of any fragmentation on the disk, and the efficiency of the operating system in managing disk operations.
2. How can I check the current data transfer rate of my hard drive in Windows 7?
To check the current data transfer rate of your hard drive in Windows 7, you can use the built-in performance monitoring tool called “Resource Monitor.” To access it, simply open the Start menu, type “Resource Monitor” in the search bar, and press Enter. Once the Resource Monitor window opens, navigate to the “Disk” tab, and you will find the current data transfer rate of your hard drive listed under the “Disk Activity” section.
3. What can I do to improve the disk data transfer rate in Windows 7?
There are several steps you can take to improve the disk data transfer rate in Windows 7. First, ensure that your hard drive is not fragmented by running the built-in Disk Defragmenter tool. Additionally, make sure that your hard drive is not nearing its full capacity, as having sufficient free space allows for smoother data transfer. You can also consider upgrading to a faster hard drive or switching to a solid-state drive (SSD) for improved performance.
4. Can outdated device drivers affect the disk data transfer rate in Windows 7?
Yes, outdated or incompatible device drivers can have a negative impact on the disk data transfer rate in Windows 7. It is crucial to keep your device drivers up to date by regularly checking for updates from the manufacturer’s website or using a reliable driver update tool. Having the latest drivers ensures that your hardware is fully optimized and can perform at its best, improving the overall data transfer rate.
5. Does the file system used in Windows 7 affect the disk data transfer rate?
Yes, the file system used in Windows 7 can impact the disk data transfer rate. The NTFS (New Technology File System) is the default file system in Windows 7, and it offers several advantages for data storage and performance. NTFS provides better file security, improved reliability, and advanced features such as file and folder compression. Using the NTFS file system can enhance the overall disk data transfer rate when compared to the older FAT32 file system.