
Are you looking for a way to configure a drive to NTFS without losing your valuable data? Look no further! In this article, we will guide you through the process of safely converting your drive to NTFS format, all while keeping your files intact. NTFS, which stands for New Technology File System, is the default file system used by modern versions of Windows. It offers better security, increased file size limits, and improved performance compared to the older FAT file systems. So, whether you want to format an external hard drive, a USB flash drive, or even your system’s primary drive, we’ve got you covered. Let’s dive in and ensure a smooth and hassle-free transition to NTFS!
Inside This Article
- Understanding NTFS
- Backup Your Data
- Performing the Conversion
- Final Steps and Considerations
- Conclusion
- FAQs
Understanding NTFS
NTFS, which stands for New Technology File System, is a file system introduced by Microsoft with the release of Windows NT. It is the default file system for modern versions of Windows, including Windows 10. NTFS offers numerous advantages over the older FAT and FAT32 file systems, including improved security, reliability, and support for larger file sizes and disk capacities.
One of the key features of NTFS is its ability to provide robust file-level security permissions. This means that you can set individual access rights and restrictions for specific files and folders, ensuring that only authorized users can access or modify them. NTFS also supports encryption and compression, allowing you to protect sensitive data and save disk space.
Another important aspect of NTFS is its support for large file sizes and disk capacities. While FAT and FAT32 have limitations on file sizes (4GB maximum) and disk capacities (2TB maximum), NTFS allows for much larger files and disks. This is crucial for handling modern media files, such as high-resolution videos or large software installations.
NTFS also provides advanced features for file recovery and system stability. It includes a transactional system that ensures the consistency of disk operations, which means that if a power failure or system crash occurs during a file write, the file system can recover without data loss or corruption. NTFS also supports journaling, which records changes to the file system, making it easier to recover from errors or system failures.
Another benefit of NTFS is its support for file compression. NTFS allows you to compress individual files or directories, reducing their size on disk without losing data. This can be particularly useful when you have limited disk space and need to optimize storage efficiency.
Backup Your Data
Before proceeding with the process of configuring a drive to NTFS, it is essential to create a backup of your existing data. This step ensures that in the event of any unforeseen issues during the conversion, you won’t lose any important files or documents.
Backing up your data can be done in a variety of ways. One popular method is to use an external storage device such as an external hard drive or a USB flash drive. Connect the storage device to your computer and copy all the necessary files and folders onto it. Alternatively, you can also make use of cloud storage services like Google Drive, Dropbox, or Microsoft OneDrive to store your data securely online.
Remember to choose a backup method that suits your needs and preferences. It’s also a good practice to verify that the backup has been successfully created and that all your important files are included.
By taking the time to back up your data, you can ensure peace of mind and minimize the risk of data loss during the drive configuration process. With your data safely backed up, you can proceed confidently knowing that you have a copy of your important files readily available if needed.
Performing the Conversion
Once you have backed up your data and confirmed the existing file system, it’s time to perform the conversion to NTFS. Here’s how you can do it:
1. Open the Command Prompt as an administrator. You can do this by typing “cmd” in the search bar, then right-clicking on the Command Prompt app and selecting “Run as administrator.”
2. In the Command Prompt window, type the following command: convert drive_letter: /fs:ntfs Replace “drive_letter” with the actual drive letter of the drive you want to convert. For example, if you want to convert drive D, the command will be convert D: /fs:ntfs.
3. Press Enter to execute the command. A message will appear to inform you that the conversion will start and that all data on the drive will be retained. Make sure to double-check the drive letter and the confirmation message before proceeding.
4. Depending on the size of the drive and the amount of data it contains, the conversion process may take some time. Be patient and avoid interrupting the process.
5. Once the conversion is complete, you will see a message indicating the successful conversion. It is recommended to restart your computer to ensure that all changes take effect.
6. After restarting your computer, you can check the file system of the converted drive to confirm that it is now NTFS. Simply right-click on the drive, select “Properties,” and go to the “General” tab. Under “File System,” it should say “NTFS.”
7. Congratulations! You have successfully converted your drive to NTFS without losing any data. You can now enjoy the benefits of the NTFS file system, such as improved security features and support for larger file sizes.
Remember, it’s always a good practice to regularly back up your important data to avoid any potential loss during system changes or upgrades.
Final Steps and Considerations
Now that you have successfully converted your drive to the NTFS file system without losing any data, there are a few final steps and considerations to keep in mind. These steps will help ensure that your newly configured drive performs optimally and that you have a smooth transition.
1. Update Your Security Software: After the conversion, it is a good practice to update your security software and run a full system scan. This will help protect your data from any potential threats or vulnerabilities that may have been present before the conversion.
2. Verify File System Permissions: It is essential to check and verify the file system permissions on the newly configured NTFS drive. Ensure that you have the necessary read and write permissions for all the files and folders. This can be done by right-clicking on the drive, selecting “Properties,” and navigating to the “Security” tab.
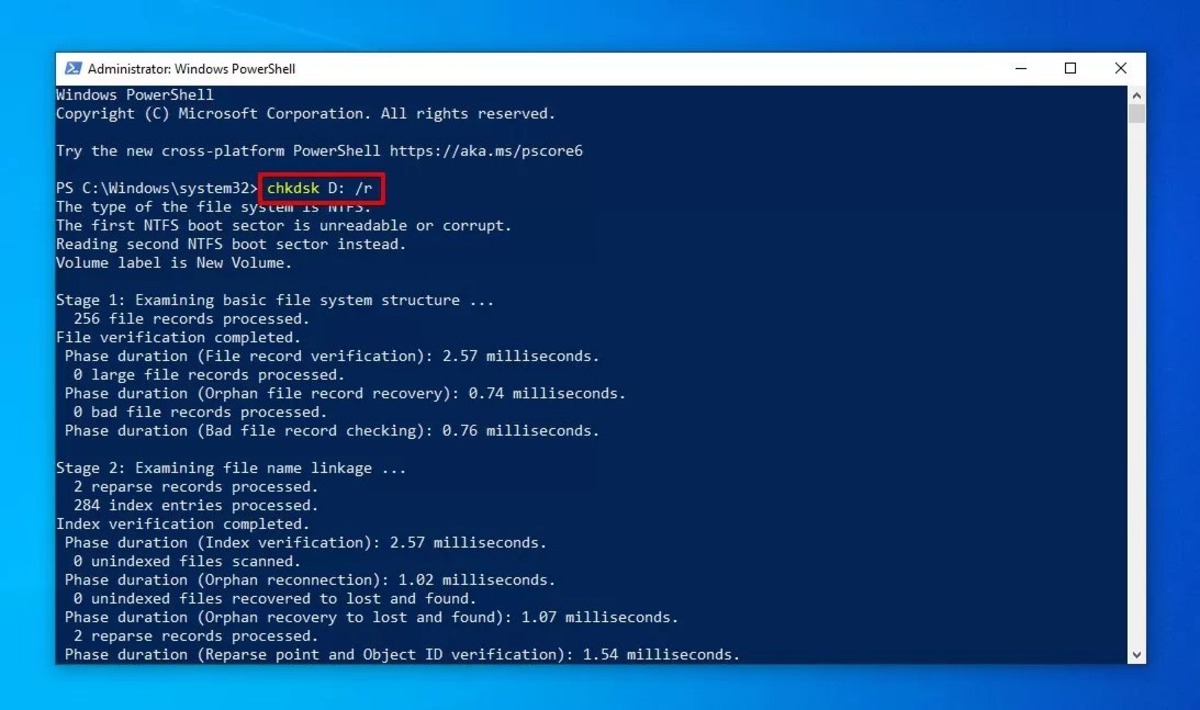
3. Check for File System Errors: Regularly running the built-in Windows utility called “Check Disk” (chkdsk) is recommended. This utility checks for any file system errors on the drive and fixes them if necessary. To run the utility, open the command prompt and type “chkdsk [drive letter]: /f” without the quotes.
4. Optimize Disk Performance: To optimize the performance of your newly configured NTFS drive, you can use the built-in Windows utility called “Disk Defragmenter.” This utility rearranges fragmented files on the drive, resulting in faster access times. To run the utility, type “defrag [drive letter]:” in the command prompt without the quotes.
5. Regularly Back Up Your Data: Regardless of the file system, regular data backups are crucial to prevent permanent data loss. Set up a routine backup schedule to ensure that all your important files and folders are securely backed up. This will provide peace of mind in case of any unforeseen events or drive failures.
6. Test and Monitor: After completing the conversion, it’s a good idea to test the drive’s functionality and monitor its performance. Copy some files to and from the drive, open and save documents, and ensure that everything is working as expected. If you notice any issues, troubleshoot them promptly to avoid potential data loss or drive problems.
By following these final steps and considerations, you can ensure a seamless transition to the NTFS file system without losing any precious data. Enjoy the benefits of improved performance, enhanced security, and better file system management that NTFS provides.
Conclusion
Configuring a drive to NTFS without losing data can be a relatively straightforward process. By following the steps outlined in this guide, you can ensure that your data remains intact while enjoying the benefits of NTFS file system, such as improved security, increased storage capacity, and enhanced file management.
Remember to take precautionary measures before making any changes to your drive, such as backing up important files and creating a system restore point. This will help safeguard against any unexpected issues during the process.
With the information provided in this article, you now have the knowledge and tools to successfully configure a drive to NTFS without the risk of data loss. Enjoy the added functionality and performance that NTFS brings to your storage devices!
FAQs
1. What is NTFS?
NTFS (New Technology File System) is a file system that provides advanced security features, improved performance, and support for larger storage capacities. It is the default file system used by Windows operating systems.
2. Why would I want to configure a drive to NTFS?
Configuring a drive to NTFS has several benefits. It allows you to take advantage of NTFS features such as file and folder encryption, disk quotas, and file compression. NTFS also provides superior data security and reliability compared to other file systems.
3. Will I lose my data when configuring a drive to NTFS?
No, configuring a drive to NTFS does not result in data loss. However, it is always recommended to create a backup of your important files before making any changes to your drive’s file system, just to be on the safe side.
4. How can I configure a drive to NTFS?
To configure a drive to NTFS, you can use the built-in Windows Disk Management tool. Right-click on the drive you want to convert, select “Format,” choose NTFS as the file system type, and follow the on-screen instructions to complete the process.
5. Can I convert back to a different file system after configuring a drive to NTFS?
Yes, it is possible to convert a drive from NTFS to a different file system, but the process will result in data loss. Therefore, it is essential to back up your data before attempting to convert the drive back to a different file system.