
Flash drives have become an essential tool for storing and transferring data, whether it’s documents, photos, or videos. However, just like any other storage device, flash drives are not immune to corruption. When a flash drive becomes corrupted, it can be frustrating and worrisome, especially if you have important data stored on it. The good news is that there are ways to fix a corrupted flash drive without losing your precious data. In this article, we will guide you through the process of repairing a corrupted flash drive and recovering your files, step by step. So if you’re facing the issue of a corrupted flash drive, don’t panic! Read on to learn how to fix it and retrieve your valuable data.
Inside This Article
- Understanding Corrupted Flash Drives
- Common Causes of Flash Drive Corruption
- Precautions to Take Before Fixing a Corrupted Flash Drive
- Method 1: Using Command Prompt (Windows)
- Method 2: Using Disk Utility (macOS)
- Method 3: Using Third-Party Data Recovery Software
- Method 4: Formatting the Flash Drive
- Conclusion
- FAQs
Understanding Corrupted Flash Drives
Flash drives have become an essential part of our digital lives, offering a portable and convenient way to store and transfer data. However, just like any other electronic device, flash drives can sometimes become corrupted, rendering our valuable data inaccessible. Understanding the causes and symptoms of a corrupted flash drive is crucial in order to effectively resolve the issue without losing any data.
A corrupted flash drive refers to a situation where the file system of the drive becomes damaged or unreadable. This can happen due to a variety of reasons, such as abrupt removal of the drive while files are being transferred, exposure to viruses or malware, physical damage, or even simple wear and tear over time. When a flash drive becomes corrupted, it may show symptoms such as being unable to access files, freezing or crashing when plugged into a computer, or displaying unusual error messages.
It’s important to note that a corrupted flash drive can be a daunting problem, but it doesn’t necessarily mean that the data is lost forever. With the right approach and tools, it is often possible to fix a corrupted flash drive and recover the data stored within.
In the following sections, we will outline the steps to fix a corrupted flash drive without losing any data. It is crucial to follow these steps carefully and in the order presented, as they are designed to minimize the risk of data loss and maximize the chances of successful recovery.
Common Causes of Flash Drive Corruption
Flash drives are widely used for portable storage due to their convenience and compact size. However, they can become corrupted, leading to data loss or inaccessibility. Understanding the common causes of flash drive corruption can help you prevent such issues and safeguard your valuable data. Here are some of the most common causes:
- Physical Damage: Flash drives are susceptible to physical damage, such as being dropped, exposed to extreme temperatures, or subjected to water or moisture. These physical damages can disrupt the storage circuitry and lead to corruption.
- Improper Removal: Removing a flash drive from a computer without safely ejecting it first can result in data corruption. This is because files might still be in the process of being written or read from the drive, and abrupt removal can cause errors and corruption.
- Virus or Malware Infections: Flash drives can easily get infected with viruses or malware when connected to infected computers. These malicious programs can corrupt files, damage the file system, and make the drive inaccessible.
- File System Errors: Over time, the file system on a flash drive can develop errors, making it difficult to read or write data. These errors can occur due to power outages, improper shutdowns, or software issues.
- Power Surges: Sudden power surges or fluctuations can disrupt the proper functioning of a flash drive. The electrical overload can damage the internal components, leading to corruption of data.
- Incompatible File Formats: Using a flash drive to store files with incompatible formats or unsupported file systems can cause corruption. The drive might struggle to read or write these files, leading to errors and data corruption.
- Excessive Read/Write Operations: Continuous, intensive usage of a flash drive can subject it to wear and tear. Over time, the repeated read/write operations can result in physical damage and file corruption.
- Manufacturing Defects: In rare cases, flash drives can have manufacturing defects that make them prone to corruption. These defects can manifest as hardware malfunctions, firmware issues, or poor quality control during production.
By being aware of these common causes of flash drive corruption, you can take precautionary measures to minimize the risk. Remember to handle your flash drives with care, regularly update your antivirus software, safely eject the drive before removal, and avoid using the drive for incompatible file formats. Taking these steps can help protect your data and ensure a longer lifespan for your flash drives.
Precautions to Take Before Fixing a Corrupted Flash Drive
Dealing with a corrupted flash drive can be a frustrating experience, especially if you have important data stored on it. Before attempting any fixes, it is important to take some necessary precautions to minimize the risk of further data loss or damage to the drive. Here are some important steps to follow:
1. Backup your data: Before you proceed with any repair methods, make sure to back up all the important data on the flash drive. This ensures that even if something goes wrong during the repair process, your files will remain safe and can be easily recovered.
2. Use a different computer: If possible, try connecting the corrupted flash drive to a different computer. This helps determine if the issue is specific to your computer system or if the drive itself is the problem. Sometimes, a virus or compatibility issue with the computer can cause the corruption.
3. Avoid further damage: Handle the flash drive with care to avoid any physical damage. Ensure that it is kept in a safe and clean environment, away from extreme temperatures or moisture. Physical damage can worsen the situation and make it more difficult to recover data.
4. Disable antivirus software: Before attempting any repairs, temporarily disable your antivirus software. Some antivirus programs can interfere with certain repair processes, leading to potential errors or complications. Remember to re-enable the antivirus software once the repair is complete.
5. Use reliable repair methods: When selecting a repair method, make sure to use reputable, well-known software or tools. Avoid downloading and using random software from untrusted sources, as they may contain malware or worsen the problem. Stick to reliable methods recommended by experts or provided by the operating system.
6. Avoid formatting the drive: Formatting should be your last resort as it erases all data on the drive. Try other repair methods before opting for formatting. If you do decide to format, ensure you have a backup of your important files and be aware that the process will permanently delete all data on the drive.
By following these precautions, you can minimize the risk of further damage to your corrupted flash drive and increase the chances of successfully recovering your data without any loss.
Method 1: Using Command Prompt (Windows)
If your flash drive is corrupted and you want to fix it without losing any data, using Command Prompt on Windows is a viable solution. Follow these steps to repair your corrupted flash drive:
Step 1: Connect the corrupted flash drive to your computer. Make sure it is properly recognized by the system.
Step 2: Press the Windows key + R on your keyboard to open the Run dialogue box. Type “cmd” (without quotes) and press Enter. This will open the Command Prompt.
Step 3: In the Command Prompt window, type “chkdsk /f X:” and press Enter. Replace “X” with the drive letter assigned to your flash drive. For example, if your flash drive is assigned the letter “E”, the command should be “chkdsk /f E:”. Press Enter to execute the command.
Step 4: The system will run a disk check and attempt to fix any errors it finds on your flash drive. Keep in mind that this process may take some time, depending on the size and condition of your drive.
Step 5: Once the process is complete, you will see a message indicating whether any errors were found and fixed. If the repairs were successful, your flash drive should now be fixed and accessible without losing any data.
Note: If the Command Prompt detects that your flash drive is write-protected, you may need to remove the write protection before proceeding with the repair. Consult the manufacturer’s instructions or use third-party software to disable the write protection on your flash drive.
Using Command Prompt to fix a corrupted flash drive is a reliable method, but it may not be able to repair all types of corruption. If you are still unable to access your data or if the drive is physically damaged, it is recommended to seek professional data recovery services to avoid any further damage to your files.
Method 2: Using Disk Utility (macOS)
If you’re using a Mac computer, you can utilize the built-in Disk Utility tool to fix a corrupted flash drive without losing any data. Disk Utility is a powerful utility that allows you to manage and repair storage devices on macOS. Follow these steps to use Disk Utility:
Step 1: Connect the corrupted flash drive to your Mac computer. Make sure it is recognized by the system.
Step 2: Open “Finder” and navigate to “Applications” > “Utilities” > “Disk Utility”.
Step 3: In the Disk Utility window, you will see a list of available drives and volumes. Locate your corrupted flash drive from the sidebar and select it.
Step 4: Click on the “First Aid” button located at the top of the Disk Utility window. This will initiate the repair process for the selected drive.
Step 5: Wait for Disk Utility to scan and repair the errors on the flash drive. The duration may vary depending on the size and extent of the corruption.
Step 6: Once the repair process is complete, you will see a notification indicating whether the repair was successful or not. If successful, you can now safely eject the flash drive from your Mac.
Note: Although Disk Utility is capable of repairing file system errors on a flash drive, it may not fix physical damage or hardware issues. If the flash drive remains inaccessible after using Disk Utility, it may be necessary to seek professional assistance or consider data recovery options.
By following these steps, you can leverage the Disk Utility tool on macOS to fix a corrupted flash drive without sacrificing your valuable data.
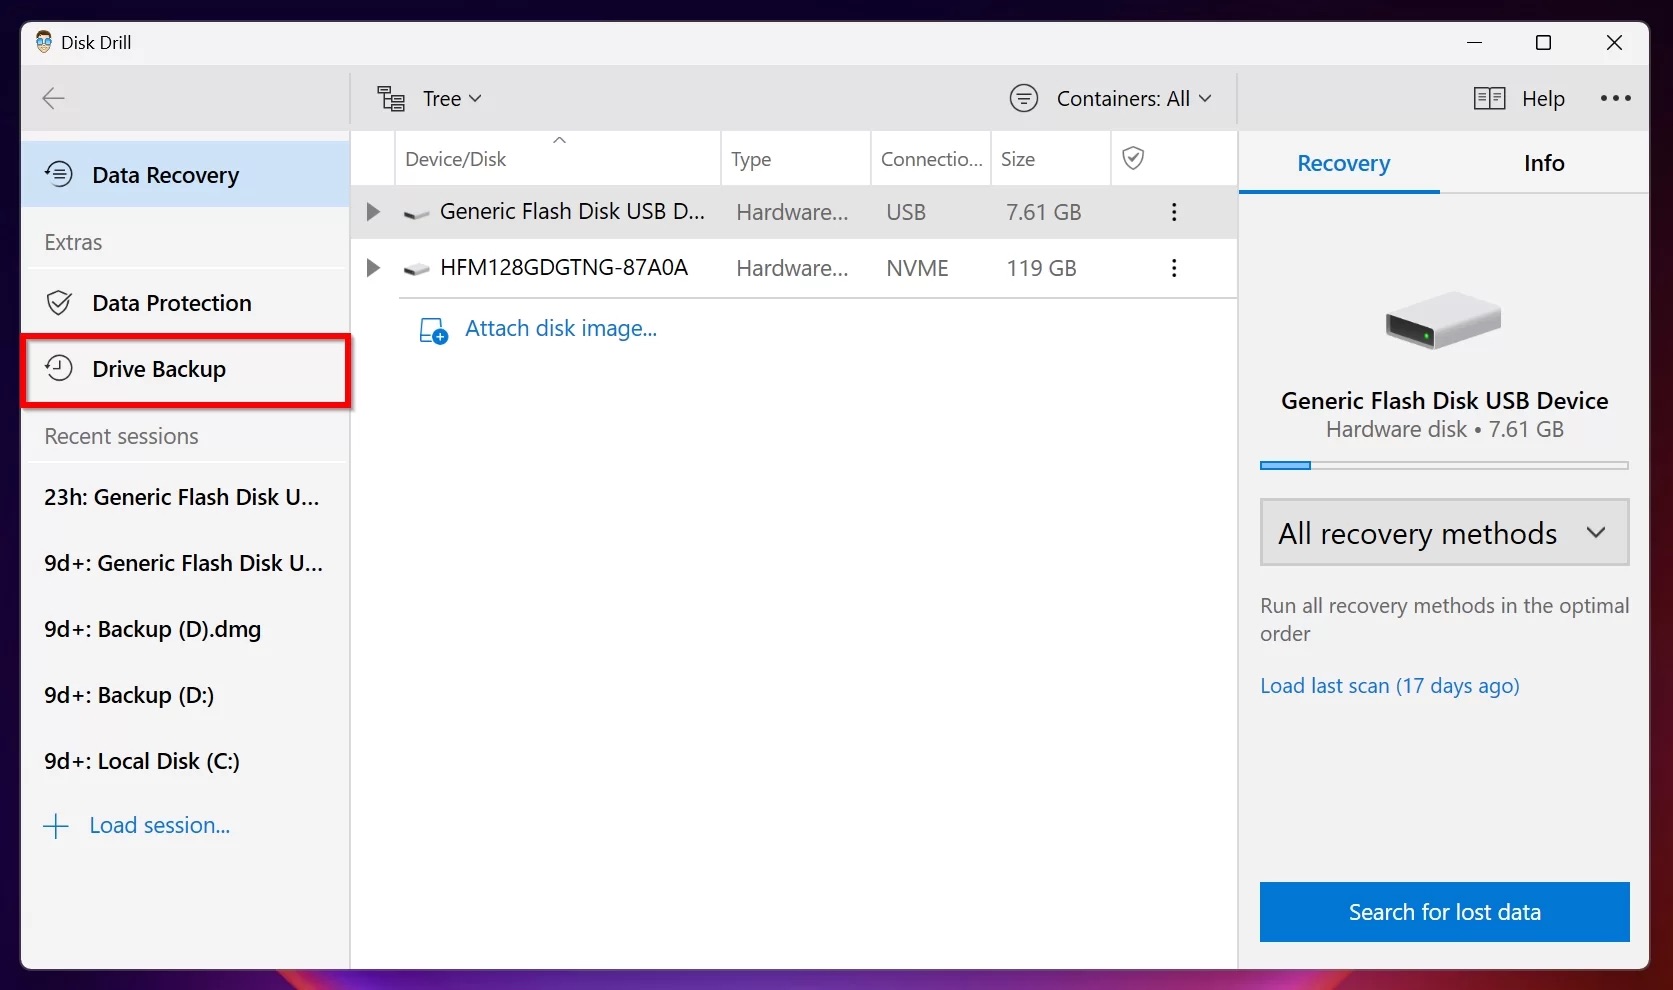
Method 3: Using Third-Party Data Recovery Software
If the previous methods fail to recover your data from a corrupted flash drive, you can try using third-party data recovery software. These software programs are specifically designed to scan and retrieve data from various storage devices, including flash drives.
Here are the steps to use third-party data recovery software:
- Research and choose a reliable data recovery software program. There are many options available in the market, such as EaseUS Data Recovery Wizard, Recoverit, and MiniTool Power Data Recovery. Make sure to read reviews and choose a reputable software that fits your needs.
- Download and install the chosen software on your computer. Ensure that you install it on a different drive than the one where the corrupted flash drive is connected.
- Launch the software and connect the corrupted flash drive to your computer.
- Select the flash drive as the target drive for scanning and recovery.
- Start the scanning process. The software will thoroughly scan the flash drive to locate and recover any recoverable data.
- Once the scanning is complete, preview the recovered files to ensure they are intact and readable.
- Select the files you want to recover and choose a safe location to save them, preferably on a different drive to avoid overwriting the data.
- Click on the “Recover” or “Restore” button to initiate the recovery process. The software will recover the selected files and save them to the specified location.
It is important to note that the success of data recovery using third-party software may vary depending on the level of corruption and the specific software used. Some software programs offer free trials or limited versions to evaluate their effectiveness before purchasing the full version.
Always remember to back up your important files regularly to prevent data loss due to flash drive corruption or any other unforeseen circumstances.
Method 4: Formatting the Flash Drive
If the previous methods haven’t been successful in fixing the corrupted flash drive and you don’t mind losing the data stored on it, formatting the drive can be a viable solution. Formatting erases all the data on the flash drive and restores it to its original state. It can help to eliminate any errors or corruption that may have occurred.
However, it is important to note that formatting will permanently delete all the data on the flash drive. Therefore, it is crucial to back up any important files before proceeding with this method.
Here are the steps to format a corrupted flash drive:
- Connect the corrupted flash drive to your computer.
- Open the File Explorer by pressing the Windows key + E.
- Locate the corrupted flash drive in the list of available drives.
- Right-click on the flash drive and select “Format” from the context menu.
- In the Format window, choose the desired file system format. The most commonly used formats are FAT32 and NTFS. Make sure to choose the appropriate format based on your needs.
- Optionally, you can give a new name to the flash drive by entering it in the “Volume label” field.
- Check the “Quick Format” option if you want to speed up the process. This option will not perform a thorough scan for bad sectors.
- Click on the “Start” button to begin the formatting process.
- Wait for the formatting process to complete. This may take a few minutes depending on the size of the flash drive.
- Once the formatting is finished, you will receive a notification indicating the successful completion.
After the flash drive has been successfully formatted, it will be free from any corruption and ready to be used again. You can now transfer files to the flash drive and it should function properly.
Remember, formatting the flash drive will erase all the data, so make sure to back up important files before proceeding. It is also a good practice to regularly backup your data to prevent any loss in case of future issues with the flash drive.
Conclusion
In conclusion, dealing with a corrupted flash drive can be a frustrating experience. However, by following the steps outlined in this article, you can increase your chances of recovering your data without losing it. Remember to always back up your important files to prevent data loss in the future.
It’s important to note that if the flash drive is severely damaged or physically broken, professional data recovery services may be necessary. These services have specialized tools and expertise to recover data from even the most difficult situations.
By being proactive and taking preventative measures, such as regularly backing up your files and keeping your flash drive in a safe environment, you can minimize the risk of encountering data corruption issues in the first place. Remember, prevention is always better than cure.
So the next time you encounter a corrupted flash drive, don’t panic. Take a deep breath, follow the steps outlined in this article, and remember that there’s hope for recovering your valuable data.
FAQs
1. How do I know if my flash drive is corrupted?
If your flash drive is behaving strangely or is unresponsive, there is a chance that it might be corrupted. Common signs of a corrupted flash drive include error messages when trying to access files, the inability to copy or delete files, or the flash drive not being recognized by your computer.
2. Can I fix a corrupted flash drive without losing my data?
Yes, it is possible to fix a corrupted flash drive without losing your data. However, it is important to proceed with caution and take appropriate steps to ensure the safety of your files. It is recommended to create a backup of your data before attempting any repair methods.
3. How can I repair a corrupted flash drive?
There are several methods you can try to repair a corrupted flash drive. These include running a disk check utility, using data recovery software, formatting the flash drive, or using specialized tools designed for repairing corrupted drives. The method you choose will depend on the severity of the corruption and the specific circumstances.
4. Can I use the Windows built-in tools to fix a corrupted flash drive?
Yes, Windows provides built-in tools that can help repair a corrupted flash drive. One such tool is the Check Disk utility, which scans the drive for errors and attempts to fix them. To use Check Disk, you can right-click on the corrupted flash drive in the File Explorer, go to its Properties, and under the Tools tab, click on “Check” under the Error Checking section.
5. Are there any third-party tools available for fixing corrupted flash drives?
Yes, there are several third-party tools available for fixing corrupted flash drives. These tools often have advanced features and can handle more complex cases of corruption. Some well-known options include Recuva, TestDisk, and USB Repair Tool. It is recommended to research and choose a reputable tool, and always follow the instructions provided by the software developer.