
Are you struggling to open the battery cap on your Apple wireless keyboard? Don’t worry, you’re not alone. Many users face this challenge when it comes to replacing the batteries or troubleshooting keyboard issues. However, with the right technique and a little guidance, you’ll be able to easily open the battery cap and access the batteries. In this article, we will provide you with step-by-step instructions on how to open the battery cap on your Apple wireless keyboard. Whether you’re a tech-savvy individual or someone who is not very familiar with gadgetry, this guide will help you navigate through the process smoothly. Let’s jump right in and learn how to open the Apple wireless keyboard battery cap!
Inside This Article
- Step 1: Gather necessary materials
- Step 2: Identify the battery cap location
- Step 3: Remove the battery cap
- Step 4: Replace batteries (if needed)
- Step 5: Close the battery cap securely
- Conclusion
- FAQs
Step 1: Gather necessary materials
Before you begin opening the battery cap of your Apple Wireless Keyboard, make sure you have the following materials ready:
- Apple Wireless Keyboard: The keyboard itself is the main material you’ll need.
- Replacement Batteries (if needed): Depending on the condition of your current batteries, you may need to have replacements on hand. It’s always a good idea to have some extras, just in case.
- Small Flat-Head Screwdriver or a similar tool: This will be used to help open the battery cap. Ensure that the tip of the screwdriver is small enough to fit into the opening of the cap.
Gathering these materials before you start the process will save time and ensure a smooth battery cap opening experience. Now that you have everything you need, it’s time to move on to the next step.
Step 2: Identify the battery cap location
Once you have gathered the necessary materials, it’s time to locate the battery cap on your Apple wireless keyboard. The battery cap is the small compartment that houses the batteries and allows for easy replacement. Identifying the correct location of the battery cap is crucial to successfully accessing and replacing the batteries.
To locate the battery cap, gently flip over your Apple wireless keyboard. Look for a small indentation or groove on the back of the keyboard. This is typically where the battery cap is situated. It may be marked with a battery symbol or have a small latch or tab adjacent to it.
Take a moment to examine the back of your keyboard and locate any features that might indicate the position of the battery cap. If you are unsure, consult the user manual or online resources specific to your model of Apple wireless keyboard for detailed instructions and illustrations.
Keep in mind that the battery cap location may vary slightly depending on the model and design of your keyboard. However, most Apple wireless keyboards have a similar placement for easy battery access.
Once you have identified the correct location of the battery cap, you are ready to proceed to the next step of opening it to access the batteries. Please ensure that you have a firm grip on the keyboard and that you are working on a stable surface to avoid any accidental damage.
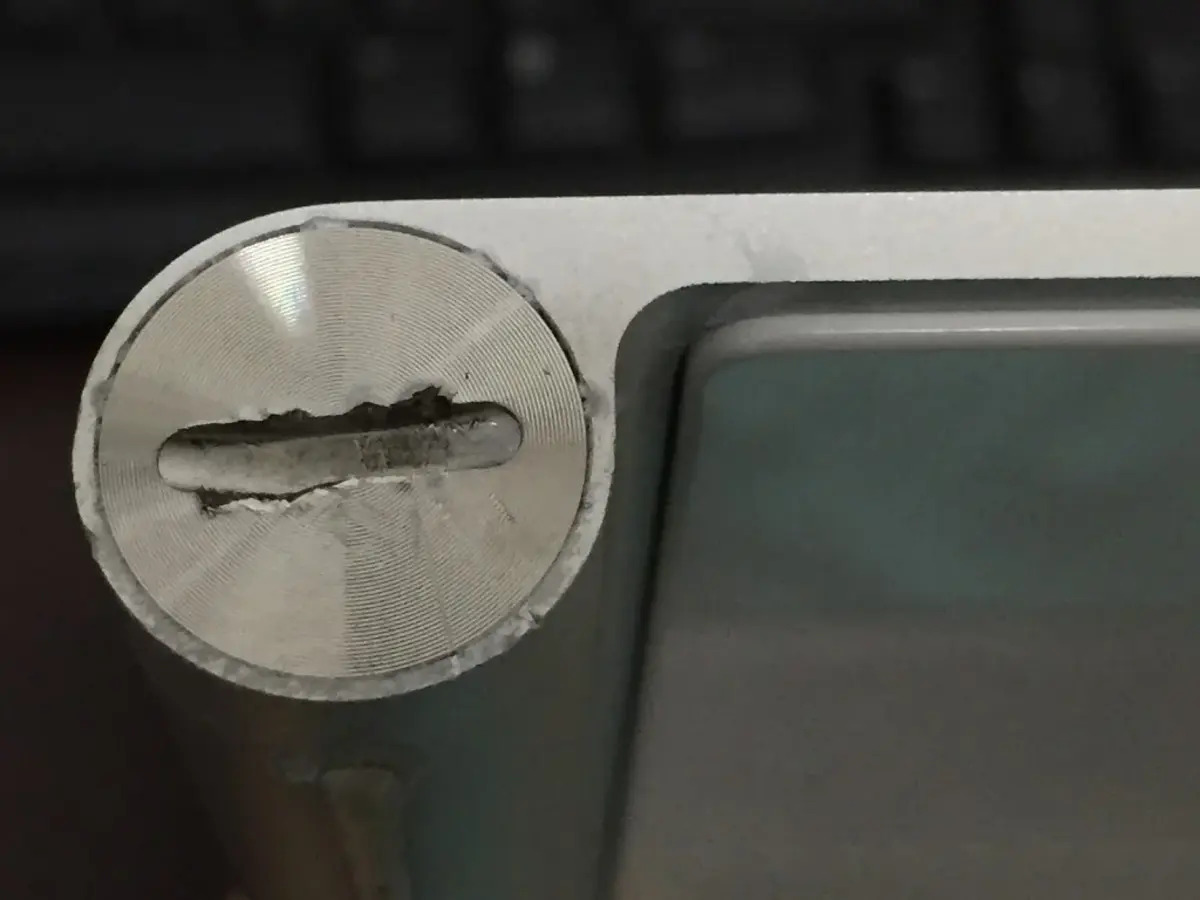
Step 3: Remove the battery cap
Now that you have identified the location of the battery cap on your Apple Wireless Keyboard, it’s time to remove it. Follow these simple steps to access the batteries:
1. Place your thumb and index finger on the battery cover. Apply gentle pressure and slide it towards the back of the keyboard.
2. As you slide the cover, you may feel a slight resistance. This is normal and indicates that the cover is securely attached.
3. Continue to slide the cover until it pops off the keyboard. Be careful not to apply too much force, as this could damage the cover or the keyboard.
4. Once the battery cover is removed, you will have access to the battery compartment. Take a moment to familiarize yourself with the layout of the compartment and the positioning of the batteries.
5. Carefully remove the old batteries from the compartment. Depending on the model of your Apple Wireless Keyboard, you may need to use a small tool, such as a paperclip or a pen, to gently pry them out.
6. Dispose of the old batteries responsibly, following local regulations for battery disposal. If the batteries are still good, consider recycling them or using them in another compatible device.
7. Now that the old batteries are removed, you can proceed with replacing them with fresh ones. Make sure to align the positive and negative ends of the batteries correctly with the markings in the compartment.
8. Once the new batteries are in place, double-check that they are securely seated and positioned correctly.
9. Congratulations! You have successfully removed the battery cap and accessed the battery compartment of your Apple Wireless Keyboard.
Remember to always handle the batteries with care and follow the manufacturer’s instructions for battery replacement. With new batteries installed, you can now proceed to the next step of closing the battery cap securely.
Step 4: Replace batteries (if needed)
After successfully removing the battery cap, you may need to replace the batteries inside the Apple Wireless Keyboard. Here’s how you can do it:
1. First, check if the batteries need to be replaced. Look for any signs of battery corrosion or if the keyboard has been experiencing power-related issues. If you notice any of these signs, it’s time to replace the batteries.
2. Carefully remove the old batteries from the keyboard. Make sure to dispose of them properly, following local regulations for battery disposal. It’s always a good idea to replace both batteries at the same time to ensure optimal performance.
3. Choose the right batteries for your Apple Wireless Keyboard. Apple recommends using AA alkaline batteries for the best results. Avoid using rechargeable batteries or different battery types as they may not provide the same level of performance.
4. Insert the new batteries into the battery compartment. Follow the polarity markings inside the compartment to ensure proper alignment. The positive (+) end of the battery should be facing outwards.
5. Once the batteries are securely in place, replace the battery cap by firmly pressing it back into position. Ensure that the cap is aligned correctly and snaps into place to prevent any accidental removal.
6. Test the keyboard to make sure the new batteries are functioning properly. Press a few keys and check if they are registering on your computer or device. If everything is working as expected, you have successfully replaced the batteries in your Apple Wireless Keyboard!
Remember to check your batteries periodically and replace them as needed to keep your keyboard performing optimally. Fresh batteries will provide reliable and consistent power, allowing you to use your Apple Wireless Keyboard without any interruptions.
Step 5: Close the battery cap securely
After replacing or inserting new batteries into your Apple wireless keyboard, it is essential to close the battery cap securely to ensure proper functioning of the device. Follow these steps to complete the process:
1. Align the battery cap: Make sure that the battery cap is aligned properly with the grooves on the keyboard. This will ensure a snug fit and prevent any accidental opening of the cap.
2. Press down firmly: Apply gentle pressure on the battery cap and press it down firmly. This will help secure the cap in place and prevent any movement during use.
3. Listen for a click: As you press down on the battery cap, listen for a distinct click sound. This indicates that the cap is securely locked in place and the batteries are protected.
4. Test the cap: Once the battery cap is closed, give it a gentle tug to confirm that it is firmly in place. If it feels loose or comes off easily, remove and reposition the cap to ensure a proper seal.
5. Verify functionality: After closing the battery cap, test the functionality of your Apple wireless keyboard. Ensure that the keys respond correctly and that the keyboard establishes a reliable connection with your device.
By following these steps, you can confidently close the battery cap of your Apple wireless keyboard, knowing that it is securely fastened and ready for use. Taking proper care of your device ensures optimal performance and longevity.
Conclusion
In conclusion, opening the battery cap of an Apple Wireless Keyboard is a simple process that can be easily done with a few simple steps. By following the instructions provided, you can quickly access the battery compartment and replace the batteries whenever needed. It is important to note that proper handling of the battery cap is crucial to avoid any potential damage to the keyboard.
Remember to always use the correct tools and apply gentle pressure when opening the cap to prevent any accidents or breakages. Keeping your Apple Wireless Keyboard in good working condition is essential for a seamless and enjoyable user experience. So, if you find yourself needing to replace the batteries, now you know how to open the battery cap with ease!
FAQs
Q: How do I open the battery cap of my Apple wireless keyboard?
A: To open the battery cap of your Apple wireless keyboard, follow these steps:
- 1. Turn the keyboard upside down.
- 2. Locate the battery compartment on the back of the keyboard.
- 3. Slide the battery cover towards the bottom of the keyboard to unlock it.
- 4. Lift the battery cover to remove it.
Q: Can I use any tool to open the battery cap?
A: No, you do not need any tools to open the battery cap of your Apple wireless keyboard. The battery cap is designed to be easily opened with your hands. Using a tool may damage the keyboard or the battery compartment.
Q: What type of batteries does the Apple wireless keyboard use?
A: The Apple wireless keyboard uses two AA batteries. It is recommended to use alkaline batteries for optimal performance. Avoid using rechargeable batteries as they may not provide sufficient power for the keyboard.
Q: How long do the batteries last in the Apple wireless keyboard?
A: The battery life of the Apple wireless keyboard depends on various factors such as usage frequency, typing intensity, and battery quality. However, on average, the batteries can last for several months before needing replacement. It is always a good practice to keep spare batteries handy so that you can replace them when needed.
Q: Can I use the Apple wireless keyboard while the battery cap is open?
A: No, it is not recommended to use the Apple wireless keyboard with the battery cap open. The battery cap helps protect the batteries and keep them in place. Leaving the battery cap open may cause the batteries to become loose, resulting in connection issues and unreliable keyboard performance. Make sure to securely close the battery cap before using the keyboard.