
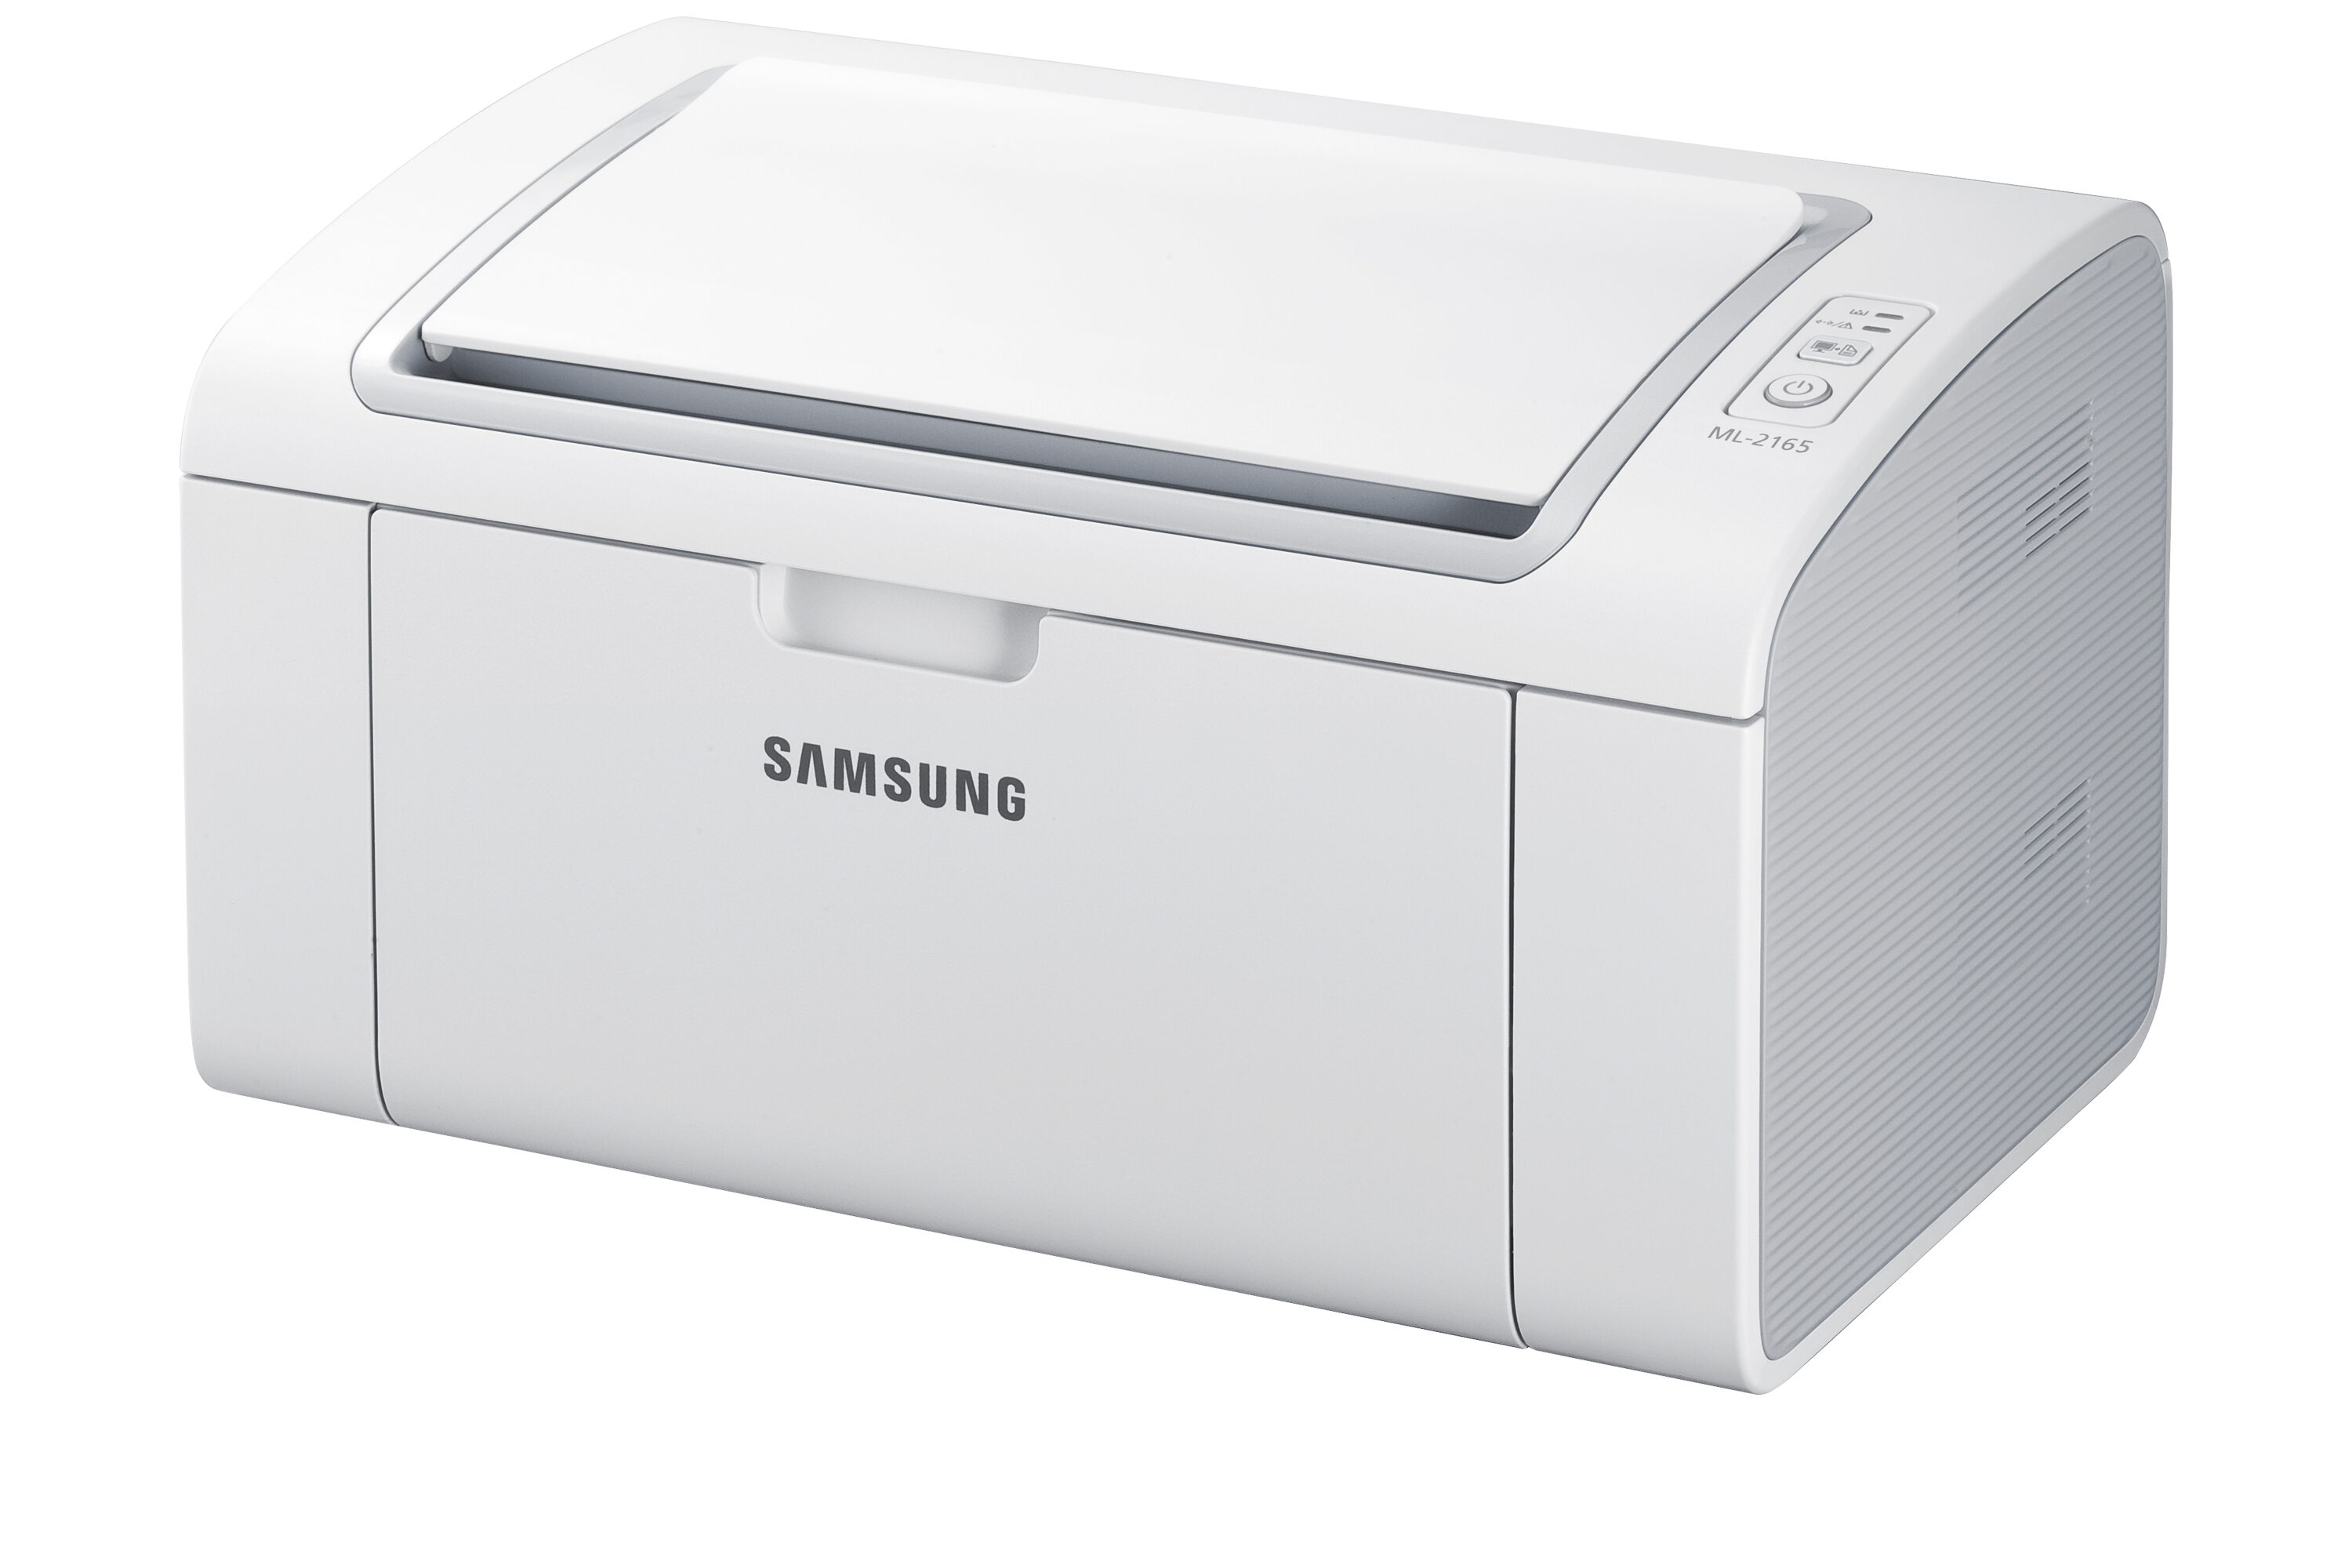
In this article, we will guide you through the step-by-step process of setting up the Samsung ML-2165W wireless printer. The Samsung ML-2165W is a compact and efficient printer that offers wireless connectivity, allowing you to print documents and photos directly from your computer, smartphone, or tablet without the need for messy cables.
Whether you’re a tech-savvy individual or a beginner, our comprehensive guide will assist you in getting your Samsung ML-2165W up and running on your wireless network. We’ll cover everything from preparing the printer for wireless setup to connecting it to your Wi-Fi network seamlessly. By following our instructions, you’ll be able to enjoy the convenience of wireless printing in no time.
Inside This Article
- Prerequisites for Setting Up Samsung ML-2165W Wireless
- Step 1: Checking the Contents of the Box
- Step 2: Installing the Toner Cartridge
- Step 3: Connecting the Power Cord
- Step 4: Setting up the Wireless Network
- Step 5: Installing the Printer Driver
- Step 6: Testing the Wireless Connection
- Troubleshooting Tips for Setting Up Samsung ML-2165W Wireless
- Conclusion
- FAQs
Prerequisites for Setting Up Samsung ML-2165W Wireless
Before you embark on the journey of setting up your Samsung ML-2165W wireless printer, there are a few essential prerequisites that you need to ensure are in place. These prerequisites will not only ensure a smooth installation process but also optimize the performance of your wireless printer.
The first prerequisite is a stable and reliable Wi-Fi network in your home or office. The Samsung ML-2165W printer connects to your network wirelessly, so you need to have a strong and stable Wi-Fi signal in the area where the printer will be located. If you have any Wi-Fi connectivity issues in that area, consider installing a Wi-Fi range extender or relocating the printer closer to the router.
Secondly, make sure that your wireless network is protected by a password. This is crucial for security reasons, as an unsecured network could allow unauthorized access to your printer and potentially expose sensitive information. To set a password for your Wi-Fi network, access your router’s settings page and navigate to the wireless security settings. Choose a strong password that combines letters, numbers, and special characters.
Next, ensure that you have a computer, laptop, or mobile device with wireless capability. To connect your Samsung ML-2165W printer to your wireless network, you will need a device that can communicate with the printer wirelessly. Most modern devices come equipped with built-in Wi-Fi capabilities, but if your device doesn’t have wireless functionality, you may need to purchase a wireless USB adapter.
Lastly, it is advisable to have the necessary software and drivers installed on your computer or device. You can find the required software and drivers on the Samsung website or in the installation CD that came with your printer. Ensure that you have the latest version of the drivers to ensure compatibility and optimal performance.
By fulfilling these prerequisites, you will be well-prepared to set up the wireless functionality of your Samsung ML-2165W printer. So, make sure you have a stable Wi-Fi network, a secure password, a device with wireless capabilities, and the necessary software and drivers before proceeding with the installation.
Step 1: Checking the Contents of the Box
Before you start setting up your Samsung ML-2165W wireless printer, it is essential to ensure that you have all the necessary components. Checking the contents of the box will help you confirm that everything is included and ready for installation.
Here is a list of items you should expect to find in the box:
- The Samsung ML-2165W printer: This is the main device that you will be setting up.
- Toner cartridge: This is the replaceable component that holds the ink for printing.
- Power cord: This cable is used to connect the printer to a power source.
- USB cable: This cable might be included if you plan to set up the printer using a wired connection.
- Quick installation guide: This guide provides step-by-step instructions to set up the printer.
- Driver CD or DVD: This disc contains the necessary software and drivers for the printer.
It’s crucial to check each item on the list and ensure that nothing is missing or damaged. If you find any discrepancies or missing components, reach out to the retailer or Samsung customer support for assistance.
Once you have confirmed that all the necessary items are present and in good condition, you can move on to the next step of the setup process.
Step 2: Installing the Toner Cartridge
Once you have unpacked your Samsung ML-2165W printer and set it up, the next step is to install the toner cartridge. The toner cartridge is an essential component of the printer that holds the ink necessary for printing. Follow these simple steps to install the toner cartridge:
- Locate the toner cartridge compartment on your printer. It is usually located at the front or top of the printer.
- Open the toner cartridge compartment by lifting the cover or sliding it open, depending on the printer model.
- Take out the new toner cartridge from its packaging. Make sure to shake it gently from side to side to distribute the toner evenly inside.
- Remove the protective seal or packaging from the toner cartridge. Be careful not to touch the green drum or the roller inside the cartridge, as it can affect print quality.
- Insert the toner cartridge into the printer, aligning it with the designated slots. You should hear a click sound, indicating that the cartridge is securely in place.
- Close the toner cartridge compartment cover or slide it back into its original position. Ensure that it is closed properly to prevent any dust or debris from entering the printer.
Once you have successfully installed the toner cartridge, your Samsung ML-2165W printer is ready to be used. It is important to note that different printer models may have slight variations in the installation process, so refer to the printer’s user manual for specific instructions if needed.
Remember to use genuine Samsung toner cartridges for optimal performance and print quality. Using third-party cartridges may cause compatibility issues or affect the lifespan of your printer.
Step 3: Connecting the Power Cord
Once you have installed the toner cartridge, it’s time to connect the power cord to your Samsung ML-2165W printer. Follow these simple steps to ensure a successful connection:
1. Locate the power cord that came in the printer’s packaging. It should be a compatible power cord specifically designed for your printer model.
2. Identify the power connector port on the back of the printer. This port is usually located near the bottom of the printer, close to where the power cord connects.
3. Take the power cord and insert the plug into the power connector port firmly. Make sure it is inserted all the way and fits snugly into the port.
4. After connecting the power cord to the printer, locate a power outlet nearby. Ensure that the outlet is easily accessible and can provide a stable power supply.
5. Plug the other end of the power cord into the power outlet. Again, make sure it is inserted all the way and fits securely into the outlet.
6. Once the power cord is connected to both the printer and the power outlet, switch on the power using the power button or switch located on the printer.
7. After turning on the power, wait for a few moments for the printer to initialize and calibrate itself. You may hear some noise during this process, which is normal.
8. Once the printer is powered on and ready, you can proceed to the next steps to set up the wireless network and install the printer driver.
Connecting the power cord is an essential step in setting up your Samsung ML-2165W printer. Ensure a secure and stable power connection to ensure smooth operation and avoid any power-related issues.
Step 4: Setting up the Wireless Network
Once you have installed the toner cartridge and connected the power cord to your Samsung ML-2165W printer, it’s time to set up the wireless network. This will allow you to print documents wirelessly from various devices, such as your laptop, smartphone, or tablet.
Follow these simple steps to get your printer connected to your wireless network:
- Press the power button on your printer to turn it on.
- Press the WPS (Wi-Fi Protected Setup) button on your wireless router. This button is typically located on the back or side of the router.
- Within two minutes, press and hold the WPS button on the printer until the Wi-Fi light flashes.
- Release the WPS button. The Wi-Fi light on the printer will continue to flash as it attempts to establish a connection with the wireless network.
- Wait for the Wi-Fi light to become steady, indicating that the printer has successfully connected to the wireless network. This may take a few minutes.
Once the printer is connected to the wireless network, you can proceed to the next step of installing the printer driver on your computer or device.
Step 5: Installing the Printer Driver
Once you have successfully connected your Samsung ML-2165W printer to your wireless network, the next step is to install the printer driver on your computer. The printer driver is a piece of software that allows your computer to communicate with the printer and send print commands.
To begin the installation process, you will need to have the installation CD that came with your printer. If you don’t have the CD, don’t worry. You can often download the printer driver from the manufacturer’s website.
Start by inserting the installation CD into your computer’s CD drive. The CD should auto-run, but if it doesn’t, you can manually open it by going to “My Computer” or “This PC” and double-clicking on the CD drive.
Once the installation wizard appears, follow the on-screen instructions to proceed with the installation. You may be asked to select your language, agree to the license agreement, and choose an installation location.
After selecting the necessary options, the installation process will begin. This may take a few minutes, so be patient and let it complete. During the installation, you may be prompted to connect the printer to your computer using a USB cable. If you have already connected the printer wirelessly, you can skip this step.
Once the installation is finished, you will be notified that the printer driver has been successfully installed. At this point, you can remove the installation CD from your computer.
Now that the printer driver is installed, you can start printing wirelessly from your computer to the Samsung ML-2165W printer. Simply choose the document or image you want to print, select the printer from the list of available printers, and click “Print.”
If you encounter any issues during the installation process or have trouble printing after installing the driver, refer to the troubleshooting section or consult the printer’s user manual for assistance.
With the printer driver successfully installed, you can now enjoy the convenience of wireless printing with your Samsung ML-2165W printer. Say goodbye to cumbersome cables and start enjoying the freedom of printing from anywhere in your home or office!
Step 6: Testing the Wireless Connection
Once you have completed the previous steps of setting up the Samsung ML-2165W wireless printer, it’s time to test the wireless connection. This step ensures that your printer is correctly connected to the wireless network and can communicate with your devices.
To test the wireless connection, follow these steps:
- Make sure that both your printer and the device you want to print from are connected to the same wireless network.
- Open a document or a photo on your device that you want to print.
- Select the print option from the application’s menu or settings.
- Choose the Samsung ML-2165W printer from the list of available printers.
- Adjust the print settings according to your preferences, such as the number of copies, paper size, and print quality.
- Click on the ‘Print’ button to initiate the printing process.
- Wait for the printer to receive the print command and start printing. You may hear the printer initializing and see the paper feeding into the machine.
- If the printer successfully prints the document, that means the wireless connection is working correctly.
If the printer doesn’t print or encounters any errors, here are some troubleshooting tips you can try:
- Ensure that the printer and the device are still connected to the same wireless network.
- Check if the printer has enough paper and toner/ink to perform the print job.
- Restart both the printer and your device and try printing again.
- Verify if the printer driver is installed correctly on your device. If not, reinstall it.
If the wireless connection issues persist, it’s recommended to consult the printer’s user manual or contact Samsung customer support for further assistance.
Troubleshooting Tips for Setting Up Samsung ML-2165W Wireless
If you’re experiencing difficulties while setting up your Samsung ML-2165W wireless printer, don’t worry. We’ve got you covered with some troubleshooting tips to help you get your printer up and running smoothly. Here are some common issues you might encounter and how to fix them:
1. Check your Wi-Fi connection: Ensure that your printer and computer are connected to the same Wi-Fi network. If they are not, connect them to the same network and try setting up the wireless connection again.
2. Restart your devices: Sometimes, a simple restart can solve connectivity issues. Turn off your printer and computer, wait for a few minutes, and then turn them back on. This may help establish a stable connection between the devices.
3. Verify the wireless settings: Double-check the wireless settings on your printer. Make sure that your printer is set to connect to the correct Wi-Fi network and that the network password is entered correctly. Incorrect settings can prevent the printer from connecting wirelessly.
4. Update printer firmware: Outdated firmware can cause compatibility issues and hinder the setup process. Visit the Samsung website for your printer model and download any available firmware updates. Install the updates following the provided instructions to ensure optimal performance.
5. Disable firewall and antivirus: Sometimes, firewall settings or antivirus software can interfere with the wireless connection. Temporarily disable any firewall or antivirus programs on your computer and see if the printer setup completes successfully.
6. Clear print queue: If your printer is not responding or printing, try clearing the print queue. Open the print queue on your computer, delete any pending print jobs, and then restart both the printer and the computer.
7. Reset network settings: If all else fails, you can try resetting the network settings on your printer. This will remove any previously stored network configurations and allow you to start the setup process from scratch. Refer to the printer’s user manual or the manufacturer’s website for instructions on how to reset the network settings.
Remember, troubleshooting steps may vary depending on your specific printer model and operating system. If you continue to experience difficulties, it’s always a good idea to refer to the user manual or contact Samsung support for further assistance.
Setting up the Samsung ML-2165W wireless printer is a convenient way to print documents without the need for messy cables. By following the step-by-step guide, you can easily connect your printer to the Wi-Fi network and start printing wirelessly from your devices. With its compact design and user-friendly features, the ML-2165W offers a seamless printing experience.
Now that you have successfully set up your wireless printer, you can experience the freedom of printing from anywhere in your home or office. Gone are the days of dealing with tangled cables and limited printing locations. With the wireless functionality of the ML-2165W, you can print documents, photos, and more with ease.
So whether you’re a student, a professional, or a technology enthusiast, the Samsung ML-2165W wireless printer is a valuable addition to your setup. Enjoy the convenience, flexibility, and reliability that wireless printing offers, and say goodbye to the hassles of traditional wired printing.
FAQs
1. Can I set up the Samsung ML-2165W printer wirelessly?
Yes, the Samsung ML-2165W printer can be set up wirelessly. It has built-in Wi-Fi capabilities that allow you to connect and print without the need for any cables.
2. What are the requirements for setting up the Samsung ML-2165W wirelessly?
To set up the Samsung ML-2165W wirelessly, you will need a Wi-Fi network and a device with Wi-Fi capabilities, such as a computer, smartphone, or tablet. You will also need the Samsung software installation disc or the latest drivers and software downloaded from the Samsung website.
3. How do I connect the Samsung ML-2165W to a Wi-Fi network?
To connect the Samsung ML-2165W to a Wi-Fi network, follow these steps:
- Make sure the printer is turned on and connected to a power source.
- Press the WPS button on your Wi-Fi router.
- On your computer or device, go to the network settings and select the Samsung ML-2165W wireless network.
- Enter the Wi-Fi password if prompted.
- Wait for the printer to connect to the Wi-Fi network.
4. Can I print from my mobile device to the Samsung ML-2165W?
Yes, you can print from your mobile device to the Samsung ML-2165W printer. You will need to download and install the Samsung Mobile Print app on your Android or iOS device. Once installed, you can select the printer and print directly from your mobile device.
5. What should I do if I encounter connectivity issues with the Samsung ML-2165W?
If you are experiencing connectivity issues with the Samsung ML-2165W printer, try the following troubleshooting steps:
- Make sure the printer is within range of the Wi-Fi signal.
- Restart the printer and the Wi-Fi router.
- Check if the Wi-Fi password is entered correctly.
- Update the printer’s firmware and software to the latest version.
- Reset the network settings on the printer and reconnect to the Wi-Fi network.
If the issue persists, consult the printer’s user manual or contact Samsung support for further assistance.