
Are you a proud owner of the Logitech Wireless Keyboard K220? This compact and versatile keyboard offers convenience and functionality for your computing and typing needs. However, you may be wondering how to take a screenshot using this keyboard. The good news is that capturing screenshots is a breeze with the Logitech K220, and in this article, we will guide you through the simple steps to do just that. Whether you want to capture an important document, save a funny meme, or showcase a software bug, we’ve got you covered. So, grab your Logitech K220, follow our instructions, and get ready to become a screenshot master in no time!
Inside This Article
- Overview
- Method 1: Using the Print Screen key- Steps to take a screenshot using the Print Screen key on Logitech Wireless Keyboard K220
- Method 2: Using the Snipping Tool- Steps to take a screenshot using the Snipping Tool on Logitech Wireless Keyboard K220
- Method 3: Using the Windows Game Bar- Steps to take a screenshot using the Windows Game Bar on Logitech Wireless Keyboard K220
- Method 4: Using third-party screenshot software- Steps to take a screenshot using third-party screenshot software on Logitech Wireless Keyboard K220
- Tips and Tricks- Additional tips and tricks for capturing screenshots on Logitech Wireless Keyboard K220
- Troubleshooting – Common issues and solutions when taking screenshots on Logitech Wireless Keyboard K220
- Conclusion
- FAQs
Overview
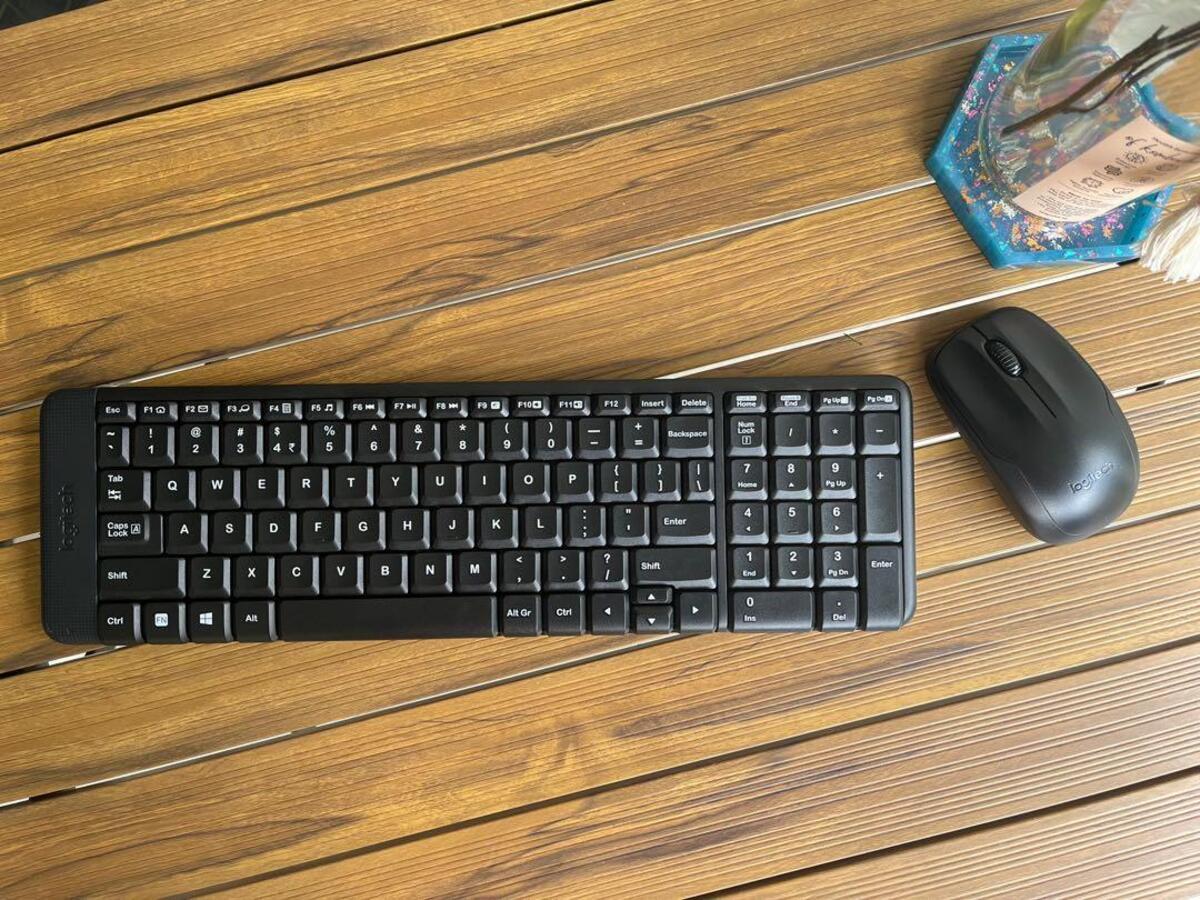
The Logitech Wireless Keyboard K220 is a versatile and convenient device that allows you to type and navigate with ease. Whether you are using it for work, school, or leisure, being able to take screenshots can be incredibly helpful. In this article, we will explore various methods for taking screenshots using the Logitech Wireless Keyboard K220, so you can capture and save important information, memorable moments, or anything else you want to keep a record of.
There are several ways to take a screenshot with the Logitech Wireless Keyboard K220. You can use the dedicated Print Screen (PrtScn) button, the Snipping Tool, the Windows Game Bar, or even a third-party screenshot tool. We will walk you through each method, providing step-by-step instructions to ensure you can successfully take screenshots on your Logitech Wireless Keyboard K220.
Whether you are a seasoned computer user or new to keyboard shortcuts, taking a screenshot with the Logitech Wireless Keyboard K220 is a straightforward process. Simply follow the instructions provided for each method, experiment with different options, and find the one that works best for you. With a bit of practice, you’ll be capturing screenshots effortlessly and efficiently.
Before we delve into the different methods, it’s worth mentioning that the Logitech Wireless Keyboard K220 is compatible with both Windows and Mac operating systems. Therefore, the methods we will discuss can be applied to both platforms, allowing you to take screenshots regardless of the operating system you are using.
Ready to learn how to take screenshots with your Logitech Wireless Keyboard K220? Let’s get started with the first method: using the Print Screen (PrtScn) button.
Method 1: Using the Print Screen key- Steps to take a screenshot using the Print Screen key on Logitech Wireless Keyboard K220
If you own a Logitech Wireless Keyboard K220 and want to capture your screen, you’ll be happy to know that you can easily take screenshots using the Print Screen (PrtScn) key on your keyboard.
The Print Screen key, typically located in the upper-right corner of the keyboard, allows you to capture the entire screen and save it as an image file. Follow these simple steps to take a screenshot using the Print Screen key on your Logitech Wireless Keyboard K220:
- 1. Make sure the content you want to capture is displayed on your computer screen.
- 2. Press the Print Screen (PrtScn) key on your Logitech Wireless Keyboard K220. You may need to hold down the “Fn” (Function) key along with the Print Screen key if it is a shared key.
- 3. Open an image editing program, such as Microsoft Paint or Adobe Photoshop, or any other tool that allows you to paste and edit images.
- 4. Press “Ctrl” and “V” simultaneously or go to the “Edit” menu and select “Paste” to paste the screenshot into the image editing program.
- 5. Crop or edit the screenshot as desired.
- 6. Finally, save the screenshot in your preferred image format, such as JPEG or PNG, by going to the “File” menu and selecting “Save As.”
That’s it! You have successfully captured a screenshot using the Print Screen key on your Logitech Wireless Keyboard K220. Now you can use the screenshot for various purposes, such as sharing it with others, adding it to a document, or troubleshooting an issue you are facing on your computer.
Remember, the Print Screen key captures the entire screen. If you want to take a screenshot of a specific window or a selected area, you may need to use other methods, such as the Snipping Tool or a third-party screenshot tool.
Method 2: Using the Snipping Tool- Steps to take a screenshot using the Snipping Tool on Logitech Wireless Keyboard K220
The Snipping Tool is a built-in screenshot tool in Windows that allows you to capture specific parts of your screen. Follow these steps to take a screenshot using the Snipping Tool on your Logitech Wireless Keyboard K220:
- Open the application or screen that you want to capture. Make sure it is visible on your screen.
- Press the Windows key on your Logitech Wireless Keyboard K220 to open the Start menu.
- Type “Snipping Tool” in the search box and press Enter. The Snipping Tool application will open.
- Click on the “New” button in the Snipping Tool application. Your screen will become slightly opaque, indicating that you can now select the area you want to capture.
- Click and drag your mouse cursor to select the desired area for the screenshot. Release the mouse button to capture the selected area.
- Once you have captured the screenshot, you can annotate or make any necessary edits using the available tools in the Snipping Tool.
- Click on the “Save” button in the Snipping Tool to save your screenshot to a location of your choice.
That’s it! You have successfully taken a screenshot using the Snipping Tool on your Logitech Wireless Keyboard K220. Now you can easily capture and share any important information or moments on your screen.
Method 3: Using the Windows Game Bar- Steps to take a screenshot using the Windows Game Bar on Logitech Wireless Keyboard K220
If you’re looking for an easy way to capture screenshots on your Logitech Wireless Keyboard K220, using the Windows Game Bar can be a quick and convenient option. The Windows Game Bar is a feature built into Windows 10 that allows users to capture screenshots and record gameplay effortlessly.
Here are the steps to take a screenshot using the Windows Game Bar:
- Make sure your Logitech Wireless Keyboard K220 is connected to your computer and functioning properly.
- Open the program or content that you want to capture in the screenshot.
- Press the Windows key + G on your Logitech Wireless Keyboard K220 to open the Windows Game Bar overlay.
- Click on the “Capture” button represented by a camera icon in the Game Bar overlay. Alternatively, you can press the Windows key + Alt + PrtScn to take a screenshot directly.
- The screenshot will be saved automatically in a folder labeled “Captures” in your “Videos” folder.
It’s important to note that the Windows Game Bar may need to be enabled in your system settings before you can use it. To enable the Game Bar, follow these steps:
- Open the “Settings” app on your Windows 10 computer.
- Click on the “Gaming” section in the Settings menu.
- On the left sidebar, click on “Game Bar” to access the Game Bar settings.
- Toggle the “Record game clips, screenshots, and broadcast using Game Bar” option to “On”.
Once you have enabled the Windows Game Bar, you can easily take screenshots with your Logitech Wireless Keyboard K220 whenever you need to capture something on your screen.
Please note that if you want more advanced screenshot features, such as highlighting or editing images, you may need to use a dedicated screenshot tool or software.
Method 4: Using third-party screenshot software- Steps to take a screenshot using third-party screenshot software on Logitech Wireless Keyboard K220
If you find the built-in screenshot methods on your Logitech Wireless Keyboard K220 to be insufficient for your needs, don’t worry! There are several reliable third-party screenshot software options available that can enhance your screenshot-taking capabilities. Here is a step-by-step guide on how to take a screenshot using third-party software on your Logitech Wireless Keyboard K220:
1. Research and choose a reliable third-party screenshot software that is compatible with your Logitech Wireless Keyboard K220. Some popular options include Snagit, Greenshot, and Lightshot. Visit their respective websites and download the software onto your computer.
2. Install the software by following the on-screen instructions. Once the installation is complete, launch the software.
3. Familiarize yourself with the interface of the third-party software. Typically, you will find various options and tools for customizing your screenshots, such as capturing a particular area, whole screen, or specific windows.
4. Locate the desired content or screen that you want to capture on your Logitech Wireless Keyboard K220.
5. Use the predefined hotkey or the software’s interface to trigger the screenshot capturing process. If the software allows customizing hotkeys, you may choose a key combination that is convenient for you.
6. After capturing the screenshot, the third-party software will usually open an editor or save the screenshot to a designated folder on your computer. Take advantage of any editing capabilities offered by the software to annotate or enhance the screenshot if desired.
7. Once you are satisfied with the edits, save the screenshot to your preferred location on your computer.
8. That’s it! You have successfully taken a screenshot using third-party screenshot software on your Logitech Wireless Keyboard K220.
Using third-party software can provide additional features and flexibility when it comes to capturing and editing screenshots on your Logitech Wireless Keyboard K220. Experiment with different software options to find the one that suits your needs best.
Please note that the steps provided above may vary slightly depending on the specific third-party software you choose to use. Consult the software’s documentation or online resources for more detailed instructions if needed.
Tips and Tricks- Additional tips and tricks for capturing screenshots on Logitech Wireless Keyboard K220
While the Logitech Wireless Keyboard K220 is a reliable and convenient keyboard, it does not have a dedicated key for taking screenshots. However, there are still a few tricks you can use to capture screenshots on this keyboard.
1. Using the Print Screen (PrtScn) button: The Print Screen button on your Logitech Wireless Keyboard K220 is a handy tool for capturing screenshots. Simply press the PrtScn button to capture a screenshot of the entire screen. You can then paste the screenshot into an image editing software or document to save or modify it as needed.
2. Using the Snipping Tool: If you want more flexibility in capturing specific portions of your screen, you can use the Snipping Tool. Press the Windows key on your keyboard and type “Snipping Tool” in the search bar. Open the Snipping Tool program and select the desired mode (such as rectangular snip or free-form snip). You can then use your mouse to select the area you want to capture, and the Snipping Tool will save the screenshot for you.
3. Using the Windows Game Bar: Windows 10 has a built-in feature called the Game Bar, which includes a screenshot function. Press the Windows key and the letter G on your keyboard to open the Game Bar. From there, click on the camera icon or press the Windows key, Alt key, and PrtScn key simultaneously to capture a screenshot. The screenshot will be saved to your computer’s default screenshots folder.
4. Using a third-party screenshot tool: If the built-in options don’t meet your requirements, you can also consider using third-party screenshot tools. There are many free and paid options available online, such as Snagit, Greenshot, and Lightshot. These tools often offer additional features, such as annotation, editing, and easy sharing options.
With these tips and tricks, you can easily capture screenshots on your Logitech Wireless Keyboard K220. Whether you need to capture the entire screen or specific portions of it, these methods will help you get the job done efficiently and effectively.
Troubleshooting – Common issues and solutions when taking screenshots on Logitech Wireless Keyboard K220
As convenient as taking screenshots can be, sometimes we encounter issues when trying to capture our screen using the Logitech Wireless Keyboard K220. Here, we will discuss some common problems that users may face when taking screenshots with this keyboard, and provide solutions to help troubleshoot and overcome these issues.
1. Unresponsive Print Screen (PrtScn) button: One of the most common issues users face is when the Print Screen button does not seem to work. If you press the Print Screen button and nothing happens, it could be due to a hardware or software issue. Here’s what you can try:
- Ensure that the keyboard is properly connected to your computer. Verify that the wireless connection is stable and the batteries are not low.
- Check if the keyboard driver is up to date. You can visit the Logitech website and download the latest driver for your specific keyboard model.
- If the issue persists, try using an external USB keyboard to see if the problem lies with the keyboard itself.
2. Inaccurate or distorted screenshots: Sometimes, when capturing screenshots, the resulting image may appear distorted or in low resolution. This could be due to a few reasons:
- Check your computer’s display settings. Ensure that the resolution is set to its recommended value for the best screenshot quality.
- If you are capturing screenshots of specific applications, make sure they are not running in compatibility mode, as this can affect the image quality.
- Try using a different screenshot capture method, such as the Snipping Tool or a third-party software.
3. Screenshot not saving properly: Another common issue is when the captured screenshot does not save as expected. Here’s what you can try to resolve this problem:
- Check the default screenshot save location in your computer’s settings. Ensure that it is set to a valid folder and has sufficient storage space.
- Try saving the screenshot to a different location or changing the file format (e.g., from PNG to JPEG) to see if that resolves the issue.
- If you are using a third-party screenshot tool, verify its settings and preferences to ensure that the captured screenshots are saved correctly.
4. Limited screenshot options: The Logitech Wireless Keyboard K220 does not have dedicated screenshot buttons or software. If you require more advanced screenshot features, consider using third-party screenshot software, such as Snagit or Greenshot, that offer additional capabilities like annotation, editing, and capturing specific areas of the screen.
By following these troubleshooting steps, you can overcome common issues that may arise when taking screenshots with the Logitech Wireless Keyboard K220. Remember to ensure that your keyboard is functioning properly, review your computer’s display and save settings, and explore other screenshot options if needed. With these solutions in hand, you’ll be able to capture and save screenshots effortlessly!
Conclusion
Taking a screenshot on the Logitech Wireless Keyboard K220 is a simple and straightforward process that allows you to capture and save important moments on your computer screen. Whether you’re documenting a bug, saving a funny meme, or capturing an important piece of information, knowing how to take a screenshot can be incredibly useful.
By following the steps outlined in this article, you’ll be able to capture screenshots on your Logitech Wireless Keyboard K220 with ease. Remember to use the Windows key and the Print Screen key to take a full-screen screenshot, or use the function key along with the Print Screen key to capture a specific window or part of your screen.
With the ability to effortlessly capture screenshots, you can enhance your productivity, troubleshoot technical issues, and share important information with others. So go ahead, give it a try, and start capturing those screen moments with your Logitech Wireless Keyboard K220!
FAQs
1. How do I take a screenshot using the Logitech Wireless Keyboard K220?
To take a screenshot using the Logitech Wireless Keyboard K220, press the “Print Screen” or “PrtSc” key on the keyboard. This key is usually located in the top row of keys, usually near the right side. After pressing the “Print Screen” key, you can paste the screenshot into an image editing program or document by pressing “Ctrl + V” or right-clicking and selecting “Paste”.
2. Can I customize the screenshot key on my Logitech Wireless Keyboard K220?
By default, the “Print Screen” key functions as the screenshot key on the Logitech Wireless Keyboard K220. However, some keyboards may have software or additional functionalities that allow you to reassign keys. Check the Logitech website or the provided software for your keyboard to see if there are any customization options available.
3. Where can I find the screenshots that I capture with my Logitech Wireless Keyboard K220?
When you press the “Print Screen” key on the Logitech Wireless Keyboard K220, the screenshot is automatically copied to the clipboard. To access the screenshot, you need to open an image editing program or document and paste it using “Ctrl + V” or right-click and select “Paste”. After pasting, you can save the screenshot in your desired location.
4. Can I take screenshots of a specific region of the screen with my Logitech Wireless Keyboard K220?
The Logitech Wireless Keyboard K220 does not have a dedicated key for capturing specific regions of the screen. However, you can use third-party software or built-in screenshot tools in your operating system that allow you to select and capture specific regions of the screen. These tools usually offer keyboard shortcuts or can be accessed through the system menu.
5. Is there a limit to the number of screenshots I can capture with the Logitech Wireless Keyboard K220?
There is no specific limit to the number of screenshots you can capture using the Logitech Wireless Keyboard K220. However, the number of screenshots you can save depends on the available storage space on your computer or the specific location where you choose to save them. Make sure you have enough free storage to accommodate multiple screenshots.