
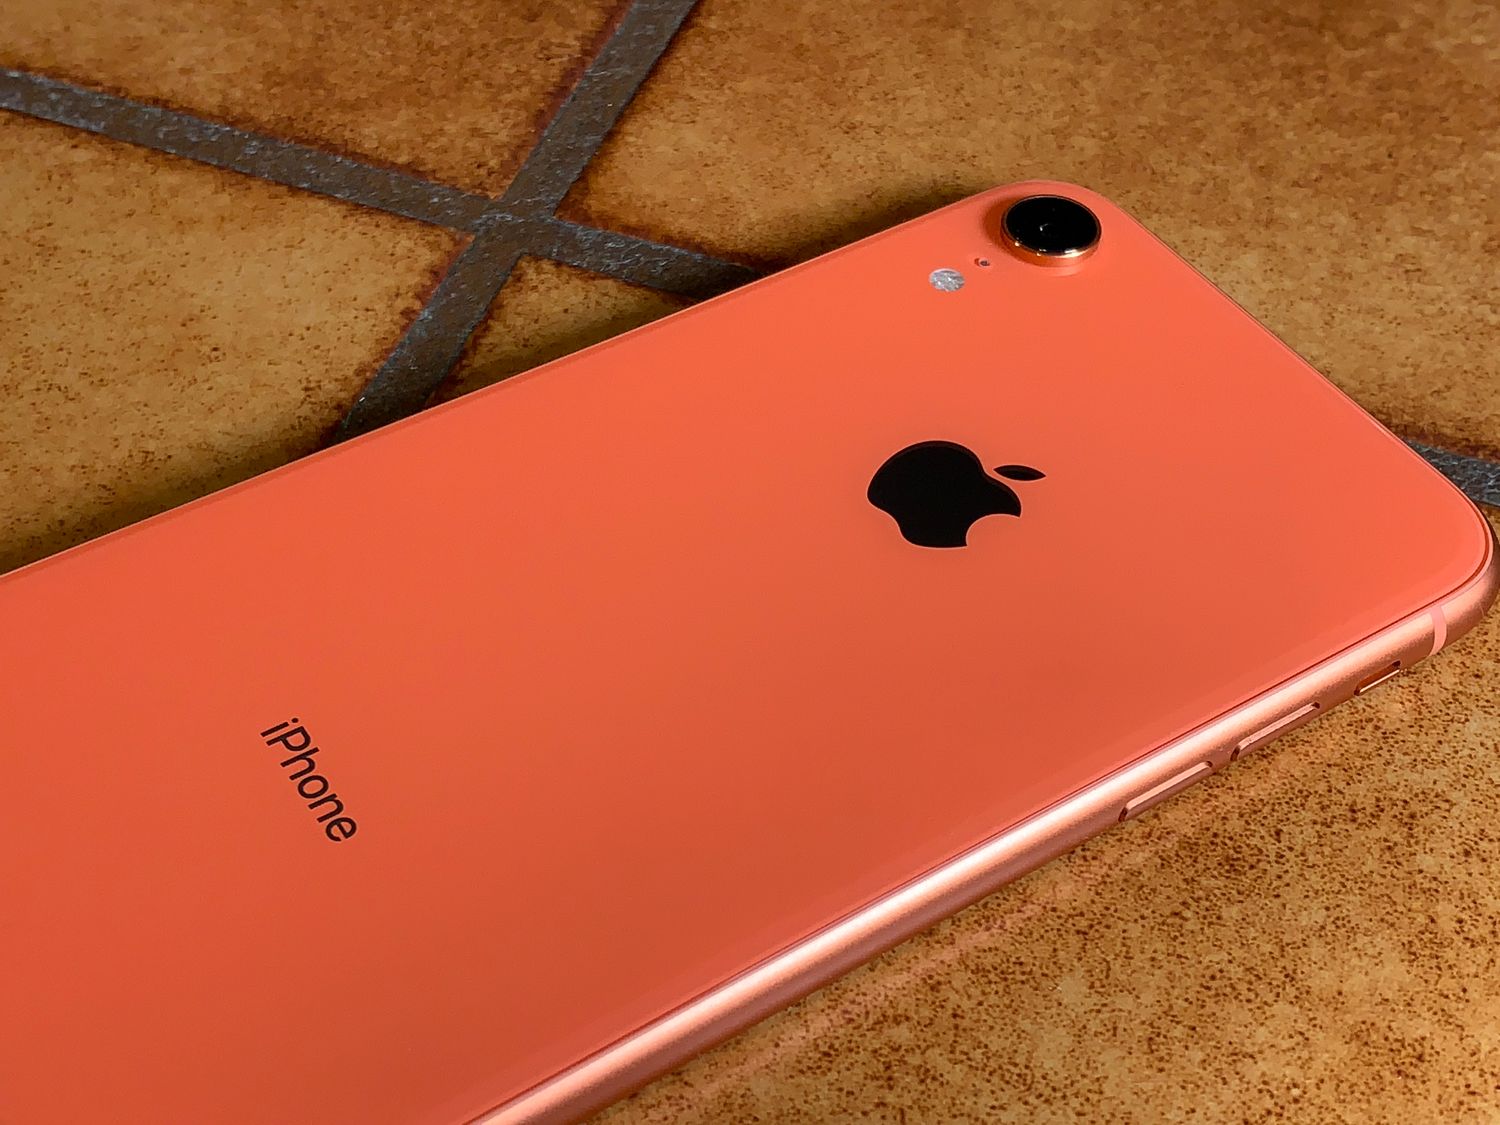
Taking screenshots on your iPhone 10 Xr is a breeze, allowing you to capture memorable moments, important information, or anything else displayed on your screen with just a few simple taps. Whether you want to save a hilarious conversation, preserve a recipe, or capture a stunning Instagram post, the screenshot feature comes in handy. In this article, we'll explore the step-by-step process of taking screenshots on your iPhone 10 Xr, along with some useful tips and tricks to make the most of this feature. So, if you've ever wondered, "How do I take screenshots on my iPhone 10 Xr?" – you're in the right place! Let's dive in and unlock the power of capturing your screen in an instant. Remember, the power is in your hands!
Inside This Article
- Method 1: Using the Side Button and Volume Up Button
- Method 2: Using AssistiveTouch
- Method 3: Using the Control Center
- Method 4: Using Siri
- Conclusion
- FAQs
Method 1: Using the Side Button and Volume Up Button
One of the quickest and easiest ways to capture a screenshot on your iPhone Xr is by using the side button and volume up button simultaneously. This method allows you to capture the screen with just a simple press of the buttons, making it a convenient option for capturing important moments or saving information.
To take a screenshot using this method, simply navigate to the screen you want to capture. Once you’re ready, press the side button and the volume up button simultaneously. You’ll hear a satisfying camera shutter sound, and the screen will flash white briefly, indicating that the screenshot has been successfully taken and saved to your Photos app.
After capturing the screenshot, you can easily access it by opening the Photos app and navigating to the “Screenshots” album, where all your captured screenshots are conveniently stored. From there, you can view, edit, or share the screenshot as needed, making it a seamless process to manage and utilize your captured images.
**
Method 2: Using AssistiveTouch
**
If you find using the physical buttons a bit cumbersome, there’s another handy way to take screenshots on your iPhone Xr: AssistiveTouch. This feature allows you to perform various functions using on-screen gestures, which can be especially useful for individuals with physical disabilities or anyone who prefers a more touch-based approach.
To enable AssistiveTouch for taking screenshots, you’ll need to navigate to your iPhone’s settings. Once there, tap on “Accessibility,” then “Touch,” and finally, “AssistiveTouch.” Toggle the switch to turn it on. You’ll notice a small, circular icon appear on your screen – this is the AssistiveTouch menu, which you can move to any convenient location on your screen.
Now that AssistiveTouch is activated, taking a screenshot is a breeze. Simply tap the AssistiveTouch icon to open the menu, then select “Device” followed by “More.” Finally, tap “Screenshot” to capture whatever is displayed on your screen at that moment. It’s a convenient alternative to using physical buttons, and it can be particularly helpful for those who may have difficulty using them.
Method 3: Using the Control Center
Another convenient way to take a screenshot on your iPhone 10 Xr is by using the Control Center. This method is quick and easy, making it a popular choice for many users.
To capture a screenshot using the Control Center, simply navigate to the screen you want to capture. Once you’re ready, swipe down from the top-right corner of the screen to open the Control Center.
Next, locate the “Screen Recording” button, which resembles a solid circle within a circle. Tap this button, and your iPhone will capture the entire screen, including the status bar and any open apps or content.
After the screenshot is taken, a preview will appear in the bottom-left corner of the screen. You can tap the preview to instantly markup, edit, or share the screenshot. Alternatively, you can swipe it away to save it to your Photos app.
Sure, here's the content for "Method 4: Using Siri":
Method 4: Using Siri
Another convenient way to take a screenshot on your iPhone Xr is by utilizing Siri, your virtual assistant. Siri can execute a variety of tasks, including capturing screenshots with a simple voice command.
To take a screenshot using Siri, activate Siri by saying “Hey Siri” or pressing and holding the side button. Once Siri is active, simply say, “Take a screenshot,” and Siri will promptly capture the content displayed on your device’s screen.
This hands-free method is particularly useful when you’re unable to use your hands to press the physical buttons, such as when you’re occupied with other tasks or your hands are not free to operate the device.
By leveraging Siri’s capabilities, you can effortlessly capture screenshots without needing to physically interact with your iPhone Xr, enhancing the overall user experience and accessibility of the device.
Conclusion
Learning how to take screenshots on your iPhone 10 Xr is a simple yet powerful feature that can greatly enhance your user experience. Whether you want to capture memorable moments, save important information, or share something interesting with others, the ability to take screenshots provides a convenient and versatile tool at your fingertips. With just a few quick taps, you can effortlessly capture and store anything displayed on your device’s screen. This feature adds a new dimension to how you interact with your iPhone, empowering you to preserve and share content with ease. By mastering this fundamental skill, you can unlock a world of possibilities and seamlessly integrate screenshot functionality into your daily routine.
FAQs
1. How do I take a screenshot on my iPhone XR?
To take a screenshot on your iPhone XR, simply press the side button and the volume up button simultaneously. You'll see a brief flash, and the screenshot will be saved to your Photos app.
2. Can I edit a screenshot after taking it on my iPhone XR?
Yes, you can easily edit a screenshot after taking it on your iPhone XR. Simply open the screenshot from the Photos app, tap "Edit" at the top right corner, and make any desired adjustments using the editing tools.
3. Where are my screenshots saved on my iPhone XR?
By default, screenshots taken on your iPhone XR are saved to the "Screenshots" album in the Photos app. You can access them by opening the Photos app and navigating to the "Albums" tab.
4. Can I take a screenshot of a specific portion of the screen on my iPhone XR?
Yes, with iOS 15 and later, you can take a screenshot of a specific portion of the screen on your iPhone XR by using the "Markup" tool. After taking a screenshot, tap the preview that appears at the bottom left corner of the screen, then select "Full Page" or "Screen" and use the cropping tool to capture the desired portion.
5. How can I share a screenshot from my iPhone XR?
Sharing a screenshot from your iPhone XR is simple. After taking the screenshot, tap the preview that appears at the bottom left corner of the screen, then tap the "Share" icon. You can then choose the desired sharing method, such as AirDrop, Messages, Mail, or social media apps.