
Sure, here's the introduction wrapped in a paragraph tag:
html
So, you’ve just got your hands on the latest iPhone 11, and now you’re eager to set it up and get started. One of the first things you’ll need to do is insert your SIM card. Whether you’re upgrading from an older iPhone or switching from another device, the process of inserting a SIM card into the iPhone 11 is a fundamental step in getting your phone up and running. In this article, we’ll guide you through the simple yet essential process of inserting a SIM card into your iPhone 11, ensuring that you can seamlessly connect to your cellular network and start using your new device without any hiccups.
Inside This Article
- Checking the SIM Card Slot
- Preparing the SIM Card
- Inserting the SIM Card
- Activating the SIM Card
- Conclusion
- FAQs
Checking the SIM Card Slot
Before inserting a SIM card into your iPhone 11, it’s crucial to locate the SIM card slot. The iPhone 11 features a SIM card slot on the right side of the device. The slot is typically accessed by using the SIM eject tool provided by Apple or a small paperclip. It is important to ensure that the iPhone is powered off before attempting to access the SIM card slot to avoid any potential damage to the device or the SIM card.
Once you’ve located the SIM card slot, gently insert the SIM eject tool or paperclip into the small pinhole next to the slot. Apply a small amount of pressure to release the SIM card tray. The tray will partially pop out of the device, allowing you to carefully remove it and proceed with the SIM card insertion process. Ensuring that the device is powered off during this step is essential to prevent any potential damage to the SIM card slot or the iPhone itself.
Preparing the SIM Card
Before inserting the SIM card into your iPhone 11, it’s crucial to ensure that the card is compatible and properly prepared. Here are the essential steps to prepare the SIM card:
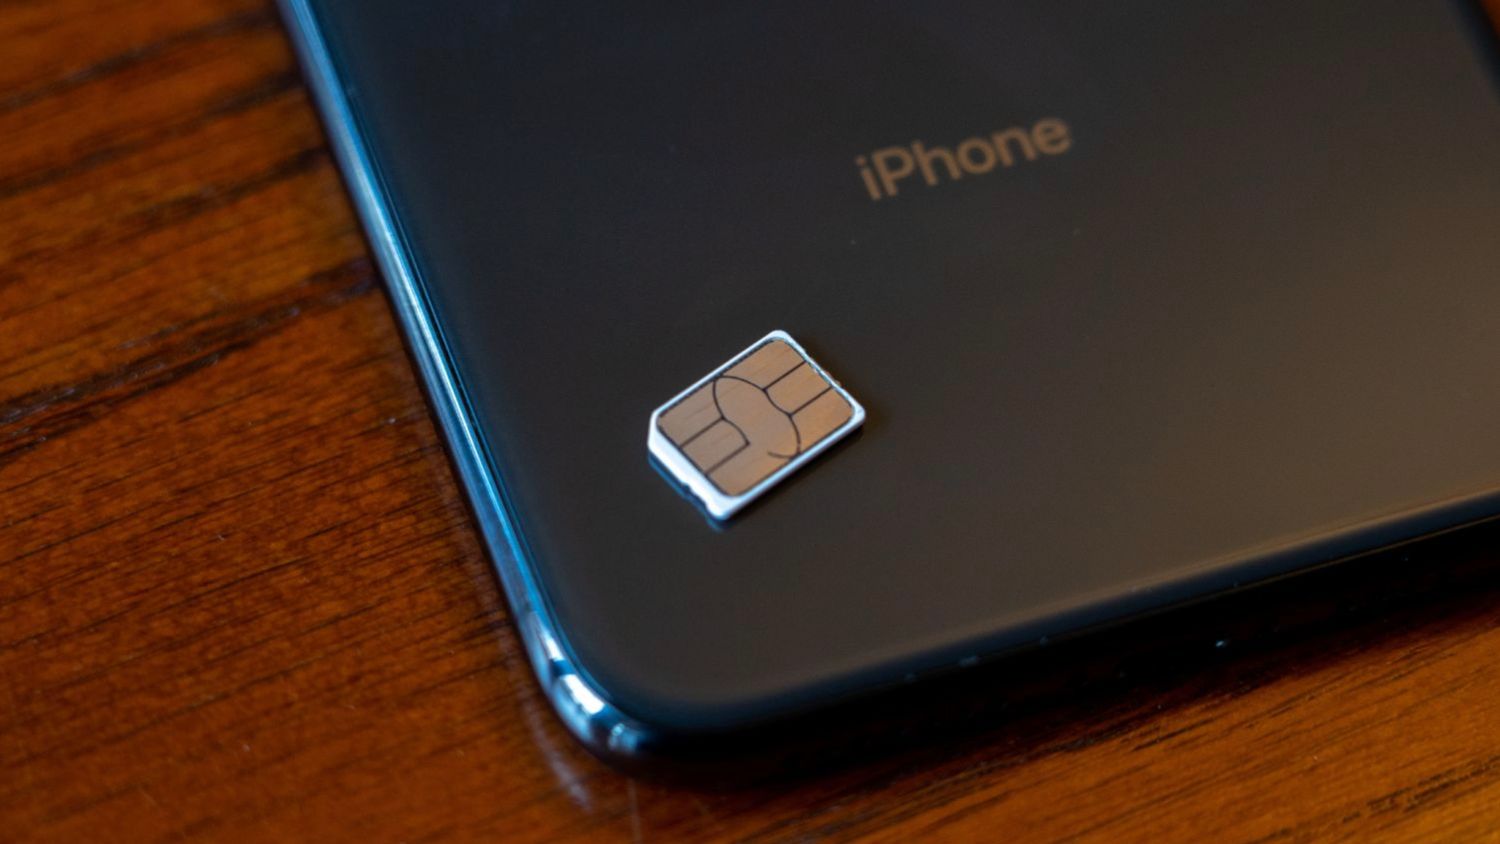
1. Check Compatibility: Ensure that the SIM card is compatible with the iPhone 11. The iPhone 11 requires a nano-SIM card, so if your current SIM card is not a nano-SIM, you will need to contact your carrier to obtain a compatible one.
2. Back Up Data: It’s advisable to back up any important data stored on your old SIM card before transferring it to the iPhone 11. This ensures that no data is lost during the transition.
3. Remove PIN Lock: If your SIM card is protected by a PIN lock, you will need to insert it into a compatible phone and disable the PIN lock feature before inserting it into your iPhone 11.
4. Clean the SIM Card: Inspect the SIM card for any dust or debris. Gently clean it with a soft, dry cloth to ensure that it’s free from any obstructions before insertion.
Inserting the SIM Card
Now that you’ve prepared the SIM card, it’s time to insert it into your iPhone 11. This process is relatively straightforward and can be completed in just a few simple steps.
First, locate the SIM card tray on your iPhone 11. You’ll find it on the right-hand side of the device, near the bottom. The tray is a small, rectangular opening with a pinhole next to it.
Next, take the SIM eject tool that came with your iPhone 11 or a small paperclip and insert it into the pinhole next to the SIM card tray. Apply gentle pressure until the tray pops out slightly.
Once the tray is partially ejected, carefully pull it out the rest of the way. You’ll notice there is a space for a nano-SIM card on the tray, with a diagram showing the correct orientation for insertion.
Place the SIM card into the designated area on the tray, ensuring that it aligns with the diagram. Gently push the tray back into the iPhone until it is flush with the device’s side.
After inserting the SIM card, turn on your iPhone 11. If the device is unlocked, you should see a signal bar indicating that the SIM card has been recognized and activated. If not, you may need to restart your phone or contact your carrier for assistance.
Activating the SIM Card
After inserting the SIM card into your iPhone 11, the next step is to activate it. Activation is the process of associating your SIM card with your mobile network provider’s service. It allows your iPhone to make calls, send text messages, and access mobile data.
Most of the time, your SIM card will be activated automatically once it’s inserted into the iPhone and connected to a Wi-Fi or cellular network. However, if automatic activation doesn’t occur, you may need to manually activate the SIM card.
To manually activate the SIM card, you can follow the on-screen prompts that appear after inserting the SIM card. These prompts will guide you through the activation process, which typically involves entering your mobile network provider’s activation code or confirming your account details.
If you encounter any issues during activation, such as a “SIM Not Supported” message, it’s essential to contact your mobile network provider’s customer support for assistance. They can help troubleshoot the issue and ensure that your SIM card is properly activated and functioning.
**
Conclusion
**
Inserting a SIM card into your iPhone 11 is a straightforward process that allows you to seamlessly connect with your network and enjoy the full functionality of your device. By following the simple steps outlined in this guide, you can easily access voice, data, and messaging services on your iPhone 11. Whether you’re switching to a new device or replacing an existing SIM card, the process is designed to be user-friendly and accessible to all. As technology continues to evolve, the iPhone 11 remains at the forefront of innovation, offering a seamless user experience and powerful features. With the SIM card properly inserted, you’re ready to explore all the amazing capabilities of your iPhone 11 and stay connected wherever you go.
FAQs
Q: How do I insert a SIM card into an iPhone 11?
A: To insert a SIM card into an iPhone 11, you'll need to locate the SIM tray, which is typically on the right side of the device. Use the SIM eject tool provided with your iPhone or a paperclip to gently push into the small hole next to the SIM tray. The tray will pop out, allowing you to place the SIM card in the designated slot. Once the SIM card is in place, carefully reinsert the tray into the iPhone.
Q: What type of SIM card does the iPhone 11 use?
A: The iPhone 11 uses a nano-SIM card. This is the smallest of the three SIM card sizes and is commonly used in modern smartphones, including various iPhone models.
Q: Can I use my existing SIM card in the iPhone 11?
A: If your current SIM card is a nano-SIM and is compatible with your mobile carrier's network, you can use it in the iPhone 11. However, if your current SIM card is larger than a nano-SIM, you may need to contact your carrier to obtain a compatible nano-SIM card.
Q: Do I need to turn off my iPhone 11 before inserting a SIM card?
A: It's generally recommended to power off your iPhone 11 before inserting or removing a SIM card. This can help prevent any potential damage to the device or the SIM card. However, if you find it necessary to insert or remove a SIM card while the iPhone is powered on, exercise caution to avoid any issues.
Q: What should I do if my iPhone 11 doesn't recognize the SIM card after insertion?
A: If your iPhone 11 doesn't recognize the SIM card after insertion, try removing the SIM card and reseating it in the tray. Ensure that the SIM card is clean and free of any debris. If the issue persists, contact your mobile carrier for assistance or visit an Apple Store for further troubleshooting.