
The iPhone 13 is an incredible device that offers a multitude of features, and one of the essential tasks for any iPhone user is inserting a SIM card. Whether you’re a new iPhone owner or just upgrading to the latest model, knowing how to insert a SIM card is crucial for accessing cellular services and connecting with the world. In this article, we will guide you through the straightforward process of inserting a SIM card into your iPhone 13. Whether you’re using a physical SIM card or an eSIM, we’ll cover everything you need to know to get your device up and running. So, let’s dive in and discover the simple steps to insert a SIM card into your iPhone 13!
Inside This Article
- Preparing to Insert the SIM Card
- Locate the SIM Card Tray
- Opening the SIM Card Tray
- Inserting the SIM Card into iPhone 13
- Conclusion
- FAQs
Preparing to Insert the SIM Card
Before you proceed with inserting a SIM card into your iPhone 13, it’s important to make sure you have everything you need. Here are the steps to prepare:
- Choose the right SIM card: Check whether you have the correct SIM card size for your iPhone 13. The iPhone 13 uses a Nano SIM card, so ensure that you have one available.
- Turn off your iPhone: It’s crucial to power off your iPhone before attempting to insert or remove the SIM card. This ensures the safety of your data and prevents any damage to the device.
- Gather necessary tools: You might need a SIM card removal tool or a paperclip to eject the SIM card tray. Make sure you have one of these handy before proceeding.
- Backup your data: While inserting a SIM card doesn’t typically cause data loss, it’s always a good idea to back up your iPhone data to ensure its safety. You can use iCloud or iTunes to create a backup.
Once you’ve completed these preparations, you’re ready to proceed with inserting the SIM card into your iPhone 13. Just follow the next steps to ensure a smooth process.
Locate the SIM Card Tray
The SIM card tray on the iPhone 13 is located on the sides of the device. To insert a SIM card into your iPhone 13, you first need to locate the SIM card tray.
On the right side of the iPhone 13 (when facing the screen), you’ll find a small rectangular slot. This slot is where the SIM card tray is located. It’s important to note that the exact location of the SIM card tray may vary slightly depending on the iPhone model you have. However, the general concept remains the same.
Another way to locate the SIM card tray is by referring to the iPhone’s user manual or searching online for specific instructions for your iPhone 13 model. Apple’s official website also provides detailed guides on how to insert a SIM card into different iPhone models.
Once you have located the SIM card tray, you are ready to proceed with opening it and inserting the SIM card into your iPhone 13.
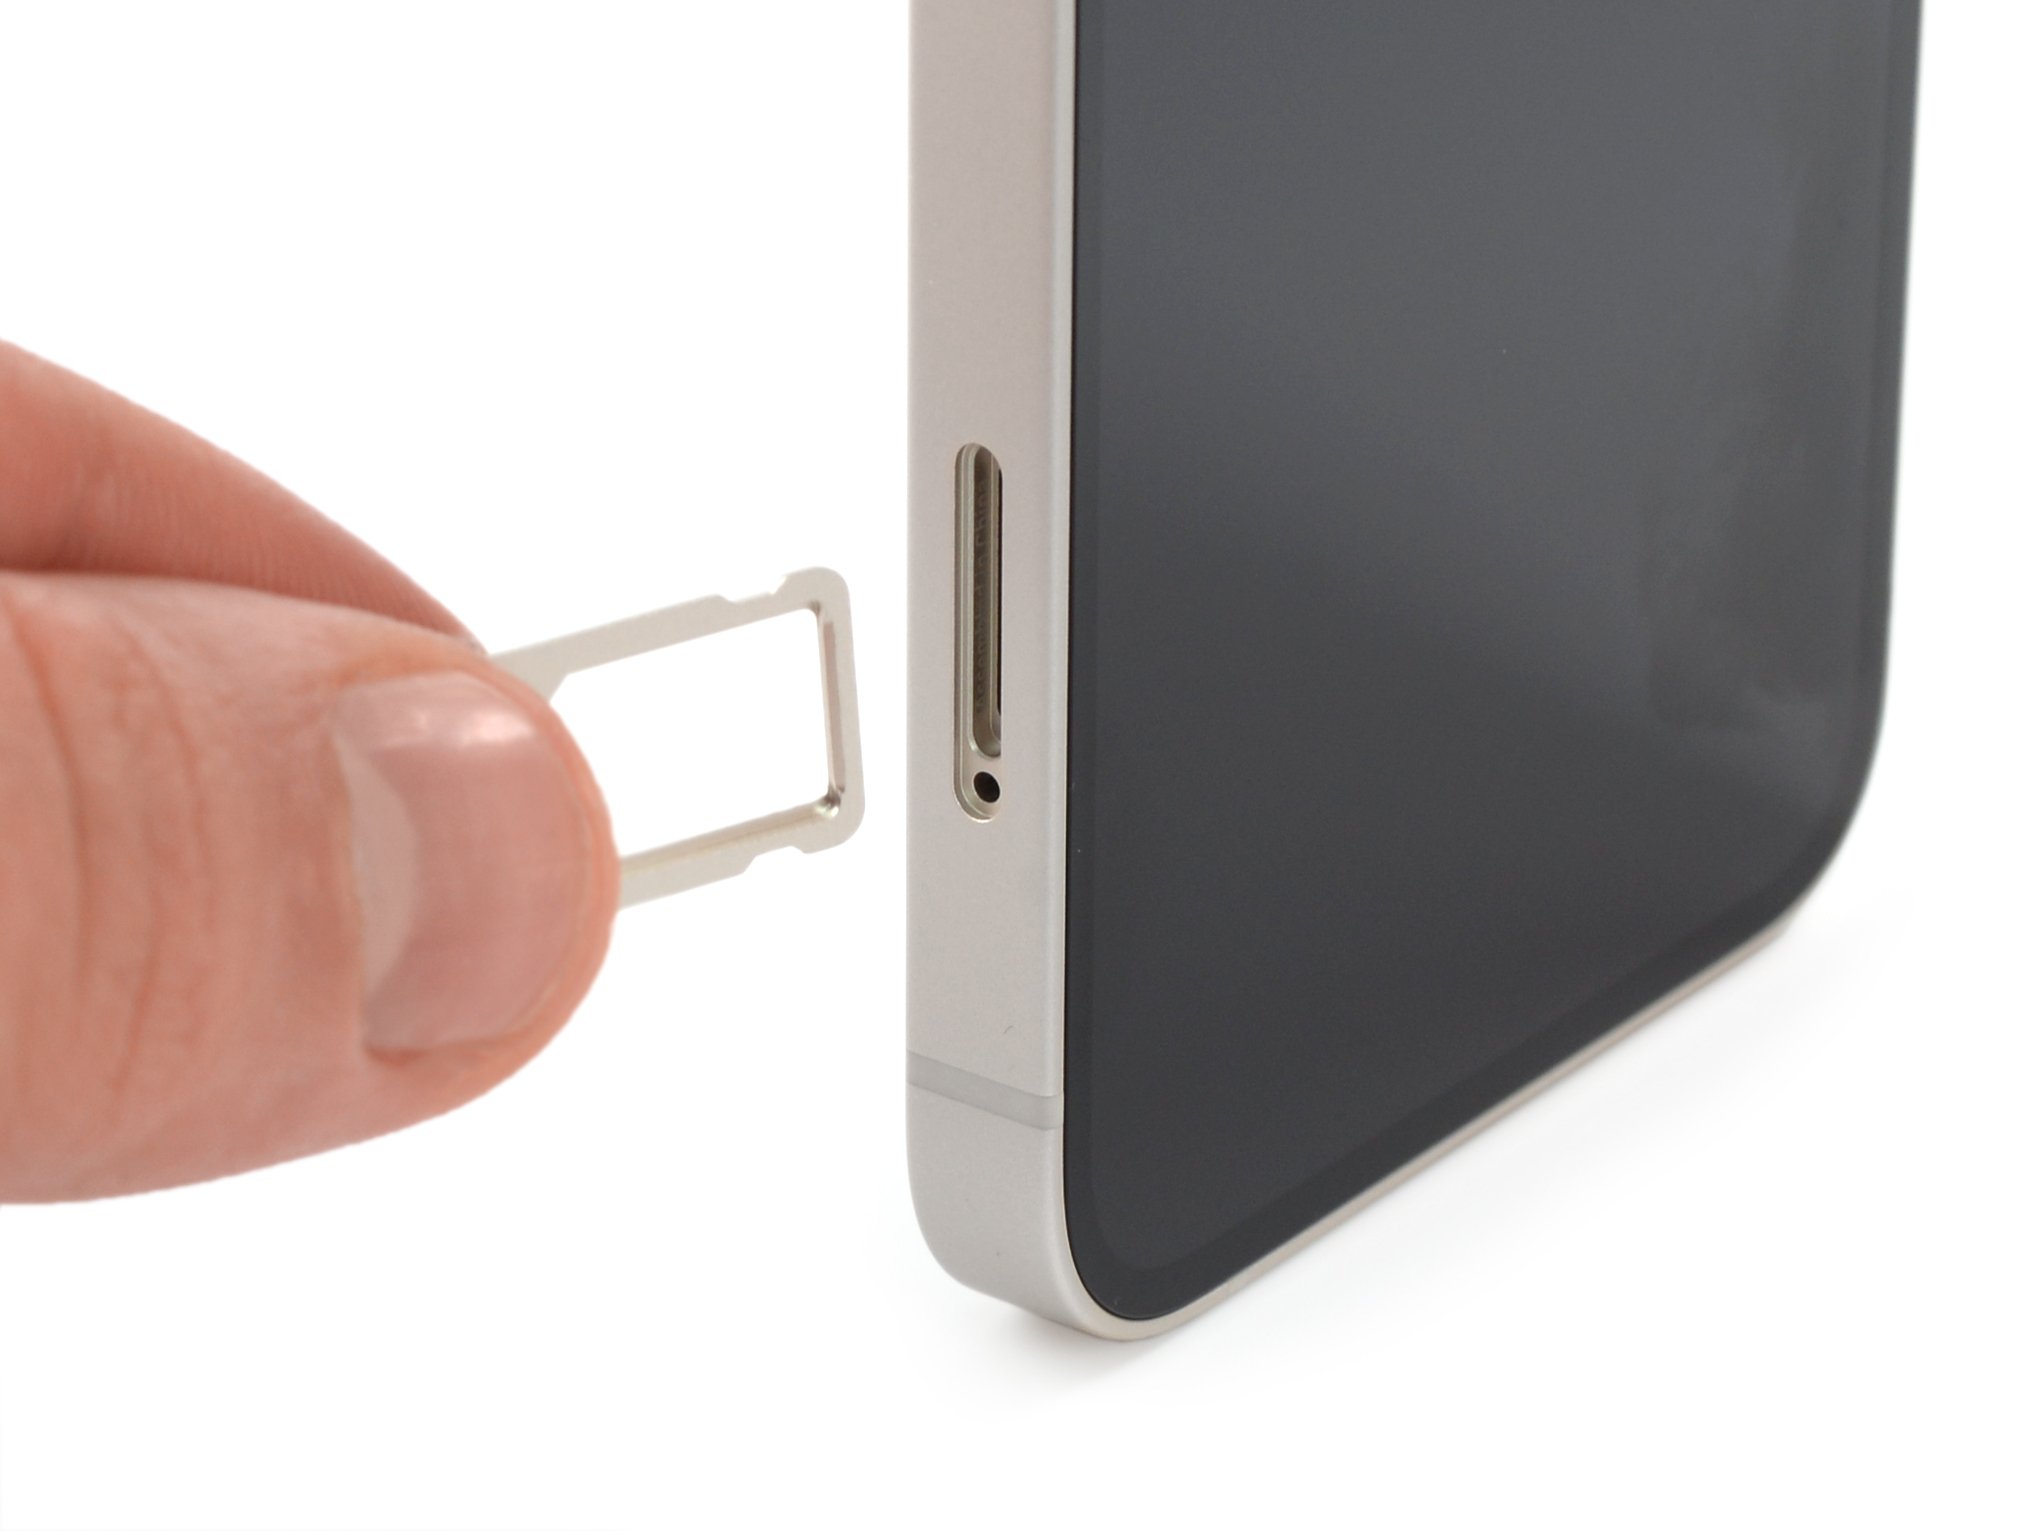
Opening the SIM Card Tray
Once you have located the SIM card tray on your iPhone 13, the next step is to open it. Follow these simple instructions to retrieve the SIM card tray:
1. Start by taking the SIM card ejector tool that came with your iPhone 13. If you don’t have the tool, you can use a small paper clip or a SIM card removal tool instead.
2. Insert the end of the SIM card ejector tool or the straightened paper clip into the small hole located on the bottom edge of the iPhone 13. This hole is the SIM card tray ejector mechanism.
3. Gently apply pressure and push the tool into the hole until you feel a slight resistance. This means that the SIM card tray mechanism has been triggered.
4. Now, pull out the SIM card tray by carefully pulling the tool or paper clip outwards. The tray should easily slide out of the iPhone.
5. Once the SIM card tray is fully exposed, remove the tool and set it aside. You can now proceed to insert the SIM card into the tray.
NOTE: It’s important to handle the SIM card tray with care to avoid any damage.
Now that you have successfully opened the SIM card tray on your iPhone 13, you are ready to insert the SIM card. Move on to the next section to learn how to do that.
Inserting the SIM Card into iPhone 13
Once you have located the SIM card tray and opened it, it’s time to insert the SIM card into your iPhone 13. Follow these simple steps:
- Gently place the SIM card into the SIM card tray, making sure it fits correctly.
- Ensure that the gold contacts of the SIM card are facing down and align with the contacts on the tray.
- Slowly push the SIM card tray back into the iPhone until it is securely in place.
- Gently press down on the tray to make sure it is properly seated and flush with the iPhone’s body.
- If your iPhone has a dual SIM capability, repeat the process for the second SIM card by inserting it into the second slot on the tray.
It’s important to note that if you are using a new SIM card, you may need to activate it before it can be used with your iPhone. You can do this by contacting your service provider and following their instructions.
Once the SIM card is inserted and activated, you should see a signal indicator on the top left corner of your iPhone’s screen, indicating that your device is connected to the mobile network.
Remember: If you ever need to remove the SIM card from your iPhone 13, simply repeat the process by locating and opening the SIM card tray, then gently pulling it out. Be careful not to use excessive force to avoid damaging the tray or the SIM card.
Now that you know how to insert a SIM card into your iPhone 13, you can easily switch between different SIM cards or activate the dual SIM feature to take advantage of multiple phone numbers or carrier plans on your device.
Conclusion
Inserting a SIM card into the iPhone 13 is a straightforward process that allows you to connect to a cellular network and enjoy all the functionalities of your device. Whether you’re upgrading from an older iPhone or setting up your new iPhone 13 for the first time, following the steps provided in this guide will ensure a smooth and hassle-free experience.
Remember to handle the SIM card with care and make sure it is properly aligned before sliding it into the SIM tray. Once inserted, you can power on your iPhone 13 and start exploring its features, make calls, send text messages, and browse the internet. Should you encounter any difficulties or need further assistance, don’t hesitate to consult the official Apple documentation or reach out to Apple Support.
Now that you’re equipped with the knowledge of how to insert a SIM card into your iPhone 13, you can enjoy uninterrupted connectivity and make the most out of your device.
FAQs
Q: How do I insert a SIM card in iPhone 13?
A: Inserting a SIM card in the iPhone 13 is a simple process. First, locate the SIM card tray on the side of your iPhone 13. Then, use the SIM card eject tool or a paperclip to gently push into the small hole next to the tray. The tray will pop out, allowing you to place the SIM card on it. Finally, carefully reinsert the tray back into the iPhone 13 until it clicks into place.
Q: Can I use any type of SIM card with the iPhone 13?
A: The iPhone 13 uses a nano-SIM card, so you will need to ensure that you have a nano-SIM card from your mobile service provider. If you have an older SIM card, you may need to contact your provider to request a nano-SIM card, which is the smallest size available.
Q: Is it possible to use an eSIM instead of a physical SIM card in the iPhone 13?
A: Yes, the iPhone 13 supports the use of eSIMs. An eSIM is a digital SIM card that allows you to activate cellular service without needing a physical SIM card. To set up an eSIM on your iPhone 13, you can either scan a QR code provided by your mobile service provider or manually enter the eSIM details.
Q: Will inserting a SIM card erase my data on the iPhone 13?
A: No, inserting a SIM card into your iPhone 13 will not erase any of your data. The SIM card is primarily used for cellular connectivity and does not affect the device’s storage or data. However, it is always a good practice to back up your iPhone regularly to ensure the safety of your data.
Q: Can I switch SIM cards between iPhones?
A: Yes, you can switch SIM cards between iPhones as long as they use the same size SIM card. For example, if both iPhones use nano-SIM cards, you can simply remove the SIM card from one iPhone and insert it into the other. However, keep in mind that some carriers may require you to activate the new SIM card before it will work in a different device.