
Are you a proud owner of the new iPhone 13? Congratulations! With its incredible features and advanced technology, the iPhone 13 is truly a remarkable device. One of the essential functionalities that you may want to utilize is sync. Syncing allows you to seamlessly transfer data, such as contacts, calendars, and photos, between your iPhone and other devices or platforms. Whether you want to sync your iPhone with your computer, iCloud, or other cloud services, understanding how to turn on sync is crucial. In this article, we will guide you through the process of turning on sync on iPhone 13. So, let’s dive in and make sure your iPhone 13 is fully synced and ready to go!
Inside This Article
- Getting Started with iPhone 13
- Understanding Syncing on iPhone 13
- Enabling Sync on iPhone 13
- Conclusion
- FAQs
Getting Started with iPhone 13
Welcome to the world of iPhone 13, where cutting-edge technology meets sleek design. Whether you’re a longtime iPhone user or new to the iOS ecosystem, getting started with the iPhone 13 is a breeze. In this guide, we’ll walk you through the essential steps to set up and optimize your new device.
1. Unboxing and Setup
The first step is to unbox your iPhone 13 and marvel at its stunning display. Once done, power it on by pressing and holding the side button. Follow the on-screen instructions to choose your language, region, and Wi-Fi network. You can also restore your data from an iCloud or iTunes backup if you have one.
2. Face ID and Security
One of the standout features of the iPhone 13 is Face ID, which allows you to unlock your device with just a glance. During setup, position your face within the frame and move your head in a circular motion to complete the process. Don’t forget to set up a strong passcode as a backup for situations where Face ID may not work.
3. Customize Your Home Screen
With the latest iOS, you have more control over your home screen than ever before. Long press on any app icon to enter “Jiggle mode,” where you can rearrange and organize your apps to your heart’s content. You can also add widgets, create app folders, and even hide app pages.
4. Explore the App Store
The App Store is a treasure trove of apps that can enhance your iPhone experience. Open the App Store on your iPhone 13, browse through different categories, and discover apps tailored to your interests. From productivity tools to photography apps, the possibilities are endless.
5. Take Advantage of iCloud
iCloud is Apple’s cloud storage service that seamlessly syncs your data across all your devices. To set it up, go to Settings > [your name] > iCloud, and enable iCloud backup, photos, contacts, and other relevant options. This ensures that your important information is securely stored and easily accessible.
6. Set Up Apple Pay
Apple Pay allows you to make secure payments with just a tap of your iPhone 13. To set it up, go to Settings > Wallet & Apple Pay, and follow the instructions to add your credit or debit cards. You can then use your iPhone 13 to pay for purchases at participating stores, online merchants, and even in apps.
7. Customize Your Settings
Every individual has different preferences, and the iPhone 13 lets you customize various settings to suit your needs. From the Control Center to Notification Center, take some time to explore the settings and personalize them according to your preferences.
8. Get to Know Siri
Siri, Apple’s voice assistant, is always ready to help you navigate your iPhone 13. Activate Siri by saying “Hey Siri” or long-pressing the side button. You can ask Siri to perform various tasks, such as sending messages, setting reminders, navigating to a location, and much more.
9. Explore the Camera
The iPhone 13 boasts an incredible camera system that allows you to capture stunning photos and videos. Take some time to explore the camera features, experiment with different modes, and unleash your creative side. From portrait mode to Night mode, there’s something for everyone.
10. Battery and Power Saving
To make the most of your iPhone 13’s battery life, consider enabling features like Low Power Mode, optimizing app refresh settings, and reducing screen brightness. These small adjustments can greatly extend your device’s battery life, ensuring you stay connected throughout the day.
Now that you’re familiar with the basics, it’s time to dive into the vast world of possibilities that your iPhone 13 offers. Whether you’re using it for work, entertainment, or staying connected with loved ones, this device is designed to elevate your mobile experience to new heights. Happy exploring!
Understanding Syncing on iPhone 13
Syncing is a crucial feature that allows seamless integration of data and settings across multiple devices. With the iPhone 13, syncing becomes effortless, enabling you to access the same information on your phone, tablet, and computer. Whether it’s your contacts, calendars, or Safari bookmarks, syncing ensures that your data is up to date and readily available whenever and wherever you need it.
Setting Up iCloud Sync
If you want to enable syncing on your iPhone 13, the first step is to set up iCloud. iCloud is Apple’s cloud storage and syncing service that allows you to synchronize your data across all your Apple devices. To enable iCloud sync, follow these simple steps:
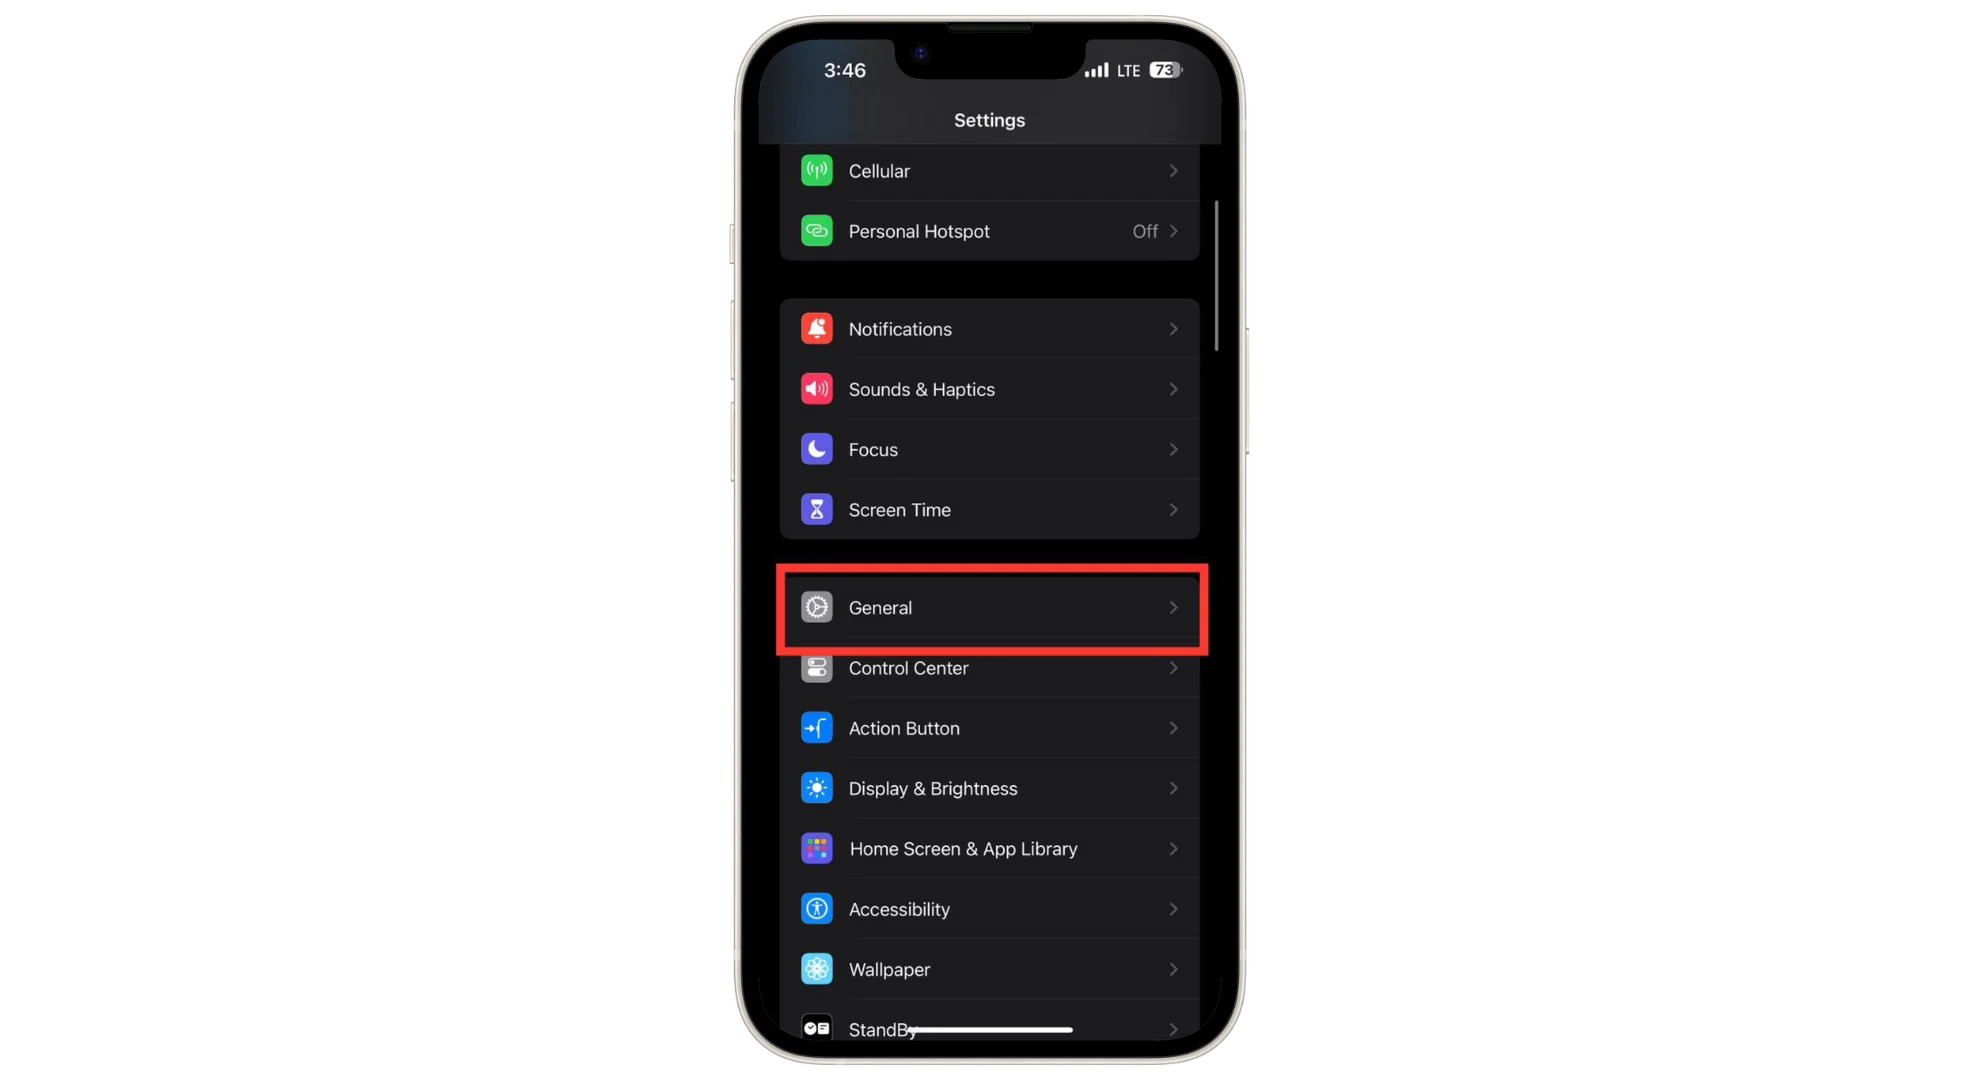
- Go to “Settings” on your iPhone 13.
- Tap on your name at the top of the screen.
- Select “iCloud” from the list.
- Toggle the switch next to the desired apps, such as Contacts, Calendars, and Safari, to enable syncing for those specific apps.
Enabling Sync for Contacts
To sync your contacts across your devices using iCloud, follow these steps:
- Open the “Settings” app on your iPhone 13.
- Scroll down and tap on “Contacts”.
- Tap on “Accounts” and select “iCloud”.
- Toggle the switch next to “Contacts” to enable syncing for contacts.
Enabling Sync for Calendars
If you want to sync your calendars on your iPhone 13, here’s what you need to do:
- Launch the “Settings” app on your iPhone 13.
- Tap on “Calendar”.
- Select “Accounts” and choose “iCloud”.
- Toggle the switch next to “Calendars” to enable syncing for calendars.
Enabling Sync for Safari Bookmarks
Syncing Safari bookmarks on your iPhone 13 ensures that your favorite websites are accessible across all your devices. To enable syncing for Safari bookmarks:
- Open the “Settings” app on your iPhone 13.
- Scroll down and tap on “Safari”.
- Tap on “Accounts” and select “iCloud”.
- Toggle the switch next to “Safari” to enable syncing for bookmarks.
With these simple steps, you can easily enable sync on your iPhone 13, ensuring that your important data is always up to date and accessible across all your devices. Syncing helps you stay organized, saves time, and eliminates the hassle of manually transferring data between devices. Take advantage of this feature to streamline your digital life and experience the convenience of seamless syncing on your iPhone 13.
Enabling Sync on iPhone 13
If you’re looking to keep all your important data in sync across your devices, turning on sync on your iPhone 13 is the way to go. Syncing ensures that your contacts, calendars, and safari bookmarks are updated and readily available on all of your Apple devices. In this article, we will guide you through the process of enabling sync on your iPhone 13, step by step.
Setting Up iCloud Sync
The first thing you need to do is set up iCloud sync on your iPhone 13. iCloud is Apple’s cloud storage service, which allows you to store and access your data across all your Apple devices seamlessly. To enable iCloud sync, follow these steps:
- Open the Settings app on your iPhone 13.
- Tap on your Apple ID at the top of the screen.
- Select iCloud from the list.
- Toggle on the switches next to the apps you want to sync, such as Contacts, Calendars, and Safari.
- If prompted, enter your Apple ID password.
- Wait for your iPhone 13 to finish syncing with iCloud. This may take a few moments depending on the amount of data you have.
Enabling Sync for Contacts
To enable sync for your contacts on iPhone 13, follow the steps below:
- Open the Settings app on your iPhone 13.
- Scroll down and tap on “Contacts”.
- Toggle on the switch next to “Contacts” to enable syncing.
Once enabled, your contacts will be synced with iCloud, and any changes or additions you make will be reflected across all of your Apple devices.
Enabling Sync for Calendars
If you want to sync your calendars on your iPhone 13, here’s what you need to do:
- Open the Settings app on your iPhone 13.
- Scroll down and tap on “Calendar”.
- Toggle on the switch next to “Calendars” to enable syncing.
Once you’ve enabled sync for calendars, any events or appointments you add or modify will be synced with iCloud and available on all of your Apple devices.
Enabling Sync for Safari Bookmarks
Syncing your Safari bookmarks across your Apple devices is a great way to keep your favorite websites and webpages easily accessible. To enable sync for Safari bookmarks on your iPhone 13, follow these simple steps:
- Open the Settings app on your iPhone 13.
- Scroll down and tap on “Safari”.
- Toggle on the switch next to “Safari” to enable syncing.
Once enabled, any bookmarks you save or delete in Safari will be synced with iCloud, making them available on all of your Apple devices.
By following these steps, you can easily enable sync on your iPhone 13 and ensure that your contacts, calendars, and Safari bookmarks stay up to date across all your Apple devices.
Conclusion
In conclusion, turning on sync on your iPhone 13 is a simple yet essential step to ensure that your device is functioning optimally. By enabling sync, you can effortlessly keep your contacts, emails, calendars, photos, and other important data up to date across multiple devices. This feature not only enhances convenience but also provides a seamless and smooth user experience. Whether you need to access your information on your iPhone, iPad, Mac, or other devices, sync ensures that everything stays in sync without any manual effort. So, take advantage of this powerful feature and enjoy the benefits of a connected and synchronized digital ecosystem.
FAQs
Q: How do I turn on Sync on my iPhone 13?
To turn on Sync on your iPhone 13, follow these steps:
1. Open the Settings app on your iPhone.
2. Scroll down and tap on your Apple ID.
3. Tap on iCloud.
4. Toggle on the switch next to the apps or features you want to sync, such as Contacts, Calendar, Notes, and more.
5. You may be prompted to sign in with your Apple ID and password if you have not done so already.
6. Wait for the syncing process to complete.
That’s it! Your iPhone 13 will now sync the selected apps and features with your iCloud account.