
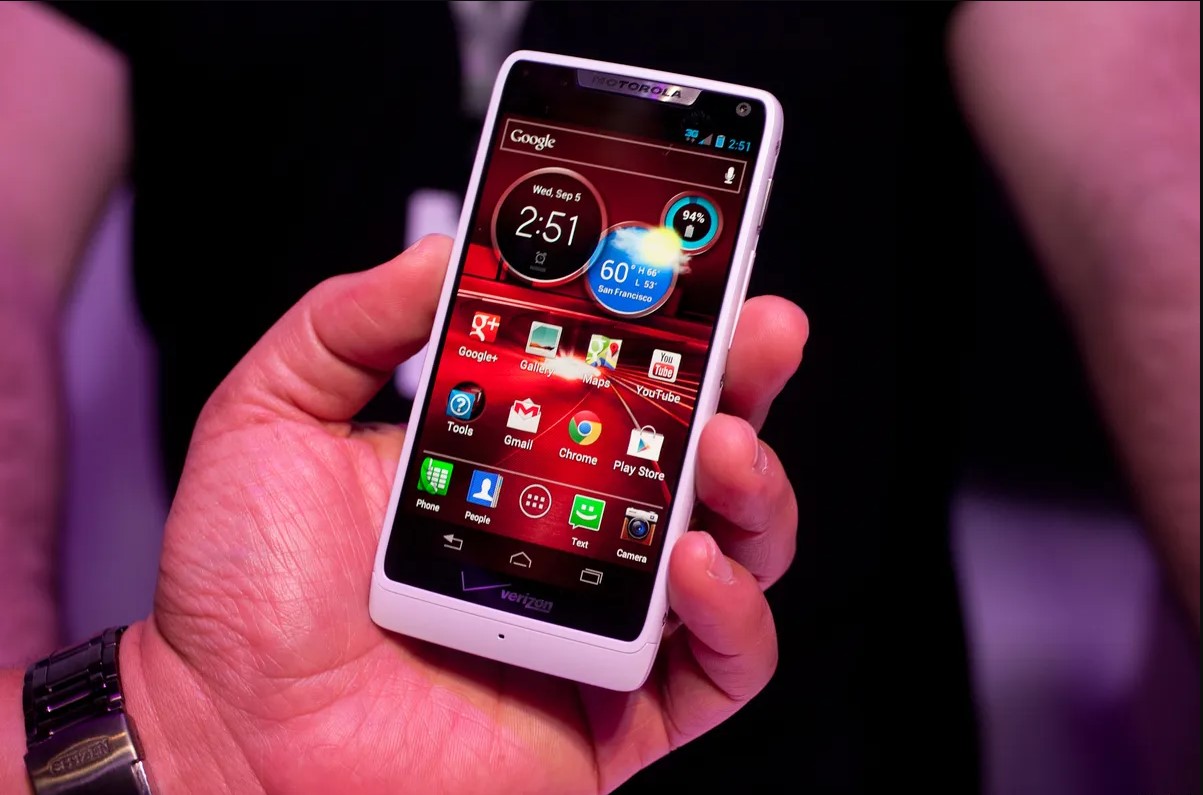
The Motorola Razr M is a remarkable smartphone known for its sleek design and impressive features. However, many users seek to enhance their device's performance and features by installing custom ROMs. Custom ROMs offer a range of benefits, including improved speed, additional customization options, and access to the latest Android updates. In this article, we'll explore the step-by-step process of installing a custom ROM on the Motorola Razr M, allowing you to unlock the full potential of your device. Whether you're a tech enthusiast or simply looking to optimize your smartphone, this guide will provide valuable insights and instructions to help you navigate the exciting world of custom ROMs. So, let's delve into the fascinating realm of customizing your Motorola Razr M with a custom ROM!
Inside This Article
- Preparing Your Device
- Unlocking Bootloader
- Installing Custom Recovery
- Flashing Custom ROM
- Conclusion
- FAQs
Preparing Your Device
Before embarking on the journey of installing a custom ROM on your Motorola Razr M, it’s essential to make sure that your device is fully prepared for the process. Here’s what you need to do to ensure a smooth and successful installation:
1. Backup Your Data: Start by backing up all your important data, including contacts, photos, videos, and any other files you don’t want to lose. While installing a custom ROM generally doesn’t erase your data, it’s always better to be safe than sorry.
2. Charge Your Device: Ensure that your Motorola Razr M has an adequate amount of battery life before initiating the installation process. A fully charged battery will prevent any interruptions during the installation, reducing the risk of bricking your device.
3. Enable USB Debugging: Access the Developer Options in your device’s settings and enable USB debugging. This will allow your computer to communicate with your Motorola Razr M during the installation process.
4. Install Necessary Drivers: Make sure that you have the appropriate USB drivers installed on your computer to establish a stable connection with your Motorola Razr M. This will facilitate the smooth transfer of files during the installation process.
Unlocking Bootloader
If you’re ready to take your Motorola Razr M to the next level and unleash its full potential, unlocking the bootloader is the crucial first step. By unlocking the bootloader, you gain the freedom to install custom ROMs, root your device, and tinker with various aspects of the phone’s software.
Before you proceed, it’s important to understand that unlocking the bootloader will void your warranty and may potentially lead to data loss if not done carefully. However, the benefits of customization and enhanced performance often outweigh these risks for tech-savvy users.
To begin the process, you’ll need to enable Developer Options on your device. This can be done by navigating to Settings, tapping on About Phone, and then tapping the Build Number seven times. Once Developer Options are enabled, you can access the bootloader unlocking feature.
Next, visit the official Motorola website or the website of your device’s manufacturer to find the specific instructions and tools for unlocking the bootloader. Each device may have a slightly different process, so it’s crucial to follow the precise steps provided by the manufacturer to avoid any complications.
Installing Custom Recovery
Once the bootloader of your Motorola Razr M is unlocked, the next step in the process of installing a custom ROM is to install a custom recovery. The custom recovery is a powerful tool that allows you to perform various tasks such as flashing custom ROMs, creating and restoring backups, and clearing the device’s cache partition.
The most popular custom recovery for Android devices is TWRP (Team Win Recovery Project). To install TWRP on your Motorola Razr M, you will need to download the TWRP image file specific to your device model and then use the fastboot command to flash it onto your device. It’s crucial to ensure that you download the correct TWRP image file for your device to avoid any compatibility issues.
Before proceeding with the installation of TWRP, make sure that USB debugging is enabled on your device and that you have the necessary drivers installed on your computer. Additionally, ensure that your device has sufficient battery charge to prevent any interruptions during the installation process.
Once you have the TWRP image file and have set up the necessary prerequisites, you can proceed to boot your Motorola Razr M into fastboot mode and connect it to your computer. From there, you can use the fastboot command to flash the TWRP image file onto your device, thereby installing the custom recovery.
Sure, here's the content for the "Flashing Custom ROM" section:
html
Flashing Custom ROM
Now that you have unlocked the bootloader and installed a custom recovery, you are ready to flash a custom ROM onto your Motorola Razr M. This process will replace the existing operating system on your device with a custom ROM, offering you a whole new user experience and additional features.
Before proceeding, it’s crucial to research and select a custom ROM that is compatible with your device. Look for a ROM that has positive user feedback, stable performance, and the features you desire. Once you’ve chosen a ROM, download it onto your device.
Next, boot your Razr M into recovery mode. This is typically done by powering off the device and then holding down specific buttons to access the recovery menu. Once in recovery mode, navigate to the “Install” or “Install ZIP” option.
Locate the custom ROM file you downloaded and select it for installation. Confirm the installation when prompted, and the flashing process will begin. This may take a few minutes, so be patient and avoid interrupting the process.
After the installation is complete, navigate back to the main menu of the custom recovery and select the option to reboot your device. Your Motorola Razr M will now boot up with the newly flashed custom ROM, providing you with a fresh interface and enhanced functionality.
Installing a custom ROM on your Motorola Razr M can breathe new life into your device, offering enhanced features, improved performance, and the latest Android updates. By following the steps outlined in this guide, you can unleash the full potential of your smartphone and personalize it to suit your preferences. Custom ROMs open up a world of possibilities, allowing you to experience a tailored and optimized user interface while exploring a diverse range of customization options. With the freedom to choose from a variety of ROMs, you can find the perfect fit for your needs, whether it’s prioritizing performance, battery life, or additional features. Embrace the journey of customization and innovation, and elevate your Motorola Razr M to new heights with a custom ROM.
**
FAQs
**
**
**
Q: Can I install a custom ROM on my Motorola Razr M?
Yes, you can install a custom ROM on your Motorola Razr M to customize and enhance its features.
Q: What are the benefits of installing a custom ROM?
Installing a custom ROM can provide performance improvements, additional features, and the latest Android updates that may not be available through official channels.
Q: Does installing a custom ROM void the warranty of my Motorola Razr M?
Yes, installing a custom ROM may void the warranty of your Motorola Razr M. It's important to understand the potential consequences before proceeding.
Q: Are there any risks involved in installing a custom ROM on my phone?
There are risks involved in installing a custom ROM, such as the potential for bricking your device or encountering software bugs. It's crucial to follow the installation instructions carefully and be aware of the associated risks.
Q: Can I revert to the original stock ROM after installing a custom ROM?
In most cases, it is possible to revert to the original stock ROM after installing a custom ROM. However, the process may vary, and it's essential to research the specific steps for your device to ensure a safe transition.