
Sure, here's the introduction for the article:
html
Welcome to the ultimate guide on how to connect your iPhone 12 to your MacBook Air! Whether you’re looking to transfer files, sync data, or simply establish a seamless connection between your devices, this comprehensive article will walk you through the process step by step. With the increasing reliance on technology for both work and personal use, ensuring a smooth connection between your iPhone and MacBook Air has become more crucial than ever. By following the instructions and tips provided here, you’ll be able to effortlessly link your iPhone 12 to your MacBook Air, enabling a seamless flow of data and enhancing your overall user experience.
Inside This Article
- Step 1: Check Your MacBook Air and iPhone 12
- Step 2: Connect iPhone 12 to MacBook Air using a USB Cable
- Step 3: Trust Your MacBook Air on Your iPhone 12
- Step 4: Transfer Files between iPhone 12 and MacBook Air
- Step 5: Eject and Disconnect Your iPhone 12 from MacBook Air
- Conclusion
- FAQs
Step 1: Check Your MacBook Air and iPhone 12
Before connecting your iPhone 12 to your MacBook Air, it’s essential to ensure that both devices are ready for the connection. Here are the key steps to check your MacBook Air and iPhone 12:
1. Check the USB Ports: Inspect your MacBook Air to locate the USB port. The latest MacBook Air models are equipped with USB-C ports, so you’ll need a compatible USB-C to Lightning cable to connect your iPhone 12.
2. Check Your iPhone 12: Make sure your iPhone 12 is powered on and unlocked. It’s important to have your iPhone 12 accessible and ready to interact with your MacBook Air.
3. Update macOS and iOS: Ensure that your MacBook Air is running the latest version of macOS and your iPhone 12 has the most recent iOS update installed. This can help avoid compatibility issues and ensure a smooth connection between the devices.
4. Check for Physical Damage: Inspect the USB cable, USB-C port on your MacBook Air, and the Lightning port on your iPhone 12 for any signs of damage. Using a damaged cable or connecting to a damaged port can lead to connection problems and potential device damage.
By verifying these aspects, you can proceed to the next step with confidence, knowing that your MacBook Air and iPhone 12 are ready for the connection process.
Step 2: Connect iPhone 12 to MacBook Air using a USB Cable
Connecting your iPhone 12 to your MacBook Air using a USB cable is a straightforward process that allows for seamless data transfer and device synchronization.
To begin, ensure that you have a compatible USB cable that can establish a connection between your iPhone 12 and MacBook Air. The cable should have a Lightning connector for your iPhone 12 and a USB-C or USB-A connector for your MacBook Air, depending on the model.
Next, locate the USB-C or USB-A port on your MacBook Air. For newer MacBook Air models, you will find USB-C ports, while older models feature USB-A ports. Once identified, gently insert one end of the USB cable into the port on your MacBook Air.
Now, take the Lightning connector end of the USB cable and insert it into the charging port of your iPhone 12. Ensure that the connection is secure to facilitate uninterrupted data transfer and device charging.
Upon establishing the physical connection, your MacBook Air should recognize the iPhone 12, and you may receive a prompt on your iPhone asking whether to “Trust This Computer.” This step is crucial for enabling data transfer between the devices.
With the physical and trust connections established, your iPhone 12 is now successfully connected to your MacBook Air. This connection enables you to transfer files, sync media, and perform backups between the devices seamlessly.
**
Step 3: Trust Your MacBook Air on Your iPhone 12
**
When you connect your iPhone 12 to your MacBook Air for the first time, a prompt will appear on your iPhone asking if you trust the connected device. This is a security feature designed to prevent unauthorized access to your device. To proceed with the connection, you’ll need to trust your MacBook Air on your iPhone 12.
To trust your MacBook Air, simply unlock your iPhone 12 and check the prompt that appears on the screen. Once you’ve verified that the prompt is legitimate and relates to your MacBook Air, tap “Trust” to establish a secure connection between your devices. This step is essential for enabling seamless data transfer and device synchronization.
By trusting your MacBook Air on your iPhone 12, you’re allowing the two devices to communicate and share data securely. This trust relationship is crucial for various operations, such as transferring photos, videos, and other files between your iPhone 12 and MacBook Air. It also ensures that your devices can work together seamlessly, enhancing your overall user experience.
Step 4: Transfer Files between iPhone 12 and MacBook Air
Transferring files between your iPhone 12 and MacBook Air is a breeze, thanks to the seamless integration between these two devices. Whether you need to move photos, videos, documents, or other files, there are multiple methods to achieve this. Let’s explore the various options available to effortlessly transfer files between your iPhone 12 and MacBook Air.
The first and most straightforward method is to use the native file transfer feature via the built-in “Finder” app on your MacBook Air. Simply connect your iPhone 12 to your MacBook Air using a USB cable. Once connected, your iPhone 12 will appear in the Finder sidebar under the “Locations” section. Click on your iPhone 12, and you can easily browse and transfer files between the two devices.
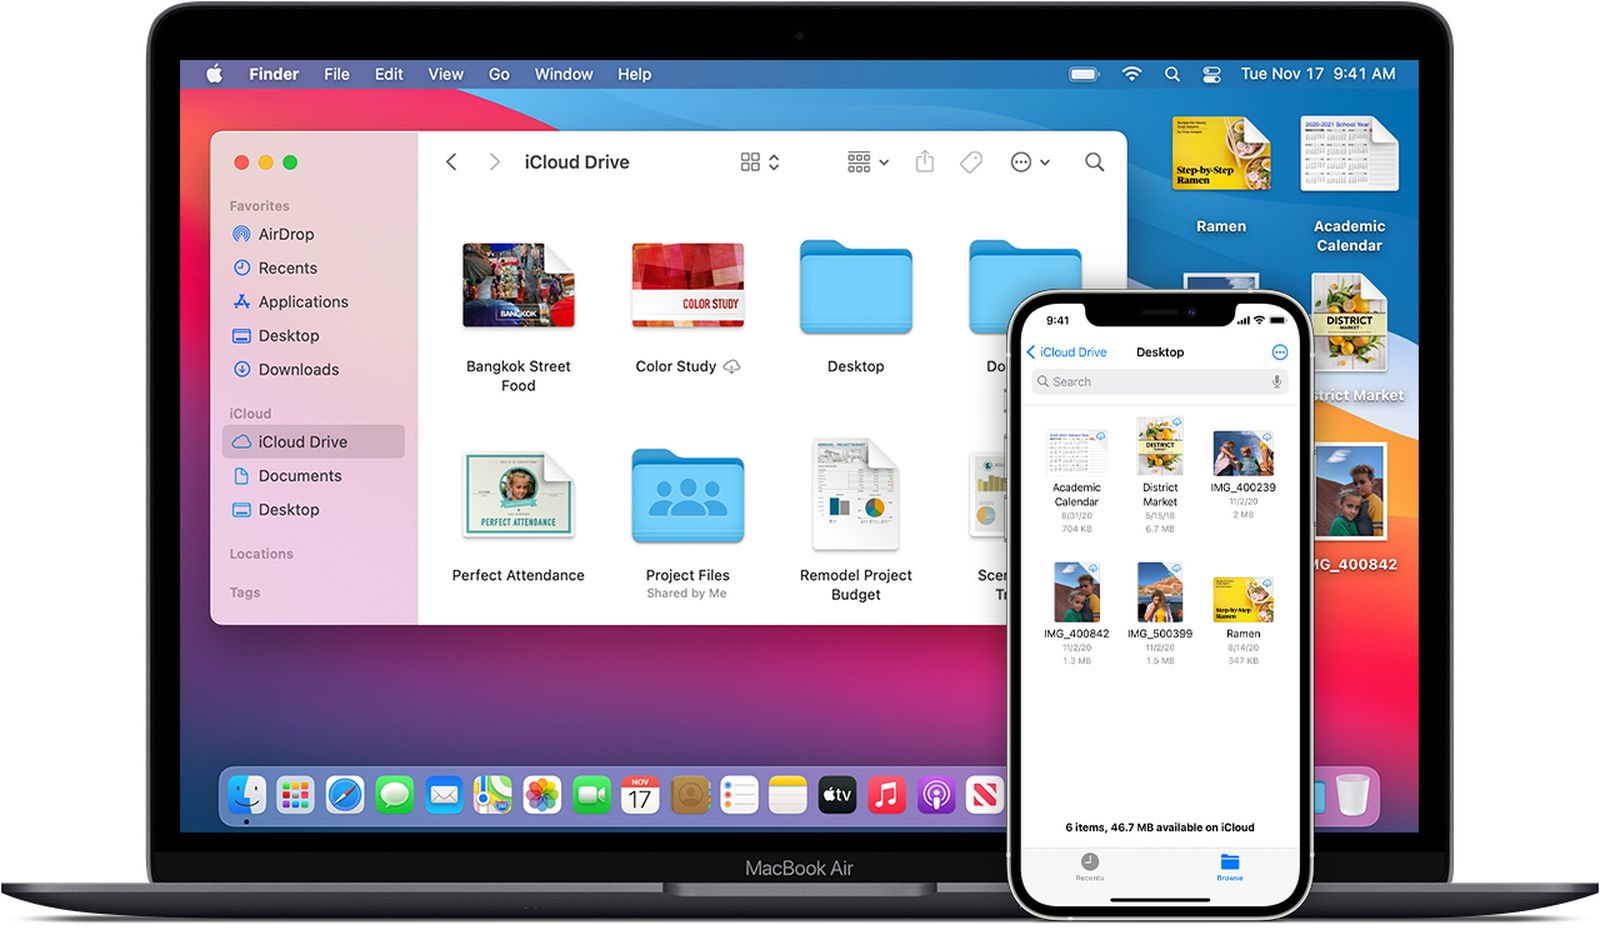
If you prefer a wireless approach, utilizing cloud storage services such as iCloud Drive, Google Drive, or Dropbox can streamline the file transfer process. By uploading files from your iPhone 12 to a cloud storage service, you can seamlessly access and download them on your MacBook Air. This method eliminates the need for physical cables and allows for convenient file management across devices.
Another effective method for file transfer is utilizing third-party applications specifically designed for seamless data exchange between iOS devices and Mac computers. These applications often offer user-friendly interfaces and advanced features, making the file transfer process efficient and intuitive. Popular options include AirDrop, Documents by Readdle, and AnyTrans, among others.
It’s important to note that the file transfer process may vary depending on the type of files you wish to transfer. For photos and videos, the native Photos app on your MacBook Air provides a straightforward way to import media from your iPhone 12. Simply open the Photos app, connect your iPhone 12, and follow the prompts to import your desired media content.
For documents and other file types, utilizing cloud storage services or dedicated file transfer applications can offer versatile solutions tailored to your specific file transfer needs. Whether you’re transferring work documents, presentations, or personal files, leveraging these methods ensures a seamless and efficient transfer process between your iPhone 12 and MacBook Air.
**
Step 5: Eject and Disconnect Your iPhone 12 from MacBook Air
**
Once you’ve finished transferring files between your iPhone 12 and MacBook Air, it’s important to properly eject and disconnect your iPhone to prevent data corruption and ensure the safety of your device.
To eject your iPhone 12 from your MacBook Air, simply locate the device in the Finder or on the desktop. Click on the eject button next to the iPhone 12’s name. This safely disconnects your iPhone from the MacBook Air and ensures that no active file transfers are interrupted.
After ejecting the iPhone 12, you can physically disconnect it from the MacBook Air by gently removing the USB cable from both devices. It’s essential to handle the disconnection process with care to avoid damaging the ports or the cable.
Before unplugging the USB cable, ensure that all file transfers are complete and that no applications are actively accessing the iPhone 12. This precaution prevents potential data loss and minimizes the risk of file corruption.
Once the iPhone 12 is physically disconnected from the MacBook Air, you can safely store the USB cable and proceed to use your iPhone as needed. Remember to always eject and disconnect devices properly to maintain the integrity of your data and devices.
html
Conclusion
Connecting your iPhone 12 to your MacBook Air opens up a world of possibilities, allowing seamless data transfer, device synchronization, and efficient management. With the right cable or wireless connection, you can easily share files, backup data, and even utilize your iPhone as a modem for internet access. The integration between these two devices enables a streamlined user experience, enhancing productivity and convenience. As technology continues to advance, the synergy between Apple’s devices offers a harmonious ecosystem for users. By following the simple steps outlined in this guide, you can effortlessly bridge your iPhone 12 and MacBook Air, unlocking the full potential of these innovative devices.
FAQs
-
Can I connect my iPhone 12 to my MacBook Air using a USB cable?
Yes, you can connect your iPhone 12 to your MacBook Air using a USB cable. The USB connection allows for various functionalities such as data transfer, charging, and more.
-
Do I need any additional software to connect my iPhone 12 to my MacBook Air?
In most cases, no additional software is required to connect your iPhone 12 to your MacBook Air. The native functionalities of both devices should allow for seamless connectivity and data transfer.
-
Can I transfer photos and videos from my iPhone 12 to my MacBook Air?
Absolutely! You can easily transfer photos and videos from your iPhone 12 to your MacBook Air. The process typically involves connecting the devices and utilizing the native photo transfer functionalities.
-
What if my MacBook Air doesn't recognize my iPhone 12 when connected?
If your MacBook Air doesn't recognize your iPhone 12 when connected, try using a different USB port or cable. Additionally, ensure that both devices are unlocked and trust each other when prompted.
-
Is it possible to sync my iPhone 12 with my MacBook Air for seamless data sharing?
Yes, you can sync your iPhone 12 with your MacBook Air to enable seamless data sharing. This allows for synchronization of various data such as contacts, calendars, and more between the two devices.
These FAQs should provide a comprehensive overview of the common queries users may have when connecting their iPhone 12 to a MacBook Air.