
Are you ready to give your Fitbit Versa 3 a fresh new look? One of the great features of this popular smartwatch is the ability to change its band. Whether you want to switch things up for a special occasion or simply want to match your outfit, changing the band on your Fitbit Versa 3 is a quick and easy process. In this article, we will guide you through the steps to change the band on your Fitbit Versa 3, ensuring that you can personalize it to suit your style. Say goodbye to the same old look and get ready to accessorize your Fitbit Versa 3 with a band that speaks to your unique personality.
Inside This Article
- Overview
- Step 1: Power off the Fitbit Versa 3
- Step 2: Remove the current band
- Step 3: Attach the new band
- Step 4: Power on the Fitbit Versa 3 and test the new band
- Conclusion
- FAQs
Overview
The Fitbit Versa 3 is a popular smartwatch that offers a range of features and functionalities to help you track your fitness goals. One of the great things about the Versa 3 is that it allows you to change the band, giving you the opportunity to personalize the look and feel of your device. Whether you want a sporty silicone band for your workouts or a stylish leather band for a night out, swapping out the band on your Fitbit Versa 3 is quick and easy.
In this article, we will guide you through the step-by-step process of changing the band on your Fitbit Versa 3. Whether you are a fitness enthusiast or someone who simply enjoys the convenience and style of a smartwatch, this article will help you bring a fresh and new look to your Fitbit Versa 3.
So, let’s get started and learn how to change the band on your Fitbit Versa 3!
Step 1: Power off the Fitbit Versa 3
The first step in changing the band on your Fitbit Versa 3 is to power off the device. By turning off the Versa 3, you ensure that you can safely remove the current band without any interruptions or accidental button presses.
To power off your Fitbit Versa 3, locate the physical button on the side of the device. This button is used to navigate through the smartwatch’s menu and functions. Press and hold the button until a power off screen appears. Release the button once the screen appears.
On the power off screen, you will see an option to power off the Versa 3. Use the button to select the power off option, and then press the button again to confirm your selection. The device will begin to power down, and you can proceed to the next step.
Keep in mind that properly powering off your Fitbit Versa 3 before changing the band will help ensure that you don’t accidentally trigger any actions or settings during the band replacement process. It’s always a good practice to take precautions when handling electronic devices.
Step 2: Remove the current band
Now that you have powered off your Fitbit Versa 3, it’s time to remove the current band. This step requires a careful and gentle approach to avoid any damage to the device.
Start by locating the release buttons on both sides of the watch case. These are small buttons that allow you to detach the band from the watch body.
Press and hold one of the release buttons while gently pulling on the band. Repeat this process for the other release button. It’s important to apply even pressure and avoid pulling too forcefully to prevent any strain on the watch or the band.
As you press the release buttons and pull the band, you will feel the band loosen and separate from the watch case. Continue pulling until the band is completely detached from the watch.
Once the band is removed, set it aside safely. You may want to clean it or keep it as a spare. Now, you have a clear view of the connectors on the watch case where the new band will be attached.
Take a moment to inspect the connectors and ensure they are clean and free from any debris or dirt. If necessary, use a soft cloth or a cotton swab to gently clean the connectors.
With the old band removed and the connectors clean, you are now ready to move on to the next step: attaching the new band to your Fitbit Versa 3.
Step 3: Attach the new band
Now that you have successfully removed the old band from your Fitbit Versa 3, it’s time to attach the new band. Follow these simple steps to securely fasten the new band to your device:
1. Start by identifying the two pins located on the back of the Fitbit Versa 3. These pins are used to connect the band to the device. Take a moment to locate them before proceeding.
2. Take the new band that you have chosen and position it so that the pin holes align with the pins on the Versa 3. Depending on the type of band you have, there may be a small lever or button that needs to be pressed to release the pins.
3. Press the band firmly onto the pins, making sure it is securely attached. You should feel a click or a slight resistance when the band is properly connected. Give it a gentle tug to ensure it is not loose.
4. Once the new band is attached, take a moment to adjust it to your desired fit. Most bands have adjustable notches or clasps that allow you to find the perfect size for your wrist. Make sure it is comfortable and snug, but not too tight.
5. Double-check that the new band is securely fastened by giving it another gentle tug or two. You want to ensure that it will not detach during everyday activities or workouts.
And there you have it! Your new band is successfully attached to your Fitbit Versa 3. Now it’s time to move on to the next step and power on your device.
Step 4: Power on the Fitbit Versa 3 and test the new band
Now that you have successfully attached the new band to your Fitbit Versa 3, it’s time to power it on and test the functionality of the new band. Follow these simple steps to complete the process:
1. Press and hold the side button on the Fitbit Versa 3 until the Fitbit logo appears on the screen. This indicates that the device is turning on.
2. Once the device is powered on, you will see the clock face on the screen. Swipe left or right to navigate through the different watch faces and select the one you prefer. This allows you to personalize your Fitbit Versa 3 to match your style.
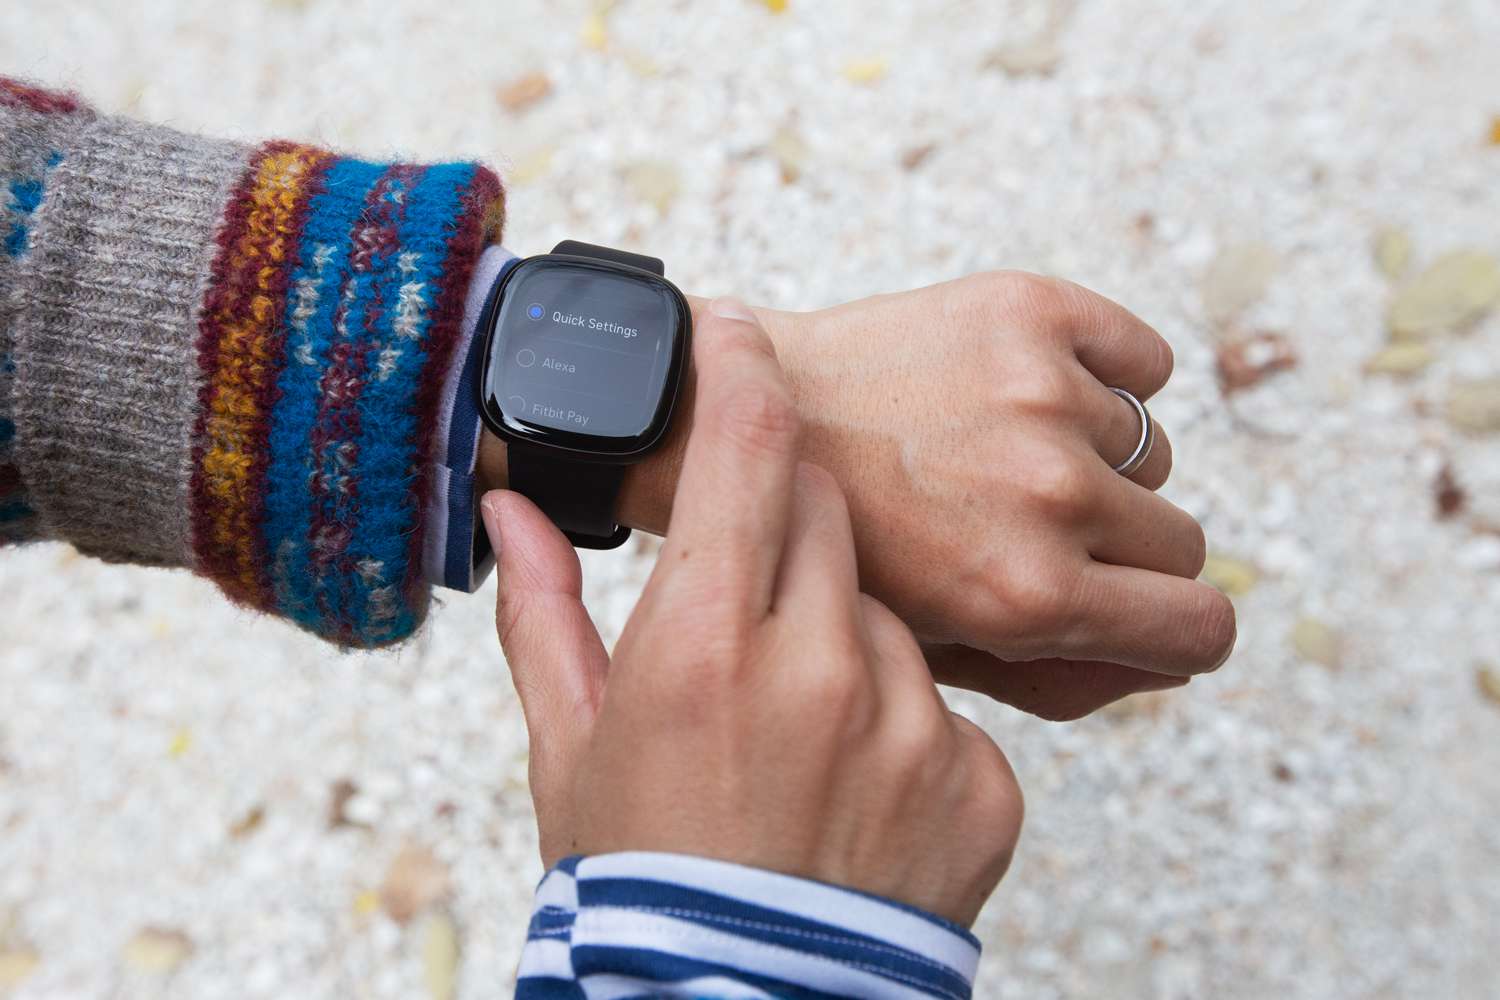
3. To test the functionality of the new band, try performing various actions such as tapping on the screen, scrolling through menus, and accessing different apps. This will ensure that the touch sensitivity of the new band is working properly and that you can easily navigate through the device’s features.
4. Additionally, you can try syncing the Fitbit Versa 3 with your smartphone or computer to ensure that the data is being accurately recorded and transferred. This will allow you to track your fitness activities and view your progress effortlessly.
5. Finally, wear the Fitbit Versa 3 on your wrist and move around to see if the new band feels comfortable and secure. Pay attention to any discomfort or looseness that may indicate an improper fitting. If necessary, readjust the band or consider trying a different size or style.
By following these steps, you can confidently power on your Fitbit Versa 3 and test the functionality of the new band. Enjoy your improved fitness tracking experience and the new stylish look of your device!
Conclusion
In conclusion, changing the band on your Fitbit Versa 3 is a simple and quick process that allows you to personalize your device and match it to your style. Whether you want a sports band for your workouts or a fashionable band for everyday wear, there are plenty of options available to suit your needs.
Remember to follow the manufacturer’s instructions and take care when removing or attaching the bands to avoid any damage to your Fitbit Versa 3. By keeping your device well-maintained and regularly changing the bands, you can ensure that your Fitbit Versa 3 remains comfortable and stylish for years to come.
Don’t hesitate to experiment with different band styles and colors to find the perfect look that reflects your personality. With the ability to easily switch out bands, your Fitbit Versa 3 can be transformed to match any occasion or outfit.
So go ahead and change the band on your Fitbit Versa 3 to add a personal touch and elevate your style while tracking your fitness goals. Embrace the versatility and flexibility that comes with accessorizing your Fitbit Versa 3 and make a fashion statement while staying active!
FAQs
1. How do I change the band on my Fitbit Versa 3?
2. Can I use any third-party band with the Fitbit Versa 3?
3. Are there different sizes of bands available for the Fitbit Versa 3?
4. Is it easy to change the band on the Fitbit Versa 3?
5. Will changing the band void my Fitbit Versa 3 warranty?