
Are you looking to change the clock face on your Fitbit Sense? Maybe you’ve grown tired of the current one and want to switch it up. Fortunately, deleting a clock face on the Fitbit Sense is a simple process that can be done right from your wrist. In this article, we will guide you through the steps to delete a clock face on your Fitbit Sense, allowing you to customize your wearable device according to your style and preferences. Whether you’re interested in a sleek digital display or a colorful analog design, removing a clock face from your Fitbit Sense is a quick and easy way to revamp your smartwatch and make it truly your own.
Inside This Article
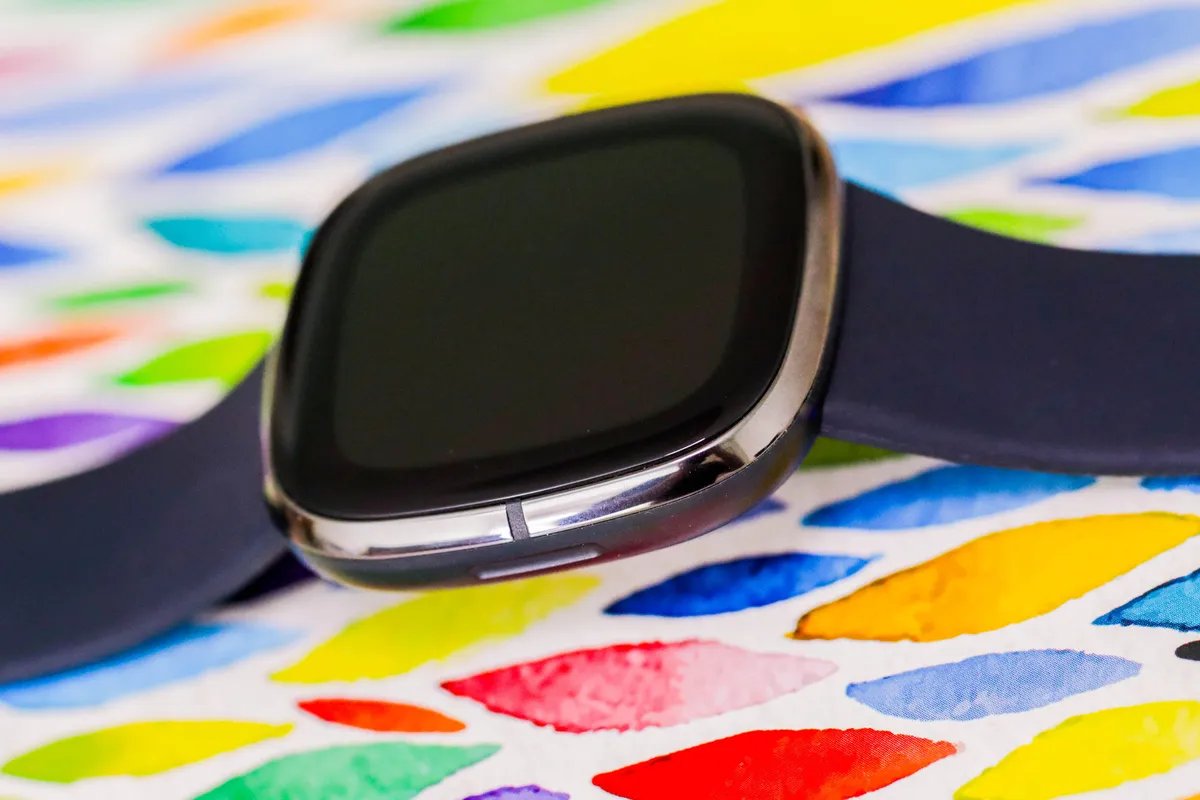
- Overview of Fitbit Sense Clock Face
- Step 1: Accessing Clock Face Settings
- Step 2: Choosing the Clock Face
- Step 3: Deleting the Clock Face
- Conclusion
- FAQs
Overview of Fitbit Sense Clock Face
The Fitbit Sense is a versatile smartwatch that allows you to customize the appearance of your device with various clock faces. The clock face is the visual display on the screen that shows the time, date, and additional information. Fitbit offers a wide range of clock face options, allowing you to personalize your Fitbit Sense to your liking.
Customizing your clock face not only adds a touch of personal style to your Fitbit Sense but also enhances your overall user experience. With the right clock face, you can easily access important information such as steps taken, heart rate, weather, and much more, right at your wrist.
Fitbit Sense offers a diverse collection of clock faces, ranging from sleek and minimalistic designs to fun and animated options. Whether you prefer a classic analog look or a digital display with vibrant colors, you can find the perfect clock face to suit your style and preferences.
Switching between clock faces is a breeze, allowing you to experiment with different looks and functionalities until you find the one that suits your needs. You can easily swap between clock faces directly from your Fitbit Sense or through the Fitbit app on your smartphone.
Not only can you choose from Fitbit’s extensive collection of clock faces, but you can also explore third-party options developed by the Fitbit community. These third-party clock faces offer even more customization options, such as displaying additional fitness metrics or integrating with other apps and services.
Whether you’re a fitness enthusiast, a fashion-conscious individual, or simply someone who loves to have control over every aspect of their smartwatch, the Fitbit Sense clock face customization options will surely cater to your needs. With just a few simple steps, you can transform the look and functionality of your Fitbit Sense and make it truly your own.
Step 1: Accessing Clock Face Settings
Accessing the clock face settings on your Fitbit Sense is a straightforward process that allows you to customize the look and functionality of your device. With a few simple steps, you’ll be able to access and modify the clock face according to your preferences. Here’s how you can do it:
To begin, ensure that your Fitbit Sense is properly paired with your smartphone or tablet. Open the Fitbit app on your device and make sure you’re logged into your Fitbit account.
Once you’re logged in, navigate to the “Account” tab located either at the bottom or top of the app screen, depending on your device’s interface. Tap on the “Account” tab to access your account settings.
Within the account settings, look for the “Device” section. This is where you’ll find the option to manage the settings of your Fitbit Sense, including the clock face.
Tap on the “Device” section to open the device settings menu. In this menu, you’ll see various options related to your Fitbit Sense, such as “Sync,” “Notifications,” and “Clock Face.”
Locate the “Clock Face” option and tap on it. This will take you to the clock face settings, where you can explore and select the different clock faces available for your Fitbit Sense.
Once you’ve accessed the clock face settings, you’ll be able to preview and choose from a wide range of available clock faces. Scroll through the options to find the one that suits your style and preferences.
After selecting a clock face, tap on it to apply it to your Fitbit Sense. The selected clock face will be automatically synced to your device, replacing the previous one.
If at any point you wish to change or delete the clock face, you can revisit the clock face settings following the same steps mentioned above. From there, you can choose a new clock face or delete the current one.
By accessing the clock face settings on your Fitbit Sense, you have the freedom to customize your device and make it reflect your personal style and preferences. Enjoy exploring the various clock face options and finding the perfect one for your Fitbit Sense!
Step 2: Choosing the Clock Face
Once you have accessed the clock face settings on your Fitbit Sense, it’s time to choose the perfect clock face that suits your style and preferences. Fitbit offers a wide range of clock face options, allowing you to personalize your device and customize its appearance.
To choose a clock face, follow these simple steps:
- From the clock face settings menu, scroll through the available options to explore the different designs and features.
- Take your time to browse through the various categories, such as analog, digital, minimalist, fitness-focused, or even fun and quirky clock faces.
- Once you find a clock face that catches your eye, select it to preview how it will look on your Fitbit Sense. This will give you a better idea of how the clock face will appear on the display.
- If you’re satisfied with the preview and want to use the clock face, click on the “Set” or “Apply” button to confirm your selection.
Remember, you can always change the clock face later if you decide to switch things up or try out a different style. The process of choosing a new clock face is the same as described above.
Experiment with different designs, colors, and complications to find the clock face that not only looks great but also provides the information you need at a glance. Whether you prefer a simple and elegant design or a more detailed and informative one, Fitbit has a clock face to suit every taste and lifestyle.
Choosing a clock face is a fun and exciting part of personalizing your Fitbit Sense. It allows you to make your device truly yours and showcases your personality in a fashionable way.
Step 3: Deleting the Clock Face
After using a certain clock face on your Fitbit Sense, you might decide that it no longer fits your style or preferences. In such cases, you can easily delete the clock face to make room for a new one. Deleting a clock face on the Fitbit Sense is a simple process that can be done within the device’s settings.
To start, navigate to the clock face settings on your Fitbit Sense. You can access these settings by swiping left on the clock face until you reach the Settings app. Tap on the Settings app to open it.
Once you are in the Settings app, scroll down and find the “Clock Faces” option. Tap on it to enter the clock face selection menu.
In the clock face selection menu, you will see a list of all the clock faces installed on your Fitbit Sense. Find the clock face that you want to delete and tap on it.
After selecting the clock face, you will see a screen with various options related to that specific clock face. Look for the “Delete” or “Remove” option and tap on it.
A confirmation message will appear asking if you want to delete the clock face. Confirm your decision by tapping on “Delete” or “Yes.” The clock face will then be removed from your Fitbit Sense.
It is important to note that deleting a clock face will erase all the settings and personalization associated with that particular clock face. If you ever decide to use the same clock face again in the future, you will need to reconfigure it from scratch.
By following these steps, you can easily delete a clock face on your Fitbit Sense and make way for new ones that align with your style and preferences.
Conclusion
Removing the clock face on your Fitbit Sense is a simple process that allows you to customize your device to suit your personal style and preferences. Whether you’re looking to switch to a different clock face or want to remove it altogether, the steps outlined in this article will guide you through the process effortlessly.
With just a few taps on your Fitbit app or directly on your device, you can easily delete unwanted clock faces and create a clean and clutter-free display. Remember to explore the wide range of clock face options available within the Fitbit gallery to find the perfect one that matches your style and provides the information you need at a glance.
By taking control of your Fitbit Sense’s clock face, you can elevate your wearable experience and make it truly your own. Enjoy the freedom to express yourself and stay motivated on your fitness journey with a personalized and unique device.
FAQs
1. Can I delete a clock face on my Fitbit Sense?
Yes, you can delete a clock face on your Fitbit Sense. Deleting a clock face allows you to customize your device’s appearance and choose the ones that suit your style and preference.
2. How do I delete a clock face on my Fitbit Sense?
To delete a clock face on your Fitbit Sense, follow these steps:
- Open the Fitbit app on your smartphone.
- Go to the “Clock Faces” section in the app.
- Scroll through the available clock faces and find the one you want to delete.
- Tap on the clock face to open its settings.
- Look for the “Delete” or “Remove” option and tap on it.
- Confirm the deletion when prompted.
Once you’ve completed these steps, the clock face will be removed from your Fitbit Sense.
3. Will I lose any data when I delete a clock face on my Fitbit Sense?
No, deleting a clock face on your Fitbit Sense will not cause any data loss. The clock face is simply a visual customization feature and does not affect the functionality or storage of your fitness data.
4. Can I reinstall a clock face after deleting it on my Fitbit Sense?
Yes, you can reinstall a clock face after deleting it on your Fitbit Sense. Simply follow the instructions in the Fitbit app to browse and select a new clock face from the available options or from the Fitbit app gallery.
5. Are there any limitations on how many clock faces I can delete on my Fitbit Sense?
No, there are no limitations on the number of clock faces you can delete on your Fitbit Sense. You have the freedom to customize your device by adding or removing clock faces as desired.