
If you’re a proud owner of a Chromebook, you know how versatile and convenient it can be. Whether you’re using it for work, school, or entertainment, Chromebooks allow you to accomplish tasks with ease. However, one issue that some users encounter is the magnifier appearing on their Chromebook screen. This can be frustrating, as it interferes with the overall browsing experience and may hinder your productivity. In this article, we will explore various methods to get rid of the magnifier on your Chromebook, so you can continue using your device seamlessly. From adjusting settings to troubleshooting common issues, we’ve got you covered. Let’s dive in and discover how to reclaim your Chromebook screen from the pesky magnifier.
Inside This Article
- Disabling the Magnifier Feature on Chromebook
- Adjusting the Zoom Level on Chromebook
- Resetting the Zoom Settings on Chromebook
- Disabling Accessibility Features on Chromebook
- Conclusion
- FAQs
Disabling the Magnifier Feature on Chromebook
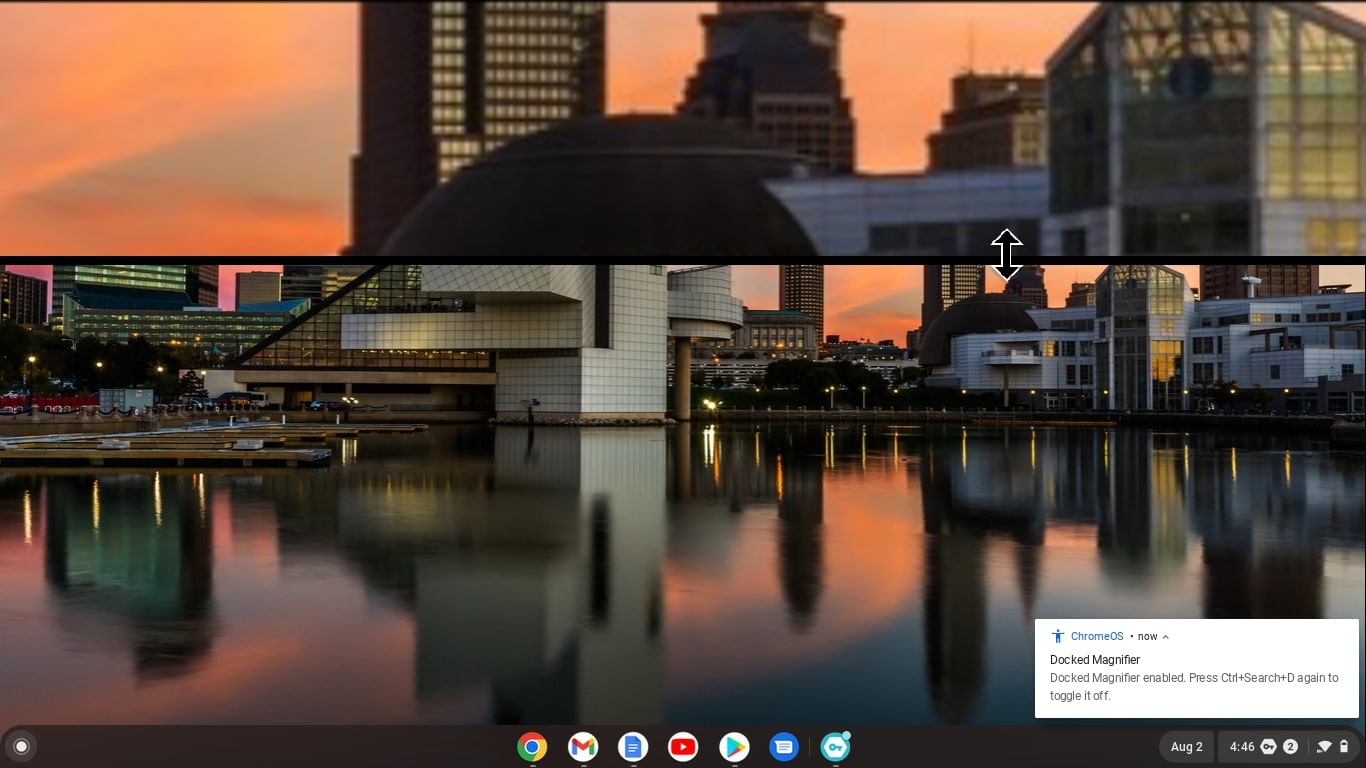
Chromebooks are popular for their user-friendly interface and accessibility features. One of these features is the magnifier, which allows users to zoom in on content for better visibility. However, you may find that the magnifier feature is not suitable for your needs or prefer to have it disabled. Fortunately, disabling the magnifier feature on a Chromebook is a straightforward process. Follow these steps to turn off the magnifier feature:
- Navigate to the bottom-right corner of the screen and click on the system clock.
- A menu will appear. Click on the gear icon to open the Settings menu.
- In the Settings menu, click on “Accessibility”.
- Scroll down to the “Display” section and click on “Manage accessibility features”.
- Under the “Display” section, you will find the “Magnifier” option. Toggle the switch to turn it off.
- Close the Settings menu, and the magnifier feature will now be disabled on your Chromebook.
Now, you can enjoy using your Chromebook without the magnifier feature interfering with your browsing experience or workflow. In case you ever want to enable the magnifier feature again, simply follow the same steps and toggle the switch to the on position.
Disabling the magnifier feature on your Chromebook gives you the freedom to customize your device to suit your preferences and needs. Whether you find the feature unnecessary or simply prefer to navigate without zoomed-in content, having the ability to disable the magnifier feature can greatly enhance your overall Chromebook experience.
Adjusting the Zoom Level on Chromebook
Chromebooks provide a convenient and user-friendly experience, allowing you to adjust the zoom level according to your preferences. Whether you need to zoom in to read small text or zoom out to see a broader view, Chromebook’s zoom feature has got you covered.
To adjust the zoom level on your Chromebook, follow these simple steps:
- Open the Chrome browser by clicking on the Chrome icon located in the bottom-left corner of the screen.
- Once the Chrome browser is open, click on the three vertical dots in the top-right corner to open the Chrome menu.
- From the dropdown menu, select “Settings”. This will open the Settings page in a new tab.
- In the Settings page, scroll down until you find the “Appearance” section.
- In the “Appearance” section, you’ll see a “Page zoom” option. Adjust the zoom level by moving the slider to the left to zoom out or to the right to zoom in.
- As you move the slider, the changes in zoom level will be immediately reflected in the preview window. Find the zoom level that suits your needs.
- Once you have selected the desired zoom level, close the Settings tab.
By following these steps, you can easily adjust the zoom level on your Chromebook to enhance your browsing experience. Whether you need to make text easier to read or fit more content on the screen, Chromebook’s zoom feature gives you the flexibility to customize your view. Experiment with different zoom levels until you find the one that is most comfortable for you.
Resetting the Zoom Settings on Chromebook
Adjusting the zoom level on your Chromebook can enhance your browsing experience by making content more readable. However, there may be instances where your zoom settings become misconfigured, causing inconvenience and difficulties in using your device. Fortunately, resetting the zoom settings on your Chromebook is a simple and effective solution to restore it to its default state. Here’s how you can do it:
1. Start by opening the Chrome browser on your Chromebook. You can do this by clicking on the Chrome icon located in your app launcher or by pressing the search key and typing “Chrome” in the search bar.
2. Once the Chrome browser is open, look for the three vertical dots at the top-right corner of the window. Click on these dots to open the Chrome menu.
3. In the Chrome menu, scroll down and locate the “Zoom” option. Click on it to expand the zoom settings.
4. Inside the “Zoom” settings, you will see a slider that indicates the current zoom level. To reset the zoom settings, move the slider all the way to the leftmost position, which is marked as 100%.
5. After adjusting the slider, you may notice that the content on your screen has returned to its original size. This indicates that the zoom settings have been successfully reset.
6. Finally, to save the changes and exit the zoom settings, click anywhere outside the Chrome menu or press the Esc key on your Chromebook’s keyboard.
By following these steps, you can easily reset the zoom settings on your Chromebook and restore the default zoom level. This can be particularly useful if you accidentally set the zoom level too high or too low, resulting in distorted or unreadable content. Remember, you can always adjust the zoom level again to your preference using the same steps.
Resetting the zoom settings on your Chromebook is a quick fix for any zoom-related issues you may encounter. Give it a try if you find yourself needing to restore the default zoom level on your device.
Disabling Accessibility Features on Chromebook
Chromebooks are designed to be inclusive and user-friendly, offering a range of accessibility features to meet the needs of different users. However, there may be instances where you want to disable these features, either to customize your Chromebook experience or to troubleshoot any issues you may be facing. Here’s how you can disable accessibility features on your Chromebook:
1. Open the Chromebook Settings by clicking on the clock icon in the bottom-right corner of the screen, then selecting the Gear icon.
2. In the Settings menu, scroll down and click on “Accessibility” in the left-hand sidebar.
3. Here, you will find a list of accessibility features that are currently enabled on your Chromebook. To disable a specific feature, simply click on the toggle switch next to it to turn it off.
4. If you want to disable all accessibility features at once, you can click on the “Manage accessibility features” link at the bottom of the page.
5. In the Manage accessibility features menu, you can toggle off the switch next to “Enable accessibility features” to disable all accessibility features on your Chromebook.
6. Once you have disabled the desired accessibility features, you can close the Settings menu. The changes will take effect immediately.
By disabling specific accessibility features or all of them, you can customize your Chromebook to suit your preferences and needs. However, keep in mind that some accessibility features may be helpful for individuals with disabilities or certain impairments, so it’s important to consider the impact before disabling them.
Additionally, if you ever want to re-enable any accessibility features, you can follow the same steps outlined above and toggle the switches on.
Disabling accessibility features on your Chromebook can be useful for troubleshooting purposes as well. If you are experiencing any issues with your device, such as the magnifier appearing unexpectedly, turning off accessibility features may help resolve the problem.
Overall, Chromebooks provide a range of accessibility features to enhance the user experience. Whether you want to disable these features for customization or troubleshooting purposes, the process is simple and straightforward.
Conclusion
In conclusion, getting rid of the magnifier on your Chromebook is a simple process that can greatly enhance your browsing experience. By adjusting the accessibility settings or using keyboard shortcuts, you can disable or enable the magnifier feature at your convenience. Additionally, exploring alternative tools like browser extensions or external magnification software can provide even more flexibility in adjusting the magnification levels and customizing your viewing experience. Remember to experiment with different options and find the settings that work best for you. So, don’t let the magnifier hinder your Chromebook experience – take control and enjoy hassle-free browsing!
FAQs
1. Can I remove the magnifier on my Chromebook?
Yes, you can remove the magnifier on your Chromebook. The magnifier is a built-in accessibility feature that allows users to zoom in on the screen for better visibility. To remove the magnifier, simply follow these steps:
- Click on the clock in the bottom right corner of the screen.
- Select the gear icon to open the settings menu.
- Scroll down and click on “Accessibility”.
- Under the “Zoom” section, toggle off the switch next to “Enable Screen Magnifier.
2. Why is the magnifier enabled on my Chromebook?
The magnifier feature may be enabled on your Chromebook by default or accidentally turned on. It is designed to help individuals with visual impairment or those who prefer a larger display. However, it can be a bit inconvenient if you don’t need it. Luckily, you can easily disable it using the steps mentioned in the previous answer.
3. Can I adjust the magnification level on my Chromebook?
Yes, you can adjust the magnification level on your Chromebook. While the magnifier is enabled, you can use the following keyboard shortcuts:
- To zoom in: Press Ctrl and +.
- To zoom out: Press Ctrl and –.
- To reset the zoom level: Press Ctrl and 0.
4. Is there a way to disable the magnifier temporarily?
Yes, you can disable the magnifier temporarily on your Chromebook. Press Ctrl and Alt and then tap on the “Minus” key (–) to toggle the magnifier on and off. This keyboard shortcut is a quick way to easily enable or disable the magnifier without going through the settings menu.
5. Will disabling the magnifier affect other accessibility features on my Chromebook?
No, disabling the magnifier will not affect other accessibility features on your Chromebook. Each accessibility feature can be customized individually to meet your needs. Disabling the magnifier will only prevent the screen from being zoomed in, while other accessibility settings will remain unaffected.