
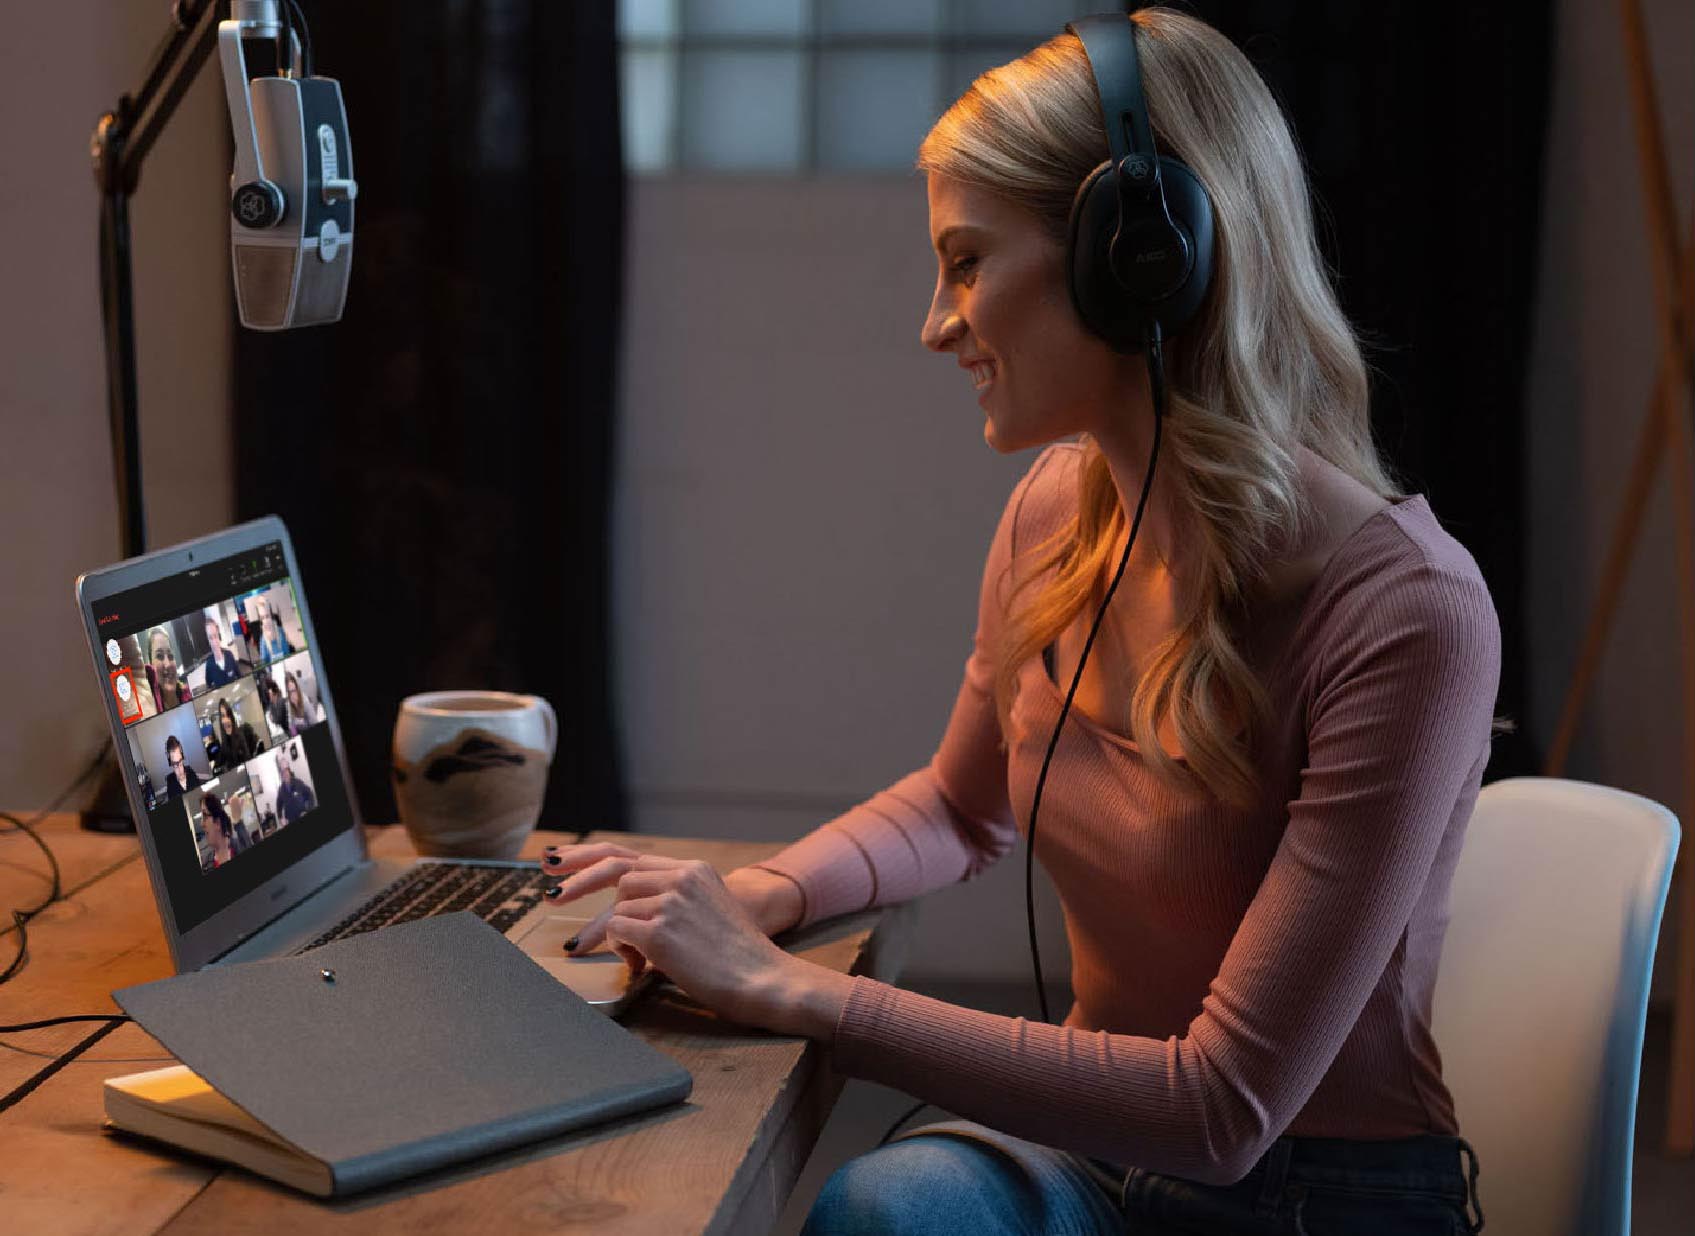
In today’s digital age, communication has become an integral part of our lives. Whether it’s for work meetings, online classes, or gaming sessions, a headset with a microphone is essential to ensure clear and uninterrupted audio transmission. However, not all headset microphones are created equal, and you may find that the sound quality leaves something to be desired.
But fear not! In this article, we will explore some tips and techniques to help you make your headset microphone sound better. From adjusting settings and optimizing your recording environment to using post-processing software, we will cover all the steps you need to take to enhance the sound quality of your headset microphone. So, if you’re tired of muffled audio or background noise, read on to discover how you can make your headset microphone sound crisp, clear, and professional.
Inside This Article
- Selecting a high-quality headset mic
- Positioning the mic properly for optimal sound
- Adjusting the microphone sensitivity and volume levels
- Utilizing audio processing techniques to enhance mic sound quality
- Conclusion
- FAQs
Selecting a high-quality headset mic
When it comes to improving the sound quality of your headset mic, one of the first steps is to select a high-quality microphone. With so many options available in the market, it can be overwhelming to make the right choice. However, by considering a few key factors, you can find a headset mic that suits your needs.
The first factor to consider is the microphone type. There are different types of headset microphones, including condenser and dynamic microphones. Condenser microphones are known for their sensitivity and accuracy, making them ideal for capturing vocals and detailed sound. On the other hand, dynamic microphones are more robust and can handle higher sound levels, making them suitable for live performances and recording instruments.
Another important consideration is the microphone pattern. The pattern refers to the directionality of the mic’s sensitivity to sound. Common patterns include cardioid, omnidirectional, and bidirectional. A cardioid pattern is ideal for reducing background noise and focusing on the sound source in front of the mic. Omnidirectional mics capture sound from all directions, making them suitable for capturing ambient noise or group recordings. Bidirectional mics pick up sound from the front and back, making them perfect for interview-style recordings.
Additionally, you should pay attention to the mic’s frequency response. This refers to the range of frequencies the microphone can capture. A wider frequency response ensures that the mic can capture both low and high-frequency sounds accurately. It’s important to match the frequency response of the microphone with the type of audio you intend to record.
Lastly, consider the build quality and comfort of the headset mic. Ensure that the mic is made of durable materials and can withstand regular use. The headset should also be adjustable and comfortable to wear for extended periods.
By taking into account the microphone type, pattern, frequency response, build quality, and comfort, you can select a high-quality headset mic that will greatly enhance the sound quality of your recordings or performances.
Positioning the mic properly for optimal sound
When it comes to getting the best sound quality from your headset mic, proper positioning is key. Here are some tips to help you position your mic for optimal sound:
1. Distance: Make sure that the distance between your mouth and the mic is about one to two finger-widths. This will help prevent distortion and unwanted noise.
2. Angle: Position the mic at a 45-degree angle, pointing towards the corner of your mouth. This will help to capture your voice directly and avoid picking up unnecessary background noise.
3. Placement: The mic should be placed just below your lower lip, about half an inch away. This position will ensure that your voice is clear and prominent, while minimizing breathing sounds and plosive consonants.
4. Avoid obstructions: Ensure that there are no obstructions, such as clothing or other accessories, in front of the microphone. These can interfere with the sound quality and result in muffled or distorted audio.
5. Experiment: Don’t be afraid to experiment with the position of the mic. Every individual’s voice and speaking style is unique, so finding the ideal position may require some trial and error. Adjust the mic’s placement and angle until you find the sweet spot where your voice sounds the best.
By following these tips and taking the time to position your mic properly, you can enhance the sound quality of your headset mic and ensure that your voice is heard crisp and clear.
Adjusting the microphone sensitivity and volume levels
Once you have selected a high-quality headset microphone and positioned it properly for optimal sound, the next step is to adjust the microphone sensitivity and volume levels to achieve the desired sound quality.
Microphone sensitivity refers to how the microphone picks up and amplifies sound. By adjusting the sensitivity, you can control how loud or soft your voice sounds when using the headset microphone.
To adjust the microphone sensitivity, locate the microphone settings on your device or computer. This can usually be found in the sound settings or audio control panel. Increase the sensitivity if your voice sounds too quiet, and decrease it if your voice sounds too loud or distorted.
When adjusting the sensitivity, it’s important to strike a balance. Setting the sensitivity too high can lead to background noise and interference being picked up, while setting it too low may result in a weak and muffled sound.
Volume levels, on the other hand, determine how loud or soft the microphone’s output will be. This is particularly important when you are using the microphone for voice recordings or live streaming.
To adjust the volume levels, locate the volume control for the microphone. This can typically be found in the sound settings or audio control panel as well. Increase the volume if your voice sounds too soft, and decrease it if your voice sounds distorted or too loud.
It’s worth noting that adjusting the volume levels will not affect the sensitivity of the microphone. These are two separate settings that work together to achieve the desired sound quality.
When adjusting both the microphone sensitivity and volume levels, it’s important to test and fine-tune the settings by recording your voice or performing a sound check. This will allow you to make adjustments until you achieve the desired sound quality.
Remember, every microphone is unique, and the optimal settings may vary depending on the make and model of your headset microphone. It’s also important to consider the environment in which you will be using the microphone, as different settings may be required for noisy or quiet surroundings.
By taking the time to adjust the microphone sensitivity and volume levels, you can ensure that your headset microphone produces clear and high-quality sound, allowing you to fully enjoy your audio experience.
Utilizing audio processing techniques to enhance mic sound quality
When it comes to making your headset mic sound better, utilizing audio processing techniques can make a significant difference in the sound quality. These techniques involve using various software tools and features to modify and enhance the audio signal being captured by the microphone. By applying these techniques, you can achieve a more professional and polished sound for your recordings or live performances.
One effective technique is the use of equalization (EQ). EQ allows you to adjust the balance of frequencies in the audio signal, helping to eliminate unwanted frequencies and enhance the ones that are most important. By boosting or reducing certain frequencies, such as bass or treble, you can tailor the sound to better suit your voice or the specific application you are using your headset mic for.
Another technique that can greatly enhance the sound quality of a headset mic is noise reduction. Background noise and ambient sounds can often creep into your recordings or live performances, diminishing the overall clarity and intelligibility of your voice. Noise reduction tools help to suppress or remove such unwanted noise, resulting in a cleaner and more focused audio signal.
Furthermore, utilizing compression can also work wonders in improving mic sound quality. Compression is a technique that helps to even out the dynamic range of the audio signal. It reduces the volume of louder sounds and increases the volume of softer sounds, resulting in a more consistent and balanced overall sound. This can be particularly useful for headset mics, as it helps to prevent distortion when speaking or singing at varying volumes.
Reverb and echo can add a sense of space and depth to your audio recordings. However, in certain cases, excessive reverb or echo can make your voice sound muffled or distant. Applying some reverb or echo reduction techniques can help to control and refine these effects, allowing your voice to come through clearly and distinctly.
Last but not least, the use of de-essing can significantly improve the sound quality of your headset mic. De-essing is a technique that targets sibilant sounds, such as “s” and “sh” sounds, which can be harsh or piercing to the ears. By reducing the intensity of these frequencies, de-essing helps to smooth out your voice and make it more pleasant to listen to.
Overall, by utilizing audio processing techniques such as EQ, noise reduction, compression, reverb and echo control, and de-essing, you can enhance the sound quality of your headset mic to a great extent. Experimenting with these techniques and finding the right settings that work best for your voice and specific recording or performance needs will help you achieve a professional and impressive sound.
In conclusion, improving the sound quality of a headset mic is essential for better audio performance. By following the tips and techniques discussed in this article, you can significantly enhance the clarity and accuracy of your recorded or live audio. Whether you are a content creator, gamer, or someone who frequently uses headsets for communication, implementing these strategies can make a noticeable difference in the overall sound experience. Remember to optimize microphone placement, adjust levels and settings, reduce background noise, and use quality audio recording software or tools. With a little effort and attention to detail, you can transform your headset mic into a powerful tool that captures your voice with outstanding sound quality. So, go ahead, experiment with these techniques, and enjoy an improved headset mic experience!
FAQs
Here are some frequently asked questions about improving the sound quality of a headset microphone:
1. Why does my headset mic sound muffled or distorted?
A muffled or distorted sound from your headset microphone can be caused by various factors. It could be due to a damaged or faulty microphone, poor connectivity, or interference from other electronic devices. It’s also possible that the mic is not positioned correctly or that there are software settings affecting the audio quality.
2. How can I fix the muffled or distorted sound on my headset mic?
To improve the sound quality of your headset microphone, start by ensuring that the microphone is clean and free from any debris. Check if it’s properly connected to the device and that the connection is not loose. Adjust the microphone placement and distance from your mouth, experiment with different software settings like gain and noise suppression, and consider using a pop filter or windscreen to reduce unwanted noise.
3. What are some tips for getting clearer audio from a headset mic?
There are several tips you can follow to achieve clearer audio from your headset microphone. First, make sure you are speaking clearly and directly into the mic. Avoid background noises by recording in a quiet environment or using noise-cancelling software. Adjust the microphone sensitivity or gain settings to find the optimal level. Additionally, positioning the microphone closer to your mouth can help capture your voice more accurately.
4. Can upgrading my headset improve the sound quality of the microphone?
Yes, upgrading to a higher-quality headset can significantly improve the sound quality of the microphone. Higher-end headsets often come with better microphone technologies, such as noise cancellation or improved sensitivity, resulting in clearer and more articulate audio. Investing in a quality headset can make a noticeable difference in the overall sound performance.
5. Are there any software solutions to enhance the sound quality of a headset mic?
Yes, there are various software solutions available that can help enhance the sound quality of a headset mic. These include audio editing software that allows you to adjust settings like gain, equalization, and noise reduction. Virtual audio processors and sound enhancement tools are also available, offering additional customization options to refine the microphone’s output. Experimenting with these software solutions can help you achieve better sound quality.
Remember that the sound quality of a headset microphone can also be influenced by the device it’s connected to. Ensure that your computer, phone, or other devices have updated drivers and settings properly configured for optimal audio performance.