
When it comes to headsets, the microphone is a crucial component that allows users to communicate, whether it’s for gaming, video conferencing, or making voice recordings. But what happens when your headset mic stops working, or you want to test it on Windows 10 to ensure it’s functioning properly? This article will guide you through the process of testing a headset mic on Windows 10, covering the necessary steps to troubleshoot any issues and make sure your microphone is delivering clear and crisp audio. Whether you’re a gamer, a content creator, or someone who relies on voice communication, knowing how to test your headset microphone on Windows 10 will help you maintain a seamless and uninterrupted audio experience.
Inside This Article
- Method 1: Using the Sound Settings
- Method 2: Using the Voice Recorder App
- Method 3: Using the Skype Test Call
- Method 4: Using third-party applications
- Conclusion
- FAQs
Method 1: Using the Sound Settings
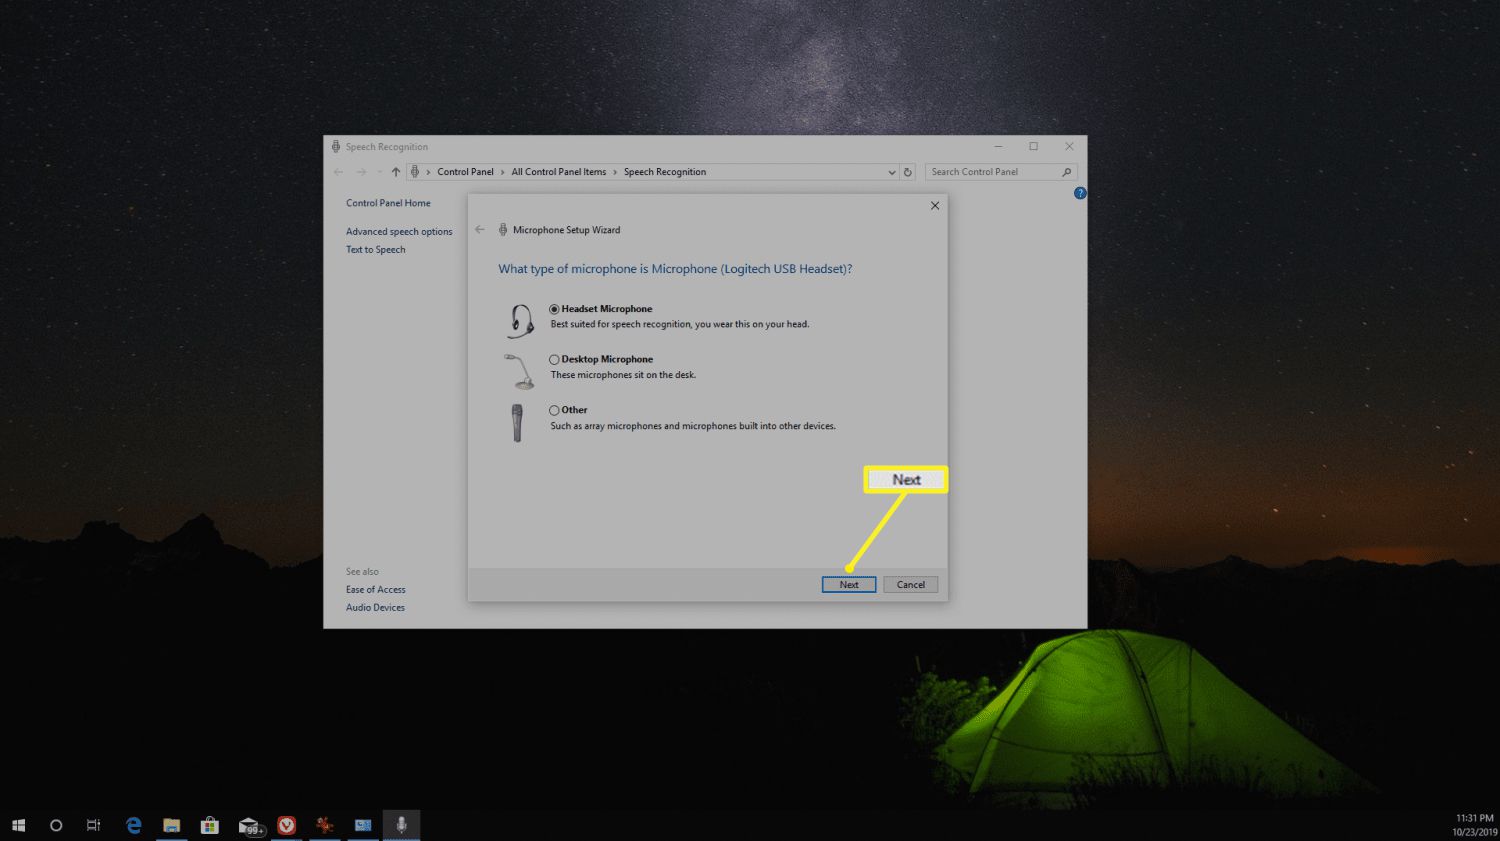
If you want to test a headset microphone on Windows 10, one of the simplest methods is to use the built-in Sound Settings. This method allows you to check if your headset microphone is recognized by your computer and if it’s functioning properly. Follow the steps below to perform the test:
Step 1: Right-click on the Speaker icon located on the taskbar and select “Open Sound Settings.”
Step 2: In the Sound Settings window, locate and click on the “Sound Control Panel” link on the right-hand side.
Step 3: In the Sound Control Panel, navigate to the “Recording” tab and look for your headset microphone in the list of available devices. It will typically have the name of your headset model.
Step 4: Once you find your headset microphone, select it and click on the “Set Default” button located at the bottom of the window. This will ensure that Windows uses your headset microphone as the default recording device.
Step 5: To test the headset microphone, double-click on it or select it and click on the “Properties” button. In the properties window, go to the “Levels” tab and make sure the microphone volume is set to an appropriate level.
Step 6: After adjusting the microphone volume, go to the “Listen” tab in the properties window. Check the box that says “Listen to this device.” This will allow you to hear the microphone input through your headset speakers.
Step 7: Click “Apply” and then “OK” to save your changes.
Step 8: To test the microphone, simply speak into it or make some noise. You should see the green bars in the Sound Control Panel moving, indicating that your microphone is picking up sound.
By following the steps above, you can easily test your headset microphone using the Sound Settings in Windows 10. If you encounter any issues during the test, you may need to troubleshoot your headset or check for updated drivers.
Method 2: Using the Voice Recorder App
If you’re using a headset with a microphone on Windows 10 and want to test if the microphone is working properly, you can use the Voice Recorder app. This app is pre-installed on Windows 10 and allows you to record audio quickly and easily. Here’s how you can use it to test your headset microphone:
Step 1: Open the Voice Recorder app by searching for it in the Start menu or using the Windows key + R shortcut to open the Run dialog and typing “ms-settings:sound-recording” and hitting Enter.
Step 2: Once the Voice Recorder app is open, click on the “Record” button to start a new recording. It’s usually represented by a red circle in the center of the app’s interface.
Step 3: Speak into your headset microphone clearly and distinctly for a few seconds. You can say something like “Testing, testing, one two three” to check if the microphone is picking up your voice.
Step 4: After recording your voice, click on the “Stop” button to end the recording. It’s usually represented by a square or rectangle symbol next to the record button.
Step 5: Once the recording is stopped, you can click on the “Play” button to listen to the recording and see if your voice was recorded properly. Make sure to listen carefully to check for any distortion or low volume.
Step 6: If you’re satisfied with the recording quality, then your headset microphone is working correctly. However, if you notice any issues such as no sound, poor sound quality, or low volume, you may need to troubleshoot or adjust the settings of your microphone or headset.
The Voice Recorder app is a handy tool for testing your headset microphone as it allows you to quickly record and playback audio. It can help you determine if your microphone is functioning properly or if there are any issues that need to be addressed. Remember, it’s important to test your headset microphone on Windows 10 regularly, especially before important calls or online meetings, to ensure clear and uninterrupted communication.
Method 3: Using the Skype Test Call
If you’re looking to test your headset microphone on Windows 10, using the Skype Test Call is a straightforward and reliable option. Skype provides a built-in feature that allows you to check the functionality of your headset microphone quickly and easily.
To use the Skype test call, follow these steps:
- Step 1: Launch the Skype application on your Windows 10 computer. If you don’t have Skype installed, you can download it from the official website and create an account if necessary.
- Step 2: Log in to your Skype account.
- Step 3: Once you’re signed in, navigate to the contact list and locate the Skype Test Call contact. It is usually displayed as “Echo / Sound Test Service.”
- Step 4: Click on the contact to open a chat window with the Skype Test Call.
- Step 5: In the chat window, you’ll see a message with instructions to follow. It usually asks you to record a message and play it back to check the audio quality.
- Step 6: Click on the microphone icon to begin recording your message. Speak clearly and ensure that your headset microphone is properly connected and positioned.
- Step 7: After recording your message, click on the play icon to listen to the playback. Make sure you can hear your voice clearly without any distortion or issues.
By following these steps, you can effectively use the Skype Test Call to verify the functionality of your headset microphone. It allows you to test both the recording and playback quality, ensuring that you can communicate clearly during important calls or conferences.
If you encounter any issues during the Skype Test Call, make sure to check your microphone settings in Windows 10 and ensure that the correct microphone device is selected. You can access the microphone settings by right-clicking on the volume icon in the taskbar and selecting “Sounds.” From there, navigate to the “Recording” tab and adjust the settings accordingly.
Remember, the Skype Test Call is a reliable way to test your headset microphone on Windows 10. However, if you encounter persistent issues or unsatisfactory audio quality, you may need to troubleshoot further or consider contacting technical support for assistance.
Method 4: Using third-party applications
If the previous methods didn’t work or you want more advanced options to test your headset mic on Windows 10, you can try using third-party applications specifically designed for audio testing. These apps offer additional features and settings that allow you to fine-tune your microphone and check its performance.
One popular third-party application for testing headset mics on Windows 10 is “Audacity.” Audacity is a free, open-source audio editing software that has a built-in recording feature. It allows you to record your voice and playback the recording to check the quality of your microphone.
To test your headset mic using Audacity, simply follow these steps:
- Download and install Audacity from the official website.
- Launch Audacity and select the appropriate microphone from the dropdown menu in the toolbar.
- Click on the red record button to start recording your voice.
- Speak into your headset mic and monitor the recording levels to ensure they are consistent and not too low or too high.
- Once you are done, click on the stop button to end the recording.
- Play back the recording and listen to the playback to check the quality of your microphone.
Apart from Audacity, there are other third-party applications like “VoiceMeeter” and “VB-Audio Cable” that can also be used to test headset mics on Windows 10. These applications provide additional features such as audio mixing and routing, which can be useful for advanced users.
Using third-party applications can give you more options and flexibility when testing your headset mic on Windows 10. However, make sure to download these applications from trusted sources and be cautious while granting them access to your microphone and system resources.
Testing a headset mic on Windows 10 is a simple process that can help ensure optimal performance and functionality. By following the steps outlined above, you can easily determine if your headset mic is working properly or if there are any issues that need to be addressed.
Remember to check and adjust the microphone settings in the Windows Sound panel, as well as in specific apps or software that you may be using. This will ensure that your headset mic is properly configured and ready to use for voice calls, gaming, recording, and other activities.
If you find that your headset mic is not working even after performing these tests and troubleshooting steps, it may be necessary to contact the manufacturer for further assistance or consider getting a replacement headset. With the right setup and a functional headset mic, you can enjoy clear and crisp audio for all your communication and multimedia needs.
FAQs
1. How do I test my headset microphone on Windows 10?
To test your headset microphone on Windows 10, follow these steps:
1. Connect your headset to your computer.
2. Right-click the sound icon in the taskbar and select “Sounds”.
3. In the “Recording” tab, locate your headset microphone and set it as the default device.
4. Right-click on the microphone and select “Properties”.
5. In the “Properties” window, go to the “Levels” tab and make sure the microphone level is set appropriately.
6. Click on the “Listen” tab and check the “Listen to this device” box.
7. Speak into the headset microphone and you should hear your voice played back through the computer’s speakers.
This will help you ensure that your headset microphone is working properly on Windows 10.
2. Why is my headset microphone not working on Windows 10?
There can be several reasons why your headset microphone is not working on Windows 10:
– The microphone is not set as the default recording device.
– The microphone is muted or the volume is too low.
– The microphone is not properly connected to the computer.
– The microphone driver is outdated or incompatible.
– There may be a hardware issue with the microphone.
By troubleshooting these potential issues, you can identify and fix the problem with your headset microphone.
3. How can I update the driver for my headset microphone on Windows 10?
To update the driver for your headset microphone on Windows 10:
1. Right-click the Start button and select “Device Manager”.
2. In the Device Manager window, expand the “Audio inputs and outputs” category.
3. Right-click on the headset microphone and select “Update driver”.
4. Choose the option to search automatically for updated driver software.
5. Windows will search for the latest driver and install it if available.
Updating the driver can help resolve compatibility issues and ensure proper functioning of your headset microphone.
4. Can I use a Bluetooth headset with a built-in microphone on Windows 10?
Yes, you can use a Bluetooth headset with a built-in microphone on Windows 10. Here’s how:
1. Ensure that your Bluetooth headset is in pairing mode and ready to connect.
2. On your Windows 10 computer, go to Settings and select “Devices”.
3. In the Bluetooth & other devices settings, click on the “Add Bluetooth or other device” option.
4. Select the “Bluetooth” option and let Windows search for available devices.
5. When your Bluetooth headset appears in the list, click on it to pair and connect.
Once connected, the headset’s microphone should be automatically recognized by Windows 10 and can be used for audio input.
5. Is it possible to use a headset microphone with other applications on Windows 10?
Yes, you can use a headset microphone with various applications on Windows 10. Most applications, including communication tools like Skype, Microsoft Teams, Discord, and video conferencing software, allow you to select the audio input device to use. You can usually choose your headset microphone as the default input device within the application’s settings or preferences. Make sure to check the settings within each individual application you want to use the headset microphone with and select the appropriate microphone option.