
Are you a proud owner of a Samsung A13 smartphone? If so, you may be wondering how to properly insert a SIM card into your device. The SIM card is an essential component that allows your phone to connect to a cellular network and make calls, send messages, and access the internet. In this article, we will guide you through the step-by-step process of putting a SIM card in your Samsung A13. Whether you are a new user or simply need a refresher, we’ve got you covered. By the end of this guide, you’ll be able to effortlessly insert your SIM card and begin using your Samsung A13 to its full potential.
Inside This Article
- Checking SIM Card Compatibility
- Powering off the Samsung A13
- Locating the SIM Card Tray
- Inserting the SIM Card correctly
- Conclusion
- FAQs
Checking SIM Card Compatibility
Before inserting a SIM card into your Samsung A13, it is essential to ensure that the SIM card is compatible with your device. The Samsung A13 uses a Nano-SIM card, so make sure you have the correct size. If you are not sure about the SIM card size, you can check the specifications of your phone or consult the user manual for guidance.
Additionally, you need to make sure that your SIM card is compatible with your mobile network provider. Different network providers may use different technologies, such as GSM or CDMA. It is crucial to verify that your SIM card supports the technology used by your network provider to ensure a seamless connection.
Lastly, check if your SIM card is activated and has an active mobile plan. Without an active SIM card and plan, you will not be able to make calls, send text messages, or access mobile data on your Samsung A13.
Powering off the Samsung A13
Before inserting the SIM card into your Samsung A13, it’s important to power off the device. This ensures that you can safely access the SIM card tray without risking any damage to the phone or the SIM card itself. Powering off your Samsung A13 is a simple process that can be done in a few easy steps.
To begin, locate the power button on your Samsung A13. It is typically found on the right side of the device, either near the top or towards the middle. It may be labeled with a power symbol or have a raised button for easy identification.
Once you have located the power button, press and hold it for a few seconds. This will bring up a menu on your screen with different options, including “Power off” or “Restart.” Select the “Power off” option to initiate the shut down process.
Your Samsung A13 will now begin the process of shutting down. It may take a few moments for the phone to completely power off, so be patient. Once the device is powered off, you can proceed with inserting the SIM card.
It’s important to note that powering off your Samsung A13 will also turn off any other features or functions that may be active, such as Wi-Fi, Bluetooth, or mobile data. When you power the device back on, you will need to re-enable these features if you wish to use them.
If you ever need to power off your Samsung A13 in the future, simply follow the same steps outlined above. Press and hold the power button, select “Power off” from the menu, and wait for the device to shut down. It’s always a good idea to power off your phone before performing any maintenance or inserting/removing any components, such as the SIM card.
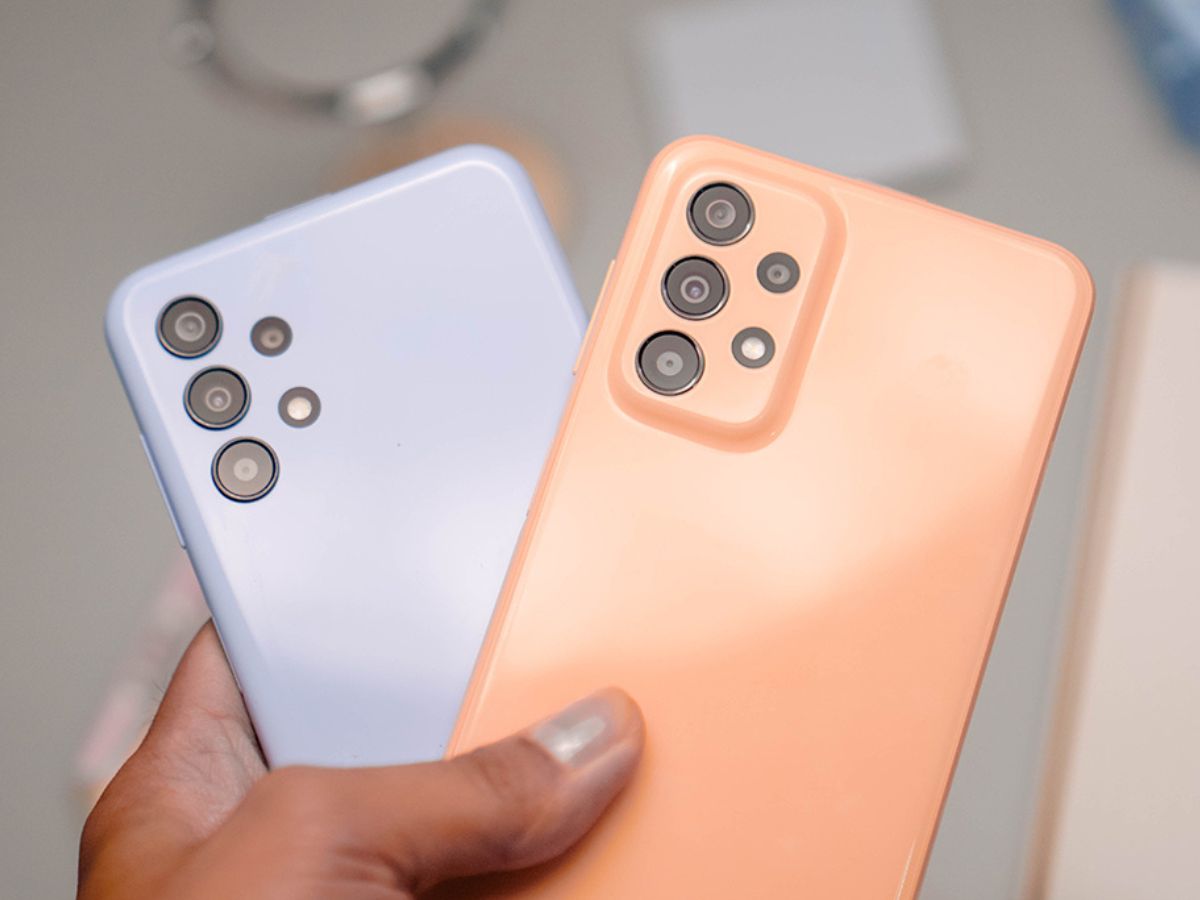
Locating the SIM Card Tray
Before inserting the SIM card into your Samsung A13, you need to locate the SIM card tray. The SIM card tray is usually located on the side of the phone, either on the left or right-hand side, depending on the specific model of the phone.
To find the SIM card tray, start by taking a close look at the sides of your Samsung A13. Look for a small pinhole or a slot with a removable cover. This is where the SIM card tray is hidden. On the Samsung A13, the SIM card tray is typically located on the right side of the phone.
If you’re having trouble finding the SIM card tray, refer to your Samsung A13’s user manual. The user manual will have detailed instructions and illustrations on how to locate and access the SIM card tray on your specific model.
Once you have identified the SIM card tray, you are ready to proceed to the next step of inserting the SIM card into your Samsung A13.
Inserting the SIM Card correctly
Now that you have identified the SIM card tray, it’s time to insert the SIM card into your Samsung A13. Before you begin, make sure you have the SIM card and the SIM card ejector tool handy.
1. Take the SIM card ejector tool and insert it into the small hole located next to the SIM card tray. Apply a gentle amount of pressure until the tray pops out.
2. Carefully remove the tray from the phone, ensuring not to damage it or the phone’s internal components.
3. Place the SIM card onto the tray, aligning the notched corner with the designated corner on the tray. Make sure the gold contacts on the SIM card are facing downward.
4. Once the SIM card is properly positioned, gently push the tray back into the phone until it is securely locked into place. Ensure that it is flush with the phone’s frame.
5. Finally, power on your Samsung A13 and wait for it to establish a network connection. Once the connection is established, you should be able to make calls, send messages, and use mobile data on your device.
Congratulations! You have successfully inserted the SIM card into your Samsung A13. Enjoy your new device and all its features!
Conclusion
Putting a SIM card in the Samsung A13 is a simple process that allows you to unlock the full potential of your smartphone. By following the steps outlined in this article, you can easily insert and activate the SIM card, ensuring that you are able to make calls, send messages, and access mobile data on your device.
Remember to power off your phone before inserting or removing the SIM card to avoid any potential damage. Take your time to properly align the SIM card in the designated slot, making sure that it is securely inserted. Once the SIM card is in place, power on your Samsung A13 and set up your mobile network settings.
With a functioning SIM card, you can enjoy the full range of features and benefits that come with your Samsung A13. Whether it’s staying connected with friends and family, accessing the internet on-the-go, or downloading your favorite apps, having a SIM card in your phone is essential.
So, go ahead and confidently insert your SIM card into the Samsung A13 and explore all that your smartphone has to offer!
FAQs
1. How do I put a SIM card in my Samsung A13?
To put a SIM card in your Samsung A13, follow these steps:
- Locate the SIM card tray on your device. It is usually located on the side or at the top of your phone.
- Insert the SIM eject tool (or a small paperclip) into the small hole next to the SIM card tray and gently push to eject the tray.
- Place your SIM card onto the tray in the proper orientation. The metal contacts should be facing down.
- Carefully insert the tray back into the phone until it clicks securely in place.
2. What type of SIM card does the Samsung A13 use?
The Samsung A13 uses a Nano-SIM card. Make sure you have a Nano-SIM card before attempting to insert it into your device.
3. Can I use a microSD card and a SIM card at the same time in my Samsung A13?
Yes, the Samsung A13 has a dedicated slot for both a SIM card and a microSD card. This means you can use both cards simultaneously, allowing you to expand your storage while still having your SIM card inserted.
4. How do I remove the SIM card from my Samsung A13?
If you need to remove the SIM card from your Samsung A13, follow these steps:
- Shut down your phone.
- Locate the SIM card tray and use the SIM eject tool (or a small paperclip) to gently push the tray out.
- Remove the SIM card from the tray.
- Carefully insert the tray back into the phone.
5. Can I use my Samsung A13 with a different carrier’s SIM card?
Yes, the Samsung A13 is usually sold as an unlocked device, which means it should work with SIM cards from different carriers. However, it is always recommended to check the compatibility of your specific phone model with the carrier you intend to use.