
Welcome to our comprehensive guide on how to replace the band on your Fitbit Blaze! The Fitbit Blaze is a popular fitness tracker watch that offers a wide range of features to help you track your daily activity and maintain a healthy lifestyle. However, over time, the band of your Fitbit Blaze may wear out or you may simply want to change it for a fresh new look.
In this article, we will walk you through the step-by-step process of replacing the band on your Fitbit Blaze, ensuring that you can continue to enjoy the functionality and style of your fitness tracker. Whether you’re a seasoned Fitbit user or a newcomer to the world of wearables, our guide will provide you with all the information you need to successfully replace your Fitbit Blaze band. So, let’s get started and give your Fitbit Blaze a brand new look!
Inside This Article
- Step 1: Gather the necessary tools
- Step 2: Remove the old Fitbit Blaze band
- Step 3: Attach the new Fitbit Blaze band
- Step 4: Secure the new band in place
- Conclusion
- FAQs
Step 1: Gather the necessary tools
Before you begin replacing your Fitbit Blaze band, it’s important to have the right tools at your disposal. Here are the essential items you’ll need:
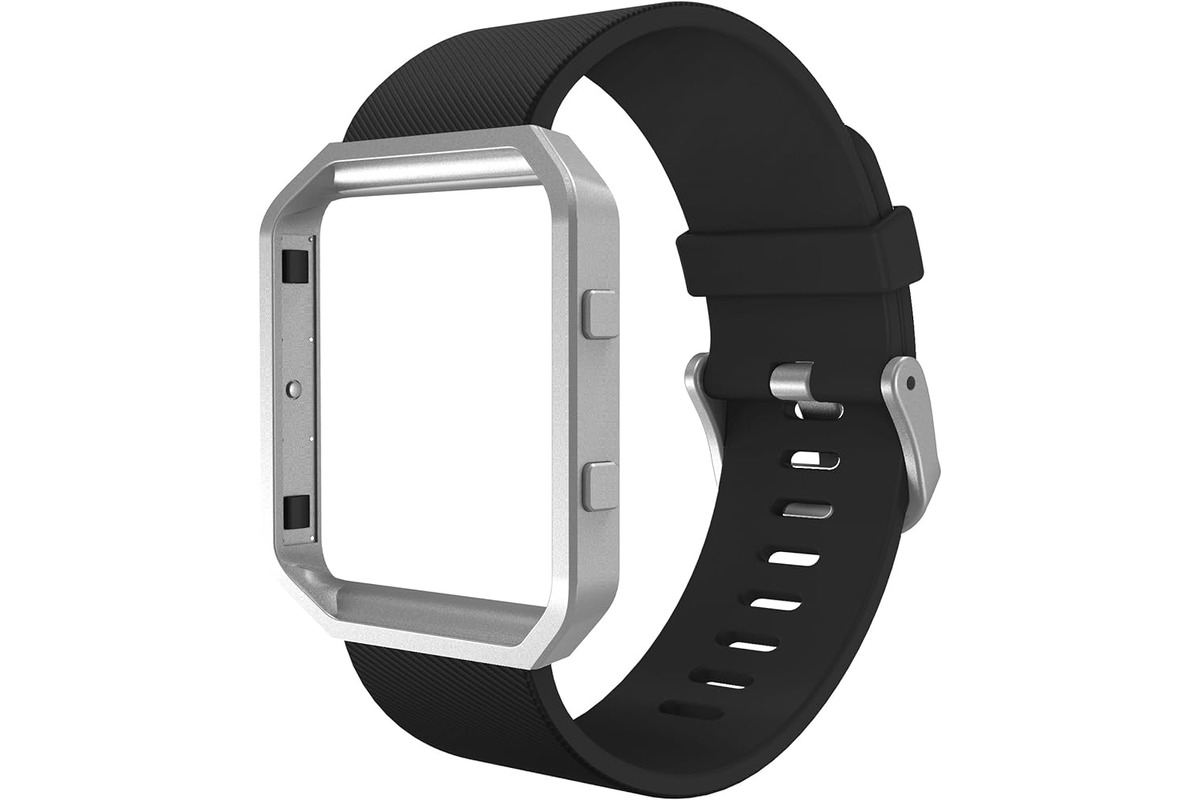
- Replacement Fitbit Blaze band: Ensure that you have a compatible replacement band for your Fitbit Blaze. There are various types of bands available, including silicone, leather, and metal options. Choose one that suits your personal style and preferences.
- Spring bar tool or paper clip: You’ll need a small tool to help remove the old band from your Fitbit Blaze. A spring bar tool specifically designed for watch bands is ideal, but if you don’t have one, a straightened paper clip can work as a makeshift tool.
- Cloth or towel: Having a cloth or towel nearby is helpful for keeping your Fitbit Blaze and work surface clean and free from scratches.
Once you have gathered these tools, you’re ready to proceed with replacing your Fitbit Blaze band. Having the right tools ensures a smooth and trouble-free process, allowing you to enjoy your Fitbit Blaze with a brand new band!
Step 2: Remove the old Fitbit Blaze band
When it comes time to replace your Fitbit Blaze band, you’ll need to start by removing the old band. Follow these simple steps to remove the old band and prepare your Fitbit Blaze for a new accessory:
- Power off your Fitbit Blaze: Before handling your device, it’s important to make sure it is turned off. Hold the button on the left side of the watch until the power options appear, then choose “Power Off”.
- Locate the band release button: Look for the band release button on the back of your Fitbit Blaze. It is located on each side of the watch case, near the connection point of the band.
- Press the band release button: Firmly press the band release button on one side of the watch. This will release the band from the watch case.
- Repeat for the other side: Press the band release button on the opposite side of the watch to completely detach the old band.
Once you have followed these steps, your old Fitbit Blaze band should be completely removed from the watch. Take a moment to clean the connection area and make sure there are no dirt or debris that may interfere with the new band. Now you are ready to move on to the next step of attaching the new Fitbit Blaze band.
Step 3: Attach the new Fitbit Blaze band
Now that you have successfully removed the old band from your Fitbit Blaze, it’s time to attach the new band. Follow these simple steps to ensure a secure and comfortable fit:
- Hold the Fitbit Blaze face-up: Begin by placing the Fitbit Blaze face-up on a stable surface. This will provide you with better visibility and control when attaching the new band.
- Align the pins: Take the new Fitbit Blaze band and locate the metal pins on the underside. These pins are used to connect the band to the tracker. Align the pins with the corresponding holes on the tracker, ensuring they are lined up correctly.
- Press and push: Once the pins and holes are aligned, press firmly and push the band towards the tracker. You should feel a satisfying click or snap, indicating that the band is securely attached.
- Double-check the connection: After attaching the new band, double-check the connection by gently tugging on it. It should be firm and not show any signs of looseness. If it feels loose, repeat the process to ensure a proper connection.
- Secure the clasp: If your new Fitbit Blaze band includes a clasp or buckle, make sure to secure it properly. This will prevent the band from accidentally coming undone during activities or daily wear.
- Test the band: Once the new band is attached and secured, test it by wearing the Fitbit Blaze and going about your usual activities. Pay attention to how it feels on your wrist and ensure that it remains securely in place.
By following these steps, you can easily and correctly attach the new Fitbit Blaze band. Enjoy your newly customized Fitbit Blaze and make the most of its features with a band that reflects your personal style.
Step 4: Secure the new band in place
Now that you have successfully attached the new band to your Fitbit Blaze, it’s time to ensure that it is securely in place. This final step will ensure that your Fitbit stays firmly on your wrist, giving you peace of mind during your daily activities.
Here are some easy steps to securely fasten your new band:
- Start by finding the small metal pin on the side of the band. This pin is responsible for keeping the band in place.
- Hold the band and gently push the pin into the hole on the Fitbit Blaze tracker. You may need to use a bit of pressure to insert it properly.
- Once the pin is securely inserted into the hole, give it a small tug to make sure it is locked in place. You should feel a slight resistance, indicating that the band is securely fastened to the tracker.
- Repeat the same steps for the other side of the band, ensuring that both pins are securely inserted into the holes.
- After securing both sides of the band, give it a final tug to confirm that it is firmly attached to the Fitbit Blaze. It should not come loose or move around easily.
By following these steps, you can ensure that your new Fitbit Blaze band is securely fastened and ready to be worn. This will provide you with the confidence to wear your Fitbit throughout the day without worrying about it coming off.
Now that you have successfully replaced and secured your Fitbit Blaze band, you can enjoy using your device while showcasing your personal style. Whether you opt for a sporty, casual, or formal band, you can now confidently track your fitness and stay connected in style.
Conclusion
Replacing the band on your Fitbit Blaze is a straightforward and practical solution to give your fitness tracker a fresh look and continue enjoying its functionality. With a wide variety of replacement bands available in different materials, colors, and styles, you can easily find one that suits your taste and lifestyle.
Whether you prefer a silicone band for workouts or a stainless steel band for a more sophisticated look, the process of replacing the Fitbit Blaze band can be done within minutes, without the need for any specialized tools.
By following the step-by-step instructions outlined in this article, you can confidently detach the old band and attach a new one, ensuring a secure fit and comfortable wearing experience. So go ahead, explore the different options available, and transform your Fitbit Blaze into a personalized accessory that matches your unique style.
FAQs
Q: How do I replace the band on my Fitbit Blaze?
A: Replacing the band on your Fitbit Blaze is a simple process. Start by locating the quick-release pins on the back of the device. Use a small tool or your fingernail to press down on the pin and slide it out of the slot. Once the pin is removed, you can easily detach the old band and replace it with a new one.
Q: What type of bands are compatible with the Fitbit Blaze?
A: The Fitbit Blaze is designed to be compatible with standard 22mm bands. This means you have a wide range of options when it comes to choosing a replacement band. Whether you prefer a silicone, metal, leather, or fabric band, there are plenty of choices available to suit your personal style and needs.
Q: Where can I purchase replacement bands for my Fitbit Blaze?
A: Replacement bands for the Fitbit Blaze can be found at various online and offline retailers. Online marketplaces like Amazon, Best Buy, and the official Fitbit website offer a wide selection of bands to choose from. You can also check with local electronics stores or specialty shops that carry fitness accessories.
Q: Are there any special tools required to replace the band on a Fitbit Blaze?
A: No, you don’t need any special tools to replace the band on your Fitbit Blaze. The device is designed with a quick-release mechanism that allows for easy band replacement. However, using a small tool like a paperclip or a fingernail may make it easier to press down on the quick-release pins and remove them from the slots.
Q: Can I replace the band on my Fitbit Blaze myself, or do I need professional help?
A: Replacing the band on your Fitbit Blaze is a simple DIY task that you can easily do yourself. The quick-release mechanism and user-friendly design of the device make it hassle-free to detach and replace the band without any professional assistance. Just follow the instructions provided by Fitbit or refer to online tutorials for guidance.