
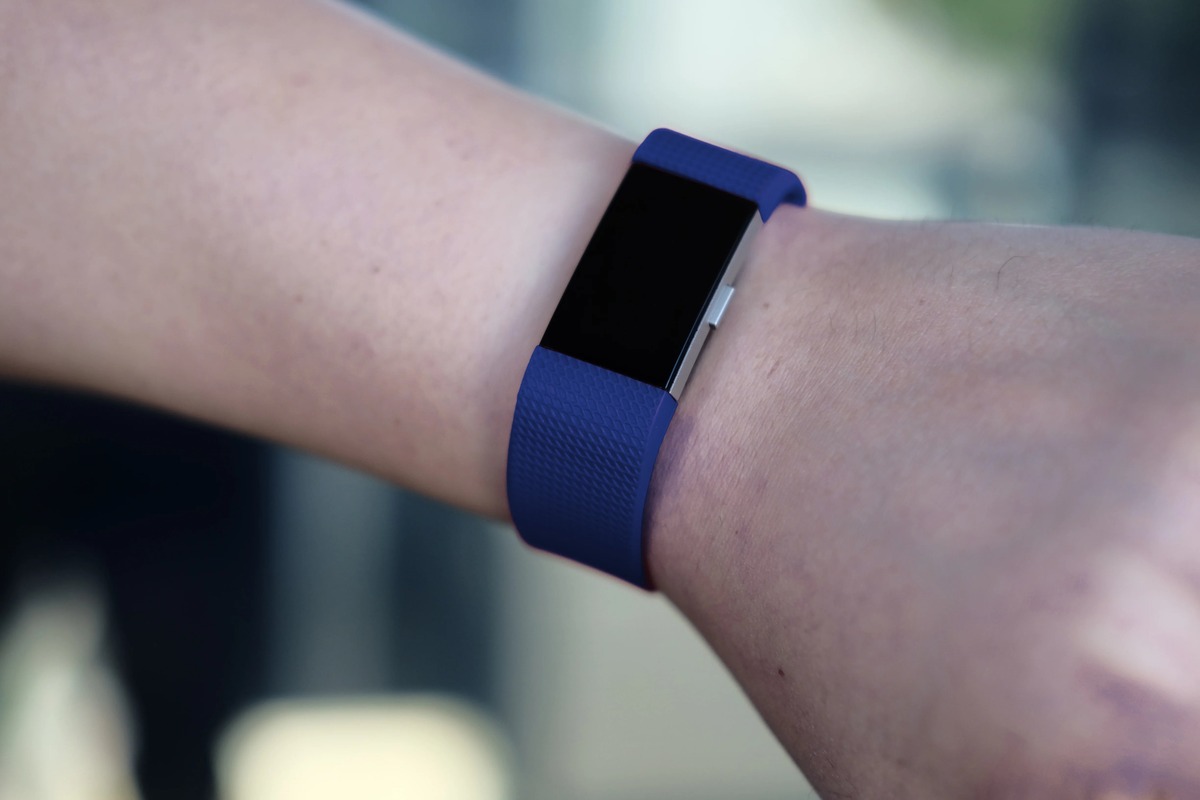
Are you struggling with removing the band on your Fitbit Charge 2? Well, you’re not alone! Many Fitbit users face this challenge when it comes to changing or cleaning their bands. But don’t worry, we’re here to help! In this article, we will guide you through the step-by-step process of removing the band on your Fitbit Charge 2. Whether you’re looking to switch it up with a new band or simply want to give your current one a good scrub, we’ve got you covered. So, let’s dive in and learn how to easily remove that band and get your Fitbit Charge 2 ready for whatever lies ahead!
Inside This Article
- Point 1: Checking the Fitbit Charge 2 Band
- Point 2: Removing the Fitbit Charge 2 Band Clasp
- Point 3: Releasing the Fitbit Charge 2 Band from the Tracker
- Point 4: Installing a Replacement Fitbit Charge 2 Band
- Conclusion
- FAQs
Point 1: Checking the Fitbit Charge 2 Band
Before attempting to remove the band on your Fitbit Charge 2, it’s important to first check the condition of the band. Start by inspecting the band for any signs of damage or wear and tear. Look for any cracks, tears, or frayed edges that may affect the band’s stability and longevity. A damaged band may not secure properly or may break during the removal process.
Additionally, make sure to check the connectors on both ends of the band. These connectors are responsible for attaching the band to the tracker. Ensure that they are intact, clean, and free from any debris or obstructions. Dirty or damaged connectors may hinder the band’s removal or prevent a new band from being installed correctly.
If you notice any issues with the band or connectors, it is recommended to replace the band before attempting to remove it. Using a damaged band or faulty connectors can lead to further damage or improper attachment, compromising the overall functionality of the Fitbit Charge 2.
Point 2: Removing the Fitbit Charge 2 Band Clasp
Removing the band clasp on your Fitbit Charge 2 is a straightforward process that requires a gentle touch. Here is a step-by-step guide to help you easily remove the clasp and detach the band from your Fitbit device:
1. Start by locating the clasp on the side of your Fitbit Charge 2. It is the small metal piece that secures the band to the tracker.
2. Gently press down on the clasp with one hand while using your other hand to slide the band away from the clasp. Apply steady pressure until the band starts to detach from the clasp.
3. Once the band starts to release from the clasp, continue sliding it away until it is completely separated. Be careful not to apply too much force to avoid damaging the clasp or the band.
4. With the band detached from the clasp, you can now slide it off the tracker. Hold the tracker securely with one hand and use your other hand to pull the band away from the tracker until it is completely removed.
5. Congratulations! You have successfully removed the band clasp and detached the band from your Fitbit Charge 2. You can now proceed to install a replacement band or clean your device.
Remember to handle your Fitbit Charge 2 with care during the band removal process to avoid any accidental damage or injury. If you encounter any difficulties or the band seems stuck, it is recommended to refer to the Fitbit user manual or contact Fitbit customer support for further assistance.
Point 3: Releasing the Fitbit Charge 2 Band from the Tracker
The Fitbit Charge 2 band is securely attached to the tracker, but with a few simple steps, you can easily release it whenever you want. Whether you want to replace the band or clean it thoroughly, here’s how you can release the Fitbit Charge 2 band from the tracker.
To begin, make sure you have a clean and stable surface to work on. Place the Fitbit Charge 2 face down to expose the back of the tracker. Take a closer look at the band attachment mechanism, which is located on the back of the tracker.
Next, locate the metal prongs on the band attachment mechanism. These prongs are responsible for holding the band securely in place. Using your finger or a small tool, gently push the prongs away from the tracker. You may need to apply some pressure, but be careful not to use too much force that could damage the prongs or the tracker itself.
Once you’ve pushed the prongs away, you’ll notice that the band is slightly loosened from the tracker. Now, carefully slide the band out of the attachment mechanism by pulling it away from the tracker. Take your time with this step to ensure that you don’t accidentally pull too hard and damage the band or the tracker.
If you encounter any resistance while trying to release the band, it’s important not to force it. Double-check that you have fully pushed the prongs away from the tracker and try again. If the band still won’t release, you may need to seek assistance from Fitbit customer support.
Once you have successfully released the Fitbit Charge 2 band from the tracker, take a moment to inspect it for any signs of wear or damage. If necessary, clean the band with a mild soap and water solution or follow the manufacturer’s cleaning instructions. You can also take this opportunity to replace the band with a new one if desired.
Remember, when you’re ready to reattach the band to the Fitbit Charge 2 tracker, simply slide it back into the attachment mechanism until you hear a click indicating that it is securely in place. Ensure that the band is properly aligned and that the prongs engage with the tracker to prevent the band from accidentally detaching during use.
With these simple steps, removing and replacing the Fitbit Charge 2 band becomes a hassle-free process. Whether you want to switch up your style or take care of your band, you can now confidently release the band from the tracker and enjoy your Fitbit Charge 2 experience.
Point 4: Installing a Replacement Fitbit Charge 2 Band
Installing a replacement band for your Fitbit Charge 2 is a straightforward process. You can choose from a wide variety of bands available in different materials, colors, and styles to customize your Fitbit to match your personal taste.
To install a replacement band, follow these steps:
- Turn off your Fitbit Charge 2: Before you begin, make sure to turn off your Fitbit Charge 2 to avoid any accidental inputs during the band installation process.
- Detach the existing band: Start by locating the quick-release lever on the back of the device near the display. Gently push the lever to release the existing band. You may need to apply a bit of pressure, but be careful not to exert too much force to avoid damaging the device.
- Prepare the replacement band: If your replacement band comes with a new clasp, ensure it is properly attached. If not, remove the clasp from the existing band and insert it into the new band.
- Attach the replacement band: Align the connectors on the replacement band with the slots on the back of the Fitbit Charge 2 tracker. Once aligned, press the band until you hear a clicking sound, indicating that it is securely attached.
- Testing the fit: Once the replacement band is installed, it’s essential to check if it fits snugly around your wrist. Adjust the band accordingly to ensure a comfortable and secure fit.
- Power on your Fitbit Charge 2: Once you’re satisfied with the fit of the replacement band, power on your Fitbit Charge 2 by pressing the side button until the Fitbit logo appears on the display.
That’s it! You have successfully installed a replacement band for your Fitbit Charge 2. Now you can enjoy wearing your Fitbit with a fresh and stylish look.
Conclusion
Removing the band on your Fitbit Charge 2 is a simple process that can give you the flexibility to customize your device to fit your style and needs. Whether you want to swap out your old band for a new one, clean the device thoroughly, or simply give your wrist a break, knowing how to remove the band is essential.
By following the steps outlined in this guide, you can confidently and safely remove the band from your Fitbit Charge 2. Remember to take the necessary precautions, such as using a soft cloth and avoiding excessive force, to prevent any damage to your device.
Once you have successfully removed the band, the possibilities for personalizing your Fitbit Charge 2 are endless. Explore the wide range of bands available on the market, from sleek and professional to vibrant and sporty, to find the perfect match for your style and personality.
Don’t be afraid to experiment with different bands to switch up your look or even match your Fitbit to your outfit. With the knowledge gained from this guide, you have the power to make your Fitbit Charge 2 truly your own.
FAQs
1. How do I remove the band on my Fitbit Charge 2?
To remove the band on your Fitbit Charge 2, follow these steps:
- Flip your Fitbit Charge 2 over and locate the two metal latches on the back of the device.
- Using your thumb and index finger, press the metal latches together and gently pull the band away from the tracker.
- Repeat this process for the other side of the band.
2. Can I replace the band on my Fitbit Charge 2?
Yes, you can easily replace the band on your Fitbit Charge 2. Fitbit offers a wide range of interchangeable bands in various colors and materials, including silicone, leather, and woven bands. Simply follow the instructions provided by Fitbit to remove the old band and attach the new one.
3. Are there any special tools required to remove or replace the band?
No, there are no special tools required to remove or replace the band on your Fitbit Charge 2. The process can be done manually without the need for any additional tools. However, if you encounter any difficulty, you can refer to Fitbit’s official website for troubleshooting guides or contact customer support for assistance.
4. Can I use third-party bands with my Fitbit Charge 2?
Yes, you can use third-party bands with your Fitbit Charge 2. Many manufacturers offer bands that are compatible with Fitbit devices, including the Charge 2. Just make sure to choose a band that is specifically designed for the Fitbit Charge 2 to ensure proper fit and functionality.
5. Is it possible to adjust the band size on my Fitbit Charge 2?
Absolutely! You can adjust the band size on your Fitbit Charge 2 to ensure a comfortable and secure fit. Fitbit provides adjustable bands that allow you to customize the size according to your wrist measurements. Additionally, some third-party bands also offer adjustable features for added convenience.