
Welcome to our guide on how to use a stylus with your iPad! The Apple iPad is a versatile device that can be used for various purposes, including note-taking, drawing, and navigating through apps and websites. While using your fingers to interact with the touchscreen is convenient, a stylus can offer more precision and control, especially for tasks that require fine details. In this article, we will walk you through the steps of using a stylus on your iPad, from selecting the right stylus to adjusting settings and maximizing its functionality. Whether you’re an artist looking to create digital artwork or a student wanting to take notes with ease, mastering the use of a stylus on your iPad will unlock a whole new level of productivity. So, let’s dive in and unleash the potential of your iPad with a stylus!
Inside This Article
- Basic Steps for Using a Stylus on an iPad
- Advanced Techniques for Using a Stylus on an iPad
- Troubleshooting Common Issues with Using a Stylus on an iPad
- Conclusion
- FAQs
Basic Steps for Using a Stylus on an iPad
Using a stylus with your iPad can greatly enhance your productivity and creativity. Whether you’re writing notes, drawing sketches, or navigating through apps, a stylus offers precise control and a more natural feel. If you’re new to using a stylus on an iPad, here are some basic steps to get you started:
1. Connecting the stylus to your iPad: Before you can start using a stylus, you need to pair it with your iPad. Most styluses use Bluetooth to connect. To connect your stylus, go to the Settings app on your iPad, tap on Bluetooth, and make sure it’s turned on. Then, follow the specific instructions provided by the manufacturer to put your stylus in pairing mode. Once your stylus appears in the list of available devices, tap on it to connect.
2. Adjusting stylus settings on your iPad: After connecting your stylus, you may need to adjust some settings to customize the experience. Go to the Settings app on your iPad, tap on Apple Pencil (or Stylus), and explore the available options. You can adjust things like pressure sensitivity, double-tap functionality, and palm rejection. Experiment with these settings to find what works best for you.
3. Understanding the basic functions of the stylus: Before you dive into using the stylus, it’s important to familiarize yourself with its basic functions. Most styluses have the ability to act as a precise pointing device, allowing you to tap, scroll, and swipe just like you would with your finger. Additionally, many styluses have buttons or customizable gestures that can perform specific actions within apps, such as undoing or erasing. Take some time to explore the features and capabilities of your stylus.
4. Calibrating the stylus for accuracy: To ensure optimal accuracy and responsiveness, it’s a good idea to calibrate your stylus. This is especially important if you notice any misalignment between the tip of the stylus and your actual touch on the iPad screen. Some styluses may come with a dedicated calibration app, while others may require you to perform the calibration within the iPad’s settings. Follow the instructions provided by the manufacturer to calibrate your stylus and improve its accuracy.
By following these basic steps, you’ll be well on your way to effectively using a stylus on your iPad. Remember to practice and explore the features of your stylus to fully unleash its potential for creativity and productivity. Whether you’re taking notes, drawing, or simply navigating your iPad, the stylus can make your experience more precise and enjoyable.
Advanced Techniques for Using a Stylus on an iPad
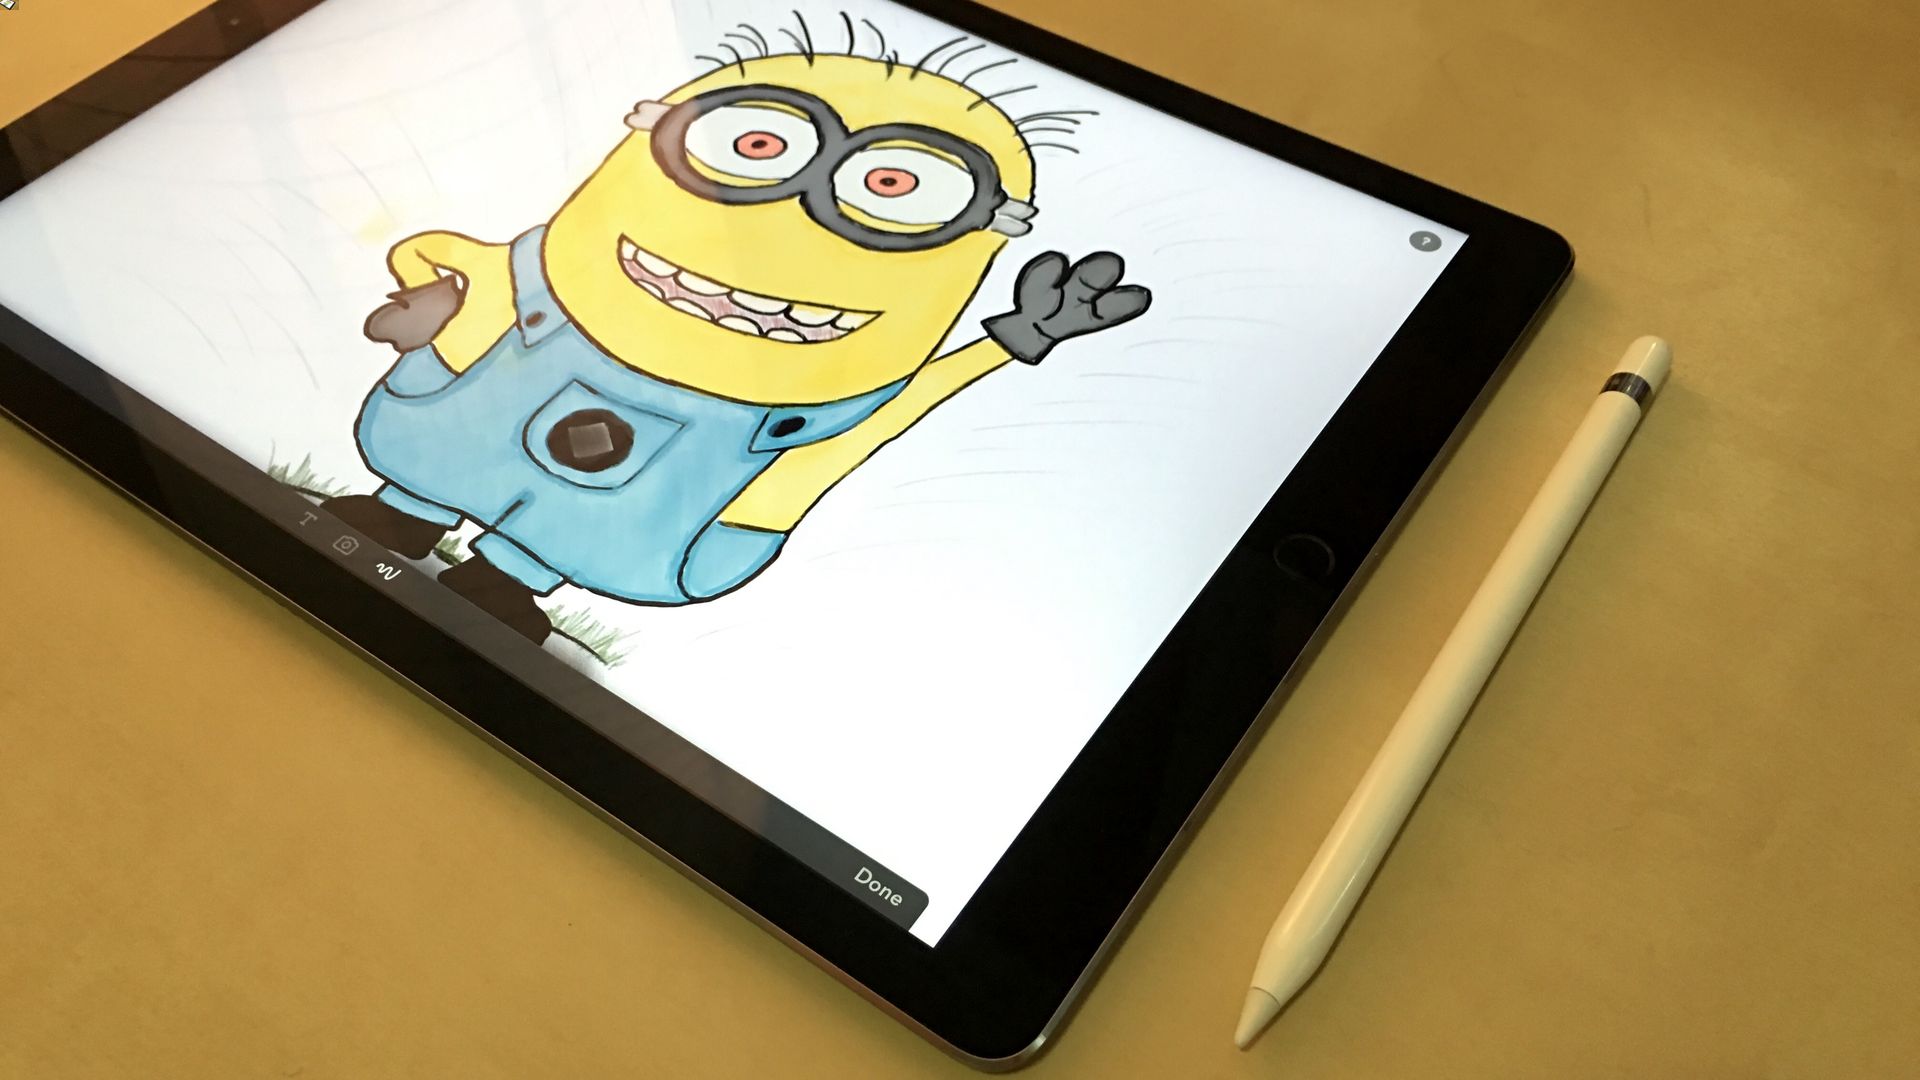
Using a stylus on an iPad opens up a world of possibilities for digital art, note-taking, and more. While using a stylus can enhance your productivity and creativity, there are several advanced techniques that can take your stylus experience to the next level. In this article, we will explore four advanced techniques for using a stylus on an iPad: utilizing pressure sensitivity options, exploring different drawing and writing apps, customizing stylus shortcuts and gestures, and mastering palm rejection to avoid unwanted touches.
Utilizing Pressure Sensitivity Options
One of the most impressive features of modern styluses is pressure sensitivity. This allows the iPad to detect how hard or soft you are pressing the stylus against the screen, giving you more control over line thickness and shading. To make the most of this feature, ensure that your stylus and iPad are compatible, and then explore the specific pressure sensitivity options in the app you are using. Adjusting these settings can greatly enhance the realism of your drawings or the precision of your handwriting.
Exploring Different Drawing and Writing Apps
The App Store is filled with a wide variety of drawing and writing apps specifically designed for stylus use on the iPad. Take the time to explore these different apps and find the ones that suit your needs and preferences. Look for features like a wide range of brushes, layers support, and advanced editing tools. Experimenting with different apps will allow you to discover new techniques, styles, and workflows that can further enhance your artistic endeavors or note-taking experience.
Customizing Stylus Shortcuts and Gestures
Many styluses come with companion apps that allow you to customize various shortcuts and gestures. Take advantage of this functionality to streamline your workflow and make your stylus experience more efficient. Assign specific actions to different buttons on the stylus or create custom gestures that trigger specific commands within your favorite drawing or note-taking app. By personalizing your stylus shortcuts and gestures, you can save time and focus more on your creative process.
Mastering Palm Rejection to Avoid Unwanted Touches
When using a stylus, it’s common to rest your palm on the iPad’s screen while drawing or writing. However, this can sometimes result in unwanted touches or accidental marks. To avoid this, make sure to enable palm rejection in your preferred app. Palm rejection technology allows the iPad to distinguish between the touch of your stylus and the touch of your palm, preventing any undesired marks. This feature is especially crucial for artists and designers who need precise control over their artwork.
By utilizing these advanced techniques, you can take full advantage of your stylus and iPad combination. Whether you are an artist, a student, or simply someone who enjoys the convenience of digital note-taking, incorporating these techniques into your workflow will enhance your productivity and creativity. So, grab your stylus, explore different apps, customize your settings, and let your imagination run wild on your iPad.
Troubleshooting Common Issues with Using a Stylus on an iPad
If you’re experiencing issues with using a stylus on your iPad, don’t worry – you’re not alone. Many iPad users encounter common problems when trying to use a stylus, but luckily, most of these issues can be easily resolved. In this guide, we’ll address some of the most common problems and provide solutions to help you troubleshoot and get the most out of your stylus.
Stylus not working or connecting properly
If your stylus is not working or connecting properly to your iPad, the first step is to ensure that your stylus is compatible with your device. Not all styluses are designed to work with all iPads, so check the manufacturer’s specifications or website to ensure compatibility.
If your stylus is compatible, try the following troubleshooting steps:
- Check the battery: Ensure that your stylus has enough battery power. Replace the batteries if necessary or charge the stylus if it is rechargeable.
- Restart your iPad: Sometimes, a simple restart can resolve connectivity issues. Power off your iPad, wait for a few seconds, then power it back on.
- Unpair and repair: If your stylus was previously paired with your iPad but is no longer working, try unpairing it from the Bluetooth settings and then pairing it again. This can help establish a fresh and stable connection.
Lag or delay when using the stylus
If you’re experiencing lag or delay when using the stylus on your iPad, it can be frustrating and impact your productivity. Here are a few tips to reduce or eliminate lag:
- Close unnecessary apps: Running multiple apps in the background can consume system resources and contribute to lag. Close any apps that you’re not using to free up processing power.
- Update your iOS: Make sure you have the latest iOS version installed on your iPad. Updates often include performance improvements and bug fixes that can enhance the responsiveness of the stylus.
- Clear storage space: If your iPad’s storage is nearly full, it can slow down performance. Delete any unnecessary files or apps to create more space.
Inaccurate or imprecise stylus movements
If your stylus is not accurately tracking your movements or if it feels imprecise, there are a few things you can try:
- Calibrate the stylus: Some stylus models allow you to calibrate them for better accuracy. Check the manufacturer’s instructions or settings to see if calibration is an option.
- Check the stylus tip: Over time, the tip of your stylus may wear down, affecting its accuracy. If possible, replace the stylus tip or clean it gently with a soft cloth to remove any debris.
- Try a different app: Sometimes, the issue may be with the app you’re using rather than the stylus itself. Try experimenting with different drawing or note-taking apps to see if the problem persists.
Issues with palm rejection and unintentional touch recognition
Palm rejection is an important feature that prevents accidental touches while using a stylus. If you’re experiencing issues with palm rejection or unintentional touch recognition, consider the following:
- Adjust palm rejection settings: Some styluses and iPad models allow you to adjust palm rejection settings. Explore your iPad’s settings or the stylus app to find options for palm rejection sensitivity.
- Use a stylus with palm rejection technology: If your current stylus lacks palm rejection capability, consider investing in a stylus that specifically advertises this feature.
- Change your grip: Experiment with different hand positions and grips to minimize palm contact with the screen. Finding a comfortable and effective grip can help reduce unintentional touch recognition.
By following these troubleshooting steps, you can overcome common issues with using a stylus on your iPad. Remember to refer to the manufacturer’s instructions or support resources for specific troubleshooting guidance related to your stylus model. With a little patience and experimentation, you’ll be able to unlock the full potential of your stylus and enjoy a seamless and precise digital writing or drawing experience on your iPad.
Conclusion
In conclusion, using a stylus on an iPad can greatly enhance your digital experience and productivity. With its precision and sensitivity, a stylus offers a more accurate and natural way to interact with your iPad, especially when it comes to tasks like drawing, note-taking, and navigating through apps. Whether you are an artist, a student, or a professional, incorporating a stylus into your iPad workflow can help you unleash your creativity and improve your efficiency.
When choosing a stylus for your iPad, consider factors such as compatibility, pen tip quality, pressure sensitivity, and additional features. By selecting a high-quality stylus that meets your specific needs, you can optimize your iPad experience and take full advantage of its capabilities.
So don’t hesitate to give a stylus a try and explore the endless possibilities it brings to your iPad usage. Elevate your digital experience by unlocking the full potential of your iPad with the help of a stylus – your new best friend in the realm of creativity and productivity.
FAQs
1. How do I use a stylus on an iPad?
Using a stylus on an iPad is quite simple. To begin, make sure your stylus is compatible with your iPad model. Once you have a compatible stylus, follow these steps:
– Remove any caps or protective covers from the stylus.
– Gently tap the stylus on the iPad’s screen to wake it up.
– You can now use the stylus to navigate the iPad’s interface, draw, take notes, or use it for any other tasks that require precision input.
2. Can I use any stylus with my iPad?
Not all styluses are compatible with iPads. Many modern iPads, such as the iPad Pro and iPad Air, are designed to work with Apple Pencil – Apple’s official stylus. However, there are also third-party styluses available that are compatible with various iPad models. Always check the compatibility specifications before purchasing a stylus to ensure it will work with your specific iPad model.
3. Can I use a stylus to replace my finger on an iPad?
Yes, using a stylus on an iPad can be a great alternative to using your finger. A stylus offers more precision and control, making it ideal for tasks that require accurate input, such as drawing, taking notes, or editing photos. Additionally, a stylus can provide a more comfortable experience, especially for extended use, as it reduces finger fatigue.
4. Do I need to install any software to use a stylus on an iPad?
No, you do not need to install any additional software to use a stylus on an iPad. The iPad’s operating system, iOS, supports stylus input natively. Simply connect or pair the stylus with your iPad, and you should be able to use it right away. Some third-party styluses may require specific apps for additional features or customization, but basic stylus functionality should work without any additional software.
5. Are there different types of styluses for iPads?
Yes, there are different types of styluses available for iPads. The most common types are passive styluses and active styluses. Passive styluses do not require batteries and rely on capacitive touch technology to work with the iPad’s screen. Active styluses, on the other hand, often come with additional features such as pressure sensitivity and palm rejection and require a power source, such as a battery or charging. The choice between a passive or active stylus depends on your specific needs and preferences.