
The Notes app on your iPhone or iPad isn’t just for taking quick notes or making to-do lists. It also offers a hidden gem – the ability to draw and sketch right within the app! Whether you’re an artist looking to unleash your creativity, or simply want to add a personal touch to your digital notes, the built-in drawing tools in the Notes app can be a game-changer.
In this article, we will guide you through the process of drawing and sketching in the Notes app on your iPhone or iPad. From selecting the perfect brush to adding colors and textures, we will cover everything you need to know to create beautiful and expressive digital art. So grab your Apple Pencil or get ready to use your fingers, because it’s time to unlock your inner artist within the Notes app!
Inside This Article
- Section 1: Getting Started
- Section 2: Drawing in the Notes App
- Section 3: Sketching in the Notes App
- Section 4: Tips and Tricks
- Conclusion
- FAQs
Section 1: Getting Started
Before you delve into the world of drawing and sketching in the Notes app on your iPhone or iPad, there are a few things you need to do to get started. First and foremost, make sure you have the latest version of iOS installed on your device. This will ensure that you have access to all the latest features and improvements.
Next, open the Notes app and create a new note. You can do this by tapping the “+” button in the bottom-left corner of the screen. Once you have created a new note, you are ready to start drawing and sketching.
It’s worth noting that the tools and options for drawing and sketching may vary slightly depending on the version of iOS you are using. However, the general process and functionality remain the same.
Now that you are set up and ready to go, let’s move on to the exciting part – drawing and sketching in the Notes app!
But wait, before we dive into the drawing and sketching process, let’s take a quick look at the basic tools and features available to you in the Notes app. These include a variety of marker and pen styles, the ability to adjust brush size and opacity, and even the option to add color to your drawings and sketches.
The Notes app also offers a ruler tool, which can be handy for creating straight lines or precise shapes. Additionally, you can use your finger or a stylus to draw and sketch with precision and control.
Now that you have a basic understanding of the tools and features available in the Notes app, it’s time to unleash your creativity and start drawing and sketching!
Section 2: Drawing in the Notes App
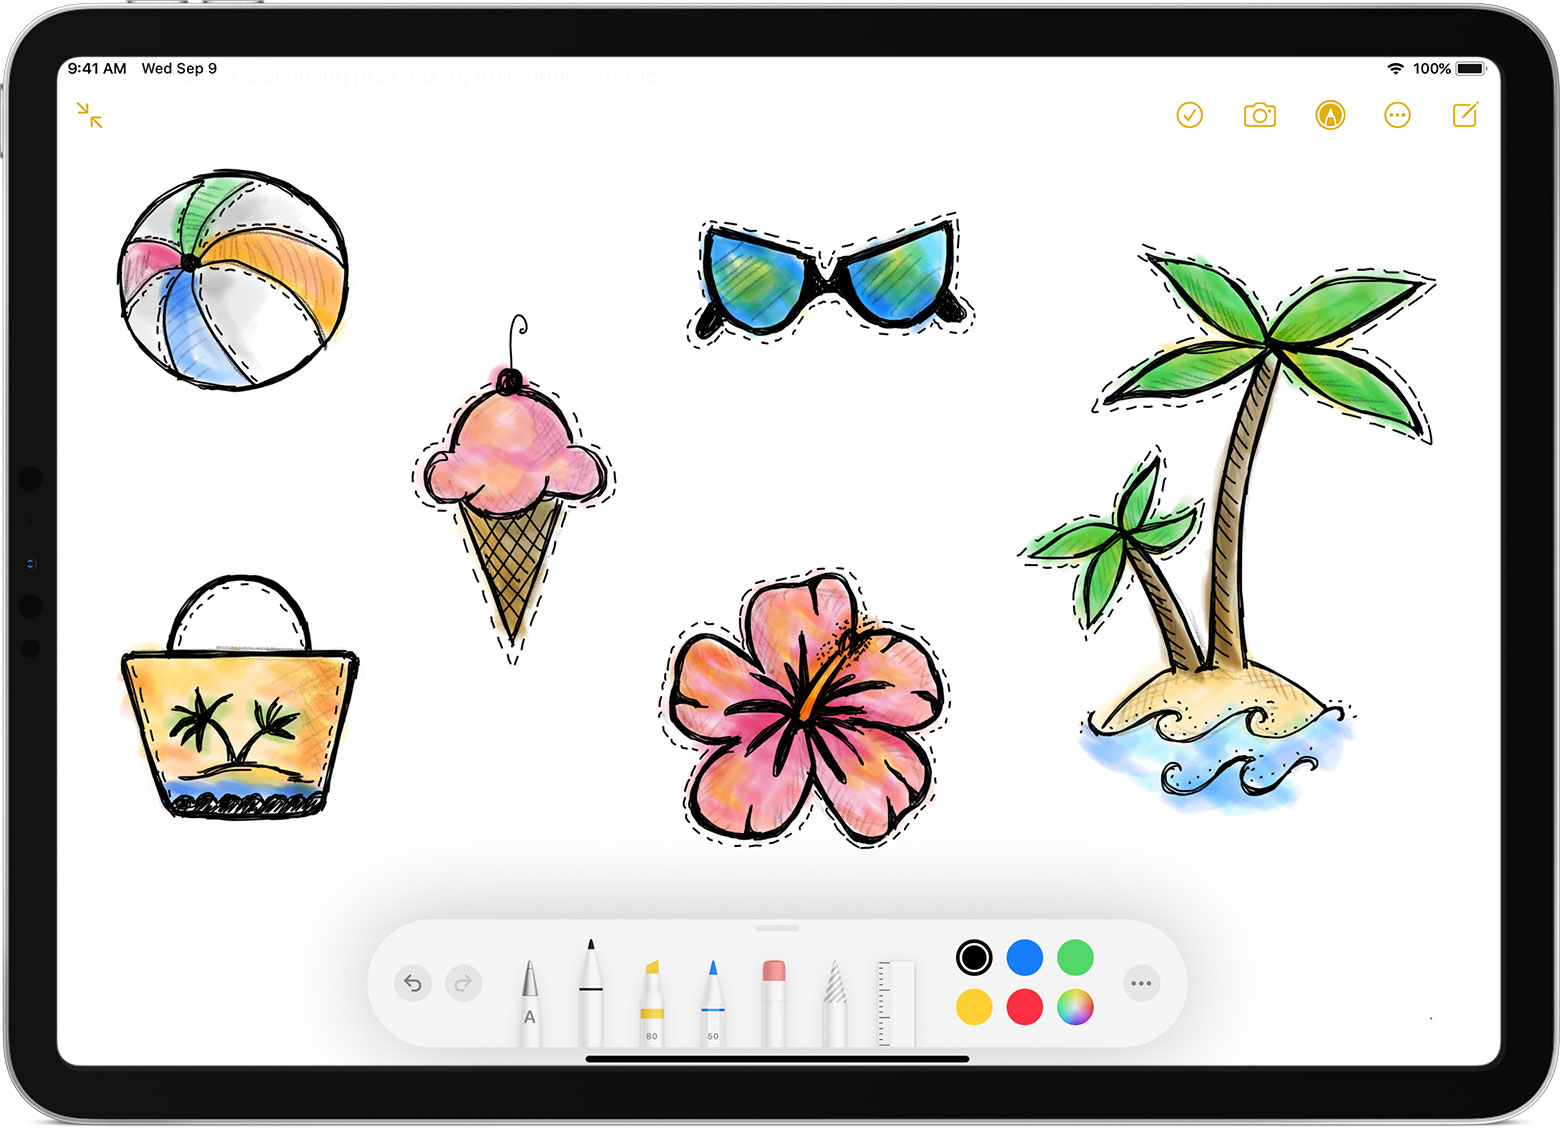
The Notes app on your iPhone or iPad isn’t just for taking text-based notes. It also provides a convenient and user-friendly interface for drawing and sketching. With a few simple tools and techniques, you can turn your device into a digital canvas and unleash your creativity. Here’s how you can start drawing in the Notes app:
Step 1: Open the Notes app
To begin drawing in the Notes app, locate and open the app on your iPhone or iPad. The app is typically pre-installed on most iOS devices and can be found on the home screen.
Step 2: Create a new note
Once the Notes app is open, create a new note by tapping the “+” button at the bottom center of the screen. This will bring up a blank canvas where you can start drawing.
Step 3: Access the drawing tools
With the new note open, you’ll notice a set of drawing tools at the bottom of the screen. These tools include a pen, highlighter, pencil, eraser, and a color palette. Tap the pen icon to access the drawing tools.
Step 4: Start drawing
Now that you have access to the drawing tools, you can start drawing on the canvas. Use your finger or a stylus to create lines, shapes, and patterns. Experiment with different colors and brush sizes to add depth and creativity to your drawings.
Step 5: Customize your drawings
The Notes app also allows you to customize and enhance your drawings. You can change the color, thickness, and opacity of your lines by tapping on the drawing tools icon again. Additionally, you can use the eraser tool to fix any mistakes or remove unwanted parts of your drawing.
Step 6: Save and share your drawings
Once you’re satisfied with your drawing, you can save it within the Notes app by tapping the “Done” button. This will automatically save your drawing in the current note. If you want to share your drawing with others, you can tap the share button (usually represented by a square with an arrow pointing upwards) and select the desired sharing option.
With the drawing tools available in the Notes app, you can create sketches, jot down ideas, or simply doodle whenever inspiration strikes. Whether you’re an experienced artist or just starting out, the Notes app provides a convenient and accessible platform to explore your artistic side.
Section 3: Sketching in the Notes App
Sketching on your iPhone or iPad can be a fun and creative way to express your ideas. The Notes app not only allows you to jot down notes but also offers powerful tools for sketching. Whether you’re an artist looking to create detailed illustrations or simply want to doodle and brainstorm, the Notes app has got you covered. In this section, we will explore how you can make the most of the sketching features in the Notes app.
To start sketching in the Notes app, open the app on your iPhone or iPad and create a new note or open an existing one. Once you have done that, tap on the Markup button located at the top right corner of the screen. This will display a range of drawing and sketching tools to choose from.
One of the basic sketching tools in the Notes app is the pencil. You can select the pencil tool and adjust the thickness and opacity settings according to your preference. This allows you to create lines and strokes of varying thickness and darkness. Experiment with different settings to find the perfect combination for your sketching needs.
Another useful tool for sketching in the Notes app is the marker. It provides a thicker line and a more vibrant color, making it great for adding emphasis or creating bold sketches. Similar to the pencil tool, you can adjust the thickness and opacity of the marker to achieve the desired effect.
If you want to add some color to your sketches, the Notes app offers a wide range of colors to choose from. You can access the color palette by tapping on the colored circle icon and selecting the desired color. This allows you to add depth and vibrancy to your sketches, making them more visually appealing.
In addition to the pencil and marker tools, the Notes app also provides an eraser tool. This allows you to easily correct any mistakes or remove unwanted lines from your sketches. Simply select the eraser tool and swipe over the areas you want to erase. You can also adjust the size of the eraser for more precise editing.
If you’re looking to add some creative touches to your sketches, the Notes app has some additional features that you might find helpful. For example, you can use the ruler tool to create straight lines or draw perfect shapes. You can also use the lasso tool to select and manipulate specific parts of your sketches.
Once you’ve finished sketching in the Notes app, you can easily save and share your creations. Simply tap on the Done button, and your sketch will be saved within the note. You can then share the note with others via email, messages, or any other compatible app.
Remember to save your sketches periodically as you work to avoid losing any unsaved progress. You can do this by tapping on the Share button and selecting the “Save to Files” option. This will ensure that your sketches are backed up and easily accessible.
With its intuitive drawing tools and the ability to synchronize across all your Apple devices, the Notes app is a fantastic tool for sketching on the go. Whether you’re an artist, a designer, or simply someone who enjoys doodling, give the sketching features in the Notes app a try and unleash your creativity.
Section 4: Tips and Tricks
Now that you know how to draw and sketch in the Notes app on your iPhone or iPad, let’s dive into some helpful tips and tricks to enhance your artistic creations.
1. Use Different Brushes: Experiment with the various brush options available in the Notes app. You can choose from pens, pencils, markers, and more. Each brush has its own unique texture and line quality, which can add depth and character to your drawings and sketches.
2. Adjust Line Thickness and Opacity: To create more dynamic and expressive strokes, play around with the line thickness and opacity settings. Thicker lines can make certain elements stand out, while adjusting the opacity can add subtle shading and depth.
3. Utilize Layers: One of the advantages of using the Notes app is the ability to work with layers. By utilizing layers, you can separate different elements of your drawing or sketch and make edits without affecting the rest of the artwork. This allows for more flexibility and precision in your creative process.
4. Undo and Redo: Made a mistake? Don’t worry! The Notes app has an undo and redo feature that allows you to easily correct any errors or make changes to your artwork. Just tap the undo button (curved arrow to the left) to go back a step, and the redo button (curved arrow to the right) to move forward again.
5. Zoom In for Precision: For finer details and precise lines, take advantage of the zoom feature in the Notes app. Pinch with two fingers on the screen to zoom in, allowing you to work with greater accuracy and control.
6. Use the Ruler Tool: If you need straight lines or perfect shapes, the ruler tool in the Notes app can be your best friend. Just tap the ruler icon at the top of the screen to activate it, and then use your finger or stylus to draw along the ruler’s edge.
7. Experiment with Colors: Don’t be afraid to explore different color palettes and combinations. Adding vibrant colors can bring your drawings and sketches to life. The Notes app offers a wide range of colors and gradients to choose from, so let your creativity soar.
8. Share and Collaborate: Once you’re satisfied with your artwork, you have the option to share it with others or collaborate on it. Tap the share button (box with an arrow pointing upward) to access sharing options such as sending it as a message, email, or even as a PDF file.
With these tips and tricks, you can take your drawings and sketches to the next level on the Notes app. Remember, practice makes perfect, so keep exploring and refining your skills. Happy creating!
Conclusion
Learning how to draw and sketch in the Notes app on your iPhone or iPad opens up a world of creative possibilities. With just a few simple tools and techniques, you can express your ideas, create beautiful digital artwork, or even sketch out your next big project.
The Notes app provides a convenient and accessible platform for unleashing your artistic skills. Whether you’re a beginner or an experienced artist, the built-in drawing tools and features offer a range of options to suit your needs. From pencil and pen brushes to various color palettes and opacity controls, you have the flexibility to experiment and find your preferred style.
So, go ahead and unlock your creative potential by diving into the fascinating world of drawing and sketching in the Notes app. Let your imagination run wild, and use this powerful tool to bring your ideas and visions to life right on your iPhone or iPad.
FAQs
1. Can I draw and sketch in the Notes app on my iPhone or iPad?
Absolutely! The Notes app on your iPhone or iPad comes with built-in drawing and sketching capabilities. You can use your finger or an Apple Pencil (if you have one) to create artistic masterpieces or simply jot down ideas and sketches on the go.
2. How do I access the drawing tools in the Notes app?
To access the drawing tools in the Notes app, simply open the app and create a new note or open an existing one. Once you’re in the edit mode, you’ll see a small pen icon located at the bottom right corner of the screen. Tap on it, and you’ll have access to a variety of drawing tools and options.
3. What drawing tools are available in the Notes app?
The Notes app offers a range of drawing tools to suit your artistic needs. You can choose from different brush sizes and colors, use the eraser to correct mistakes, select different pen types like ballpoint or fountain pen, and even add text and shapes to your drawings. It’s a versatile set of tools that allows you to unleash your creativity.
4. Is it possible to undo or redo my strokes while drawing in the Notes app?
Yes, the Notes app has an undo and redo feature that allows you to easily revise your strokes. If you make a mistake or want to undo a specific stroke, simply shake your device or tap the undo arrow in the top toolbar. To redo an action, just tap the redo arrow. These features make it easy to refine your drawings without any hassle.
5. Can I export or share my drawings from the Notes app?
Absolutely! The Notes app allows you to export or share your drawings in various ways. You can save your drawings as an image to your Photos app, share them via email or messaging apps, or even print them directly from your device. This makes it easy to showcase your artwork or share your ideas with others.