
Wondering how to send photos from your iPhone using the Messages app? Look no further! In this article, we’ll show you the step-by-step process of sending photos through the Messages app on your iPhone. Whether you want to share memorable moments with friends, family, or colleagues, the Messages app provides a seamless and convenient way to do so. From sharing vacation pictures to sending snapshots of important documents, we’ll guide you through the entire process. Additionally, we’ll explore some handy tips and tricks to enhance your photo-sharing experience. So grab your iPhone, open the Messages app, and get ready to master the art of sending photos in no time!
Inside This Article
- Send Photos from iPhone using the Messages App
- Step 1: Open the Messages App
- Step 2: Start a New Message or Open an Existing Conversation
- Step 3: Tap on the Camera Icon
- Step 4: Choose a Photo or Take a New One
- Step 5: Customize your Photo (Optional)
- Step 6: Send the Photo
- Conclusion
- FAQs
Send Photos from iPhone using the Messages App
One of the most common ways to share memories and moments with friends and family is by sending photos from your iPhone. And what better way to do that than through the Messages app, which allows you to communicate and share content seamlessly. Whether you want to send a single photo or a whole album, the Messages app makes it easy to share your images with just a few taps.
The Messages app not only allows you to send photos as attachments but also provides various options for how you can send them. You can send photos directly from the Messages app or share them from the Photos app. With these options at your fingertips, you’ll be able to quickly and conveniently share your favorite moments with your loved ones.
To send photos as attachments in the Messages app, follow these simple steps:
- Open the Messages app on your iPhone.
- Select the conversation or contact you want to send the photo to.
- Tap on the camera icon located in the iMessage field to access the photo picker.
- Browse through your photo library and tap on the photo you want to send.
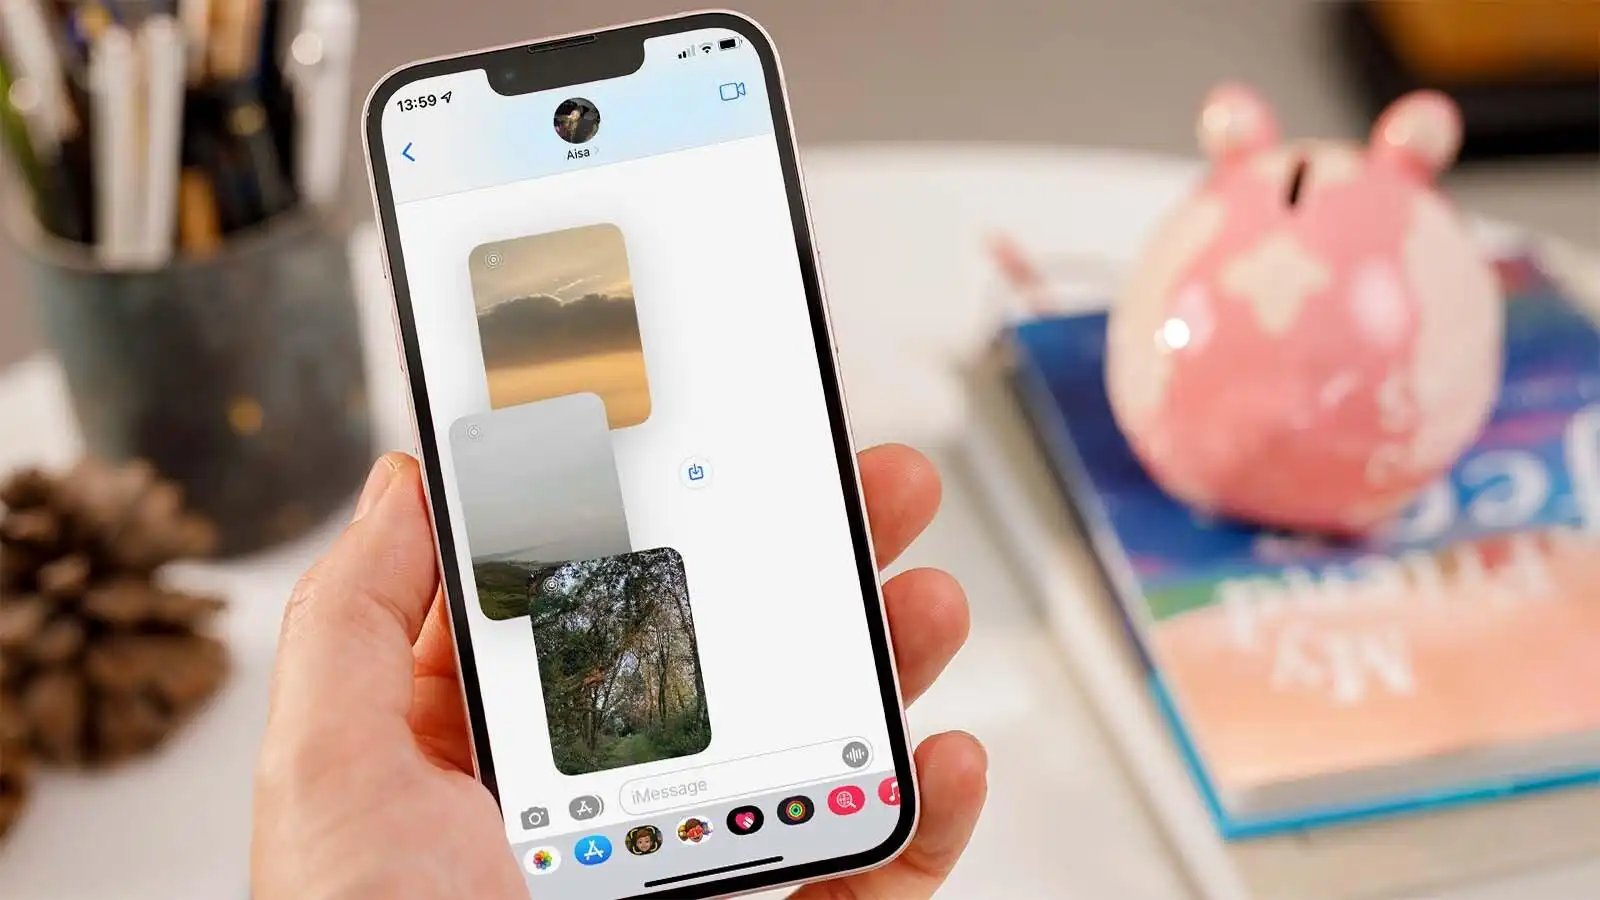
- Optionally, you can tap on the “+” icon to add more photos to your selection.
- Tap on the send button (usually represented by an arrow) to send the photo.
By following these steps, you can easily send single or multiple photos as attachments in the Messages app. The chosen photos will be sent as part of the conversation thread, allowing the recipient to view, save, or share them as well.
If you prefer to send photos directly from the Photos app, you can do so by following these steps:
- Open the Photos app on your iPhone.
- Navigate to the album or photo that you want to send.
- Tap on the share button (usually represented by a square with an upward arrow).
- Select the Messages app from the share options.
- Choose the contact or conversation you want to send the photo to.
- Tap on the send button to share the photo.
By using the share button in the Photos app, you can quickly send photos to your desired recipient through the Messages app. This method allows you to easily select and share specific photos without needing to open the Messages app separately.
In addition to regular photos, you can also send Live Photos or GIFs through the Messages app. Live Photos captures a few seconds of video and audio before and after the photo is taken, providing a more dynamic and interactive experience. To send a Live Photo or GIF through the Messages app, simply follow the same steps mentioned earlier for sending photos as attachments or directly from the Photos app.
With the abundance of visual content that we capture on our iPhones, the Messages app serves as a convenient and versatile platform for sharing our favorite memories. Whether you’re sharing single or multiple photos, Live Photos, or GIFs, the Messages app makes it easy to send and receive visual content in a seamless and enjoyable way.
Step 1: Open the Messages App
The first step to send photos from your iPhone in the Messages app is to open the app itself. The Messages app comes pre-installed on your iPhone and is the default app for sending text messages and multimedia content.
To open the Messages app, simply locate its icon on your home screen. The icon resembles a speech bubble and is usually green in color. Tap on the icon to launch the app.
Once you have opened the Messages app, you will be taken to the main screen where you can see your existing conversations. If you already have an ongoing conversation with the person you want to send the photo to, you can tap on that conversation to continue. Otherwise, you can start a new conversation by tapping on the compose button, typically in the top-right corner of the screen, which is represented by a pencil and paper icon.
Now that you have successfully opened the Messages app, you can proceed to the next step of sending photos from your iPhone.
Step 2: Start a New Message or Open an Existing Conversation
Once you have opened the Messages app on your iPhone, you are ready to start sending photos. To do so, you need to either start a new message or open an existing conversation. Let’s go through the steps for both options.
Start a New Message: To begin a new conversation, tap on the “New Message” icon usually located at the top-right corner of the screen. This will open a blank message with a recipient field at the top.
Open an Existing Conversation: If you want to send a photo within an ongoing conversation, simply tap on the thread from the list of recent messages in the Messages app. This will open the conversation thread, where you can add your photo.
Whether you choose to start a new message or open an existing conversation, you are now one step closer to sending your desired photos to your friends, family, or colleagues.
Step 3: Tap on the Camera Icon
Once you have composed your message in the Messages app and are ready to add a photo, follow these steps:
- Open the Messages app on your iPhone.
- Select the conversation you want to send the photo to or start a new one.
- Tap on the text entry field to bring up the on-screen keyboard.
- Look for the camera icon located to the left of the text entry field.
- Tap on the camera icon to access your iPhone’s camera or photo library.
When you tap on the camera icon, you will have two options: you can either take a photo using your iPhone’s camera or select an existing photo from your photo library.
If you want to take a new photo, simply tap on the shutter button to capture the desired image. Once you are satisfied with the photo, tap on “Use Photo” to insert it into your message.
Alternatively, if you want to select a photo from your photo library, tap on the small thumbnail preview located at the bottom-left corner of the camera interface. This will open your photo library, displaying your recently taken photos as well as your entire collection of images.
Browse through your photo library to find the photo you want to send. Once you have found it, tap on it to select it. You will see a blue checkmark indicating that the photo has been selected. Finally, tap on “Choose” to add it to your message.
After you have tapped on either “Use Photo” or “Choose,” the selected photo will appear in the text entry field. You can add any additional text or captions to accompany the photo if desired. Once you are ready, simply tap on the send button to send the message along with the photo.
That’s it! By following these steps, you can easily send photos from your iPhone using the Messages app. Whether you want to share a memorable moment or just liven up your conversations, the ability to send photos adds a personal touch to your messages.
Step 4: Choose a Photo or Take a New One
Once you have opened the Messages app and selected the contact or group you want to send a photo to, it’s time to choose a photo or take a new one from within the app. Here’s how to do it:
1. Tap on the camera icon located next to the input field in the Messages app. This will open the camera interface within the app.
2. If you want to choose an existing photo from your iPhone’s gallery, swipe up on the camera interface to access your photo library. You will see a selection of your recent photos.
3. Scroll through the photos and tap on the one you want to send. It will appear as a thumbnail in the camera interface.
4. Alternatively, if you want to take a new photo to send, simply tap the shutter button located at the bottom center of the camera interface. This will launch the camera and you can frame your shot.
5. After taking the photo, you can review it by tapping on the thumbnail preview that appears in the bottom left corner of the camera interface. If you are satisfied with the photo, tap the “Use Photo” button.
6. Once you have chosen or taken the photo you want to send, you can add a caption or message to accompany the photo by tapping on the “Aa” icon on the bottom left corner of the camera interface.
7. Type in your desired caption or message, and then tap the “Send” button to send the photo with the caption/message to the recipient(s) in the Messages app.
That’s it! You have successfully chosen a photo or taken a new one and sent it using the Messages app on your iPhone. Now you can share memorable moments with your friends and family hassle-free!
Step 5: Customize your Photo (Optional)
Before sending your photo from the iPhone Messages app, you have the option to customize it using various built-in editing features. These options allow you to enhance the photo, make adjustments, or add effects to make it more personalized and visually appealing.
To customize your photo, follow these simple steps:
- Open the Messages app on your iPhone and navigate to the conversation where you want to send the photo.
- Select the photo you want to send by tapping on the camera icon or the photo library icon, depending on how you want to add the photo.
- Once you have selected the photo, tap on the “Edit” button located in the upper-right corner of the screen. This will open up the photo editor.
- Within the photo editor, you can use various tools to adjust the appearance of your photo. These tools may include options to crop, rotate, adjust brightness, saturation, or add filters.
- Make the desired edits to your photo by tapping on the corresponding editing options and adjusting the sliders or settings. Experiment with different effects and adjustments to achieve the desired look.
- Once you are satisfied with the edits, tap on the “Done” button to save the changes to your photo.
- You can now tap on the send button to share the customized photo in the Messages app. It will be sent as an attachment or embedded within the conversation, depending on the settings.
Remember, customizing your photo is completely optional. If you are happy with the original version, you can skip this step and proceed to sending the photo as it is.
Customizing the photo not only allows you to add a personal touch but also helps in conveying the intended message or mood through visual enhancements. So, go ahead and have fun editing your photos before sending them in the Messages app!
Step 6: Send the Photo
Once you have selected the photo or multiple photos you want to send, it’s time to actually send them to your recipient. Here’s how you can do it:
1. Tap on the “Send” button: Look for the arrow icon that indicates the send button. It’s usually located on the right side of the text entry field or in the corner of the screen. Tap on it to send the photo.
2. Confirm the send action: In some cases, you may need to confirm the send action. This could be in the form of a pop-up window asking if you want to send the photo. Simply tap on “Send” or “OK” to proceed with sending the photo.
3. Wait for the photo to be sent: After tapping on the send button, your iPhone will start the process of sending the photo. Depending on the size of the photo and your internet connection, it may take a few moments for the photo to be sent successfully.
4. Check the message thread: Once the photo has been sent, it will be displayed in the message thread. You and your recipient will be able to see the photo and any accompanying text or captions.
5. Add additional photos or text (optional): If you want to send more photos or add a message alongside the sent photo, you can do so by tapping on the text entry field and typing or tapping on the attachments icon again to select more photos.
That’s it! You have successfully sent a photo from your iPhone in the Messages app. It’s a quick and convenient way to share your favorite moments with friends and family.
The ability to send photos from your iPhone using the Messages app is a convenient feature that allows you to share memorable moments with friends and family. With just a few taps, you can instantly send your favorite photos and receive instant feedback. Whether you want to share a breathtaking landscape, a funny snapshot, or a precious memory, the Messages app provides a seamless way to communicate visually.
By following the steps outlined in this guide, you can easily send photos from your iPhone and enhance your messaging experience. Remember to leverage the various options available, such as adding captions, editing photos, and sending multiple images simultaneously. With these features at your disposal, you can personalize your messages and make them even more engaging.
No matter if you’re an avid photographer or just want to share a quick snapshot, the Messages app offers a user-friendly way to send photos directly from your iPhone. So, unleash your creativity, capture precious memories, and share them effortlessly using the Messages app on your iPhone.
FAQs
**Q: Can you send photos through the Messages app on an iPhone?**
Yes, definitely! The Messages app on your iPhone allows you to send and receive photos seamlessly.
**Q: How do I send photos through the Messages app?**
To send a photo through the Messages app, open the conversation thread with the person you want to send the photo to. Tap on the camera icon located next to the text input field. You can then choose to take a new photo or select one from your camera roll. Once you’ve selected the photo, simply tap the send button and it will be sent in the conversation.
**Q: Is there a limit to the file size of the photos I can send?**
Yes, there is a file size limit for photos sent through the Messages app. The maximum file size that can be sent is typically around 20MB. If the photo you want to send exceeds this limit, you may need to consider resizing or compressing the image before sending it.
**Q: Can I send multiple photos at once?**
Absolutely! The Messages app allows you to send multiple photos at once. Simply tap on the camera icon, then select multiple images from your camera roll. Once you’ve made your selection, tap the send button and all the photos will be sent as a batch in the conversation.
**Q: Do the photos I send through Messages get saved on the recipient’s device?**
When you send a photo through the Messages app, it is stored in the conversation history on both your device and the recipient’s device. However, if the recipient chooses to delete the conversation or individual photo, it will be removed from their device but still remain on your device unless you manually delete it.