
Recording videos on your iPhone has become an essential part of capturing memories and sharing experiences. Whether you’re filming your friend’s birthday party, documenting a breathtaking sunset, or creating content for your YouTube channel, having the ability to zoom in and out while recording can greatly enhance the quality and versatility of your videos. In this article, we will guide you through the process of zooming in and out while recording video on your iPhone, unlocking a whole new level of creativity and storytelling. We will explore the built-in zoom feature on your iPhone camera app and provide step-by-step instructions on how to use it effectively. So grab your iPhone, and let’s dive into the world of dynamic video recording!
Inside This Article
- Enabling Zoom Feature
- Zooming In While Recording
- Zooming Out While Recording
- Adjusting Zoom Settings
- Conclusion
- FAQs
Enabling Zoom Feature
One of the great features of the iPhone is its ability to zoom in and out while recording video. By enabling the zoom feature, you can capture close-up shots or widen your view to include more of the surroundings. To start using this handy functionality, follow the steps below:
Step 1: Open the Camera app on your iPhone and switch to video mode by swiping the camera mode selector to the right until you see the “Video” option.
Step 2: Once you are in video mode, look for the zoom icon on your screen. It will typically appear as a magnifying glass or a plus/minus symbol.
Step 3: Tap on the zoom icon to access the zoom controls. This will bring up a slider or a button that allows you to adjust the level of zoom.
Step 4: If you don’t see the zoom controls, you may need to enable the zoom feature in your camera settings. To do this, exit the Camera app and go to “Settings” on your iPhone.
Step 5: In the Settings menu, scroll down and tap on “Camera”. Here, you will find various camera settings and options.
Step 6: Look for the “Record Video” section and toggle the switch next to “Zoom” to enable it. This will enable the zoom feature for both photo and video modes.
Once you have enabled the zoom feature, you can return to the Camera app and start recording videos with enhanced zoom capabilities. You can now use the zoom slider or button to adjust the level of zoom while recording, allowing you to capture those important moments with more precision or capture a wider perspective.
Note: The level of zoom available may vary depending on the model of your iPhone. Some older models may have limited zoom capabilities.
Zooming In While Recording
One of the great features of the iPhone is its ability to zoom in while recording videos. This feature allows you to get closer to the subject of your video and capture more detail. Whether you’re shooting a family gathering, a nature scene, or a live performance, zooming in can add a new dimension to your videos.
To enable the zoom feature while recording, follow these steps:
- Open the Camera app on your iPhone.
- Switch to video mode by swiping to the right or tapping on the “Video” option at the bottom of the screen.
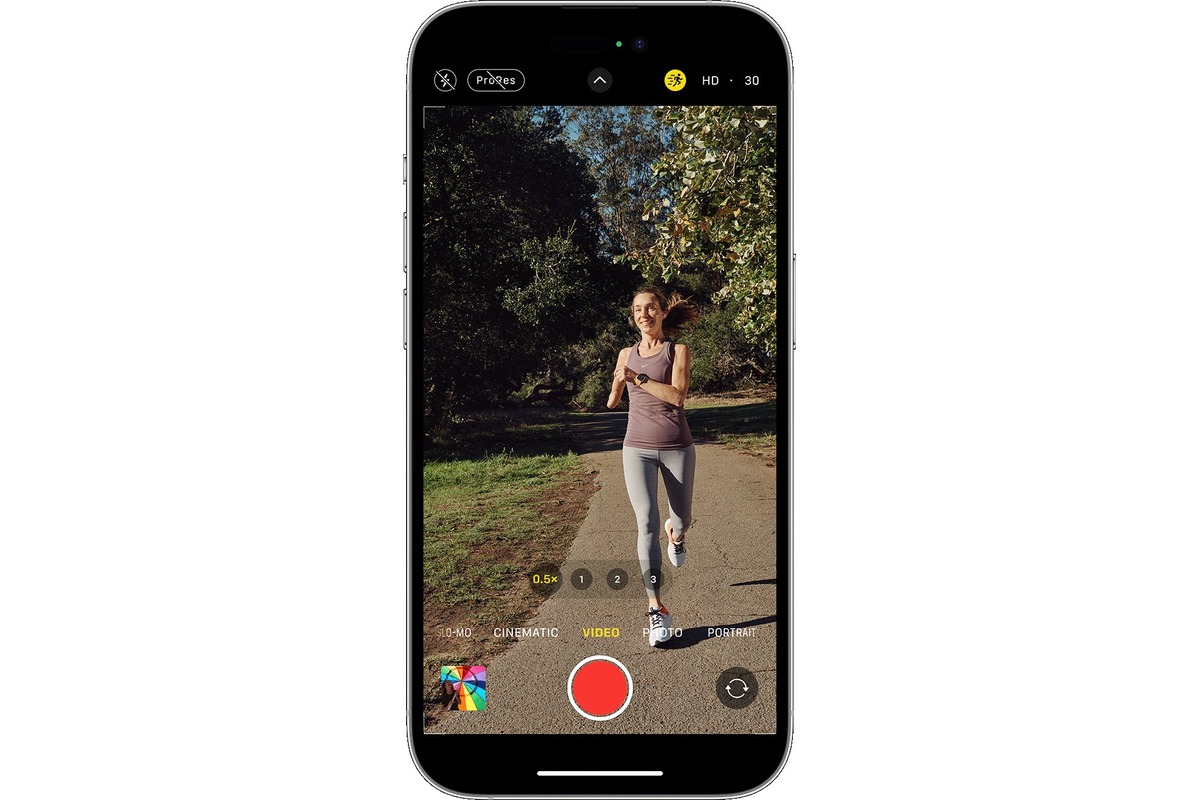
- Before you start recording, look for the zoom slider on the screen. It should be located at the bottom left corner.
- Slide your finger to the right to zoom in. You’ll notice that the image on the screen gets closer to the subject.
- If you want to zoom out, simply slide your finger to the left on the zoom slider.
While zooming in, keep in mind that the quality of the video may degrade slightly, especially if you zoom in to the maximum level. The digital zoom on the iPhone works by enlarging the pixels of the image, which can result in a loss of detail.
It’s also worth noting that while zooming in, any shaking or movements of your hand will be more noticeable. To ensure smooth and stable videos, consider using a tripod or stabilizing accessory.
Remember, the ability to zoom in while recording opens up new creative possibilities for your videos. Experiment with different zoom levels to find the right balance between getting closer to the subject and maintaining the overall quality of your footage.
Zooming Out While Recording
Zooming out while recording a video on your iPhone can be useful in various scenarios. Whether you want to capture a wider view of your surroundings or create a dramatic effect, here’s how you can zoom out while recording:
1. Launch the Camera app on your iPhone and switch to video recording mode.
2. Locate the zoom control options on the screen. These options may vary depending on the iPhone model you are using.
3. Look for the “-” (minus) symbol or the dedicated zoom out button. It is usually represented by a magnifying glass icon with a minus sign.
4. Once you’ve located the zoom out control, simply tap on it to zoom out while recording your video. The screen will display a wider area, capturing more of your surroundings.
5. To adjust the intensity of the zoom, you can try tapping multiple times on the zoom out control or using a gesture like a pinch out motion on the screen.
6. Keep in mind that the zooming capability may vary depending on the iPhone model and camera specification. Some iPhones support optical zoom, which provides a higher-quality zoom feature, while others may offer digital zoom, which tends to reduce the image quality as you zoom in or out.
7. Experiment with different zoom levels to achieve the desired effect in your videos. Zooming out can provide a broader perspective and capture more of the scene, making your videos more immersive and visually engaging.
Remember to keep your hand steady while zooming out to avoid shaky footage. Additionally, you can consider using a tripod or stabilizing accessory to ensure smooth and professional-looking videos.
Now that you know how to zoom out while recording, you can start exploring the creative possibilities that this feature offers. Whether you’re capturing breathtaking landscapes or filming immersive vlogs, zooming out can add a new dimension to your videos and make them stand out.
Adjusting Zoom Settings
Zooming in and out while recording video on your iPhone can greatly enhance your video recording experience. The ability to adjust the zoom level gives you more control over the visual composition of your videos, allowing you to capture close-ups or wide-angle shots with ease. In this section, we will explore how to adjust the zoom settings on your iPhone while recording video.
To access the zoom settings, open the Camera app on your iPhone and switch to video mode. Once you are in video mode, you can follow these steps to adjust the zoom level:
1. Locate the zoom slider: In the video mode interface, you will find a zoom slider at the bottom of the screen. This slider allows you to manually adjust the zoom level. You can slide it to the right to zoom in or to the left to zoom out.
2. Adjust the zoom level: By dragging the zoom slider to the right, you can zoom in and get closer to your subject. Conversely, dragging the slider to the left will zoom out and capture a wider view. Find the ideal zoom level that suits your recording requirements.
3. Use the zoom button: Alternatively, you can also use the zoom button to adjust the zoom level while recording video. Located at the bottom right of the video mode interface, the zoom button allows you to toggle between two preset zoom levels – 1x and 2x. Simply tap on the zoom button to switch between these two levels.
4. Fine-tune the zoom level: If you want even more control over the zoom level, you can tap and hold the plus (+) or minus (-) buttons that appear alongside the zoom slider. This will allow you to make incremental adjustments to the zoom level, giving you precise control over the framing of your video.
By adjusting the zoom settings, you can add depth and variety to your videos, making them more visually engaging for your viewers. Experiment with different zoom levels to find the perfect balance for each shot, and let your creativity shine through in your video recordings.
The ability to zoom in and out while recording video on your iPhone is a valuable feature that can greatly enhance your video capturing experience. Whether you are trying to capture a close-up moment or want to capture a wider scene, being able to adjust the zoom level can make a significant difference in the final result.
With just a few simple steps, you can easily zoom in and out while recording videos on your iPhone. Whether you have an iPhone with dual cameras or a single camera, the process is straightforward and accessible to all users.
Don’t miss out on capturing those memorable moments with the perfect zoom level. Experiment with different zoom settings and unleash your creativity to capture stunning videos on your iPhone.
FAQs
1. Can I zoom in and out while recording video on my iPhone?
Absolutely! The latest iPhones come equipped with powerful camera functionalities, including the ability to zoom in and out while recording videos. This feature allows you to capture stunning footage without sacrificing image quality.
2. How do I zoom in and out while recording video on my iPhone?
To zoom in or out while recording video on your iPhone, follow these simple steps:
- Open the camera app on your iPhone.
- Switch to the video recording mode.
- Tap on the screen to reveal the additional controls.
- Use the pinch gesture by spreading your fingers apart to zoom in or pinching them together to zoom out.
- You can adjust the zoom level while recording by sliding your fingers along the screen.
3. Are there any limitations on zooming in and out while recording video?
Yes, there are some limitations to keep in mind when using the zoom feature while recording videos on your iPhone. The extent to which you can zoom depends on the model of your iPhone and the video resolution you have set. Higher resolution videos may have a limited zoom range compared to lower resolution ones. Additionally, the quality of the zoomed-in footage may vary, especially when zoomed in to the maximum level.
4. Will zooming in and out affect the stability of my recorded video?
While zooming in and out can enhance your video’s versatility, it’s important to note that excessive zooming can impact the stability of your recorded footage. The more you zoom in, the higher the chances of camera shakes or blurriness. To mitigate this, it’s recommended to use a tripod or stabilization rig to ensure smooth and stable videos, especially when zooming in significantly.
5. Are there any third-party apps available for advanced zooming features?
Yes, there are several third-party camera apps available on the App Store that offer additional zooming features for your iPhone. These apps often provide more advanced zoom levels, manual controls, and additional camera functionalities. Some popular third-party camera apps include ProCamera, Filmic Pro, and Camera+, which can take your video recording experience to the next level.