To record your iPhone 11 screen, use the built-in screen recording feature in Control Center, no third-party app is needed. The iPhone 11 record screen tool captures everything on your display, and you can turn on the microphone to include your voice or ambient sound.
How to use the iPhone 11 record screen feature
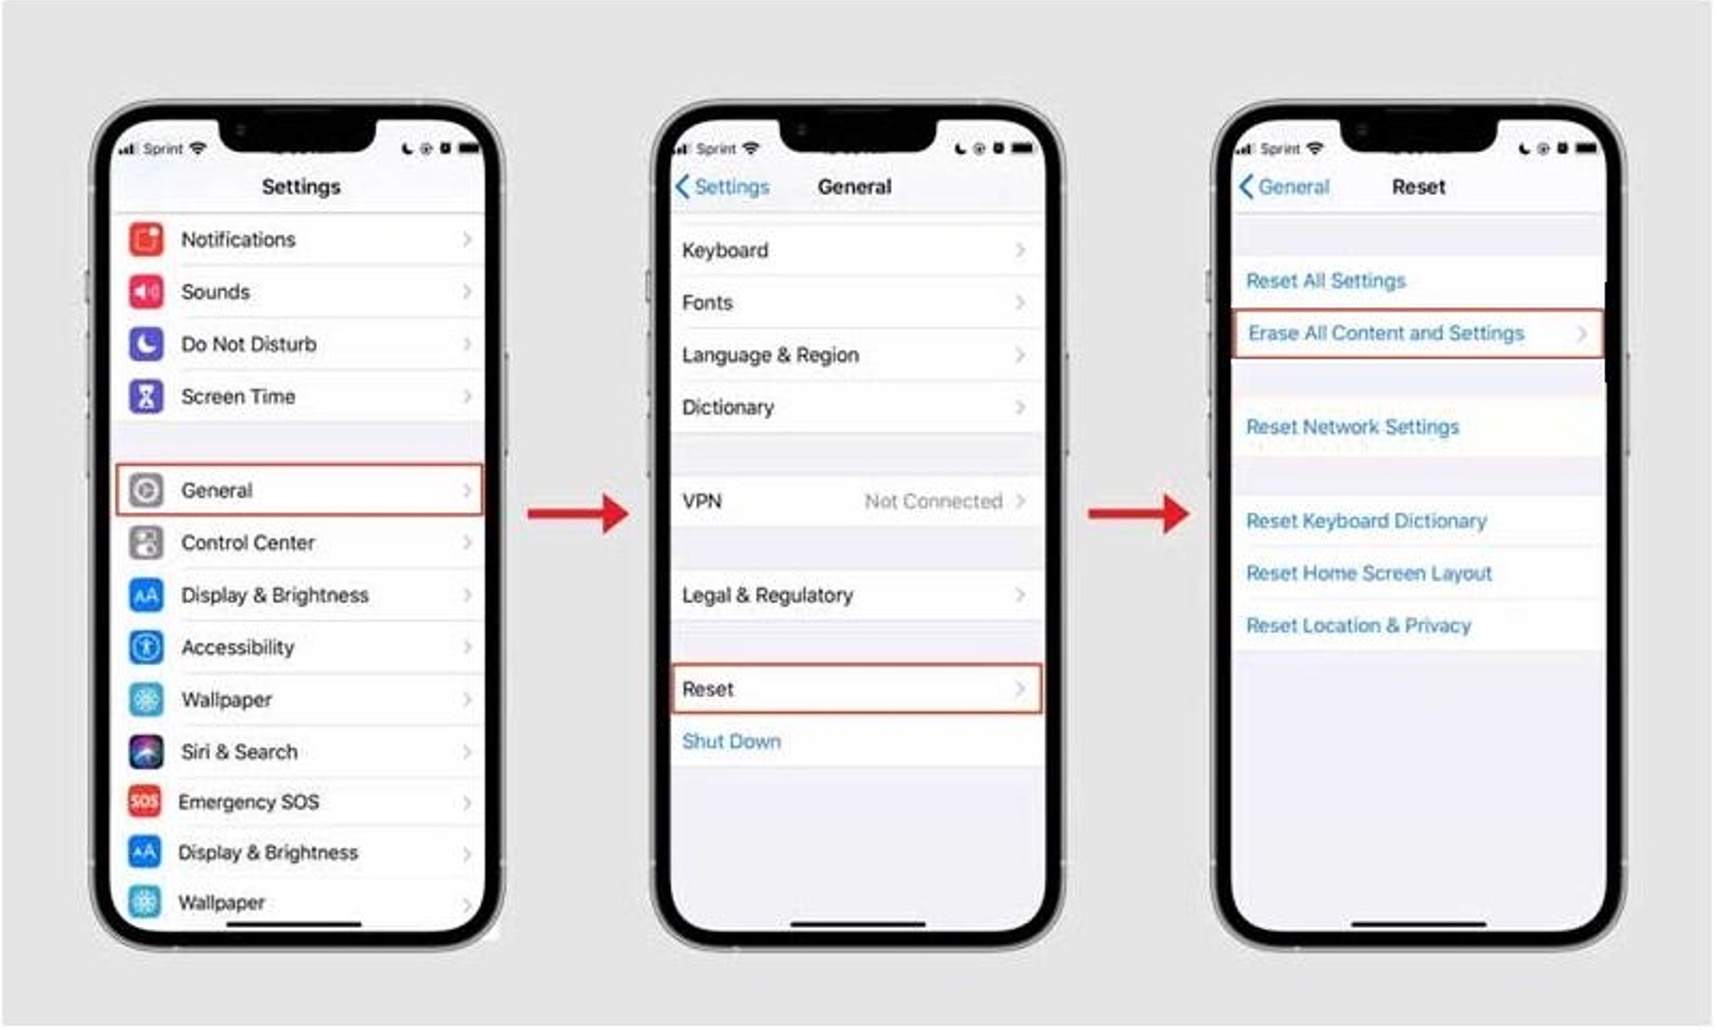
Screen recording is built into iOS and works through Control Center. The feature requires iOS 11 or later. If the Screen Recording button is not already there, add it first.
- Open Settings and go to Control Center.
- Tap Customize Controls.
- Tap the + next to Screen Recording to add it.
Once the button is in Control Center, you can start a recording at any time. Close unnecessary background apps to optimize performance and prevent lags during recording. Charge your device or connect to power to avoid interruptions during recording.
- Swipe down from the top-right corner of the screen to open Control Center.
- Tap the Screen Recording button (a solid circle inside a ring).
- Wait for the 3-second countdown, then swipe up to dismiss Control Center. Recording begins automatically.
To stop, tap the red timer in the top-left corner of the screen, then tap Stop. You can also open Control Center and tap the red recording button there. For iPhone models with Dynamic Island, stop recording by tapping the red circle in the Dynamic Island then Stop. The video saves to the Photos app in your Library.
Recording your screen with audio
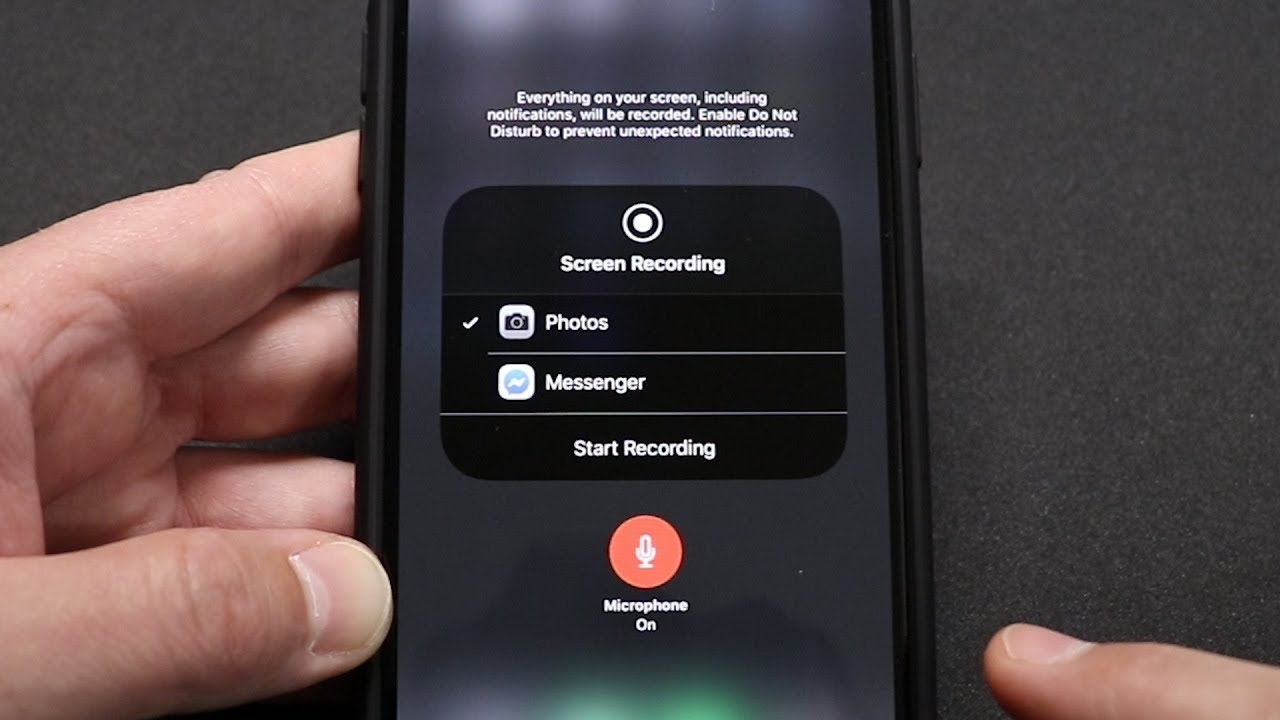
You can include audio from your microphone while recording. This is useful if you want to narrate a tutorial or add commentary to a gameplay clip. Video recording quality can be adjusted between high or standard by 3D touching or long-pressing the Screen Recording icon in Control Center.
- Open Control Center by swiping down from the top-right corner.
- Touch and hold the Screen Recording button.
- Tap Microphone to turn it on.
- Tap Start Recording, then wait for the countdown to finish.
With the microphone on, the recording captures your voice along with on-screen activity. Turn it off if you want a silent recording.
Finding and editing your screen recording
Your screen recording is saved automatically in the Photos app, so you can find it without any extra steps.
- Open the Photos app and go to Library.
- Tap the screen recording thumbnail to view it.
- Tap Edit, then drag the yellow handles to trim the start and end points.
- Tap Done to save the trimmed version.
After editing, use the Share button in Photos to send the video through Messages, Mail, AirDrop, or a social media app.
Frequently Asked Questions
How much storage space does a screen recording use?
A one-minute screen recording takes up roughly 30 MB of storage, though the exact size depends on the content and length of the recording. If you record often, check your available storage in Settings before starting.
Can I record a conversation on Android phone the same way?
No. Android uses a different process: swipe down twice from the top of the screen, tap Screen record in Quick Settings, choose your audio and display options, then tap Start. Samsung Galaxy phones use a separate Screen recorder tool in the Quick panel. Samsung screen recorder supports selfie videos (PIP) and sound options of No sound, Media sounds, and Media sounds and mic. Samsung screen recorder video quality options include 1080p, 720p, and 480p. Samsung lists supported Galaxy models including S10 and later S-series, Note 10 and Note 20, Z Fold and Z Flip, and several Tab models.
Does the iPhone 11 have a recording time limit?
The recording continues until you stop it, but available storage space is the practical constraint.
Can I edit a screen recording without a third-party app?
Yes. The Photos app includes a built-in editor that lets you trim the start and end of your recording. For more advanced edits like text or music, you would need a third-party video editor.
Is the microphone recording separate from the screen audio?
Yes. The microphone captures your voice and surrounding sound, while the screen recording itself captures the audio playing from the device. You can turn the microphone on or off before starting a recording.