
The popularity of Roblox has skyrocketed in recent years, and with its mobile app, players can now enjoy the excitement of creating and customizing their avatars on the go. One of the most fascinating features of Roblox is the ability to upload clothes and accessories to personalize your avatar in the game. However, uploading clothes on the Roblox mobile app may seem like a daunting task for some players. But fear not! In this article, we will guide you through the step-by-step process of uploading clothes on Roblox Mobile, allowing you to express your unique style and stand out from the crowd. So, whether you’re a fashion enthusiast or simply want to add a personal touch to your avatar, let’s dive in and make your game wardrobe truly your own.
Inside This Article
- Getting Started: Creating a Roblox Account and Downloading the Roblox Mobile App
- Preparing Your Clothing Assets
- Uploading Clothes on Roblox Mobile- Accessing the Roblox Mobile App- Navigating to the Avatar Editor- Uploading Clothing Assets to your Inventory
- Applying Clothes to Your Avatar: Customizing Your Avatar’s Appearance and Accessorizing with Hats and Accessories
- Conclusion
- FAQs
Getting Started: Creating a Roblox Account and Downloading the Roblox Mobile App
If you’re eager to join the exciting world of Roblox Mobile and start uploading clothes for your virtual avatar, there are a few key steps you need to follow. This guide will walk you through the process of creating a Roblox account and downloading the Roblox Mobile app so you can get started on your clothing uploading journey.
Creating a Roblox account is the first step towards gaining access to all the entertaining features that Roblox Mobile has to offer. To get started, head over to the official Roblox website and click on the “Sign Up” button. Fill in the necessary information, such as your desired username, password, and birthdate.
After creating your account, you’ll need to verify your email address. Roblox will send you an email with a verification link to confirm your account. Click on the link to complete the verification process and gain access to your Roblox account.
With your Roblox account set up, you can now proceed to download and install the Roblox Mobile app on your mobile device. The Roblox Mobile app is available on both iOS and Android platforms, making it accessible to a wide range of users.
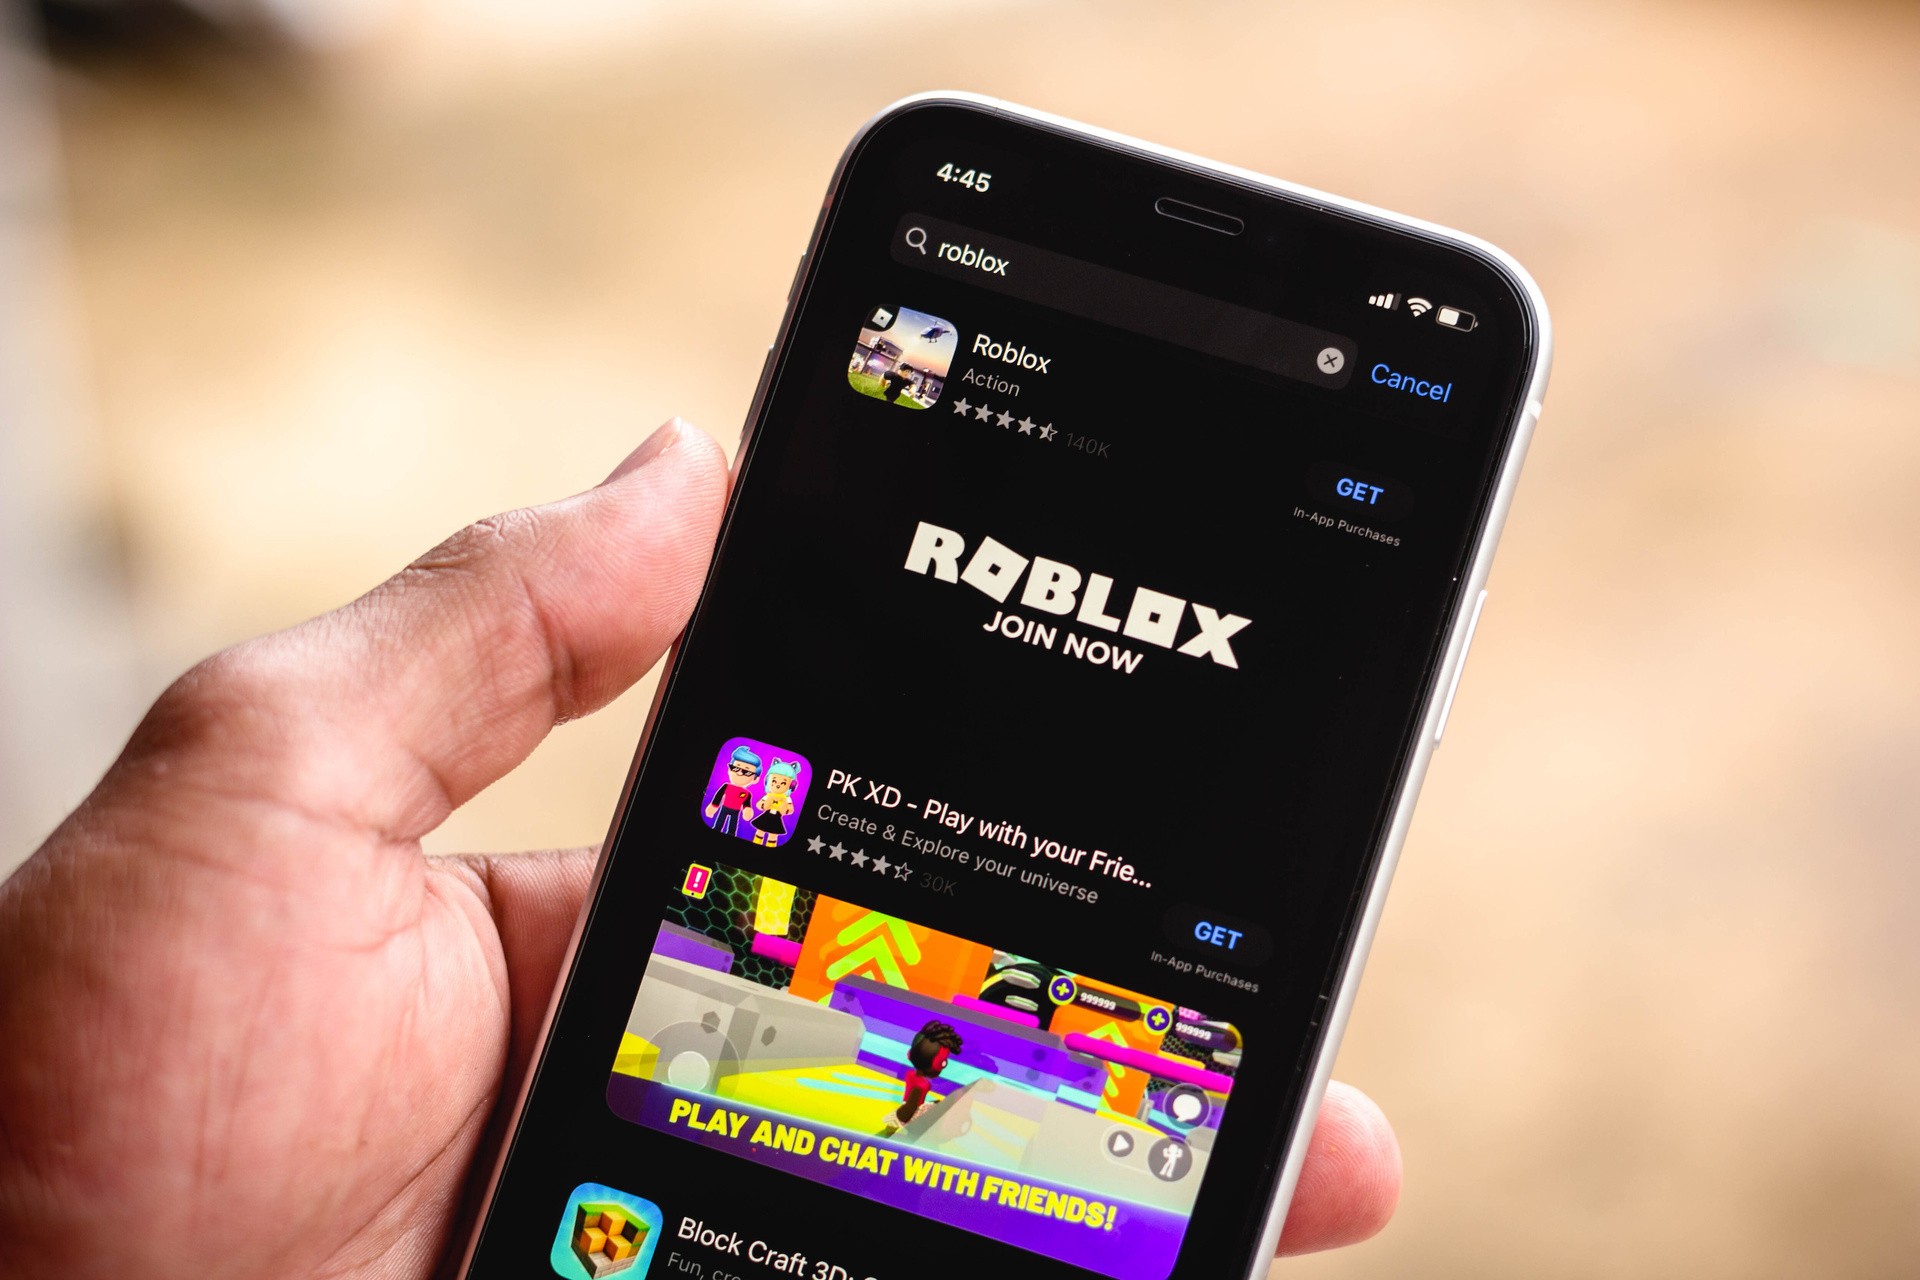
For iOS users, simply open the App Store and search for “Roblox” in the search bar. Tap on the “Get” or “Install” button to initiate the download and installation process. Once the app is installed, you can launch it and proceed with logging in using your Roblox account credentials.
If you’re an Android user, visit the Google Play Store and search for “Roblox” in the search bar. Locate the Roblox app and tap on the “Install” button. After the installation is complete, you can open the app and log in using your Roblox account details.
Once you have successfully downloaded and installed the Roblox Mobile app, you’re now ready to delve into the world of Roblox and start uploading your own custom clothes for your avatar to wear. In the next section, we’ll guide you on how to prepare your clothing assets before uploading them to the Roblox platform.
Preparing Your Clothing Assets
Before you can upload clothes on Roblox Mobile, you need to prepare your clothing assets. This process involves designing and creating the clothes, as well as saving them in the appropriate format. Let’s dive into the steps involved:
Designing and Creating Clothes
The first step to preparing your clothing assets is to design and create the clothes you want to upload. Roblox offers a wide range of options when it comes to creating clothes, from t-shirts and pants to hats and accessories. Whether you want to create a unique outfit or replicate your favorite design, the choice is yours.
To design your clothes, you can use various graphic design software like Adobe Photoshop, GIMP, or even online platforms like Canva. These tools allow you to unleash your creativity and create stunning designs for your Roblox avatar. Remember to consider factors such as color schemes, patterns, and overall aesthetics to make your clothes visually appealing.
Saving Clothing Assets in the Appropriate Format
Once you have finished designing your clothes, it’s time to save them in the appropriate format for uploading on Roblox Mobile. The accepted file formats for clothing assets on Roblox are PNG and JPEG. Ensure that your clothing assets are saved in one of these formats to ensure compatibility.
When saving your clothing assets, it’s essential to pay attention to the file size. Large file sizes can lead to longer loading times and may affect the performance of your game. Aim to optimize your images by reducing unnecessary details and using compression techniques to maintain quality while keeping the file size as small as possible.
Moreover, it’s a good practice to organize your clothing assets in a separate folder on your device. This will make it easier to locate and upload the specific assets you want to showcase in Roblox. Naming your files in a descriptive and identifiable manner can also be helpful in keeping things organized.
By ensuring that your clothing assets are well-designed and saved in the appropriate format, you are ready to proceed to the next step, which is uploading them on Roblox Mobile.
Uploading Clothes on Roblox Mobile- Accessing the Roblox Mobile App- Navigating to the Avatar Editor- Uploading Clothing Assets to your Inventory
Uploading your own custom clothes on Roblox Mobile is a great way to express your individuality and style within the game. Whether you want to create your own unique t-shirts, pants, or even accessories, Roblox Mobile allows you to easily upload your clothing assets and wear them on your avatar. In this guide, we’ll walk you through the simple steps of accessing the Roblox Mobile app, navigating to the Avatar Editor, and uploading your clothing assets to your inventory.
The first step in uploading clothes on Roblox Mobile is to access the Roblox Mobile app. If you haven’t already, you’ll need to download and install the app from the App Store (iOS) or Google Play Store (Android). Once the app is installed, open it and sign in to your Roblox account. If you don’t have an account, you’ll need to create one before proceeding.
Once you’re signed in to the Roblox Mobile app, you’ll need to navigate to the Avatar Editor. To do this, tap on the “…” icon at the bottom-right corner of the screen. This will open the menu where you’ll find various options. Locate and tap on the “Character” option to access the Avatar Editor.
After accessing the Avatar Editor, you can start uploading your clothing assets to your inventory. To upload a clothing asset, tap on the “Shirts”, “Pants”, or “T-Shirt” tab, depending on the type of clothing you want to upload. Then, tap on the “Create” button to bring up the clothing creation interface.
In the clothing creation interface, you’ll have the option to choose an existing template to customize or create your clothing from scratch. If you choose to customize a template, you can change the colors, patterns, and add designs to make it unique. If you prefer to start from scratch, you can utilize the drawing tools provided to design your clothing asset entirely on your own.
Once you have finished designing your clothing asset, you’ll need to save it in the appropriate format. For shirts, you’ll need to save your asset as a transparent PNG file. For pants, save it as a transparent PNG or JPEG file. And for t-shirts, save it as a transparent PNG or GIF file.
After saving your clothing asset, tap on the “Upload” button in the clothing creation interface. You’ll be prompted to select the file you just saved. Choose the file and tap on “Apply” to upload it to your inventory. Congratulations! Your custom clothing is now ready to be worn on your avatar!
Uploading clothes on Roblox Mobile allows you to showcase your creativity and style to other players. It’s a fun and easy way to personalize your avatar and stand out in the Roblox community. So go ahead and start creating your own unique clothing assets and impress your friends on Roblox Mobile!
Applying Clothes to Your Avatar: Customizing Your Avatar’s Appearance and Accessorizing with Hats and Accessories
Now that you have uploaded your clothes to Roblox Mobile, it’s time to apply them to your avatar and personalize your appearance. Customizing your avatar allows you to express your unique style and stand out in the virtual world. In this section, we will explore how to apply clothes to your avatar, customize your appearance, and accessorize with hats and accessories.
When it comes to customizing your avatar’s appearance on Roblox Mobile, the options are virtually limitless. You can choose from a vast array of clothing items, hairstyles, facial features, and more. To get started, follow these simple steps:
- Open the Roblox Mobile app on your device and log in to your account.
- Navigate to the Avatar Editor, where you can make changes to your avatar’s appearance.
- Once in the Avatar Editor, you will see various sections such as “Body,” “Head,” “Face,” “T-Shirt,” “Pants,” and more. By clicking on each section, you can browse through the available options and choose the ones that suit your style.
- To apply clothes to your avatar, click on the “T-Shirt” or “Pants” sections. This will open a window where you can select the clothes you have uploaded to your inventory. Simply click on the desired clothing item to apply it to your avatar’s outfit.
- Make sure to save your changes before exiting the Avatar Editor. You can do this by clicking on the “Save” or “Apply” button, depending on the version of the app you are using.
Once you have dressed up your avatar with your uploaded clothes, it’s time to take it a step further by accessorizing with hats and accessories. Hats and accessories add an extra touch of style and personality to your avatar. To accessorize your avatar with hats and accessories:
- Go back to the Avatar Editor and navigate to the “Hat” or “Accessory” section.
- Similar to applying clothes, you can browse through the available options and choose the hats and accessories that you want to add to your avatar.
- Click on the desired hat or accessory to apply it to your avatar. You can also adjust the position and size of the accessories to achieve the desired look.
- As always, remember to save your changes before leaving the Avatar Editor.
Now that you have successfully applied clothes to your avatar and accessorized with hats and accessories, your avatar is ready to make a statement in the Roblox world. Show off your unique style, experiment with different combinations, and have fun expressing yourself through your avatar’s appearance.
Remember, customization is an ongoing process. You can always go back to the Avatar Editor and make changes to your avatar’s outfit, hairstyle, or accessories whenever you feel like refreshing your look. Enjoy the endless possibilities of customization on Roblox Mobile!
Conclusion
The ability to upload clothes on Roblox mobile has made it easier than ever for players to express their creativity and fashion sense in the virtual world. Whether you are a veteran Roblox player or just starting out, the process of uploading clothes on mobile devices is simple and user-friendly.
By following the steps outlined in this article, you can easily create your own unique designs, upload them to the Roblox platform, and share them with the community. This not only allows you to stand out from the crowd but also provides an opportunity for you to earn Robux and gain recognition for your creations.
With a wide range of customization options and millions of players to connect with, Roblox mobile offers endless possibilities for fashion enthusiasts and designers. So, don’t hesitate to tap into your creativity and start uploading your own clothes on Roblox mobile today!
FAQs
1. Can I upload clothes to Roblox using the mobile app?
Yes, you can upload clothes to Roblox using the mobile app. Roblox has made it convenient for users to create and customize their own clothes directly from their mobile devices.
2. What are the requirements for uploading clothes on Roblox mobile?
To upload clothes on Roblox mobile, you need to meet certain requirements. First, you must have a Roblox account. Second, you must be a member of the Roblox Builders Club. Lastly, you will need Robux, the virtual currency of Roblox, to purchase the necessary upload slots.
3. How do I create and upload clothes on Roblox mobile?
To create and upload clothes on Roblox mobile, follow these steps:
- Open the Roblox mobile app and log in to your account.
- Tap on the “Create” tab at the bottom of the screen.
- Select “Shirt,” “Pants,” or “T-Shirt” depending on the type of clothing you want to create.
- Use the built-in tools and options to design your clothes. You can customize the colors, patterns, and add decals or images.
- Once you are satisfied with your design, tap on the “Upload” button.
- Select the appropriate slot to upload your clothing item and confirm the purchase with Robux.
- Your clothes will now be available for other Roblox users to purchase and wear.
4. Are there any restrictions or guidelines for uploading clothes on Roblox mobile?
Yes, there are specific restrictions and guidelines you need to follow when uploading clothes on Roblox mobile. Roblox maintains certain content policies to ensure a safe and enjoyable experience for all users. Make sure to review the Roblox Terms of Service and clothing guidelines to avoid any violations.
5. Can I make money by selling clothes on Roblox?
Yes, you can earn Robux by selling clothes on Roblox. When other players purchase your clothes, you will earn a percentage of the sale price in Robux. This allows you to monetize your creativity and potentially make a profit while contributing to the Roblox community.