
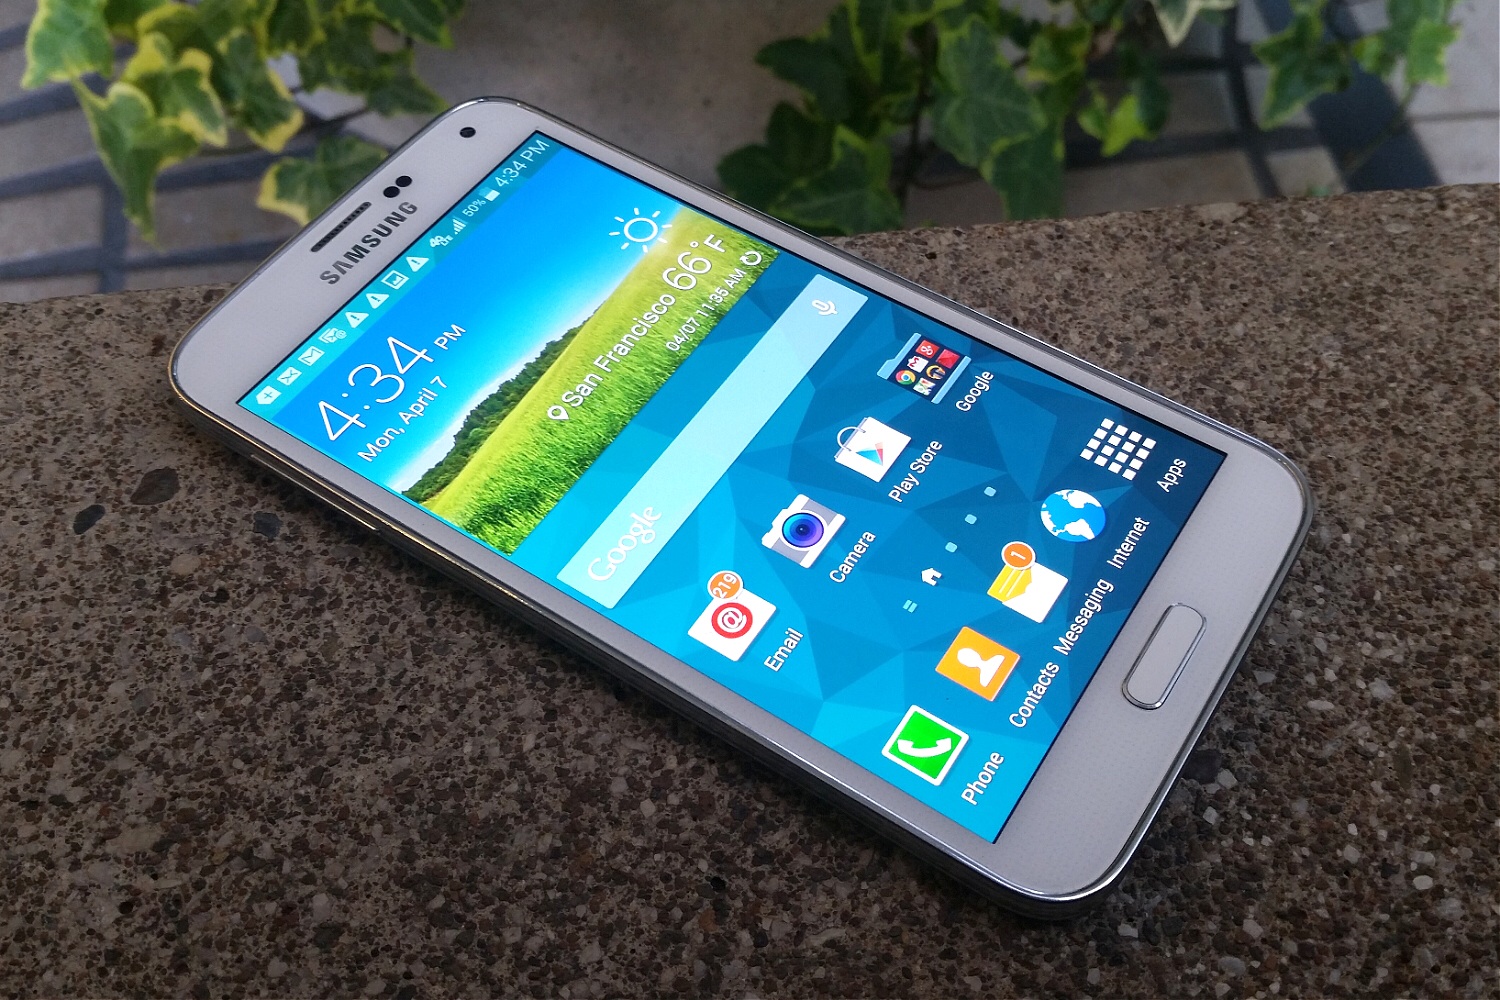
In this article, we will explore the various ways to answer a Samsung Android phone. As smartphones have become an essential part of our daily lives, knowing how to effectively answer calls on your Samsung Android phone is crucial. Whether you are a long-time Samsung user or a new owner of a Samsung Android device, understanding the different methods and settings for answering calls will ensure you never miss an important call again. From answering calls with a swipe of your finger to using voice commands or even customizing your call answering options, we will cover it all. So, let’s dive in and discover the best ways to answer calls on your Samsung Android phone.
Inside This Article
- Troubleshooting Samsung Android Phone Issues
- Performing a Factory Reset on a Samsung Android Phone
- Solving Battery Drain Issues on a Samsung Android Phone
- Fixing Software Update Problems on a Samsung Android Phone
- Conclusion
- FAQs
Troubleshooting Samsung Android Phone Issues
Is your Samsung Android phone giving you trouble? Don’t worry, we’ve got you covered! In this article, we will walk you through some common issues that you may encounter with your Samsung Android phone and provide you with troubleshooting tips to help you resolve them.
1. Phone Not Powering On: If your Samsung Android phone is not powering on, try holding down the power button for at least 10 seconds to force a reboot. If that doesn’t work, check the battery to ensure it is properly inserted and charged. If necessary, try connecting your phone to a charger or computer to see if it responds.
2. Phone Overheating: Overheating can be caused by excessive usage, running too many apps simultaneously, or exposure to direct sunlight. To resolve this issue, close any unused apps, avoid using your phone while charging, and keep it in a cool and well-ventilated environment.
3. Unresponsive Touchscreen: If your Samsung Android phone’s touchscreen is unresponsive or not working properly, try cleaning it with a soft, lint-free cloth. If that doesn’t help, try restarting your phone or performing a factory reset. Keep in mind that a factory reset will erase all data on your device, so be sure to back up your important files before proceeding.
4. Poor Battery Life: If your Samsung Android phone’s battery drains quickly, check for power-hungry apps running in the background. Go to Settings > Battery to see a list of apps consuming significant battery resources. You can also enable power-saving mode or adjust your phone’s display settings to conserve battery life.
5. Slow Performance: If your Samsung Android phone is running slow, try clearing the cache partition. You can do this by turning off your phone, then holding down the volume-up button, power button, and home button simultaneously until the Samsung logo appears. Use the volume buttons to navigate to “Wipe Cache Partition” and press the power button to confirm.
6. Wi-Fi Connection Issues: If you’re experiencing Wi-Fi connection issues on your Samsung Android phone, start by restarting your router and phone. If that doesn’t work, forget the Wi-Fi network on your phone and reconnect to it. You can also try changing the Wi-Fi channel on your router or updating the firmware.
Remember, these are just some of the common issues you may encounter with your Samsung Android phone. If the problem persists, don’t hesitate to reach out to Samsung’s customer support or visit an authorized service center for further assistance.
Performing a Factory Reset on a Samsung Android Phone
If you’re experiencing issues with your Samsung Android phone that seem unresolvable, performing a factory reset may be the solution. A factory reset will restore your device to its original settings, effectively wiping all the data and settings you’ve accumulated. It’s important to note that a factory reset should only be performed as a last resort, as it will erase everything on your phone, including installed apps, contacts, and personal files. Here’s how you can perform a factory reset on your Samsung Android phone:
- Back up your data: Before proceeding with a factory reset, it’s crucial to back up any important data you want to save. You can use Google Drive, Samsung Cloud, or a third-party backup app to save your contacts, photos, videos, and other files.
- Access the Settings menu: Open the Settings app on your Samsung Android phone. You can usually find the Settings icon in the app drawer or swipe down from the top of your screen and tap the gear-shaped icon in the notification panel.
- Select the Backup & Reset option: In the Settings menu, scroll down and tap on “System” or “General Management,” then select “Reset” or “Reset options.” Look for the option that says “Factory data reset” or “Reset phone.”
- Confirm the factory reset: On the next screen, you’ll see a warning that all data will be erased. Read through the information and make sure you have backed up any important data. Then, tap on “Reset” or “Erase everything” to initiate the factory reset process.
- Wait for the reset to complete: Your Samsung Android phone will now begin the factory reset process. This may take a few minutes, so be patient and avoid interrupting the process. Once the reset is complete, your phone will restart and be restored to its factory settings.
- Set up your phone: After the factory reset, you’ll need to set up your Samsung Android phone again, just like when you first got it. Follow the on-screen instructions to choose your language, connect to Wi-Fi, and sign in to your Google account. You can then restore your backed-up data and reinstall any necessary apps.
A factory reset can be a powerful solution to persistent issues with your Samsung Android phone. However, it should be used as a last resort, as it erases all data on your device. Remember to back up all important data before proceeding with a factory reset and ensure that you fully understand the consequences of this action.
Solving Battery Drain Issues on a Samsung Android Phone
Is your Samsung Android phone constantly running out of battery? Experiencing battery drain issues can be frustrating, but there are several steps you can take to address this problem. In this article, we will walk you through some troubleshooting tips and solutions to help you maximize your phone’s battery life.
1. Check for Battery-Draining Apps:
The first step in solving battery drain issues is to identify any apps that may be consuming excessive power. To do this, navigate to Settings > Battery on your Samsung Android phone. Look for apps that are draining a significant amount of battery and either uninstall them or limit their usage.
2. Adjust Screen Brightness:
Reducing the brightness of your phone’s screen can significantly improve battery life. Go to Settings > Display > Brightness and adjust the level to a lower setting that is still comfortable for your eyes. You can also enable the “Auto Brightness” feature to automatically adjust the screen brightness based on ambient lighting conditions.
3. Disable Unused Features:
Many features on your Samsung Android phone consume power even when not in use. Disable or limit features such as Wi-Fi, Bluetooth, GPS, and NFC when you are not actively using them. This will help conserve your battery and extend its overall lifespan.
4. Optimize Background Apps:
Some apps continue to run in the background even if you are not actively using them, draining your battery in the process. Open the Recent Apps screen by tapping the “Multitasking” button or swiping up from the bottom of the screen and close any unnecessary apps. You can also go to Settings > Apps and manually force stop any apps that are consuming excessive battery power.
5. Enable Power-Saving Mode:
Most Samsung Android phones come with a built-in power-saving mode that can be enabled to conserve battery life. Go to Settings > Battery > Power Saving Mode and choose between the different power-saving options available. This mode reduces the performance and limits background activities to extend your phone’s battery life.
6. Update Your Phone’s Software:
Regular software updates often include optimizations and bug fixes that can improve battery life. Make sure your Samsung Android phone is running the latest software version. Go to Settings > Software Update > Download and Install updates if available.
7. Replace Battery:
If you have tried all the above steps and are still experiencing significant battery drain, it may be time to consider replacing the battery. Contact the nearest Samsung service center or authorized retailer to get a genuine replacement battery for your phone.
By implementing these tips and solutions, you can effectively solve battery drain issues on your Samsung Android phone and enjoy extended battery life. Remember to regularly monitor your battery usage and make adjustments as needed to optimize your phone’s performance.
Fixing Software Update Problems on a Samsung Android Phone
If you own a Samsung Android phone, you may occasionally encounter software update problems. Whether it’s a failed update, an error message, or the device stuck on a particular step, these issues can be frustrating. However, there are some troubleshooting steps you can take to fix software update problems on your Samsung Android phone.
1. Check your internet connection: Before starting the software update process, ensure that you have a stable internet connection. A poor or intermittent connection can cause the update to fail or get stuck. Connect to a reliable Wi-Fi network or use mobile data if necessary.
2. Clear cache partition: Sometimes, software update issues can be resolved by clearing the cache partition on your Samsung Android phone. To do this, turn off your phone and then simultaneously press and hold the Volume Up, Power, and Home buttons. Release the buttons when the Samsung logo appears, and you see the Android system recovery menu. Use the volume buttons to navigate and select “Wipe cache partition.” Once the process is complete, select “Reboot system now.”
3. Free up storage space: Insufficient storage space can prevent your Samsung Android phone from successfully installing updates. Go to your device settings and check how much free space is available. If it’s running low, delete unnecessary files, uninstall unused apps, or move your data to an external storage device.
4. Restart your phone: Sometimes, a simple restart can resolve software update problems on a Samsung Android phone. Turn off your phone, wait for a few seconds, and then turn it back on. Try initiating the update process again and see if it completes without any issues.
5. Perform a software update via Samsung Smart Switch: If the over-the-air (OTA) update is not working, you can try updating your Samsung Android phone using Samsung Smart Switch. Install the Smart Switch software on your computer, connect your phone via USB, and follow the on-screen instructions to check for and install any available updates.
6. Reset network settings: Resetting your network settings can help fix network-related issues that may be preventing the software update from completing. To do this, go to your device settings, select “General Management,” and tap on “Reset.” Choose “Reset network settings” and confirm the action. Note that this will erase saved Wi-Fi networks and Bluetooth connections, so you’ll need to set them up again.
7. Contact Samsung support: If you have tried all the troubleshooting steps and you’re still experiencing software update problems on your Samsung Android phone, it’s time to reach out to Samsung support. They can provide further assistance, troubleshoot the issue, and guide you through the process of resolving the software update problem.
By following these steps, you can effectively fix software update problems on your Samsung Android phone. Remember to back up your data before performing any troubleshooting steps to prevent any potential data loss. Keeping your phone’s software up to date ensures you have access to the latest features, bug fixes, and security enhancements.
Mobile phones have become an integral part of our lives, and Samsung Android phones, in particular, have gained popularity for their advanced features and intuitive user interface. In this article, we explored how to answer a Samsung Android phone and provided step-by-step instructions for both incoming and outgoing calls.
By following the techniques mentioned, you can seamlessly manage your calls on a Samsung Android phone, including using the answering options, adjusting call settings, and employing helpful features like call waiting and call forwarding. Remember to stay updated with the latest software updates and optimize your phone’s performance for a smooth calling experience.
Whether you’re a new Samsung Android phone user or a seasoned one, knowing the ins and outs of answering calls can greatly enhance your mobile phone experience. Embrace the convenience and efficiency of technology by mastering the art of answering Samsung Android phones.
FAQs
Q: How do I answer a call on my Samsung Android phone?
A: Answering a call on your Samsung Android phone is easy. When your phone rings, simply swipe the green phone icon from left to right on your screen to answer the call.
Q: Can I answer a call without swiping on my Samsung Android phone?
A: Yes, you can answer a call without swiping on your Samsung Android phone. If your phone has a physical home button, you can simply press it to answer the call. Alternatively, you can enable the “Gesture call answering” feature in the phone settings. This will allow you to answer calls by raising the phone to your ear or by waving your hand over the screen.
Q: How do I use the speakerphone during a call on my Samsung Android phone?
A: To use the speakerphone during a call on your Samsung Android phone, simply tap the “Speaker” icon located on the call screen. This will route the call audio through the phone’s speaker, allowing you to have a hands-free conversation.
Q: Can I answer calls with voice commands on my Samsung Android phone?
A: Yes, you can answer calls with voice commands on your Samsung Android phone. Make sure that the “Voice control for calls” feature is enabled in the phone settings. When a call comes in, you can say “Answer” or “Accept” to answer the call without touching your phone.
Q: Is there a way to reject calls with a text message on my Samsung Android phone?
A: Yes, you can reject calls with a text message on your Samsung Android phone. When you receive an incoming call, you can swipe up on the call screen and select the “Send message” option. This will allow you to choose from a list of pre-written text messages or create a custom message to send to the caller.