
In today’s digital age, our cellphones have become an indispensable part of our lives. They serve not only as communication devices but also as portable computers that allow us to stay connected and access various resources on the go. However, there may be times when we need to connect our cellphones to our computers for various reasons, such as transferring files, performing backups, or even using them as a modem for internet access.
In this comprehensive guide, we will explore the different methods and steps to connect your cellphone to your computer effortlessly. Whether you own an Android, iPhone, or any other mobile device, we will cover all the necessary steps to establish a seamless connection and make the most out of your mobile phone’s capabilities. So, let’s dive in and discover the simple yet effective ways to connect your cellphone to your computer.
Inside This Article
- Overview
- Step 1: Check for Compatibility
- Step 2: Connect via USB Cable
- Step 3: Enable USB Debugging (Android)
- Step 4: Enable File Transfer Mode (Android)
- Step 5: Install Device Drivers (Windows)
- Step 6: Access Your Cellphone on Your Computer
- Step 7: Transfer Files between Your Cellphone and Computer
- Step 8: Safely Disconnect Your Cellphone
- Troubleshooting Tips
- Conclusion
- FAQs
Overview
Connecting your cellphone to your computer can open up a world of possibilities. Whether you want to transfer files, back up your data, or even use your cellphone as a modem, establishing a connection between these two devices is essential. In this article, we will guide you through the process of connecting your cellphone to your computer, step by step.
Before we dive into the details, it’s important to note that the exact steps may vary depending on the make and model of your cellphone, as well as the operating system running on your computer. However, the general principles we will discuss should apply to most devices.
In order to connect your cellphone to your computer, you will need a USB cable that is compatible with your cellphone. This cable is typically included when you purchase a new cellphone, but if you don’t have one, you can easily find them online or at electronics stores.
It’s also worth mentioning that some cellphones offer wireless connectivity options, such as Bluetooth or Wi-Fi, which can be used to establish a connection with your computer. However, for the purposes of this article, we will focus on the more common method of using a USB cable.
Now that we have a basic understanding of what we need, let’s proceed to the step-by-step process of connecting your cellphone to your computer.
Step 1: Check for Compatibility
Before connecting your cellphone to your computer, it is important to ensure that they are compatible with each other. This will prevent any potential issues and save you from wasting time on unsuccessful attempts.
Firstly, check the operating systems of both your cellphone and computer. If you have an Android phone, make sure you have a computer running Windows, macOS, or Linux. If you have an iPhone, ensure that you have a computer running macOS or Windows.
Additionally, check the USB ports on your computer. Most modern computers have USB 2.0 or USB 3.0 ports, which are compatible with cellphones. However, if you have an older computer with only USB 1.0 ports, it may not provide sufficient power for your cellphone or may not support data transfer.
Furthermore, make sure your cellphone is equipped with a USB port or a connector that matches the USB cable you will be using. Common USB connectors include Micro USB, USB Type-C, and Lightning (for Apple devices). Having the correct USB cable and connector is essential for establishing a successful connection.
Lastly, check if your cellphone requires any specific software or drivers to be installed on your computer. Some Android devices may require the installation of specific USB drivers, while iPhones typically do not require any additional software.
By ensuring compatibility between your cellphone and computer, you can avoid any unnecessary frustrations and ensure a smooth connection process.
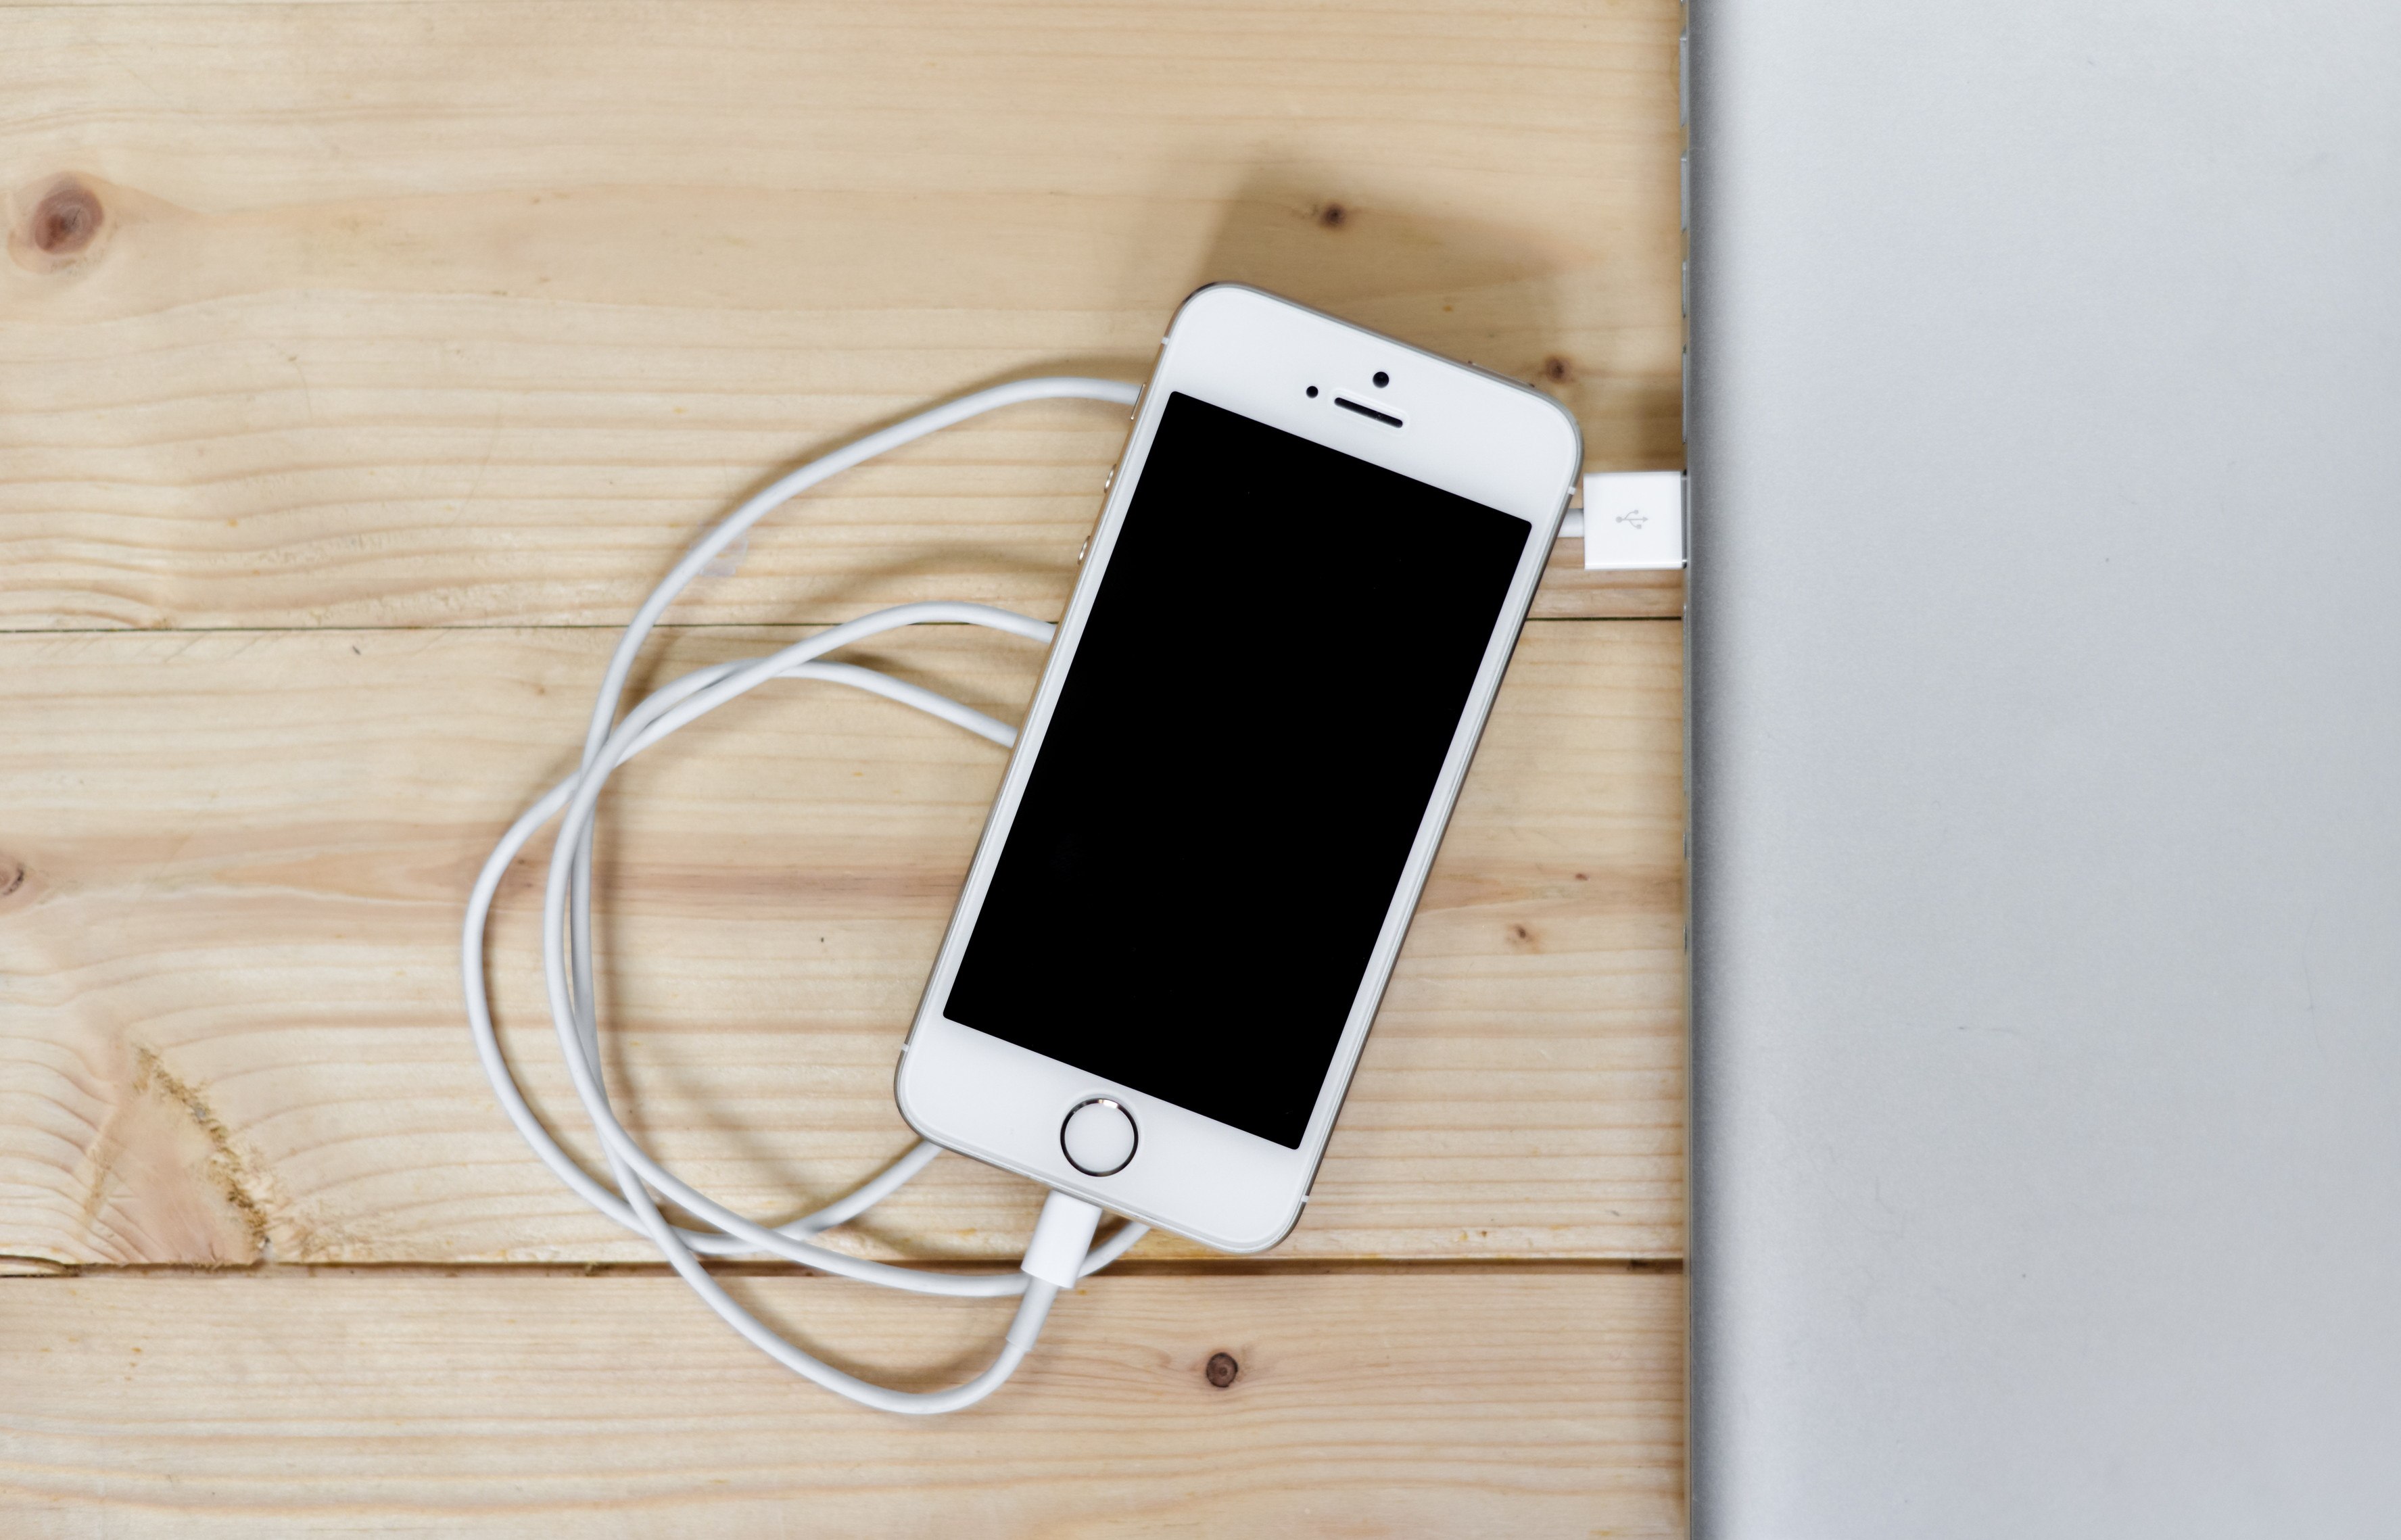
Step 2: Connect via USB Cable
Connecting your cellphone to your computer via USB cable is one of the most common and straightforward methods available. Here’s how you can do it:
- Start by making sure you have a compatible USB cable for your cellphone. Most modern smartphones use a USB Type-C or micro-USB cable. Check your cellphone’s specifications or consult the user manual to determine the type of cable needed.
- Next, locate the USB port on your cellphone. It is usually located at the bottom or side of the device. Insert one end of the USB cable into the port on your cellphone.
- Now, locate a free USB port on your computer. Plug the other end of the USB cable into the USB port on your computer.
- Once connected, your cellphone should automatically detect the USB connection and display a notification on the screen. You may need to unlock your cellphone and select a connection type.
- On your computer, you should also see a notification indicating that a new device has been connected. It may prompt you to install device drivers or open a file explorer window. Follow the on-screen instructions as needed.
- After the connection is established, you can access your cellphone’s storage on your computer. This allows you to transfer files between the two devices, such as photos, videos, documents, and more. You can simply drag and drop files or use the file explorer on your computer to navigate through your cellphone’s folders.
Connecting via USB cable provides a reliable and secure connection for transferring files between your cellphone and computer. However, keep in mind that USB cables can vary in quality, so it’s a good idea to use a cable provided by the cellphone manufacturer or a reputable brand.
If you encounter any issues with the USB connection, try using a different USB port on your computer or a different USB cable. You can also check your cellphone’s USB settings to ensure that it is set to the correct connection mode (e.g., File Transfer mode or MTP mode). Consult your cellphone’s user manual or the manufacturer’s website for specific instructions on changing USB settings.
Step 3: Enable USB Debugging (Android)
Enabling USB Debugging on your Android device is necessary to establish a connection with your computer. It allows your computer to communicate with your phone and access its system-level features. Here’s how you can enable USB Debugging:
- Go to your Android device’s Settings.
- Scroll down and tap on “About phone” or “About device.”
- Locate the “Build number” or “Software information” section.
- Tap the build number repeatedly, usually about seven times, until you see a notification that says, “You are now a developer!”
- Go back to the main Settings menu and scroll down to find the newly added “Developer options.”
- Tap on “Developer options” and look for the “USB debugging” toggle or checkbox.
- Enable USB debugging by toggling the switch or checking the box.
- When prompted, confirm your selection.
Once USB Debugging is enabled, you can now proceed with the steps to connect your Android device to your computer via USB cable.
Step 4: Enable File Transfer Mode (Android)
After connecting your Android device to your computer via USB cable, you may need to enable File Transfer Mode to access and transfer files between the two devices. Follow these steps to enable File Transfer Mode on your Android device:
- Swipe down from the top of your Android phone or tablet screen to open the notification panel.
- Look for the USB connection options and tap on it. The options may vary depending on the device manufacturer, but it is usually labeled as “USB options” or “USB preferences”.
- Select the “File Transfer” or “Transfer files” option from the available USB connection options. This will set your Android device to File Transfer Mode.
Once you have enabled File Transfer Mode, your Android device should appear as a connected device on your computer, allowing you to access its files and transfer them back and forth.
Please note that some Android devices may require additional steps or settings to enable File Transfer Mode. If you are unable to find the USB connection options or encounter any difficulties, consult your device’s user manual or the manufacturer’s support website for specific guidance.
Step 5: Install Device Drivers (Windows)
When connecting your cellphone to your computer, it is essential to have the necessary device drivers installed. Device drivers allow your computer to recognize and communicate with your cellphone effectively. Here’s how you can install device drivers on a Windows computer:
- Firstly, make sure your cellphone is connected to your computer via the USB cable.
- Next, open the Device Manager on your Windows computer. You can do this by right-clicking on the Start menu and selecting “Device Manager” from the list.
- In the Device Manager, you may see a category called “Other devices” or “Unknown devices.” This indicates that your computer is missing the necessary drivers for your cellphone.
- Right-click on the unrecognized device and select “Update driver” from the context menu.
- A new window will appear, giving you two options. Choose the option to “Search automatically for updated driver software.”
- Your computer will now search for the appropriate driver software online. If it finds a suitable driver, it will automatically download and install it.
- Once the driver installation is complete, you may need to restart your computer for the changes to take effect.
After following these steps, your computer should now have the necessary device drivers installed. This will allow it to recognize and communicate with your cellphone seamlessly. You can now proceed to access your cellphone on your computer and transfer files between the two devices.
Note: In some cases, the necessary device driver may already be installed on your computer, especially if you have recently updated your operating system or have a popular cellphone brand. However, if you encounter any issues with device recognition, installing the driver manually as described above can often resolve the problem.
Step 6: Access Your Cellphone on Your Computer
Now that you have connected your cellphone to your computer, it’s time to access it and explore the available options. Here’s how you can do it:
- Make sure your device is recognized: Once your cellphone is connected, your computer should automatically detect it. You may see a notification or hear a sound indicating that a new device has been connected. If your device is not recognized, you may need to install the required drivers (refer to Step 5).
- Open File Explorer (Windows) or Finder (Mac): On your computer, open the respective file browsing application. In Windows, you can open File Explorer by pressing the Windows key + E. On a Mac, open Finder by clicking on the Finder icon in the dock.
- Locate your cellphone: In the file browsing application, you should see your cellphone listed under “Devices” or “This PC” (Windows) or “Devices” (Mac). Click on it to access the contents of your cellphone.
- Explore the files: Once you have accessed your cellphone’s storage on your computer, you can browse through the files and folders. You can view, copy, move, delete, and organize the files, just like you would on your computer.
- Transfer files: To transfer files between your cellphone and computer, simply drag and drop the files between the folders on your cellphone and your computer. You can also use the copy and paste function or the file transfer options provided by the file browsing application.
Keep in mind that the available options and functionalities may vary depending on the operating system of your computer and the software installed on your cellphone. Also, make sure to follow the proper file handling protocols to avoid accidentally deleting or damaging important files.
Now that you know how to access your cellphone on your computer, you can easily manage and transfer files between the two devices. This can be particularly useful when you want to back up your cellphone data, transfer media files, or perform other tasks that require the seamless integration of your cellphone and computer.
Step 7: Transfer Files between Your Cellphone and Computer
Once your cellphone is connected to your computer, you can easily transfer files between the two devices. Follow these steps to transfer files:
- On your computer, navigate to the folder where you want to transfer the files.
- Open the folder on your cellphone containing the files you want to transfer.
- Select the files you want to transfer. You can do this by holding down the Ctrl key (Windows) or Command key (Mac) and clicking on the files you want to select.
- Once the files are selected, right-click on any of the selected files and choose “Copy” from the context menu.
- Go back to the folder on your computer and right-click inside the folder. Choose “Paste” from the context menu. The files will now be transferred from your cellphone to your computer.
- Depending on the size and number of files, the transfer process may take a few moments to complete. Once the transfer is finished, you can access the files on your computer.
It’s important to note that the transfer speed may vary depending on the USB connection and the size of the files being transferred. Larger files may take longer to transfer compared to smaller ones. If you encounter any issues during the file transfer, refer to the troubleshooting tips mentioned later in this article.
Remember to safely disconnect your cellphone from your computer once the file transfer is complete. This will prevent any data loss or corruption. To safely disconnect, follow the steps mentioned in the previous section.
Transferring files between your cellphone and computer is an essential task that allows you to manage your data efficiently. Whether it’s transferring photos, videos, documents, or music, the ability to seamlessly transfer files between devices is a valuable feature.
Step 8: Safely Disconnect Your Cellphone
Once you have finished transferring files and using your cellphone on your computer, it is important to safely disconnect it to prevent any data loss or damage. Follow these steps to safely disconnect your cellphone:
- Close any open files or applications on your computer that are using your cellphone.
- On your cellphone, navigate to the settings menu and look for the “USB connection” or “Connect as” option.
- Select the option to disconnect or unmount your cellphone from your computer.
- Wait for your cellphone to be safely disconnected. This may take a few seconds.
- Once your cellphone is disconnected, you can safely unplug the USB cable from your computer.
It is important to note that abruptly disconnecting your cellphone from your computer without following these steps can result in data corruption and other issues. Taking the time to safely disconnect your cellphone will help ensure that your files and data remain intact.
If you are using a Mac computer, you can also safely eject your cellphone from the Finder by clicking on the eject button next to your cellphone’s name. This will ensure that all file transfers are complete before disconnecting.
By following these steps to safely disconnect your cellphone from your computer, you can minimize the risk of data loss and ensure a smooth and hassle-free experience.
Troubleshooting Tips
Connecting your cellphone to your computer may not always go smoothly. Here are some troubleshooting tips to help you resolve any issues you may encounter:
- Check USB cable: Ensure that the USB cable you are using is in good condition and properly connected to both your cellphone and computer. Sometimes, a faulty cable can cause connection problems. Try using a different cable to see if that resolves the issue.
- Restart your devices: Sometimes, a simple restart can solve connectivity problems. Disconnect your cellphone from the computer, power off both the cellphone and computer, and then power them back on. Reconnect the devices and see if the connection is restored.
- Update device drivers: If your computer is not recognizing your cellphone, it may be because you have outdated device drivers. Visit the official website of your cellphone manufacturer to download and install the latest drivers for your specific model.
- Disconnect other USB devices: Sometimes, having multiple USB devices connected to your computer can cause conflicts. Try disconnecting any other unnecessary USB devices and reconnecting only your cellphone.
- Change USB port: If you are using a desktop computer, try connecting your cellphone to a different USB port. Sometimes, certain USB ports may have issues, and switching to a different port can solve the problem.
- Disable USB debugging: If you previously enabled USB debugging for development purposes, disabling it might help with certain connection issues. Go to the Developer options in your cellphone’s settings and turn off USB debugging.
- Restart USB settings: In some cases, restarting the USB settings on your cellphone can resolve connectivity problems. Go to the Developer options, scroll down to the USB configuration section, and toggle the USB settings off and then back on.
- Use a different computer: If none of the above solutions work, try connecting your cellphone to a different computer. This will help determine if the issue lies with your computer or your cellphone.
By following these troubleshooting tips, you should be able to overcome common connectivity issues and successfully connect your cellphone to your computer.
Conclusion
Connecting your cellphone to your computer can be a useful and convenient way to transfer files, manage your device, and even mirror your phone’s screen. Whether you need to transfer photos, sync your contacts, or simply charge your phone while working on your computer, there are multiple methods available.
By following the steps mentioned in this article, you’ll be able to establish a connection between your cellphone and computer seamlessly. Whether it’s through a USB cable, Bluetooth, Wi-Fi, or specialized software, you have plenty of options to choose from based on your preferences and device compatibility.
Remember to ensure your cellphone and computer are compatible, use trusted cables or accessories, and follow the security guidelines to protect your data. With a reliable connection established, you’ll be able to enjoy the convenience and functionality that comes with connecting your cellphone to your computer.
So go ahead, explore the possibilities, and make the most out of the connectivity options available to you. Connect your cellphone to your computer, and unlock a world of convenience and productivity.
FAQs
Q: Can I connect my cellphone to my computer?
Yes, you can connect your cellphone to your computer. There are different methods to do so, depending on the type of phone and computer you have.
Q: How can I connect my iPhone to my computer?
To connect an iPhone to your computer, you can use a USB cable and plug it into the USB port on your computer. Then, open iTunes on your computer and you should see your iPhone listed. Click on it to access and manage your iPhone’s content.
Q: What about connecting an Android phone to a computer?
For Android phones, you can usually connect them to your computer via a USB cable as well. Once connected, you can choose to transfer files by selecting the option that appears on your phone’s notification panel. Alternatively, you can also use Android File Transfer software on your computer to manage your Android phone’s content.
Q: Is it possible to connect a cellphone to a computer wirelessly?
Yes, it is possible to connect your cellphone to your computer wirelessly. One common method is to use Bluetooth technology. Ensure that both your phone and computer have Bluetooth capabilities and pair them. Once paired, you can transfer files and even mirror your phone’s screen on your computer.
Q: Can I connect my cellphone to my computer to share internet access?
Certainly! If you have a cellular data plan on your phone, you can connect it to your computer and share its internet access. This is known as tethering. You can connect via USB, Bluetooth, or even create a Wi-Fi hotspot on your phone. Simply enable the tethering option on your phone and follow the prompts to connect your computer to it.