
Are you eager to start creating videos with sound using your Android phone? You’ve come to the right place! In this comprehensive guide, we will walk you through the process of filming a video with sound using your Android device. With the advancements in technology, smartphones have become incredibly powerful multimedia tools, offering high-quality cameras and the ability to record clear, crisp audio. Whether you are a beginner or a seasoned videographer, this article will provide you with the necessary knowledge and tips to capture stunning videos with exceptional sound quality. So, grab your Android phone and let’s get started on your journey to becoming a pro at filming videos with sound!
Inside This Article
- Getting Started – Choosing the right Android phone for video recording – Understanding the microphone options available
- Setting up the Sound: Adjusting the microphone settings on your Android phone
- Using an external microphone for better sound quality
- Filming Techniques – Positioning the phone and microphone for optimal audio capture – Adjusting the volume levels during recording
- Troubleshooting Tips – Dealing with Background Noise and Unwanted Sounds – Editing and Enhancing the Audio in Post-Production
- Conclusion
- FAQs
Getting Started – Choosing the right Android phone for video recording – Understanding the microphone options available
When it comes to filming videos with sound using an Android phone, your choice of device plays a crucial role in the overall quality of the recorded audio. To ensure the best results, it’s important to select an Android phone that is well-equipped for video recording and comes with excellent microphone options.
First and foremost, look for an Android phone with high-quality audio recording capabilities. Phones with stereo microphones or even multiple microphones will capture sound more accurately and provide a more immersive audio experience for your viewers.
Additionally, consider the phone’s compatibility with external microphones. Some Android phones have dedicated microphone jacks or USB-C ports that allow you to connect and utilize external microphones. This opens up a world of possibilities in terms of sound capture, as you can choose from a wide range of professional-grade microphones to enhance the audio quality of your videos.
Another important factor to consider is the phone’s software features related to audio recording. Some Android phones have built-in audio enhancements or noise reduction algorithms that can significantly improve the sound quality. Look for phones with features like wind reduction, background noise cancellation, and equalizer settings to have more control over the audio output.
Don’t forget to check the phone’s video recording capabilities as well. Look for devices that support high-resolution video recording and have features like image stabilization, autofocus, and slow-motion recording. These features will not only enhance the visual quality of your videos but also complement the audio for a more professional result.
Lastly, consider your budget and personal preferences. Android phones come in a range of prices, so choose one that fits your budget and offers the features you deem most important for video recording. Additionally, take into account factors like the phone’s design, display quality, and overall performance to ensure a well-rounded experience.
By taking the time to research and choose the right Android phone with suitable microphone options, you can elevate the quality of your video recordings and create content that stands out. Whether you’re filming vlogs, tutorials, or creative projects, capturing clear and immersive sound is vital to engage your audience and deliver a memorable viewing experience.
Setting up the Sound: Adjusting the microphone settings on your Android phone
When it comes to filming a video with sound on your Android phone, one of the most crucial aspects is ensuring that you have the right microphone settings. Luckily, Android phones offer a variety of options for adjusting the microphone settings to optimize audio capture.
The first step is to access the audio settings on your Android phone. Depending on the phone model, you can typically find these settings under the “Sound” or “Audio” section in the phone’s settings menu. Once you locate the audio settings, you can proceed to adjust the microphone settings.
One important setting to be aware of is the microphone sensitivity or gain. This setting determines the level at which your phone’s microphone picks up sound. By adjusting the sensitivity, you can control the loudness or softness of the audio being recorded. It’s recommended to find a balance where the sound is clear and free from distortion.
Another setting to consider is the audio format. Android phones typically support various audio formats, such as AAC, MP3, or WAV. Choosing the right format can impact the quality and compatibility of the recorded sound. It’s advisable to select a format that offers a good balance between file size and audio quality.
Furthermore, many Android phones provide an option to enable noise cancellation. This feature can help reduce unwanted background noise and improve the overall audio clarity. It’s worth experimenting with this setting to see if it enhances the sound quality in your specific recording environment.
Using an external microphone for better sound quality
If you’re looking to take your audio quality to the next level, using an external microphone with your Android phone can make a significant difference. External microphones are specifically designed to capture sound with greater precision and clarity, resulting in professional-grade audio recordings.
Fortunately, most modern Android phones support the use of external microphones. To connect an external microphone, you’ll need an adapter that converts the audio input into a compatible format for your phone. These adapters are typically readily available and can be found online or at electronics stores.
Once you have the necessary adapter, simply plug in your external microphone and ensure that it is properly connected. Your Android phone should automatically detect the external microphone and adjust the audio settings accordingly. However, it’s essential to double-check the microphone settings to ensure that it is set as the input source.
Using an external microphone not only improves sound quality but also provides more flexibility in terms of positioning and distance. You can experiment with different microphone types, such as shotgun or lapel mics, to achieve the desired audio capturing effect for your videos.
Remember to test and adjust the microphone settings for optimal recording quality. Consider factors such as distance, background noise, and the type of sound you’re capturing to make necessary adjustments and achieve professional-sounding audio.
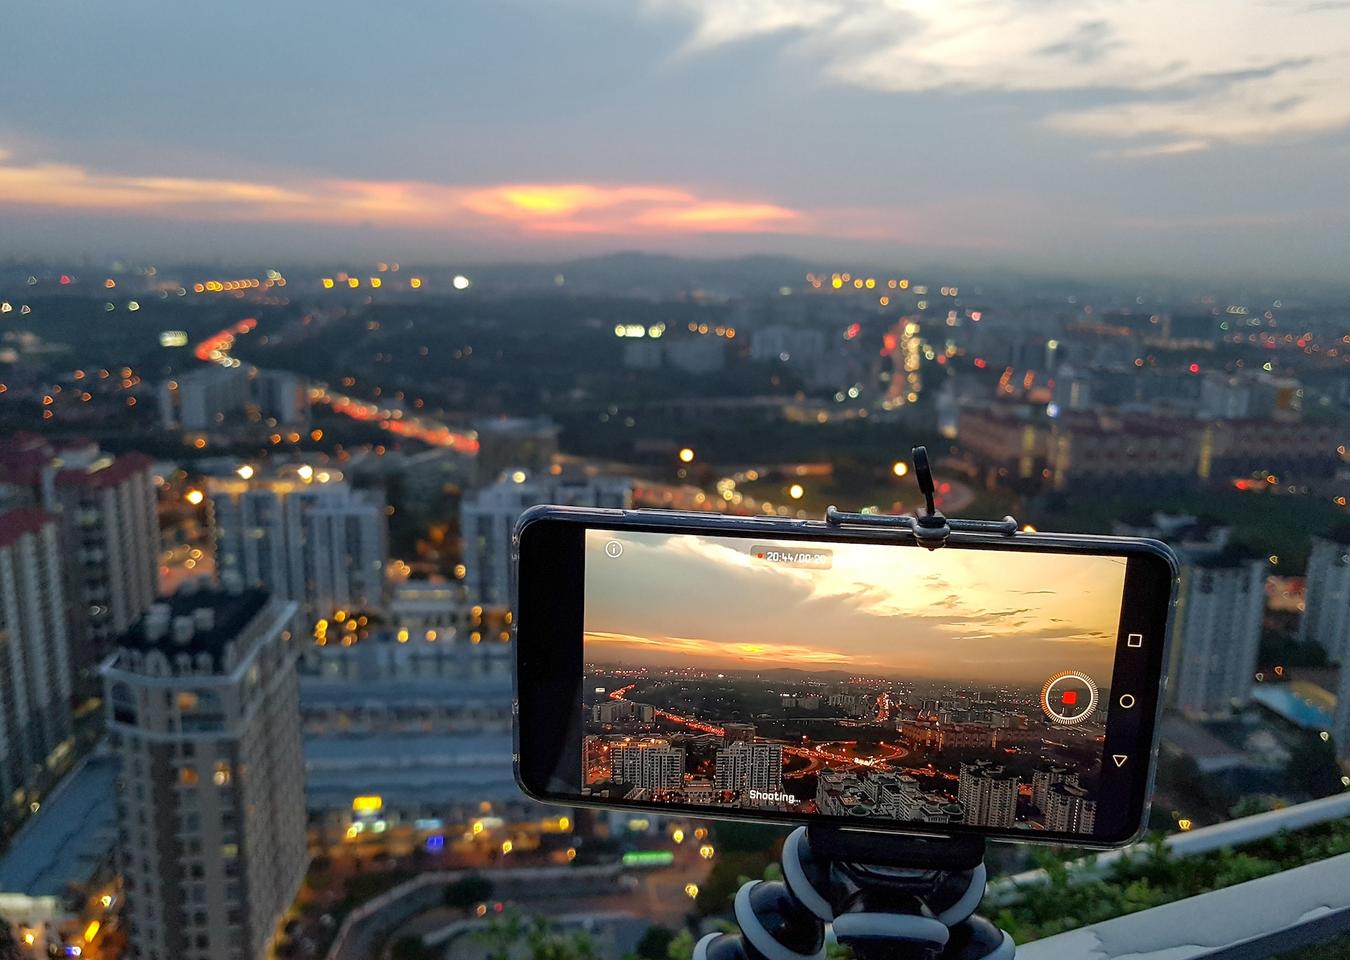
Filming Techniques – Positioning the phone and microphone for optimal audio capture – Adjusting the volume levels during recording
When it comes to filming a video with sound using an Android phone, it’s not just about the visuals; capturing high-quality audio is equally important. In this section, we will explore some essential filming techniques that will help you position your phone and microphone for optimal audio capture, as well as adjusting the volume levels during recording to ensure a seamless audio experience.
1. Positioning the phone and microphone:
When filming a video, it’s crucial to position your Android phone and microphone correctly. Start by placing your phone at a comfortable distance from your subject while ensuring that the microphone is facing towards the sound source. This will help in capturing clear and natural audio without any distortion or muffled sounds. Experiment with different positions to find the best one that suits your video recording needs.
2. Using external microphones:
While most Android phones come with built-in microphones, using an external microphone can significantly improve the audio quality of your videos. There are various types of external microphones available, such as shotgun microphones, lavalier microphones, and wireless microphones. Depending on your recording environment and the type of video, you can choose the one that best suits your needs. External microphones are particularly useful in reducing background noise and capturing clear audio from a distance.
3. Adjusting volume levels:
To ensure that your video’s audio is not too low or too loud, it’s essential to adjust the volume levels during recording. On most Android phones, you can adjust the volume using the volume buttons on the side of the phone. Keep an eye on the volume levels and make sure it’s not peaking or clipping, which can lead to distorted sound. It’s always better to start recording with a slightly lower volume and gradually increase it if necessary.
4. Monitoring audio while recording:
When filming a video with sound, it’s crucial to monitor the audio while recording to ensure that everything is captured correctly. Some Android phones allow you to monitor audio through headphones or wireless earbuds plugged into the phone’s audio jack or Bluetooth connection. By monitoring the audio, you can identify any issues or unwanted background noises in real-time and make necessary adjustments accordingly.
Remember, good audio can make or break a video. By following these filming techniques and properly positioning your phone and microphone, as well as adjusting volume levels during recording, you can ensure that your videos have clear, crisp, and professional-sounding audio, enhancing the overall quality and impact of your content.
Troubleshooting Tips – Dealing with Background Noise and Unwanted Sounds – Editing and Enhancing the Audio in Post-Production
When filming a video with sound using an Android phone, it is common to encounter background noise and unwanted sounds that can affect the overall quality of the audio. However, with a few troubleshooting tips and techniques, you can effectively deal with these issues and enhance the audio in post-production.
1. Minimizing Background Noise: To reduce background noise during filming, follow these steps:
- Choose a quiet location: Select a place with minimal ambient noise, away from busy streets, crowds, or any other sources of interference.
- Use a directional microphone: Consider using a directional microphone to focus on capturing the desired sound while minimizing background noise. Position the microphone close to the sound source for better results.
- Adjust microphone sensitivity: If your Android phone allows it, adjust the microphone sensitivity to reduce the pickup of unwanted sounds. Experiment with different settings to find the optimal balance.
2. Removing Unwanted Sounds: Occasionally, you may capture unwanted sounds that disrupt the overall audio quality. Here are a few ways to deal with them:
- Edit out the unwanted sounds: In post-production, use video editing software to trim or cut out sections where unwanted sounds occur. This will help clean up the audio and improve the overall quality.
- Use noise reduction software: If the unwanted sounds are persistent and cannot be removed by simple editing, consider using noise reduction software. These tools analyze the audio and can effectively reduce background noise without significantly affecting the desired sound.
3. Enhancing Audio in Post-Production: Once you have filmed your video, you can further enhance the audio quality with the following techniques:
- Adjust volume levels: Use video editing software to adjust the volume levels of different audio elements. Ensure that the sound is not too loud or too soft, making it comfortable for viewers to listen to.
- Apply equalization (EQ): EQ allows you to modify the frequency balance of the audio. By boosting or cutting specific frequencies, you can improve the clarity and balance of the sound.
- Add background music: Consider adding background music to your video to enhance the audio experience. Ensure that the music volume is balanced with the primary audio and complements the overall mood and tone of the video.
By implementing these troubleshooting tips and techniques, you can effectively deal with background noise, remove unwanted sounds, and enhance the audio quality of your videos filmed using an Android phone. Remember to experiment and adjust the settings until you achieve the desired results. With practice and attention to detail, you can create professional-quality videos with clear and impressive sound.
Conclusion
In conclusion, filming a video with sound using an Android phone has become more accessible and convenient than ever before. With the advancements in technology, Android phones now offer high-quality built-in microphones and powerful video recording capabilities. By following the steps outlined in this article, you can confidently capture videos with clear and immersive audio.
Remember to optimize your phone’s settings for video recording, utilize external microphones for improved sound quality, and consider investing in editing software to enhance the audio in post-production. With practice and experimentation, you can unleash the full potential of your Android phone and create professional-looking videos with great sound.
So go ahead, grab your Android phone and start capturing those special moments with pristine sound. Whether you’re documenting your travels, creating content for your vlog, or simply recording memories with loved ones, you’ll now be able to produce videos that truly stand out.
FAQs
Q: Can I film a video with sound using my Android phone?
A: Yes, absolutely! Android phones are equipped with built-in microphones that allow you to capture audio while recording videos. You can easily film videos with sound by following a few simple steps.
Q: How do I enable sound while recording a video on my Android phone?
A: To enable sound while recording a video on your Android phone, open the camera app and switch to video mode. Make sure the microphone icon is not muted or crossed out. You can usually find this option in the settings or on the screen while in video mode. If the microphone is enabled, you should be able to capture sound while recording your videos.
Q: How do I improve the sound quality in my videos?
A: To improve the sound quality in your videos, consider the following tips:
– Ensure you are in a quiet environment to minimize background noise.
– Position yourself close to the microphone for better audio clarity.
– Invest in an external microphone for enhanced sound quality.
– Adjust the audio settings on your Android phone to optimize the sound.
Q: Can I edit the sound in my videos after recording them on my Android phone?
A: Yes, you can edit the sound in your videos after recording them on your Android phone. There are various video editing apps available on the Google Play Store that offer editing features, including sound adjustments. You can trim, enhance, or even add background music to your videos to create a more polished final product.
Q: Are there any recommended video recording apps for Android phones that offer enhanced sound features?
A: Yes, there are several recommended video recording apps for Android phones that offer enhanced sound features. Some popular options include Filmic Pro, Open Camera, and Cinema FV-5. These apps provide more advanced controls over audio settings, allowing you to fine-tune the sound while capturing videos.