
Introduction:
Dealing with a broken phone charger can be frustrating, especially if you rely on your mobile device for daily communication and tasks. A malfunctioning charger can disrupt your productivity and leave you feeling disconnected from the digital world. But fear not! In this guide, we will explore some simple and effective ways to fix a broken phone charger.
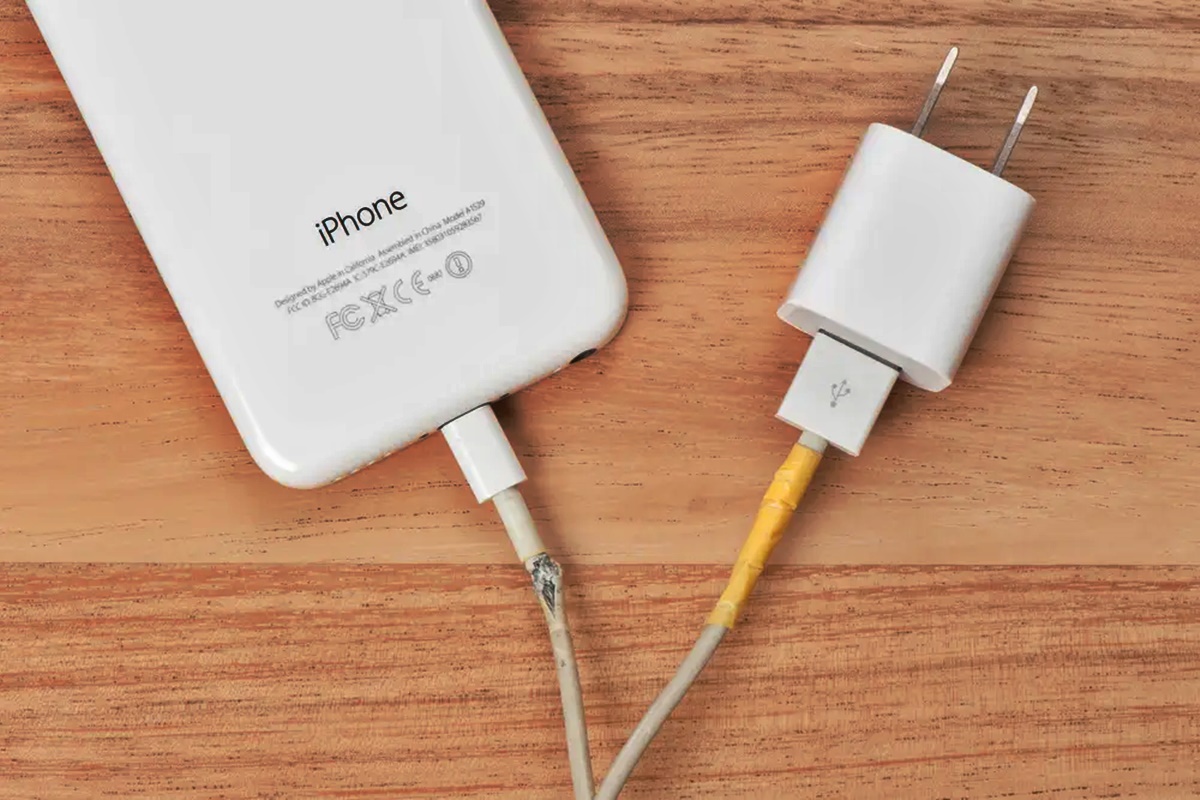
From frayed cables to loose connections, a broken charger can occur due to a variety of reasons. Instead of rushing out to buy a new one, which can be expensive, we will walk you through step-by-step instructions to troubleshoot and repair your charger, saving you time and money. So, whether you have an iPhone, Android, or any other mobile device, follow along to discover how you can get your charger up and running again in no time.
Inside This Article
- Assessing the Damage
- Cleaning the Charger
- Fixing a Loose Connection- Ensuring the charger is unplugged- Inspecting the charging port for debris or damage- Straightening bent pins or connectors
- Replacing the USB Cable
- Troubleshooting Tips: Trying different power outlets, Restarting the device, Using a wall adapter instead of a computer
- Conclusion
- FAQs
Assessing the Damage
When your phone charger stops working, the first step is to assess the damage. This will help you determine the cause of the problem and decide on the appropriate solution. Here are three important steps to follow:
1. Checking for visible physical damage: Inspect the charger for any visible signs of damage such as frayed wires, bent pins, or loose connections. If you notice any damage, it may be the reason why your charger is not working.
2. Testing the charger with another device: Connect the charger to a different device that uses the same charging port or a similar device. If the charger works on another device, it indicates that the issue lies with your phone rather than the charger.
3. Identifying the issue: If the charger does not work on any device, it is likely that the charger itself is the problem. However, if the charger works on one device but not on another, the issue may lie with the charging port of the device that is not working.
Cleaning the Charger
One common issue that can cause a charger to malfunction is a buildup of dust, debris, or other obstructions. Cleaning the charger is a simple and effective way to resolve this problem and ensure a reliable connection.
The first step in cleaning the charger is to unplug it from the power source. This will ensure your safety and prevent any potential damage to the charger or the device it’s connected to.
Once the charger is unplugged, you can begin cleaning it. Using a soft cloth or a cotton swab, gently wipe the charging port and the connector on the charger. This will help remove any accumulated dust or debris that might be obstructing the connection.
It’s important to be gentle when cleaning the charger to avoid damaging any delicate components. Avoid using harsh cleaning agents or abrasive materials that could scratch the surface of the charger or the device.
Take your time to thoroughly clean both the charging port and the connector. Pay attention to any corners or crevices where debris might be trapped. Ensure that all visible dust or particles are removed from the charger.
After cleaning the charger, you can also check for any visible signs of damage. Look out for frayed wires or bent connectors, as these can also affect the charger’s performance. If you notice any physical damage, it might be necessary to replace the charger.
Once the cleaning is complete, you can plug the charger back into the power source and test it with your device. If the charger was not functioning properly due to dust or debris, cleaning it should restore its functionality.
If, after cleaning, the charger still does not work, you can proceed to other troubleshooting steps or consider replacing the charger if necessary.
Fixing a Loose Connection- Ensuring the charger is unplugged- Inspecting the charging port for debris or damage- Straightening bent pins or connectors
One common reason for a broken phone charger is a loose connection between the charger and the device. If you notice that your charger is not providing a stable connection, it’s important to fix it to ensure proper charging. Here are three steps to fix a loose connection:
1. Ensuring the charger is unplugged: Before attempting any repairs, always make sure to unplug the charger from both the device and the power source. This step is crucial for your safety and preventing any potential electrical damage.
2. Inspecting the charging port for debris or damage: Take a close look at the charging port on your device. Sometimes, debris can accumulate in the port, preventing a secure connection. Gently use a small tool, such as a toothpick, to remove any dust, lint, or other obstructions. Be careful not to damage the port during the process.
3. Straightening bent pins or connectors: If the charging port looks clean and free of debris, the issue may be with the pins or connectors. Look carefully at the charging cable’s USB end to see if any pins or connectors appear bent, misaligned, or damaged. If you notice any issues, you can attempt to straighten them using a small tool, like a needle or fine tweezers. Be gentle and take your time to avoid causing further damage.
By following these steps, you can address a loose connection between your phone charger and device. However, it’s important to note that not all charger issues can be fixed by these simple steps. If you still experience problems after attempting these fixes, it may be time to consider purchasing a new charger.
Replacing the USB Cable
When your phone charger is broken, one of the possible culprits could be a faulty USB cable. In this case, the best solution is to replace the cable with a new one. Here are the steps to follow:
Identifying the type of USB cable needed: Before purchasing a new cable, you need to determine the specific type of USB cable that is compatible with your device. There are different types such as USB-A, USB-B, USB-C, and Lightning cables. Check the charging port on your device and consult the user manual to find out the appropriate cable type.
Purchasing a new cable from a reputable source: Once you know the type of USB cable you need, it’s time to find a reliable source to purchase it from. Look for reputable electronics stores, online retailers, or even the manufacturer’s official website to ensure you get a genuine and high-quality cable.
Connecting the new cable to the charger and device: After acquiring the new USB cable, unplug the broken cable from the charger and device. Then, plug the new cable into the charger’s USB port and connect the other end to your device’s charging port. Ensure that the connection is secure and snug to prevent any power or data transfer issues.
Remember, it’s important to handle the USB cable with care and avoid any unnecessary bending or twisting to prolong its lifespan. By following these steps, you can easily replace a damaged USB cable and have your phone charger up and running again.
Troubleshooting Tips: Trying different power outlets, Restarting the device, Using a wall adapter instead of a computer
Experiencing a broken phone charger can undoubtedly be frustrating, but before you rush out to replace it, there are a few troubleshooting tips worth trying. Often, the issue lies not with the charger itself but with external factors that can be easily resolved. By following these troubleshooting tips, you may be able to fix your broken phone charger without spending any money or waiting for a new one.
1. Trying different power outlets: Sometimes, the problem could be a faulty power outlet. It’s worth attempting to charge your device using a different outlet to rule out this possibility. Plug your charger into another socket and see if it starts working. If it does, then the issue lies with the power outlet and not the charger.
2. Restarting the device: Many electrical glitches can be resolved by simply restarting your device. By turning it off and then on again, you allow the internal system to reset, which can potentially fix the issue. After restarting, plug the charger back in and see if it starts working properly.
3. Using a wall adapter instead of a computer: If you typically charge your phone using your computer’s USB port, try using a wall adapter instead. Sometimes, computers may not be providing enough power through the USB port, leading to charging issues. By using a wall adapter, which typically offers a higher power output, you can circumvent this problem and potentially fix your broken charger.
Remember, troubleshooting tips may not always solve the problem, especially if the charger itself is physically damaged. However, trying these steps before seeking a new charger can save you time and money. If none of these troubleshooting tips work, it may be necessary to replace your broken phone charger with a new one.
Conclusion
In conclusion, a broken phone charger can be a frustrating inconvenience. However, with the right knowledge and tools, you can easily fix it on your own. By following the steps outlined in this article, you can save yourself the time and money of buying a new charger.
Remember to start by identifying the issue, whether it’s a frayed cable, a loose connection, or a broken plug. Then, gather the necessary materials such as electrical tape, a soldering iron, or a replacement plug, depending on the problem. Take your time and follow the instructions carefully to ensure a successful repair.
By taking matters into your own hands, you not only save money but also gain a sense of accomplishment in being able to fix your phone charger. However, if you feel unsure or uncomfortable with the repair process, it’s always best to seek professional help or invest in a new charger.
Remember to prioritize safety throughout the process and be gentle with the delicate components of the charger. With a little patience and effort, you can get your broken phone charger back in working condition and avoid the frustration of a dead battery or the need to constantly borrow chargers from others.
FAQs
1. Why is my phone charger not working?
There could be several reasons why your phone charger is not working. It could be due to a faulty charging cable, a damaged connector, or a problem with the charging port on your phone. It is also possible that the charger itself is defective. Try using a different charger or cable to identify the issue.
2. Can I fix my broken phone charger?
In some cases, you may be able to fix a broken phone charger. If the problem lies with the cable, you can try repositioning or repairing any loose or frayed wires. However, if the issue is with the charger itself, it is recommended to replace it with a new one to avoid any potential safety hazards.
3. How can I repair a frayed phone charger cable?
To repair a frayed phone charger cable, you can use electrical tape to secure any exposed wires. Start by wrapping the tape around the damaged area, ensuring that all the wires are covered and there are no exposed connections. Be sure to wrap the tape tightly to provide proper insulation.
4. What should I do if my phone charger is not charging my phone?
If your phone charger is not charging your phone, try the following troubleshooting steps:
– Ensure that the charger is properly connected to both your phone and the power source.
– Clean the charging port on your phone to remove any dust or debris that may be obstructing the connection.
– Restart your phone and try charging again.
– If none of these steps work, try using a different charging cable or charger.
5. Is it safe to use a third-party phone charger?
While third-party phone chargers are generally considered safe to use, it is important to exercise caution and purchase chargers from reputable manufacturers. Poor quality or counterfeit chargers can pose a risk of overheating, damaging your phone, or even causing electrical hazards. Always look for chargers with proper certification to ensure safety.