
Welcome to our comprehensive guide on how to flip photos on an iPhone. With the rise of social media and the increasing popularity of sharing photos online, it’s important to know how to edit and enhance your pictures right from the palm of your hand. Flipping photos can be a useful tool for correcting orientation issues, creating mirrored effects, or simply adding a creative touch to your images. In this article, we will walk you through the step-by-step process of flipping photos on your iPhone, whether you’re using the built-in Photos app or third-party editing tools. Get ready to unlock the full potential of your iPhone’s camera and take your photography skills to the next level!
Inside This Article
- How To Flip Photos On iPhone- Flipping Photos Using the Edit Feature: – Accessing the Edit feature – Flipping the photo horizontally – Flipping the photo vertically – Saving or discarding the changes
- Flipping Photos Using a Third-Party App:
- Using the Photos App to Rotate and Flip:
- Utilizing Additional Features for Advanced Photo Editing:
- Conclusion
- FAQs
How To Flip Photos On iPhone- Flipping Photos Using the Edit Feature: – Accessing the Edit feature – Flipping the photo horizontally – Flipping the photo vertically – Saving or discarding the changes
If you want to flip photos on your iPhone, you’re in luck! The iPhone offers a convenient and user-friendly way to edit and enhance your photos, including the ability to flip them. By utilizing the built-in “Edit” feature, you can easily flip your photos horizontally or vertically. Here’s a step-by-step guide on how to flip photos on your iPhone using the Edit feature:
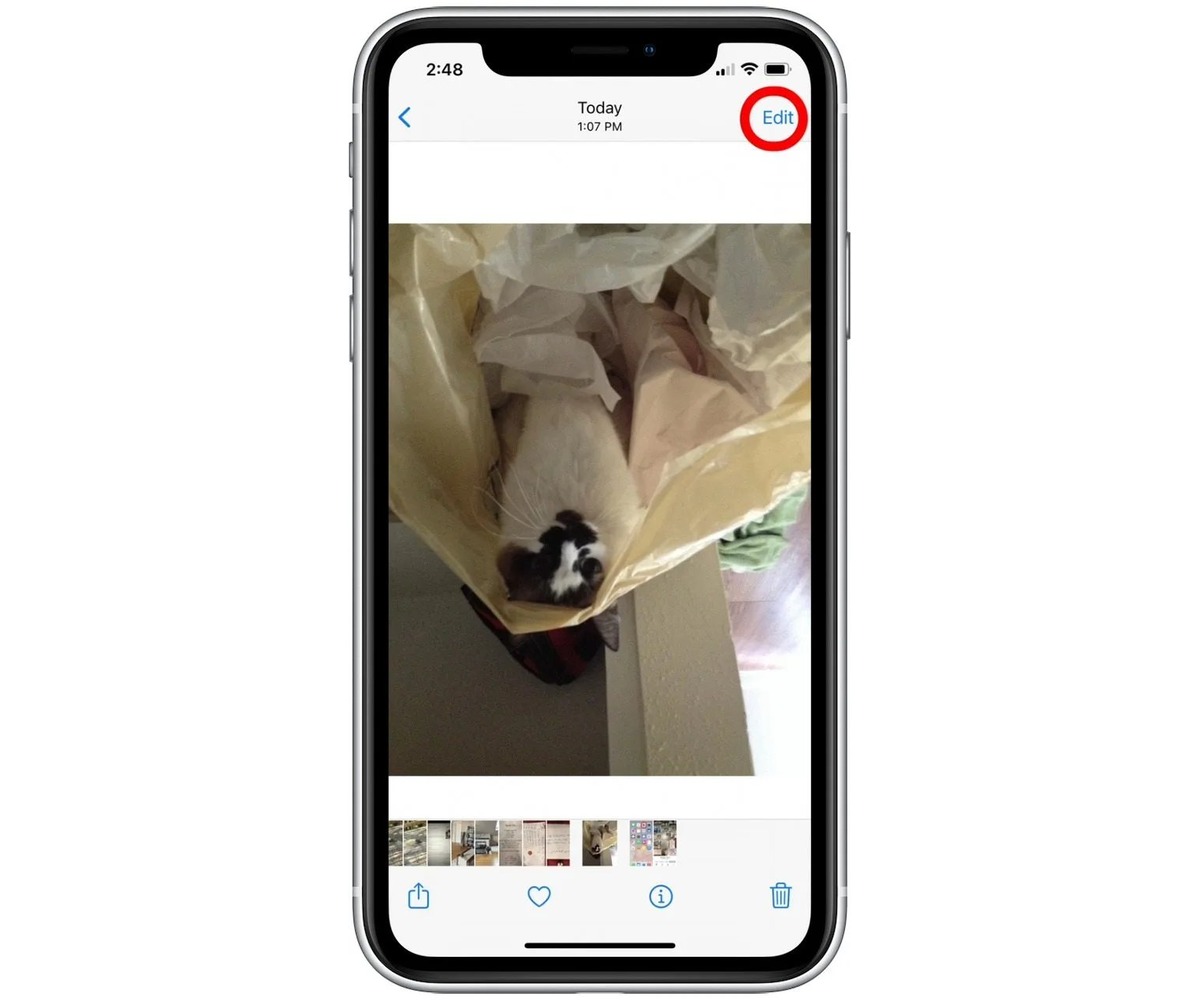
1. Accessing the Edit feature: Open the “Photos” app on your iPhone and navigate to the photo you want to flip. Tap on the photo to open it in full screen. Once the photo is open, tap on the “Edit” button located in the top-right corner of the screen.
2. Flipping the photo horizontally: In the Edit mode, you will see various editing options at the bottom of the screen. Look for the “Crop & Rotate” icon, which looks like a square with a curved arrow. Tap on this icon and select the “Flip” option. You will have the choice to flip the photo horizontally or vertically. Tap on the horizontal flip icon, which is represented by a double-headed arrow pointing left and right.
3. Flipping the photo vertically: If you want to flip the photo vertically instead, tap on the vertical flip icon. This icon is represented by a double-headed arrow pointing up and down. You can experiment with both horizontal and vertical flipping to see which orientation suits your photo best.
4. Saving or discarding the changes: After you have flipped the photo to your desired orientation, tap on the “Done” button located in the bottom-right corner of the screen. You will be prompted to either save the changes or discard them. If you’re satisfied with the flipped photo, tap on “Save.” Otherwise, tap on “Discard Changes” to revert back to the original photo.
That’s it! You have successfully flipped your photo using the Edit feature on your iPhone. Remember, this feature allows you to make quick and easy adjustments to your photos, so don’t be afraid to experiment and explore other editing options as well.
Flipping Photos Using a Third-Party App:
When it comes to flipping photos on your iPhone, using a reliable third-party photo editing app can provide you with more options and control over the editing process. Here are the steps to follow:
- Choosing a reliable photo editing app: There are several photo editing apps available on the App Store, so it’s important to choose one that suits your needs and preferences. Look for apps with good reviews, a user-friendly interface, and a wide range of editing tools.
- Importing the photo into the app: Once you have installed and opened the chosen app, you will need to import the photo you want to flip. Most apps allow you to import photos from your Camera Roll or iCloud storage.
- Flipping the photo using the app’s tools: After you have imported the photo, locate the editing tools within the app. Look for options like “Flip” or “Mirror” to access the photo flipping feature. Tap on the appropriate tool to flip the photo horizontally or vertically.
- Exporting and saving the edited photo: Once you are satisfied with the flipped photo, find the option to save or export the edited image. Most apps allow you to save the photo directly to your Camera Roll or share it on various social media platforms.
Using a third-party app can give you more flexibility in flipping photos on your iPhone. Remember to explore the features and tools available in the app to enhance your editing experience.
Using the Photos App to Rotate and Flip:
When it comes to rotating and flipping photos on your iPhone, the default Photos app offers a convenient and user-friendly solution. Let’s explore the steps involved in using the Photos app to rotate and flip your images.
To begin, open the Photos app on your iPhone. This can typically be found on your home screen or in your app library. Once you’ve opened the app, navigate to the album or folder where the photo you want to edit is located.
Next, select the specific photo that you wish to flip. You can do this by tapping on the photo to open it in full screen or by accessing the album’s thumbnail view and selecting the desired image.
Once you have the photo open, you’ll need to access the editing options. Look for the editing tools icon, which is represented by three horizontal lines or circles intersecting each other. Tap on this icon to access the editing menu.
Within the editing menu, you’ll find various options for adjusting and enhancing your photo. To flip the photo, look for either a rotation or flip tool. The exact placement and appearance of these tools may vary depending on your iPhone model and iOS version.
If you locate a rotation tool, tap on it to rotate the photo in 90-degree increments. Keep tapping until the photo is flipped in the desired orientation. On the other hand, if you find a flip tool, simply tap on it to horizontally or vertically flip the photo.
Once you’ve made the necessary adjustments, be sure to save your changes. Look for a save or apply button within the editing menu and tap on it to preserve the flipped photo.
It’s important to note that the Photos app does not offer a dedicated flip tool for flipping a photo in both directions simultaneously. If you require this functionality or if you need more advanced editing features, you may want to consider using a third-party photo editing app, as mentioned in a previous section.
By utilizing the Photos app’s built-in editing options, you can easily rotate and flip photos on your iPhone. Whether you need to correct the orientation of a sideways shot or create a mirrored image for artistic purposes, the Photos app provides a convenient and accessible solution for editing your photos.
Utilizing Additional Features for Advanced Photo Editing:
When it comes to advanced photo editing, the possibilities are endless. In addition to flipping your photos, you can explore a wide range of editing options to enhance and transform your images.
One of the key features is using filters and effects to add a creative touch to your flipped photo. Whether you want to make it look vintage, apply a monochrome filter, or add a dramatic effect, there are numerous options available. Experiment with different filters and effects until you achieve the desired look.
Adjusting the brightness, saturation, and other settings can also play a significant role in improving the quality of your flipped photo. You can make the colors more vibrant, bring out the details in the shadows, or even adjust the exposure to create the perfect balance. By fine-tuning these settings, you have the power to transform an ordinary image into something extraordinary.
Another feature to experiment with is cropping and resizing. Sometimes, flipping a photo may reveal unwanted elements or alter the composition. By using the cropping tool, you can remove any distractions and focus on the key elements of the image. Additionally, resizing allows you to adjust the dimensions of the photo, making it more suitable for sharing on different platforms or printing.
As you explore these advanced features, remember to save your work along the way. It is essential to preserve your edited photo so that you can revert to the original or make further adjustments if needed. Most photo editing apps offer options to save your final image in various file formats, including JPEG and PNG.
Take your time to discover the full potential of these advanced editing features. Don’t be afraid to experiment and unleash your creativity. With the right tools and a little practice, you can turn your flipped photos into stunning pieces of art.
Conclusion
We hope this article has provided you with valuable insights and step-by-step instructions on how to easily flip photos on your iPhone. Whether you want to fix orientation issues, create unique artistic effects, or just have fun experimenting with your images, flipping photos is a simple yet powerful feature that can greatly enhance your editing capabilities.
By following the methods and techniques outlined in this article, you can quickly and effortlessly flip photos on your iPhone without the need for third-party apps or complicated software. Remember to experiment and explore different creative possibilities to add an extra touch of uniqueness to your photos.
So go ahead, unleash your creativity, and start flipping those photos effortlessly with your iPhone!
FAQs
Q: Can you flip photos on an iPhone?
Yes, you can flip photos on an iPhone. There are multiple ways to achieve this, whether you want to flip a photo horizontally or vertically.
Q: How can I flip a photo horizontally on my iPhone?
To flip a photo horizontally on your iPhone, you can use the built-in editing tools in the Photos app. Simply open the photo, tap on Edit, then tap on the Crop and Rotate icon (a square with an arrow circling it). From there, tap on the Flip icon (two overlapping squares) to horizontally flip the photo. Tap Done to save the changes.
Q: Is it possible to flip a photo vertically on iPhone?
Yes, flipping a photo vertically on an iPhone is also possible. The process is similar to flipping a photo horizontally. Open the photo in the Photos app, tap Edit, and then tap the Crop and Rotate icon. Next, tap the Flip icon and choose the vertical flip option to flip the photo vertically. Finally, tap Done to save the changes.
Q: Can I undo the flip if I change my mind?
Yes, you can easily undo a flip if you change your mind. When you’re still in the editing mode of the Photos app, you can simply tap on the Flip icon again to revert the photo back to its original orientation. Once you’re done, tap Done to save the changes or Cancel if you don’t want to apply any modifications.
Q: Are there any third-party apps available for flipping photos on iPhone?
Yes, there are several third-party apps available on the App Store that offer more advanced photo editing features, including the ability to flip photos. Some popular options include Adobe Photoshop Express, Snapseed, and VSCO. These apps offer a variety of editing tools, including the ability to flip photos both horizontally and vertically. Simply search for these apps in the App Store and follow the instructions provided to flip your photos.