
Are you tired of searching for ways to transfer your iCloud photos to your phone? Look no further! In this article, we will provide you with a comprehensive guide on how to get your iCloud photos onto your phone effortlessly. Whether you are an iPhone or Android user, we have got you covered. With the increasing popularity of storing photos on the cloud, it is essential to have a seamless and efficient method of accessing and downloading those precious memories onto your device. Say goodbye to the frustration of not being able to view or share your iCloud photos on your phone. Follow our step-by-step instructions and you’ll be enjoying your favorite photos in no time! So let’s dive right in and discover how to make the magic happen.
Inside This Article
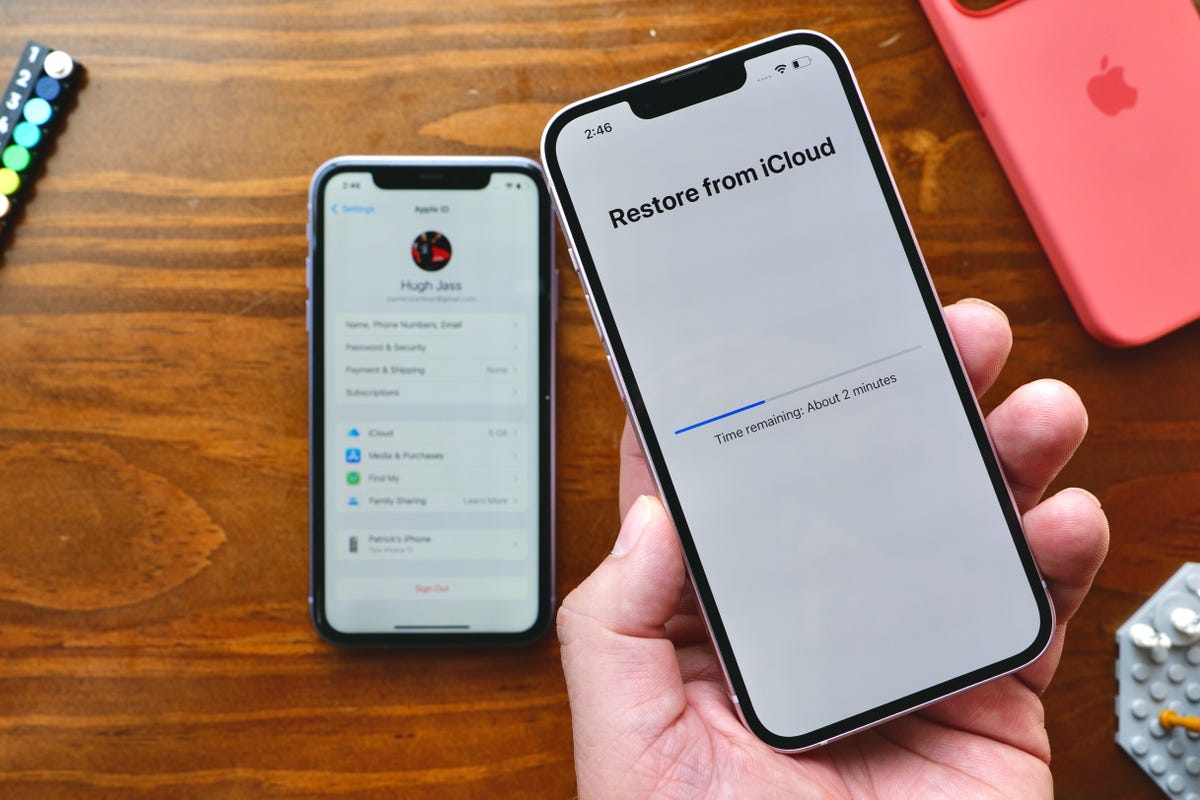
- How To Get iCloud Photos Onto Phone
- Check iCloud Settings – Enable iCloud Photos on your iPhone – Check if you have enough storage on iCloud
- Sync iCloud Photos to iPhone
- Download iCloud Photos to iPhone
- Use iCloud Photo Library
- Conclusion
- FAQs
How To Get iCloud Photos Onto Phone
Having access to your iCloud photos on your phone is a convenient way to keep your memories close at hand. Whether you want to sync iCloud photos with your iPhone or download them directly to your device, there are a few different methods you can use. In this article, we’ll walk you through the steps to get your iCloud photos onto your phone.
Sync iCloud Photos with iPhone
If you want to automatically sync your iCloud photos with your iPhone, you can enable the iCloud Photo Library feature. Follow these steps to do so:
- Open the Settings app on your iPhone
- Tap on your name at the top of the screen
- Select “iCloud” and then “Photos”
- Toggle on the “iCloud Photo Library” option
- Wait for your photos to sync with your device
By turning on the iCloud Photo Library, all the photos and videos you have stored in iCloud will be available on your iPhone. This feature automatically uploads new photos and videos you take with your iPhone to iCloud and syncs them with your other Apple devices.
Download iCloud Photos on iPhone
If you don’t want to enable the iCloud Photo Library or prefer to download specific photos to your iPhone, you can do so using the iCloud website. Here’s how:
- Go to the iCloud website on your iPhone’s browser and sign in with your Apple ID
- Tap on “Photos” to access your iCloud photo library
- Browse through your albums or use the search bar to find specific photos
- Tap on the photo you want to download
- On the photo preview screen, tap the “Share” button
- Select “Save Image” to download the photo to your iPhone
This method allows you to download individual photos from your iCloud library and store them directly on your iPhone. It’s useful when you only need to access a few specific photos instead of syncing your entire library.
Use iCloud Photo Library on iPhone
Another way to get your iCloud photos onto your iPhone is by enabling the iCloud Photo Library feature and accessing them through the Photos app. Follow these steps:
- Open the Settings app on your iPhone
- Tap on your name at the top of the screen
- Select “iCloud” and then “Photos”
- Toggle on the “iCloud Photo Library” and “Download and Keep Originals” options
- Open the Photos app and wait for your iCloud photos to sync
With the iCloud Photo Library enabled, you can access your entire iCloud photo library directly through the Photos app on your iPhone. This method gives you seamless access to all your photos, eliminating the need to manually download specific pictures.
Transfer iCloud Photos to iPhone from Computer
If you have your iCloud photos stored on your computer but want to transfer them to your iPhone, you can use iTunes. Here’s how:
- Connect your iPhone to your computer using a USB cable
- Open iTunes and select your device
- Click on the “Photos” tab
- Check the box next to “Sync Photos”
- Choose the folder containing your iCloud photos on your computer
- Click “Apply” to start the syncing process
By syncing your iCloud photos with iTunes, you can transfer your entire photo library or selected albums to your iPhone. This method is useful if you have a large collection of photos on your computer and want to transfer them to your iPhone for easy access on the go.
Now that you know how to get your iCloud photos onto your phone, you can enjoy your favorite memories wherever you go. Whether you prefer syncing, downloading, or transferring, these methods will help you access your iCloud photos on your iPhone with ease.
Check iCloud Settings – Enable iCloud Photos on your iPhone – Check if you have enough storage on iCloud
When it comes to getting your iCloud photos onto your phone, the first step is to make sure that your iCloud settings are properly configured. Here are a few key checkpoints to consider:
Enable iCloud Photos on your iPhone: To start syncing your iCloud photos with your iPhone, you’ll need to ensure that the iCloud Photos feature is enabled. Here’s how to do it:
- Go to the Settings app on your iPhone.
- Select your name at the top of the screen.
- Tap on “iCloud”.
- Scroll down and tap on “Photos”.
- Toggle the switch next to “iCloud Photos” to the ON position.
Check if you have enough storage on iCloud: Another important factor to consider is the amount of storage space available on your iCloud account. If you don’t have enough storage, you may encounter issues when trying to sync your iCloud photos with your iPhone. To check your iCloud storage:
- Go to the Settings app on your iPhone.
- Select your name at the top of the screen.
- Tap on “iCloud”.
- Tap on “Manage Storage”.
- You can see your available storage under “Available” in the “Storage” section.
It’s important to note that if you’re running low on iCloud storage, you may need to upgrade your plan to accommodate your photo library. You can easily upgrade your iCloud storage plan by tapping on “Change Storage Plan” in the “iCloud” settings.
By ensuring that your iCloud settings are properly configured, enabling iCloud Photos on your iPhone, and checking your available storage on iCloud, you’ll be one step closer to getting your iCloud photos onto your phone and enjoying them wherever you go.
Sync iCloud Photos to iPhone
Syncing your iCloud photos to your iPhone is a convenient way to access and enjoy your photo library on the go. By following a few simple steps, you can have all your precious memories right at your fingertips. Here’s how you can sync your iCloud photos to your iPhone:
Connect to a stable Wi-Fi network
The first step to syncing your iCloud photos to your iPhone is to ensure that you are connected to a stable Wi-Fi network. This is important because iCloud syncing requires a decent internet connection to transfer the photos effectively and efficiently.
Open the iCloud Photos app on your iPhone
Once you are connected to a stable Wi-Fi network, open the iCloud Photos app on your iPhone. This app allows you to access and manage your iCloud photo library. You can find the app on your home screen or by searching for it in the app drawer.
Wait for the sync to complete
After launching the iCloud Photos app, sit back and let the magic happen. Your iPhone will automatically start syncing with your iCloud photo library. Depending on the size of your photo library and the speed of your internet connection, this process may take a few minutes or longer. Make sure your iPhone is connected to a power source to prevent any interruptions.
Once the sync is complete, you can access your iCloud photos directly from the Photos app on your iPhone. All your albums, memories, and favorite moments will be available for you to view, share, and enjoy wherever you go.
By following these simple steps, you can easily sync your iCloud photos to your iPhone and have all your cherished memories conveniently accessible at any time. Whether it’s reliving a special event or showing off your photography skills to friends and family, having your iCloud photos on your iPhone allows you to capture and share moments with ease.
Download iCloud Photos to iPhone
Are you looking to transfer your iCloud photos onto your iPhone? It’s a straightforward process that you can do in a few simple steps. In this guide, we will show you how to download your iCloud photos directly to your iPhone without any hassle. Let’s get started!
1. Open the Photos app on your iPhone. Look for the app icon, which resembles a colorful flower, and tap on it to launch the app.
2. Tap on the “Albums” tab located at the bottom of the screen. This tab will display all the available albums on your iPhone, including the iCloud albums.
3. Locate and select the “All Photos” album. This album contains all the photos that are stored in your iCloud account.
4. Tap on the “Select” button, located at the top-right corner of the screen. This action will enable you to choose the specific photos that you want to download onto your iPhone.
5. Choose the photos you want to download. A blue checkmark will appear on the selected photos. You can select multiple photos by tapping on each one individually.
6. After selecting the desired photos, tap on the Share button, represented by a square with an upward arrow. This button is located at the bottom-left corner of the screen.
7. From the Share menu, select the “Save Image” option. This action will download the selected photos from your iCloud account and save them directly onto your iPhone’s camera roll.
That’s it! You have successfully downloaded your iCloud photos onto your iPhone. Now you can access and enjoy your photos without requiring an active internet connection.
Note: If you have a large number of photos to download, it may take some time to complete the process. Additionally, ensure that you have enough available storage on your iPhone to accommodate the downloaded photos.
We hope this guide has been helpful to you. Enjoy capturing and reliving your precious memories on your iPhone!
Use iCloud Photo Library
To access and sync your iCloud photos on your iPhone, you can make use of the iCloud Photo Library feature. With iCloud Photo Library enabled, your entire photo library will be automatically uploaded and stored in the cloud, accessible from any device connected to your iCloud account. Here’s how you can make the most of iCloud Photo Library on your iPhone:
Enable iCloud Photo Library on your iPhone
To start using iCloud Photo Library, you need to enable it on your iPhone. Here’s how:
- On your iPhone, go to Settings.
- Tap on your name at the top.
- Select iCloud.
- Scroll down and tap on Photos.
- Toggle the switch next to “iCloud Photo Library” to turn it on.
Once enabled, all your photos will begin syncing with iCloud, so make sure you have a stable internet connection for the initial upload.
Wait for your entire photo library to upload
After enabling iCloud Photo Library, your iPhone will start uploading your entire photo library to iCloud. The time it takes for the upload to complete depends on the size of your library and your internet connection speed. Make sure your iPhone is connected to Wi-Fi and has enough battery power to complete the upload process.
You can monitor the progress of the upload by going to Settings, tapping on your name, selecting iCloud, and then going to Photos. Look for the “Uploading X items” message, where X represents the number of photos left to upload.
Access iCloud photos on your iPhone through the Photos app
Once your entire photo library is uploaded to iCloud, you can easily access your iCloud photos on your iPhone using the Photos app. Here’s how:
- Open the Photos app on your iPhone.
- Select the “Photos” tab at the bottom of the screen.
- You will now see all your iCloud photos organized by date.
- You can also tap on “Albums” at the bottom to view your photos organized by albums or other categories.
- To view a specific photo, simply tap on it. You can then swipe left or right to go through your photos.
With iCloud Photo Library and the Photos app, you have easy access to your entire photo library on your iPhone. You can also edit, share, and download photos to your device whenever you like.
Remember to keep your iPhone connected to Wi-Fi and ensure enough storage space for the synced iCloud photos on your device.
In conclusion, getting iCloud photos onto your phone is a simple and convenient process that allows you to access and enjoy your precious memories on the go. Whether you use an iPhone or an Android device, there are multiple methods available to achieve this. From using the iCloud Photos app to downloading the photos directly from the iCloud website, you have the flexibility to choose the method that suits you best.
Remember to ensure that you have a stable internet connection and enough storage space on your phone before initiating the download process. By following the step-by-step instructions and utilizing the helpful tips and tricks outlined in this article, you can effortlessly transfer your iCloud photos to your phone and cherish those precious moments anytime, anywhere.
FAQs
1. Can I transfer iCloud photos to my phone?
Yes, you can transfer iCloud photos to your phone. There are a few different methods you can use depending on the type of device you have.
2. How do I download iCloud photos to my iPhone?
To download iCloud photos to your iPhone, follow these steps:
- Make sure you are connected to Wi-Fi.
- Open the Photos app on your iPhone.
- Tap on the “Photos” tab at the bottom of the screen.
- Scroll through your photo library and find the photo you want to download.
- Tap on the photo to open it.
- Tap on the Share button (the square with an arrow pointing up).
- Choose the “Save Image” option from the share menu.
3. How can I transfer iCloud photos to my Android phone?
Transferring iCloud photos to an Android phone is a bit more complicated, but still possible. One way to do this is by using a third-party app designed for photo transfer, such as Google Photos or Dropbox. You can download the iCloud photos to your computer and then upload them to the app, which can then be accessed on your Android phone.
4. How do I download iCloud photos to my Mac?
To download iCloud photos to your Mac, follow these steps:
- Open the Photos app on your Mac.
- Click on the “Photos” tab in the top navigation bar to access your iCloud library.
- Select the photos you want to download.
- Click on the “File” menu and select “Export” or choose the “Export” button in the toolbar.
- Choose the format and location where you want to save the photos, then click “Export”.
5. How do I transfer iCloud photos to my PC?
To transfer iCloud photos to your PC, you can use the iCloud for Windows app. Here’s how:
- Download and install the iCloud for Windows app on your PC.
- Open the app and sign in with your Apple ID.
- Select the “Photos” option and click on the “Options” button next to it.
- Check the box next to “Download new photos and videos to my PC”.
- Click on the “Apply” button to save the changes.
- Open File Explorer on your PC and you will see a new “iCloud Photos” folder.
- You can now access and transfer your iCloud photos to your PC.