
People have always been debating the superiority of either iOS or Android systems almost since they first started getting released onto devices. From features to accessibility, privacy, and security, it is almost always a toss-up to see which one is the best. But, there is one thing that Android has that is better than iOS — that is in how easy it is to transfer files between devices and computers. At least, it was until the release of the macOS Catalina update, which let Mac users skip iTunes completely. Regardless of that, it’s still a hard process if you want to transfer files from iPhone to Windows PCs and Macs. Thankfully, this guide is here to help you with that!
How to Transfer Files from iPhone Using iTunes
Whether you’re using the Mac or PC version of iTunes, its interface is the same, and they both work the same way. The only difference you’ll have is how you’ll connect your iPhone to it. For that, you have two options, using your Wi-Fi or using a USB cable. If you’re having problems connecting your iPhone to iTunes, you may want to look at our guide to solving why your iPhone won’t connect to iTunes.
1. Using Wi-Fi
You can turn on Wi-Fi syncing for your iPhone and a computer. This lets your phone automatically sync selected files and folders to your Mac or PC using iTunes.
To turn on this feature:
1. Connect your iPhone to your computer with a USB cable.
2. Go to the iTunes app and click the iPhone button on the top left under the iTunes window.
3. Choose Summary.
4. Click on “Sync with this device over Wi-Fi.”
5. Press Apply.
2. Using a USB Cable
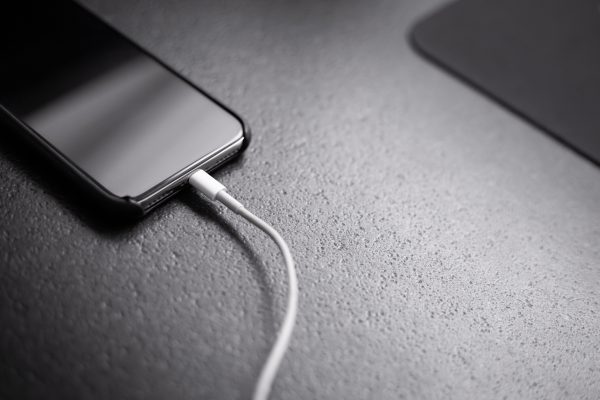
This option is best for transferring big files, but transfer times depend on how what your USB type is. We have a list of fixes available for when your USB isn’t recognized or won’t show up.
To transfer files from iPhones using a USB cable, do the following:
1. Make sure your iTunes is up to date.
2. Connect your iPhone to your PC or Mac using the USB Cable.
3. Open up iTunes and select your iPhone on the list.
4. Choose “File Sharing.”
5. When Transferring from iPhone:
Select the files you want to transfer, then pick “Save to,” and choose where to save the file and confirm.
6. When Transferring To iPhone:
Select “Add,” click the files you want to transfer, and then confirm.
How to Transfer Files from iPhone Without iTunes
As we said, prior to the Catalina update, Mac users also had to go through iTunes to transfer files from their iPhones onto their Macs. With the update, though, only PC users have to go through that problem. iTunes isn’t the only way to transfer files from iPhones since you can use a lot of different apps, including AirDrop and Google Photos depending on what type of file you’re looking to transfer.
1. Using Finder
This option is only available to Mac users on macOS Catalina and newer macOS versions. Using Finder is similar to how Android phones connect with PC using USB cables.
1. Connect your iPhone with your Mac using a USB cable.
2. Select your iPhone from Finder’s sidebar. You may have to click “Trust” if this is your first time connecting this device to your Mac.
3. Drag the files you want to copy between the iPhone window and the iPhone app window.
4. Confirm if your files were transferred.
2. Using Email
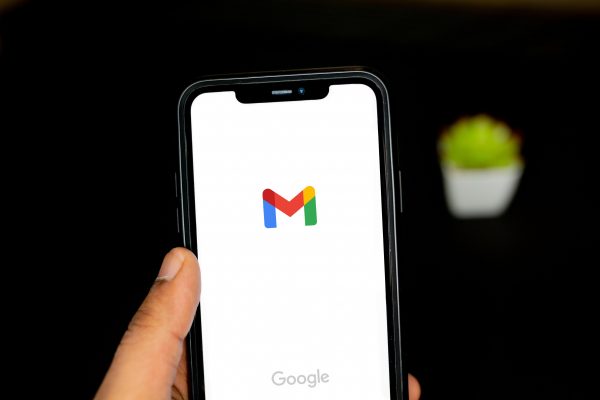
You can transfer smaller files like documents and photos from your iPhone by attaching them to emails. This works for any type of email apps like Gmail or Yahoo Mail or on a browser. Those using Gmail can also export their iPhone’s contact list from your device.
1. Start up your email app or go to its web-based browser, and log in.
3. Compose a new email and attach the files you want to transfer. Most emails have size file limits and can only handle smaller files.
4. Either save the email as a draft or send it to your own email.
5. Open your email on your Mac or PC, then download the file from your saved or sent folder.
3. Using Bluetooth
You can use Bluetooth to transfer files from iPhone to Windows PC so long as your computer has a Bluetooth adapter. Those wanting to transfer files wirelessly to Mac should look at the guide for AirDrop instead.
1. Turn on Bluetooth on your iPhone and PC. Make sure your iPhone is set to “Discoverable.”
2. Right-click on the Bluetooth icon on your desktop taskbar.
3. Hover over “Add Bluetooth Device,” then select all.
4. Select your iPhone on the list and input the one-time passcode (OTP) if it requests it.
5. You can now select which files you want to transfer from your iPhone to your Windows PC via Bluetooth.
4. Using AirDrop
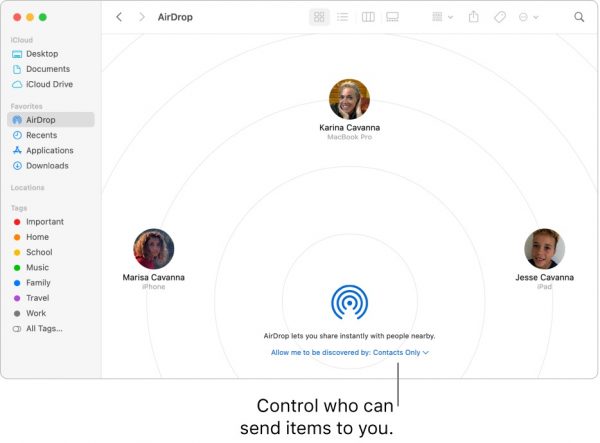
AirDrop is similar to connecting to Bluetooth for iPhones when it comes to Mac. It uses proprietary Apple technology to transfer files via Bluetooth or Wi-Fi to paired devices or those on the same network. We have a more in-depth guide to using AirDrop from iPhone to Mac. There’s also a guide on using AirDrop for Android to iPhone file transfers available.
1. Turn on Bluetooth or Wi-Fi of the devices you want to connect.
2. Click the share button for the files you want to transfer.
3. Select your Mac computer from the list and confirm the transfer on your iPhone.
4. Confirm the transfer on your Mac and accept the sent file.
5. Wait for the transfer to finish.
5. Using Google Photos
This method of transferring files from an iPhone only works for photos and not for documents and other files. You can use this method for both Mac and PC so long as you have a Gmail account. To start, you first have to download the Google Photos app from the Apple App Store. Google only offers limited space for most free users (15GB as of August 2021) shared between all apps on one Google Account. Keep this in mind when keeping your Google Photos synced to your iPhone.
1. On your iPhone, open the Google Photos app and select your profile icon.
2. Choose Settings and then turn on “Back up & Sync.”
3. On your computer, head to the Google Photos website and log in.
4. Select the photo you want to transfer, then click the three dots on the top-right corner and press download.
6. Using iCloud
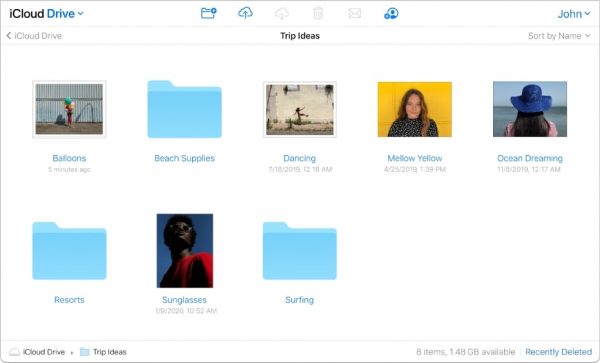
iCloud is Apple’s product to compete against cloud storage services like Dropbox, OneDrive, and Google Drive. You can’t just use it to transfer files from iPhone to your computers (PC and Mac), but you can use it to transfer contacts between iPhones and to backup your Apple devices. iCloud accounts are linked to your Apple ID, which you’ll need when doing this option.
1. Make sure your iCloud is turned on by going to your Settings page and sliding on the iCloud button.
2. Sign in to iCloud.com using the Apple ID you’ve registered on your iPhone.
3. Select your iPhone and the category your file is under (photos, videos, documents, etc.).
4. Choose your files and select “Download,” and decide if you want to keep your original files on the iPhone or not.
5. Your chosen files should have been saved onto your computer in the iCloud default save location.
7. Using Dropbox
Dropbox is third-party cloud storage that works similarly to iCloud. To use this option to transfer files from iPhone, you must first have a Dropbox account, which you can activate using a Google Account or an Apple ID. You should also download, install, and activate the Dropbox app on your iPhone.
1. Load up the Dropbox app.
2. Open the Dropbox folder you’d like to upload your chosen files to.
3. Press the big plus sign at the bottom of the screen.
4. Choose upload files and locate the files you want to upload.
5. Select the files and click upload.
6. Log in to the Dropbox website and download your files to your computer.
8. Using OneDrive
Another route you can take to transfer files from iPhone to PC or Mac is to use OneDrive. This cloud storage service by Microsoft is available for both Android and iOS platforms. To use this option, you have to have download, install, and activate the OneDrive app on your iPhone and create an account using a Microsoft Account.
1. Open the OneDrive app.
2. Click the blue plus button at the top of the screen.
3. Choose the file/s you want to transfer from your iPhone.
4. Select done and confirm your decision.
5. Log in to the OneDrive website.
6. Download the files you want to transfer.
For a hands-on tutorial, we have a guide on how to use OneDrive to back up your files.
9. Using Other Third-Party Apps

There is a myriad of other third-party apps that offer to help you transfer files from iPhone to PCs and Macs. Among these are AnyTrans from iMobie, EaseUS’s MobiMover, and Wondershare’s Dr.Fone. If the previous options didn’t work for you, these apps may be worth a try at your own risk.
Final Words
With the release of the iPhone 12 series and new iOS versions, there may be more or even fewer ways you can transfer your files from iPhones to other devices due to alterations and system limitations. Don’t worry, though, since we’ll keep this article up to date with what is current with iPhone systems.
It is worth noting that Apple’s iPhone user guide for devices on iOS 14 only officially advises five ways to transfer your files from iPhone to Mac or PC. These options are using email, using AirDrop, using iCloud, connecting using Wi-Fi, and using a USB cable.
Before you go, we do have other how-to articles that you might want to check out to help you out with your iPhone. Those looking to transfer contacts between Android and iPhone devices should look to our articles on transferring them from Android to iPhone and from iPhone to Android as well.