
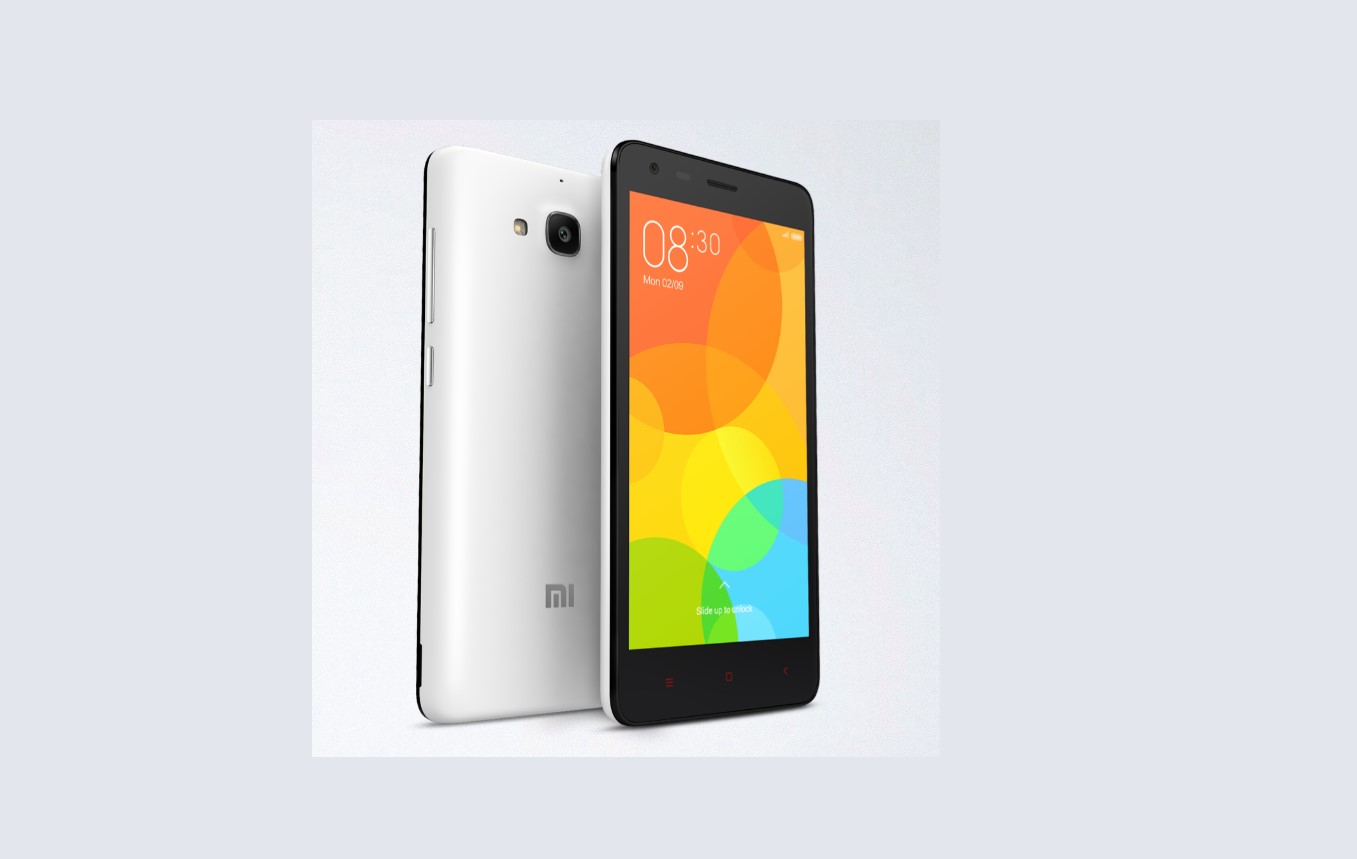
Are you looking to unlock the full potential of your Redmi 2 smartphone? One way to do so is by installing a custom recovery. Custom recovery allows you to perform advanced tasks like flashing custom ROMs, creating and restoring backups, and even tweaking system settings.
In this article, we will guide you on how to install a custom recovery on your Redmi 2. Whether you’re an Android enthusiast or simply want to explore new possibilities with your device, having a custom recovery will open doors to endless customizations and optimizations.
So, grab your Redmi 2 and let’s dive into the world of custom recoveries and take control of your device like never before!
Inside This Article
Requirements
Before you proceed with installing a custom recovery on your Redmi 2, there are a few requirements you need to fulfill:
1. Unlock Bootloader: To install a custom recovery, you must have an unlocked bootloader on your Redmi 2. Unlocking the bootloader allows you to make modifications to the device’s firmware and install custom recoveries.
2. USB Cable: Make sure you have a working USB cable to connect your Redmi 2 to your computer. This will be used to transfer files and send commands during the process.
3. ADB and Fastboot: Install ADB (Android Debug Bridge) and Fastboot on your computer. These tools are essential for communicating with your Redmi 2 and transferring files between the device and your PC.
4. Custom Recovery Image: Download the custom recovery image that you want to install on your Redmi 2. Popular options include TWRP (Team Win Recovery Project) and CWM (ClockworkMod Recovery).
5. Backup: It is highly recommended to create a backup of your Redmi 2 before proceeding with the installation. This will ensure that you can restore your device to its previous state in case anything goes wrong during the process.
Once you have all these requirements fulfilled, you are ready to move on to the next step of installing a custom recovery on your Redmi 2.
Method 1: Using TWRP Recovery Installer
If you’re looking to install a custom recovery on your Redmi 2 smartphone, using the TWRP Recovery Installer method is a convenient and efficient option. The Team Win Recovery Project (TWRP) is a popular custom recovery that provides advanced features and a user-friendly interface.
Before you begin the installation process, make sure you have the following requirements:
- A computer with the necessary drivers installed for your Redmi 2
- A USB cable to connect your phone to the computer
- TWRP Recovery image file specific to your Redmi 2 model
- A backup of your device data (recommended)
Now, let’s dive into the step-by-step process of installing TWRP Recovery using the TWRP Recovery Installer:
- Start by downloading the TWRP Recovery image file specific to your Redmi 2 model from the official TWRP website.
- Once the download is complete, move the TWRP Recovery image file to the root directory of your phone’s internal storage.
- Now, power off your Redmi 2 and boot it into the Fastboot mode by pressing the Power button and Volume Down button simultaneously.
- Connect your phone to the computer using the USB cable.
- Open a command prompt or terminal window on your computer and navigate to the location where you have the ADB and Fastboot tools installed.
- Type the command
adb devicesto check if your device is detected by the computer. If it shows your device’s serial number, you’re good to go. - Next, enter the following command to boot your Redmi 2 into TWRP Recovery mode:
fastboot boot twrp.img - Your Redmi 2 will now boot into TWRP Recovery mode, and you can use the touch screen or volume buttons to navigate through the available options.
- Once in TWRP Recovery, it’s recommended to create a backup of your current firmware to avoid any potential data loss during future modifications.
- You can now proceed to install custom ROMs, mods, or perform other advanced actions using TWRP Recovery on your Redmi 2.
With the TWRP Recovery Installer method, you can easily install TWRP Recovery on your Redmi 2 without the need for complex processes or unlocking the bootloader. TWRP Recovery provides a convenient way to customize and enhance your Android experience on your Redmi 2 device.
Method 2: Using Fastboot
If you prefer a more advanced method to install a custom recovery on your Redmi 2, you can use the Fastboot method. Fastboot is a powerful tool that allows you to control your device from a computer to perform various tasks, such as flashing firmware, installing recoveries, and more.
Here’s a step-by-step guide on how to use Fastboot to install a custom recovery:
- Enable USB Debugging: First, you need to enable USB debugging on your Redmi 2. Go to Settings > About Phone > tap on MIUI version several times until you see the “You are now a developer!” message. Then, go back to Settings > Additional Settings > Developer Options > enable USB Debugging.
- Unlock the Bootloader: In order to use Fastboot, you need to unlock the bootloader of your device. Visit the official MIUI Unlock website and follow the instructions there to unlock the bootloader. Note that this process will wipe all the data on your device, so make sure to back up your important files.
- Download Fastboot Tools: Download the Fastboot Tools package for your operating system (Windows, macOS, or Linux) and extract it to a convenient location on your computer.
- Download the Custom Recovery: Find a compatible custom recovery for your Redmi 2. Popular recoveries like TWRP (Team Win Recovery Project) are commonly used. Download the recovery image file (.img) for your device and place it in the same folder as the Fastboot Tools.
- Boot into Fastboot Mode: Power off your Redmi 2 completely. Then, press and hold the Volume Down button and the Power button together until you see the Fastboot logo on the screen. This indicates that your device is in Fastboot mode.
- Connect your Redmi 2 to the Computer: Use a USB cable to connect your Redmi 2 to the computer. Make sure USB debugging is still enabled.
- Open a Command Prompt/Terminal Window: Navigate to the folder where you extracted the Fastboot Tools. Right-click in the folder and select “Open Command Prompt” or “Open Terminal” depending on your operating system.
- Flash the Custom Recovery: In the Command Prompt/Terminal window, type the command:
fastboot flash recovery recovery.img(replace “recovery.img” with the actual name of the recovery image file you downloaded). Press Enter to execute the command. - Reboot into Recovery: After the flashing process is complete, type the command:
fastboot reboot recovery. Your Redmi 2 will reboot directly into the custom recovery. - Verify Installation: Once in the custom recovery, you can use the volume buttons to navigate and the power button to select options. Make sure to explore the recovery and ensure that it is functioning properly on your device.
That’s it! You have successfully installed a custom recovery on your Redmi 2 using the Fastboot method. Now you can use the recovery to install custom ROMs, make system backups, and perform other advanced tasks to enhance the capabilities of your device.
Conclusion
Installing a custom recovery on your Redmi 2 can greatly enhance your smartphone experience. It gives you the freedom to explore a wide range of custom ROMs, perform advanced system tweaks, and take full control of your device. The process may seem daunting at first, but by following the steps outlined in this guide, you can successfully install a custom recovery in no time.
Remember, before proceeding with any modifications, it’s essential to back up your data to avoid any potential loss. Additionally, make sure to read through the instructions thoroughly and understand the risks involved. If you encounter any difficulties, consult online forums or seek assistance from the Xiaomi community.
With a custom recovery in place, you can unlock the full potential of your Redmi 2 and enjoy a personalized and optimized Android experience. So go ahead, take the plunge, and embark on your journey to customization and innovation.
FAQs
Q: Why should I consider installing a custom recovery on my Redmi 2?
A: Installing a custom recovery on your Redmi 2 opens up a world of possibilities. It allows you to flash custom ROMs, take complete backups of your device, and perform advanced system modifications that are not possible with the stock recovery. It also enhances the device’s overall performance and provides additional features and functionalities.
Q: Is it safe to install a custom recovery on my Redmi 2?
A: Installing a custom recovery involves some level of risk, as it requires unlocking the bootloader and modifying the device’s system partition. However, if you follow the instructions carefully and use reputable recovery software, the process can be relatively safe. It is important to note that any modifications done to your device may void its warranty, so it’s advisable to proceed with caution.
Q: How can I install a custom recovery on my Redmi 2?
A: To install a custom recovery on your Redmi 2, you will need to unlock the bootloader first. Once the bootloader is unlocked, you can then flash a custom recovery image using fastboot commands or a dedicated flashing tool. It is crucial to have the necessary firmware and compatible recovery image for your specific device variant. Step-by-step instructions and available tools can be found on various online forums and developer websites specialized in Redmi devices.
Q: Which custom recovery should I choose for my Redmi 2?
A: There are several custom recovery options available for the Redmi 2, such as TWRP (Team Win Recovery Project) and CWM (ClockworkMod). Both of these recoveries are popular and widely supported by the Android developer community. It is recommended to do some research and seek recommendations from experienced users or forums to determine which recovery best suits your needs and is compatible with your device.
Q: Can I revert back to the stock recovery after installing a custom recovery?
A: Yes, it is possible to revert back to the stock recovery on your Redmi 2. However, the process may vary depending on the method used to install the custom recovery. Most custom recovery installations provide an option to backup and restore the stock recovery image. By following the instructions carefully, you can restore the stock recovery and undo any modifications made to your device. It’s always recommended to create a full backup before making any changes to your device’s recovery system.