
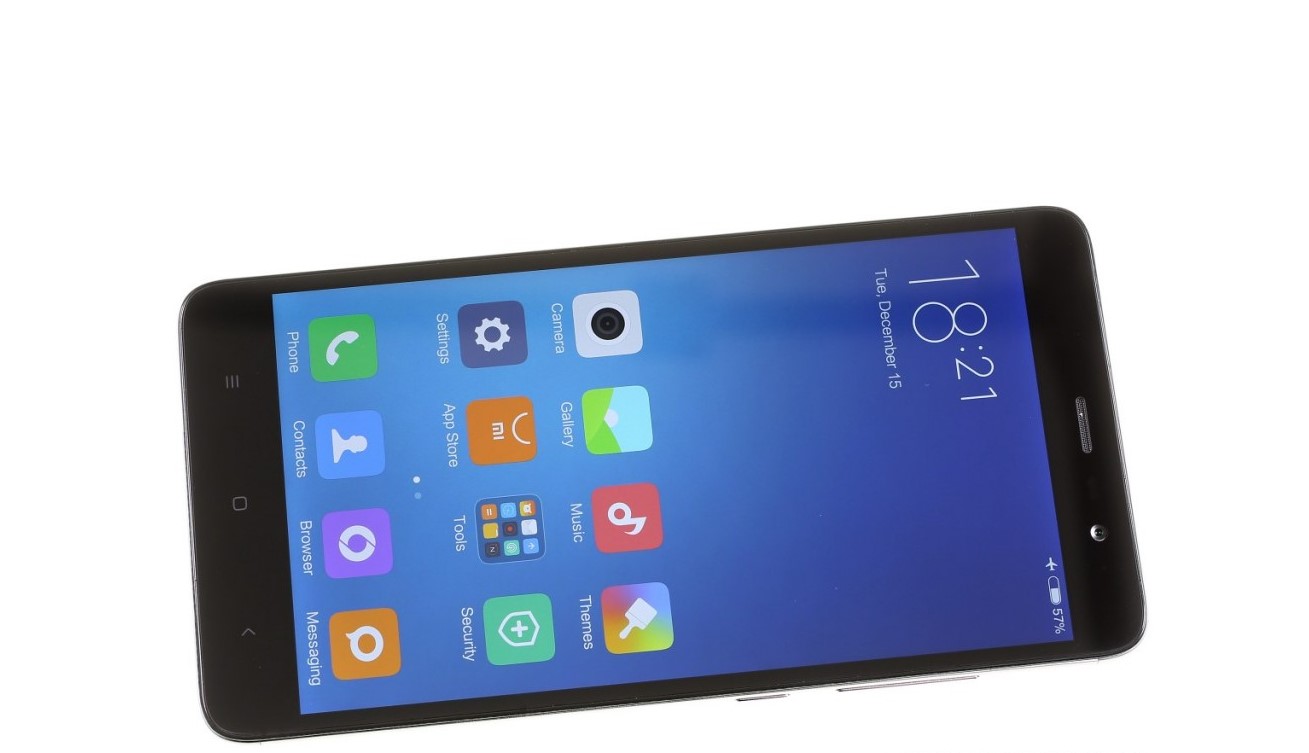
Are you a proud owner of a Redmi Note 3 and looking to install a custom ROM on it? Look no further, as we have got you covered with a step-by-step guide on how to install a ROM on your Redmi Note 3. Custom ROMs offer a plethora of benefits, including improved performance, additional features, and the ability to customize your device. Whether you are a seasoned Android user or just getting started, this article will walk you through the process in a simple and easy-to-follow manner. So, let’s dive in and unlock the full potential of your Redmi Note 3 by installing a custom ROM!
Inside This Article
- Prerequisites
- Step 1: Unlocking the Bootloader
- Step 2: Installing TWRP Recovery
- Step 3: Downloading the ROM
- Step 4: Transferring the ROM to Your Redmi Note 3
- Step 5: Installing the ROM Using TWRP Recovery
- Step 6: Wiping Cache and Dalvik Cache
- Step 7: Rebooting Your Redmi Note 3
- Conclusion
- FAQs
Prerequisites
Before you begin the process of installing a custom ROM on your Redmi Note 3, there are a few prerequisites you need to fulfill. These requirements will make the installation process smoother and ensure a successful ROM installation. Here are the prerequisites you should have:
- Charge your phone: Make sure your Redmi Note 3 has a sufficient battery level before you start the installation process. It is recommended to have at least 50% battery to avoid any interruptions during the installation.
- Backup your data: Installing a custom ROM involves wiping your device’s data. It is important to back up all your important files, contacts, photos, and any other data you don’t want to lose. You can use various backup apps available on the Google Play Store or manually transfer your files to a computer.
- Enable USB debugging: To connect your Redmi Note 3 to your computer and transfer files, you need to enable USB debugging. Go to the phone’s settings, scroll down to “About phone,” tap on it, and then tap on “MIUI version” multiple times until you see the message “You are now a developer.” Then, go back to settings, tap on “Additional settings,” and select “Developer options.” Enable USB debugging from there.
- Download the necessary files: Before you start the installation, make sure you have downloaded the required files. This includes the custom ROM you want to install and the TWRP recovery file specific to your Redmi Note 3 model. Ensure that you download these files from trusted sources to avoid any security risks.
- Install necessary software: To connect your Redmi Note 3 to your computer and transfer files, you will need to have the appropriate USB drivers installed on your computer. Additionally, you will need ADB and Fastboot tools to execute commands during the installation process. Instructions for installing these tools can be found online and vary depending on your operating system.
By fulfilling these prerequisites, you will be well-prepared to install a custom ROM on your Redmi Note 3. These steps will help ensure a smooth and successful installation process, allowing you to enjoy the benefits of a personalized and optimized operating system on your device.
Step 1: Unlocking the Bootloader
Unlocking the bootloader is the first step towards installing a custom ROM on your Redmi Note 3. The bootloader is a piece of software that loads the operating system when you power on your phone. By default, the bootloader on most Android devices, including the Redmi Note 3, is locked by the manufacturer. This means that you cannot install custom ROMs or make any system-level changes.
Unlocking the bootloader is a fairly simple process, but it is important to note that doing so will void your warranty. Additionally, unlocking the bootloader will wipe all the data on your device, so it is vital to back up any important files or data before proceeding.
To unlock the bootloader on your Redmi Note 3, follow these steps:
- Enable Developer Options on your Redmi Note 3. To do this, go to Settings, scroll down to About Phone, and tap on the MIUI version several times until you see a message saying “You are now a developer!”
- Go back to the main Settings menu and scroll down to Additional Settings.
- Tap on Developer Options and toggle the switch to enable it.
- Scroll down to find the option “Mi Unlock Status” and tap on it.
- On the Mi Unlock Status screen, tap on “Add account and device” and follow the on-screen instructions to add your Mi account and link your device to it.
- Once your device is linked to your Mi account, wait for a minimum of 168 hours (7 days) for the bootloader unlocking process to be authorized by Xiaomi. This waiting period is a security measure implemented by Xiaomi to prevent unauthorized access to your device.
- After the waiting period, go back to the Mi Unlock Status screen and tap on “Unlock Now.”
- Follow the on-screen instructions to unlock the bootloader. This process will wipe all the data on your device, so make sure you have backed up everything important beforehand.
After following these steps, the bootloader on your Redmi Note 3 will be unlocked, allowing you to proceed with installing a custom ROM. Unlocking the bootloader grants you more control over your device and opens up a world of customization options.
Step 2: Installing TWRP Recovery
Installing TWRP Recovery is an essential step in the process of installing a custom ROM on your Redmi Note 3. TWRP (Team Win Recovery Project) is a custom recovery software that allows you to perform various tasks and modifications on your device’s system. It provides a touch-based interface that simplifies the process of flashing custom ROMs, making backups, and performing other advanced operations.
To install TWRP Recovery on your Redmi Note 3, follow the step-by-step instructions below:
- Download the TWRP Recovery file specific to your Redmi Note 3 model from a reliable source. Make sure to download the latest version available to ensure compatibility and access to the latest features and bug fixes.
- Once the TWRP Recovery file is downloaded, connect your Redmi Note 3 to your computer using a USB cable.
- Boot your Redmi Note 3 into Fastboot Mode. You can do this by turning off your device and then pressing and holding the Volume Down and Power buttons simultaneously until the Fastboot logo appears on the screen.
- Open a command prompt or terminal window on your computer and navigate to the folder where you have downloaded the TWRP Recovery file.
- In the command prompt or terminal window, type the following command to flash TWRP Recovery onto your Redmi Note 3:
fastboot flash recovery twrp.img(replacetwrp.imgwith the actual name of the TWRP Recovery file). - Wait for the flashing process to complete. Once it’s done, you will see a success message in the command prompt or terminal window.
- Now, use the volume keys on your Redmi Note 3 to navigate and the power button to select the “Recovery” option. This will boot your device into TWRP Recovery.
Congratulations! You have successfully installed TWRP Recovery on your Redmi Note 3. This custom recovery software opens up a world of possibilities for customizing and optimizing your device. You can now proceed to the next step of installing a custom ROM to further enhance your Redmi Note 3’s performance and features.
Step 3: Downloading the ROM
Once you have unlocked the bootloader and installed TWRP recovery on your Redmi Note 3, it’s time to download the ROM that you want to install. The ROM is essentially the customized version of the Android operating system that will replace the stock firmware on your device. Here is a step-by-step guide on how to download the ROM:
1. Start by researching and selecting a reputable source for ROM downloads. There are several websites and forums that offer ROMs for various devices. Make sure to choose one that is trustworthy and has positive user reviews.
2. Visit the website and navigate to the Redmi Note 3 ROM section. Look for ROMs that are compatible with your specific device variant and model.
3. Read the description and user comments to ensure that the ROM is stable, bug-free, and meets your requirements. It’s also a good idea to check if the ROM is regularly updated to keep up with the latest Android versions.
4. Click on the download button to initiate the download. The ROM file will generally be in a compressed format such as ZIP or TAR.
5. Once the download is complete, extract the contents of the ROM file to a folder on your computer. You will typically find a set of files including the ROM itself, GApps (Google Apps), and any additional add-ons or mods that come with the ROM.
6. Make sure to scan the extracted files with a reliable antivirus software to ensure that they are safe and free from malware or viruses.
7. Connect your Redmi Note 3 to your computer using a USB cable and transfer the extracted ROM files to the root directory of your device’s internal storage. This can be done by simply dragging and dropping the files onto the device’s storage icon on your computer.
8. Once the files are successfully transferred, safely disconnect your device from the computer.
9. You are now ready to proceed to the next step of the installation process, which is installing the ROM using TWRP recovery.
By following these steps, you will be able to download the ROM that you want to install on your Redmi Note 3. Remember to follow reputable sources and read user reviews to ensure that you download a stable and reliable ROM that suits your preferences.
Step 4: Transferring the ROM to Your Redmi Note 3
Once you have downloaded the ROM for your Redmi Note 3, the next step is to transfer it to your device. Here’s how you can do it:
Method 1: Using a USB Cable
1. Connect your Redmi Note 3 to your computer using a USB cable.
2. Unlock your device and swipe down from the top to access the Notification panel.
3. Tap on the USB option and select “File Transfer” or “Transfer files” from the options.
4. On your computer, navigate to the location where you downloaded the ROM file.
5. Copy the ROM file and paste it into the internal storage or SD card of your Redmi Note 3.
Method 2: Using a Micro SD Card
1. Insert a micro SD card into your computer’s SD card reader.
2. On your computer, navigate to the location where you downloaded the ROM file.
3. Copy the ROM file and paste it into the micro SD card.
4. Eject the micro SD card from your computer and insert it into your Redmi Note 3.
Once you have transferred the ROM file to your Redmi Note 3, you are ready to proceed to the next step of the installation process.
Step 5: Installing the ROM Using TWRP Recovery
Once you have successfully transferred the ROM file to your Redmi Note 3, it’s time to proceed with the installation process using TWRP recovery. Follow these simple steps to ensure a smooth installation:
1. Boot into TWRP Recovery: Start by powering off your Redmi Note 3. Next, press and hold the Power button and Volume Up button simultaneously until the Mi logo appears. This will boot your device into TWRP recovery mode.
2. Backup your current ROM: It’s always a good idea to create a backup of your current ROM before proceeding with any installations or updates. To do this, tap on the “Backup” option in TWRP recovery and select the partitions you want to backup. Swipe to confirm and wait for the backup process to complete.
3. Wipe data and cache: To ensure a clean installation, it is recommended to wipe the data and cache partitions on your device. Tap on the “Wipe” option in TWRP recovery and select “Dalvik/ART Cache,” “System,” “Data,” and “Cache.” Swipe to confirm and wait for the wipe process to complete.
4. Install the ROM: Now, go back to the main menu of TWRP recovery and tap on the “Install” option. Navigate to the folder where you transferred the ROM file and select it. Swipe to confirm and wait for the installation process to complete.
5. Flash additional files (optional): If the ROM you’re installing requires any additional files, such as Gapps or kernel, you can flash them now. Simply tap on the “Install” option again, navigate to the file you want to flash, and select it. Swipe to confirm and wait for the flashing process to complete.
6. Wipe cache and Dalvik cache: After flashing the additional files, it is recommended to wipe the cache and Dalvik cache partitions once again. This helps to avoid any conflicts or inconsistencies. Tap on the “Wipe” option, select “Dalvik/ART Cache” and “Cache,” and swipe to confirm.
7. Reboot your Redmi Note 3: Once you have successfully installed the ROM and flashed any additional files, go back to the main menu of TWRP recovery and tap on the “Reboot” option. Select “System” and swipe to confirm. Your Redmi Note 3 will now reboot and start up with the newly installed ROM.
That’s it! You have now successfully installed the ROM on your Redmi Note 3 using TWRP recovery. Enjoy the new features, customization options, and improved performance that the ROM has to offer.
Step 6: Wiping Cache and Dalvik Cache
After successfully installing the ROM on your Redmi Note 3, the next step is to wipe the cache and dalvik cache. This process is crucial as it helps to clear any residual data from the previous ROM and ensures that the new ROM runs smoothly on your device.
To do this, follow the steps below:
- Boot your Redmi Note 3 into recovery mode by turning off the device and then holding down the volume up and power buttons simultaneously.
- Once in the TWRP recovery mode, tap on the “Wipe” option from the main menu.
- Now, tap on “Advanced Wipe” and a list of options will appear.
- Select both “Cache” and “Dalvik Cache” by ticking the boxes next to them.
- Double-check to ensure that only the cache and dalvik cache options are selected and no other partitions are selected.
- Swipe the confirmation slider to the right to start the wipe process.
- Wait for the process to complete. It may take a few seconds.
- Once the wipe is complete, you can proceed to the next step.
Wiping the cache and dalvik cache helps in resolving any potential conflicts or performance issues that may arise after installing the custom ROM. It ensures that your Redmi Note 3 starts fresh with the new ROM, optimizing its performance and stability.
Note that wiping the cache and dalvik cache will not delete any personal data or installed applications on your device. However, to be on the safe side, it is always recommended to back up any important data before performing these steps.
Now that you have successfully wiped the cache and dalvik cache on your Redmi Note 3, you can proceed to the next step of the installation process with confidence.
Step 7: Rebooting Your Redmi Note 3
After successfully installing the ROM on your Redmi Note 3, it’s time to reboot your device and start experiencing the new features and improvements. Rebooting your phone is a crucial step in the installation process as it allows the system to finalize all the changes made during the installation.
To reboot your Redmi Note 3, follow these simple steps:
- Firstly, ensure that your device is still connected to a power source or has sufficient battery life remaining. Rebooting requires a stable power supply to avoid any interruptions that may occur during the process.
- Next, press and hold the power button on your device until you see the power menu appear on the screen. This menu provides options for powering off, restarting, or putting your device into sleep mode.
- From the power menu, select the “Restart” option. This will initiate the reboot process and your Redmi Note 3 will begin shutting down.
- Once your device has fully powered off, wait for a few moments to ensure that all system processes have completed. This can help prevent any potential issues that may occur if the device is powered on too quickly after shutting down.
- Finally, press and hold the power button on your Redmi Note 3 again to turn it back on. You will see the device’s logo appear on the screen, indicating that the reboot process is underway.
Once your Redmi Note 3 has successfully rebooted, you will be greeted with the newly installed ROM, ready for you to explore and enjoy. Take some time to familiarize yourself with the new features, performance improvements, and customization options that the ROM provides.
It’s worth noting that the first boot after installing a new ROM may take slightly longer than usual, as the system initializes and optimizes various components. This is completely normal, so be patient and allow the device to complete the boot process.
In case you encounter any issues or face any difficulties during the reboot process or while using the newly installed ROM, you can refer to the ROM’s documentation or seek assistance from the ROM developer’s support channels.
Congratulations! You have successfully rebooted your Redmi Note 3 after installing a ROM. Enjoy the enhanced performance, features, and customizability that the new ROM brings to your device.
Conclusion
Installing a custom ROM on your Redmi Note 3 can be a rewarding experience that unlocks a world of possibilities. It allows you to personalize and optimize your device according to your preferences and needs. By following the step-by-step guide provided above, you can successfully install a custom ROM on your Redmi Note 3, giving it a fresh new look and enhanced performance.
Remember to always proceed with caution and do thorough research before choosing a ROM to install. Make sure to back up your important data before starting the installation process to prevent any loss of data. If you encounter any issues during the installation, consult the ROM’s documentation or seek help from the ROM’s community for assistance.
With a custom ROM installed, you can enjoy the benefits of a highly customizable and optimized device that caters to your individual requirements. So go ahead, take the plunge, and unlock the full potential of your Redmi Note 3 with a custom ROM!
FAQs
Q: Can I install a custom ROM on my Redmi Note 3?
Yes, you can install a custom ROM on your Redmi Note 3. Installing a custom ROM allows you to customize the look and feel of your device, improve its performance, and enjoy additional features not available on the stock ROM.
Q: Is it safe to install a custom ROM on my Redmi Note 3?
Installing a custom ROM involves some level of risk. It may void your warranty and there is a chance of bricking your device if not done correctly. However, if you follow the installation process carefully and choose a reputable ROM, the chances of encountering issues are minimal.
Q: How can I install a custom ROM on my Redmi Note 3?
To install a custom ROM on your Redmi Note 3, you need to unlock the bootloader, install a custom recovery such as TWRP, and flash the ROM using the recovery. It’s important to note that the exact steps and requirements may vary depending on the specific ROM you choose.
Q: Can I revert back to the stock ROM after installing a custom ROM?
Yes, you can revert back to the stock ROM on your Redmi Note 3 after installing a custom ROM. You can either flash the stock ROM using the custom recovery or use factory image files provided by Xiaomi to restore your device to its original state.
Q: Where can I find custom ROMs for my Redmi Note 3?
There are several websites and forums where you can find custom ROMs for your Redmi Note 3. XDA Developers, MIUI Forums, and ROM repositories like LineageOS and Pixel Experience are popular sources for custom ROMs. Make sure to choose a ROM compatible with your device model to avoid compatibility issues.