
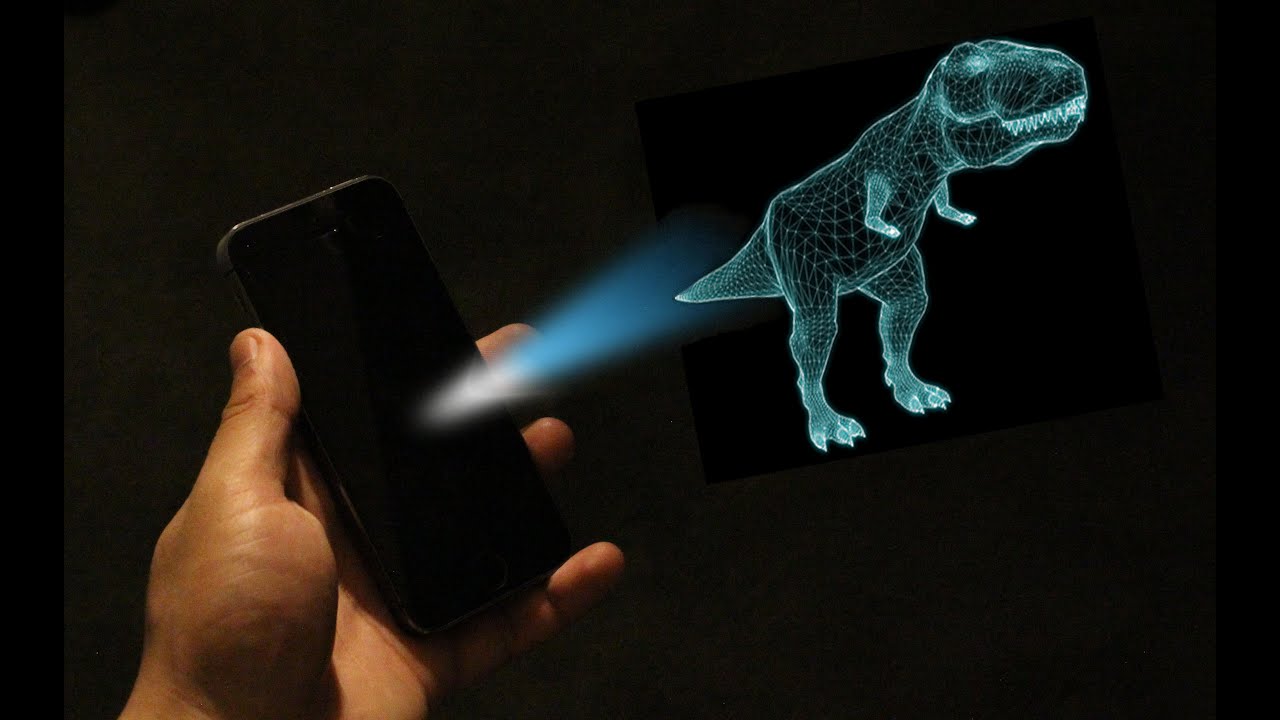
Are you tired of crowding around a small phone screen to watch videos or share photos with friends? Then why not turn your mobile phone into a projector? With this handy guide, you’ll learn how to transform your phone into a mini cinema and enjoy a larger, more immersive viewing experience. Whether you want to watch movies, show presentations, or simply magnify your phone’s display, turning your phone into a projector is easier than you think. Say goodbye to squinting at tiny screens and say hello to big-screen entertainment right from the palm of your hand. Let’s dive in and discover how to make your phone a projector!
Inside This Article
- Materials Needed
- Step 1: Gather Your Supplies
- Step 2: Preparing the Box
- Step 3: Creating the Lens
- Step 4: Assembling the Projector
- Step 5: Adjusting the Image
- Step 6: Connecting Your Phone
- Step 7: Enjoying Your Phone Projector
- Conclusion
- FAQs
Materials Needed
Creating a DIY phone projector requires a few essential materials. Make sure you have the following items before starting the project:
- A sturdy cardboard box – choose a box that is big enough to comfortably fit your phone and has enough space for the projector components.
- A magnifying lens – this will act as the projector lens and enlarge the image from your phone onto a larger surface.
- A utility knife or scissors – you’ll need these tools to cut holes and openings in the cardboard box.
- Double-sided tape or glue – you’ll need this to securely attach the magnifying lens and other components inside the box.
- Black construction paper or felt – using this material, you can create a lining inside the box to help block out any external light and enhance the projection.
- A marker or pen – to mark and trace the areas where you need to cut or attach components.
- A ruler or measuring tape – this will come in handy when measuring and marking the dimensions of the openings and components.
- A tripod or stand – optional but helpful for stabilizing the projector and adjusting the image height and angle.
Once you have gathered all these materials, you’ll be ready to move on to the next steps of creating your DIY phone projector. Remember to take your time and be careful when using sharp tools and cutting through the cardboard. Enjoy the process and get ready to bring your favorite videos and movies to life on a bigger screen!
Step 1: Gather Your Supplies
Before you embark on making your phone a projector, it’s important to gather all the necessary supplies. Here’s a list of items you’ll need:
- A shoebox or any similar-sized cardboard box
- A magnifying glass or a smartphone lens kit
- A ruler or a measuring tape
- A marker or a pen
- A utility knife or a pair of scissors
- A hot glue gun or strong adhesive
- A tripod or a stable surface to mount your projector
- A dark room or a dimly lit area for optimal projection
Make sure you have all these supplies ready before proceeding to the next step. It’s essential to have everything at hand to ensure a smooth and hassle-free process.
Step 2: Preparing the Box
Now that you have gathered all the necessary materials, it’s time to move on to the next step: preparing the box. The box will serve as the foundation for your phone projector, providing stability and structure.
To prepare the box, start by selecting a cardboard box that is large enough to accommodate your phone comfortably. You can repurpose an old shoebox or find a suitable box at a local store.
Begin by removing the lid of the box and setting it aside. This will allow for easy access to the interior of the box. Make sure to remove any existing contents or inserts from the box, leaving it empty.
Next, examine the sides of the box and ensure that they are intact and secure. If you notice any weak spots or flimsiness, reinforce them by applying adhesive tape along the seams.
Now it’s time to determine the placement of the lens. Measure the distance from the front of the box to the back, and mark the midpoint. This is where the lens will be positioned.
Using a sharp cutter or scissors, carefully cut a small hole in the center of the box at the marked point. Make sure that the hole is just big enough to fit the lens through. Take your time and be precise to prevent any accidental damage to the box.
Once the hole is cut, gently place the lens in the hole, threading it through from the inside of the box. If necessary, secure the lens in place with some adhesive tape around the edges to ensure it doesn’t move or slip out of position.
With the lens securely in place, it’s time to reattach the lid of the box. Align the lid with the box and use adhesive tape to seal the edges, ensuring a snug fit. This will help to block out any external light and enhance the projection quality.
Now that the box is prepared, it’s ready for the next steps of creating your very own phone projector. In the following steps, you’ll learn how to create the lens, assemble the projector, and adjust the image for optimal viewing. Keep following along to turn your phone into a projector that will bring entertainment to life!
Step 3: Creating the Lens
Now that you have your box and the necessary supplies, it’s time to move on to creating the lens for your phone projector. The lens is a crucial component as it helps to focus the light from your phone onto a larger surface.
Here’s how you can create a simple lens for your phone projector:
- Gather a magnifying glass or a lens from an old camera. Make sure the lens is clean and free from any scratches.
- Using a pencil or a marker, trace the outline of the lens onto a cardboard sheet.
- Carefully cut out the traced shape from the cardboard using a pair of scissors or a craft knife. Take your time to ensure clean and precise cuts.
- Next, place the lens in the cut-out shape on the cardboard and mark the center of the lens using a pencil or a marker.
- Using a small drill or a sharp object like a needle, create a hole at the marked center of the cardboard. This hole should be just big enough to fit the lens tightly.
- Test the lens by inserting it into the hole. It should fit snugly and not move around.
- If the lens is loose, you can secure it in place using a strong adhesive or hot glue.
Voila! Your lens is now ready to be integrated into your phone projector. This simple DIY lens will help magnify and focus the light from your phone to create a clear and sharp projection.
Remember, the quality of your lens will have a direct impact on the image quality of your projected screen. So, if you want to achieve the best results, consider using a high-quality lens or even investing in a phone projector lens attachment specifically designed for this purpose.
Step 4: Assembling the Projector
Now that you have prepared the box and created the lens, it’s time to assemble your phone projector. This step involves putting everything together to complete the construction of your DIY projector.
Follow these simple instructions to assemble your phone projector:
- Start by positioning the lens in the hole you created in the shoebox. Make sure it fits securely and is centered.
- Use your adhesive or tape to fix the lens in place. You want it to be stable and secure to ensure proper projection of the image.
- Next, take your magnifying glass and place it on the opposite side of the lens inside the shoebox. Again, use adhesive or tape to keep it in place.
- Ensure that both the lens and magnifying glass are aligned as close to the center of the box as possible. This will help with the clarity and focus of the projected image.
- Now, take your smartphone and position it on the phone holder, facing downward towards the lens. The phone holder can be made from any material that can securely hold your phone in place.
- Make sure the phone is aligned with the lens so that the image projected onto the screen is clear and centered.
- Finally, take the lid or cover of the shoebox and place it securely on top. This will help to block out any external light that may interfere with the projected image.
Once you have completed these steps, your phone projector is now fully assembled and ready to use. Congratulations!
Remember, the alignment and stability of the lens, magnifying glass, and phone are crucial for a good projection. Take your time during the assembly process to ensure everything is in the right position before moving on to the next step.
Now that your phone projector is assembled, it’s time to move on to the next step and adjust the image for optimal viewing.
Step 5: Adjusting the Image
Once you have assembled your phone projector, the next step is to adjust the image for optimal viewing. Here are some tips to help you get the best possible image quality:
1. Distance: Start by adjusting the distance between the projector and the screen or wall. Moving the projector closer will result in a smaller but brighter image, while moving it further away will create a larger but dimmer image. Experiment with different distances until you find the right balance.
2. Focus: Use the focus wheel, if your projector has one, to sharpen the image. Rotate the wheel either clockwise or counterclockwise until the image appears clear and in focus. If your projector doesn’t have a focus wheel, try adjusting the position of the lens to achieve the desired focus.
3. Keystone Correction: Many projectors come with keystone correction feature, which allows you to correct any keystone distortion in the image caused by uneven surfaces or angled projection. Adjust the keystone correction settings in the projector menu to ensure a rectangular image without any distortion.
4. Aspect Ratio: Make sure to set the correct aspect ratio on your projector to match the aspect ratio of the content you are projecting. This will prevent any stretching or squishing of the image, resulting in a more accurate and visually appealing projection.
5. Screen or Wall Color: The color of the projection surface can also affect the image quality. If possible, use a white or light-colored screen or wall for a brighter and more vibrant image. Avoid using a highly reflective or textured surface, as it can cause unwanted glare or distortions.
6. Ambient Lighting: Consider the lighting conditions in the room where you are using the phone projector. Dimming the lights or using the projector in a darkened room will enhance the contrast and overall viewing experience. Avoid projecting in direct sunlight or bright ambient light, as it can wash out the image.
With these adjustments, you can ensure that your phone projector displays a clear, sharp, and well-balanced image. Don’t be afraid to experiment and make fine-tune adjustments to achieve the best possible viewing experience.
Step 6: Connecting Your Phone
Now that you have successfully assembled your DIY phone projector, it’s time to connect your phone and bring your multimedia content to life! Follow these simple steps to connect your phone to the projector:
1. Start by locating the HDMI port on your phone projector. This is the port where you will connect your phone’s HDMI cable.
2. Next, find the corresponding HDMI port on your smartphone. Most smartphones have a micro HDMI or USB-C port, so ensure you have the appropriate cable for your phone.
3. Connect one end of the HDMI cable to your phone projector’s HDMI port, and the other end to your smartphone’s HDMI port. Make sure both ends are securely plugged in.
4. Once the HDMI cable is connected, switch on your phone projector and select the appropriate HDMI input source. This can usually be done by navigating through the projector’s menu options using the remote control or onboard buttons.
5. On your smartphone, go to the settings and enable screen mirroring or HDMI output. This may vary depending on your phone’s operating system, but usually, it can be found under the “Display” or “Connectivity” settings.
6. Once screen mirroring or HDMI output is enabled, your phone’s screen should be projected onto the larger display of the phone projector. You can now navigate through your phone’s apps, play videos, browse the internet, or even stream content from your favorite streaming platforms.
7. Adjust the focus and position of the projector to ensure a clear and sharp image. You can do this by moving the projector closer or farther away from the projection surface and adjusting the focus wheel or lens settings on the projector.
8. Enjoy your phone projector to its fullest! Whether you want to watch movies, share photo slideshows, or give presentations, your phone projector will allow you to do it all on a bigger screen.
Remember to disconnect your phone and turn off the projector when you’re done using it to conserve battery life and prolong their lifespan.
Connecting your phone to a DIY projector opens up a world of possibilities for sharing and enjoying multimedia content. So gather your friends and family and get ready for an immersive and larger-than-life viewing experience!
Step 7: Enjoying Your Phone Projector
After following all the previous steps to create your phone projector, it’s time to sit back, relax, and enjoy the new way of viewing content from your phone. Here are a few tips on how to make the most of your phone projector experience:
1. Choose your content: Start by selecting the content you want to project on your phone. Whether it’s a movie, a TV show, or a slideshow of your favorite photos, make sure you have it ready to play on your device.
2. Find a suitable projection surface: Look for a smooth, white surface where you can project your phone. It could be a blank wall, a projector screen, or even a white bedsheet. Ensure that the surface is clean and free from any obstructions that may interfere with the projected image.
3. Adjust the distance: Position your phone projector at the ideal distance from the projection surface. Experiment with different distances to find the one that provides the best image quality and size. Keep in mind that the farther the projector is from the surface, the larger the image will appear.
4. Dim the lights: To enhance the visibility and clarity of the projected image, dim the lights in the room. This will reduce any potential glare or reflections, allowing you to enjoy a crisp and clear projection.
5. Connect external speakers: While your phone’s built-in speakers can suffice, connecting external speakers will greatly enhance the audio quality of your projected content. Pair your phone with Bluetooth speakers or connect it to a sound system for a more immersive experience.
6. Sit back and enjoy: Once everything is set up, sit back and relax in a comfortable position. Grab some popcorn, your favorite drink, and immerse yourself in the larger-than-life viewing experience provided by your phone projector.
7. Experiment and have fun: Don’t be afraid to experiment with different types of content and projection setups. Try projecting your favorite video games, YouTube videos, or even live sports events. Explore the full potential of your phone projector and have fun exploring new entertainment possibilities.
With your phone projector up and running, you can now enjoy a cinema-like experience in the comfort of your own home. Gather some friends, host a movie night, or simply indulge in a solo movie marathon. The possibilities are endless, so make the most of your phone projector and let your imagination run wild!
In conclusion, turning your phone into a projector is a fun and creative way to amplify your entertainment experience. With the right tools and techniques, you can enjoy big-screen visuals from the comfort of your own home. Whether you’re watching movies, playing games, or giving presentations, having a mobile phone projector gives you the versatility and flexibility to showcase content on a larger scale.
By following the methods mentioned in this article, you can transform your phone into a projector without breaking the bank. Whether you opt for a DIY solution or invest in a portable projector, the possibilities are endless. Unlock a world of entertainment and convenience by harnessing the power of your smartphone and turning it into a projection powerhouse. So, grab your popcorn, gather your friends and family, and get ready to enjoy an immersive viewing experience with your very own phone projector.
FAQs
**1. Can I turn my phone into a projector?**
Absolutely! With the right equipment and setup, you can easily turn your smartphone into a projector. There are various options available, such as portable projectors that connect to your phone via HDMI or wireless connection, or DIY methods that involve using a magnifying lens or a simple shoebox.
**2. What do I need to turn my phone into a projector?**
To turn your phone into a projector, you will need a few essential items. Firstly, you will either need a portable projector that can connect to your phone or a magnifying lens and a dark room. If you opt for a portable projector, ensure that it is compatible with your phone and supports the necessary connectivity options. If you choose the DIY route, you will also need a shoebox, a magnifying lens, and some basic tools for assembly.
**3. Can I project without a screen using my phone?**
Yes, you can project without a screen using your phone. In fact, many portable projectors come with built-in screens or adjustable focus settings that allow you to project directly onto any flat surface, such as a wall or a sheet. If you’re using a DIY setup, you can use a white wall or hang a white cloth to project your phone’s screen.
**4. How do I connect my phone to a portable projector?**
Connecting your phone to a portable projector is usually straightforward. Most modern projectors support wireless connectivity options like Bluetooth or Wi-Fi, allowing you to connect your phone wirelessly. Alternatively, you can use an HDMI cable to establish a direct connection between your phone and the projector. Some projectors also support USB connections, enabling you to connect your phone via a USB cable.
**5. Are there any apps I need to use my phone as a projector?**
While there are numerous apps available that claim to turn your phone into a projector, they often fall short on delivering the desired results. It is best to rely on the features and capabilities of the projector itself rather than relying on apps. However, you may find some useful apps that can help you enhance your projection experience, such as remote control apps or media streaming apps for playing content on the projector.